Introduction
Welcome to our guide on how to play DVD on Windows 10! Despite the rise of digital media and streaming services, DVDs remain a popular medium for enjoying movies and other media. However, Windows 10 does not natively include DVD playback capabilities, which can be frustrating for users who still have a collection of DVDs they’d like to watch.
The good news is that there are several methods you can use to play DVDs on your Windows 10 computer. In this article, we will explore three different approaches that will allow you to enjoy your favorite DVDs hassle-free.
Whether you want to use the built-in Windows Media Player, the versatile VLC Media Player, or choose to install third-party software, we’ve got you covered! We will also provide troubleshooting tips to help you overcome any potential issues that may arise during the DVD playback process.
So, grab your popcorn and let’s dive in!
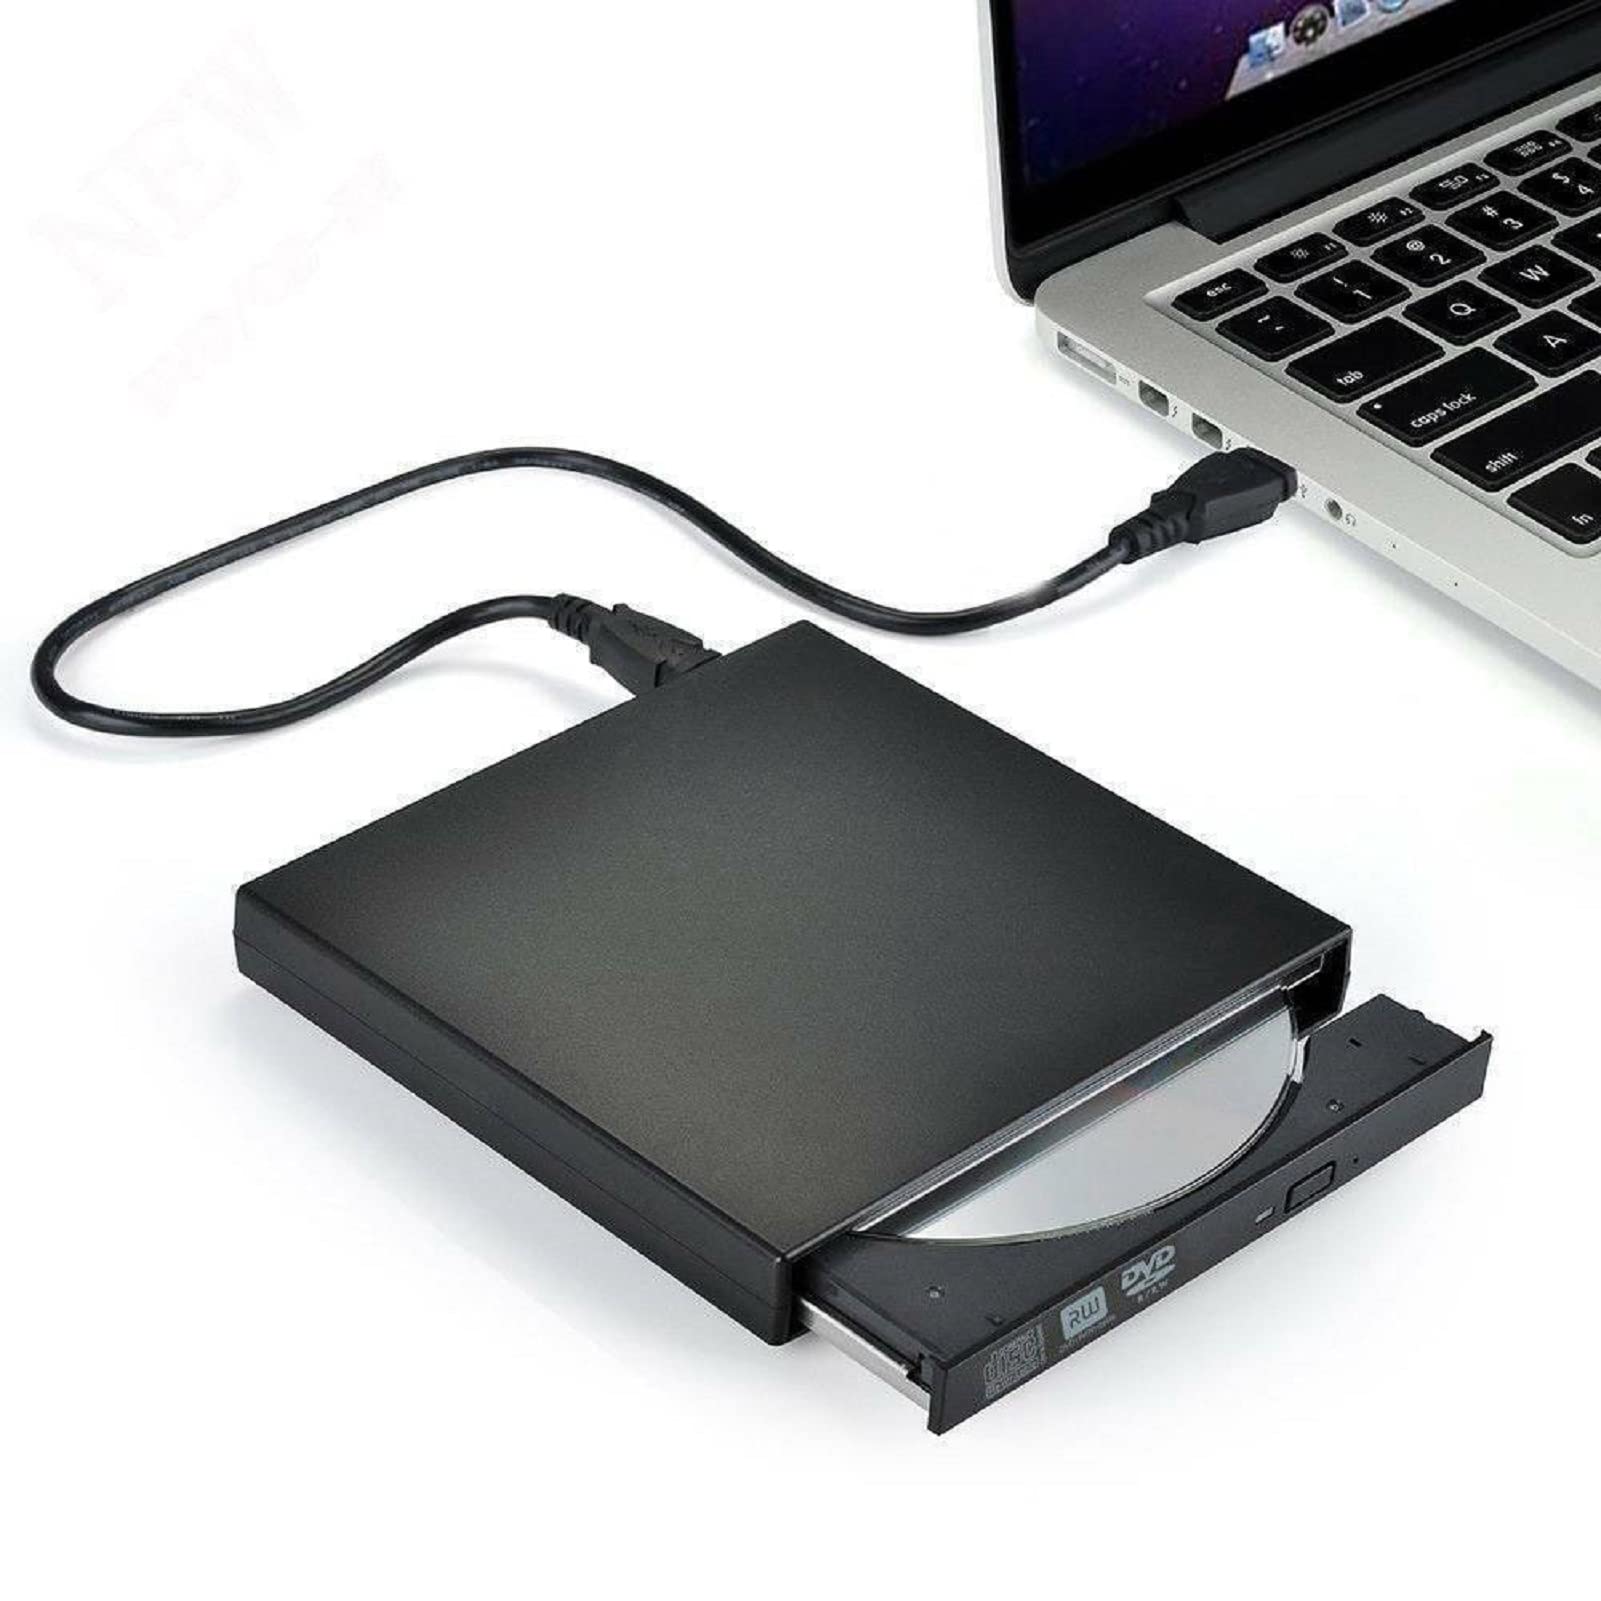
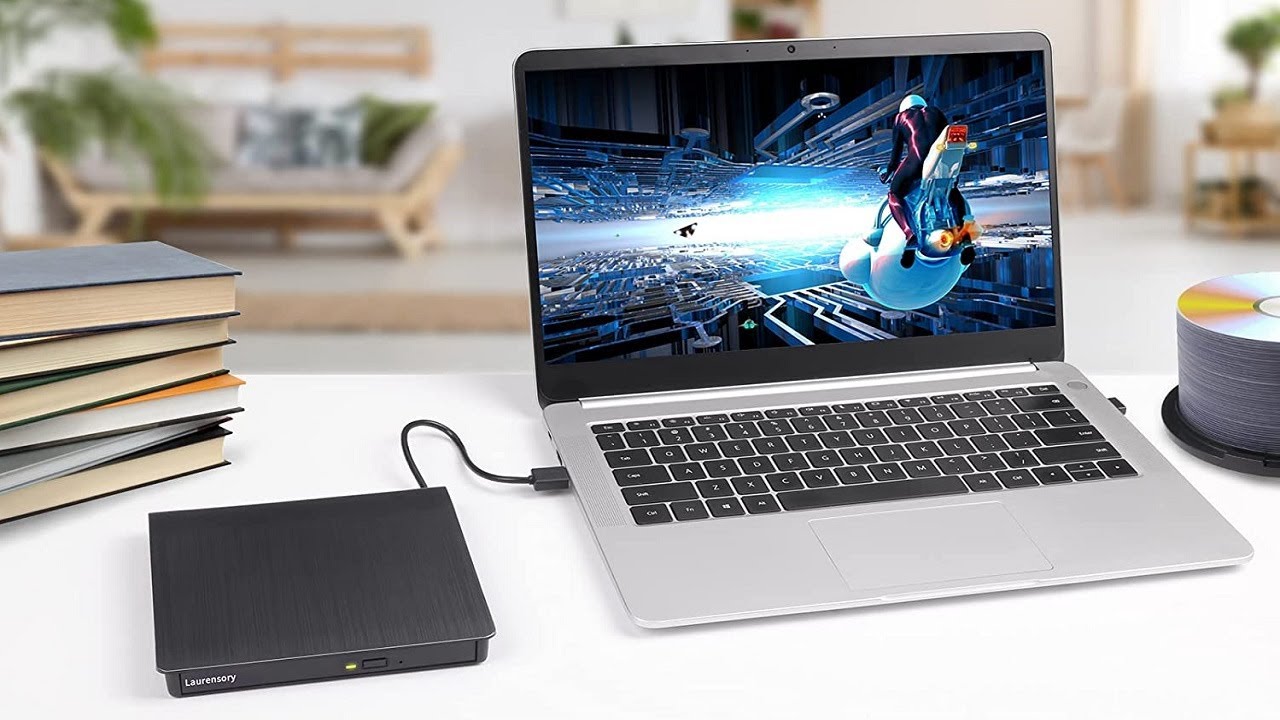
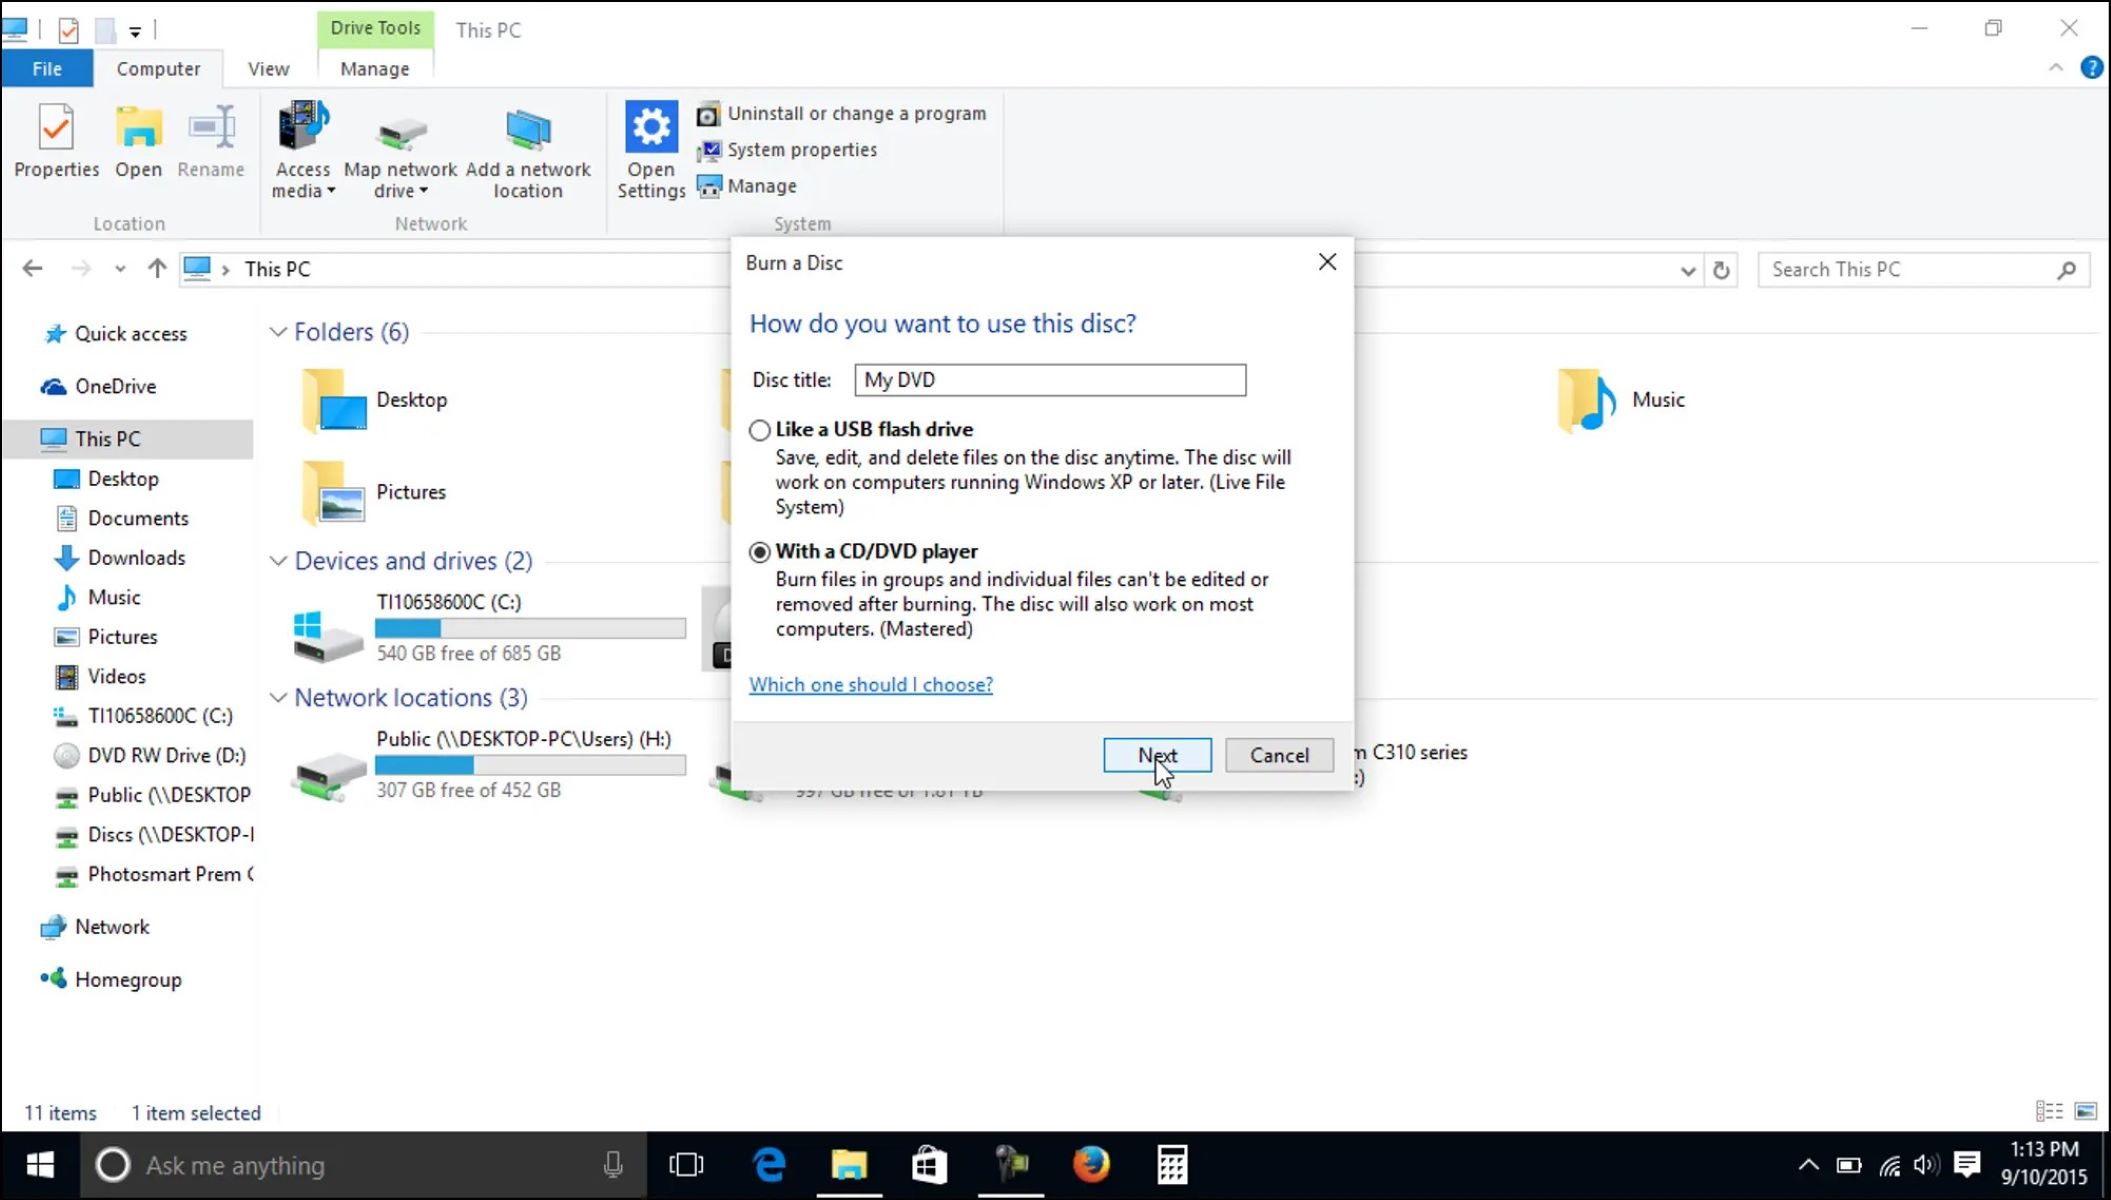
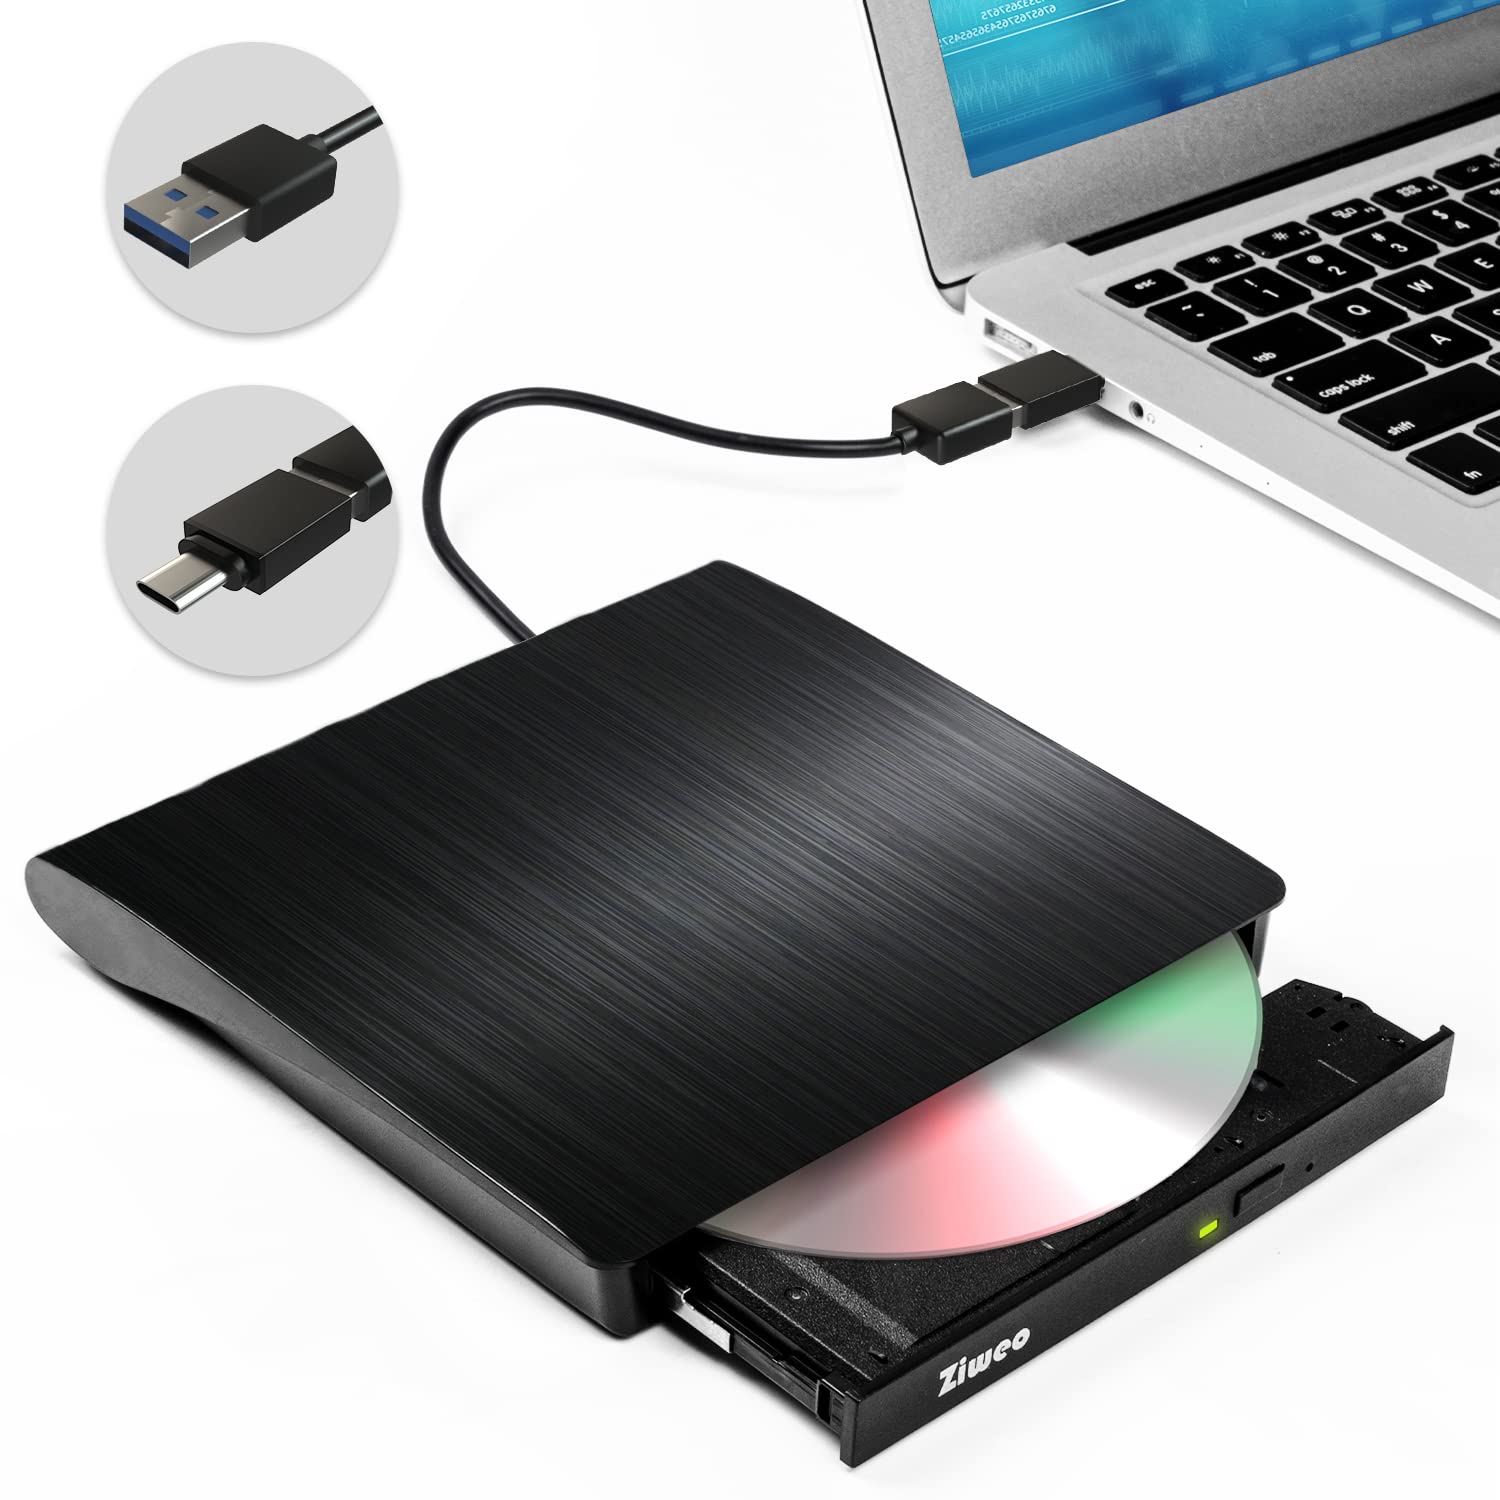
Before we delve into the methods, it’s important to note that playing DVDs on Windows 10 requires both a DVD drive and compatible software. While most modern computers come equipped with a DVD drive, some newer models, such as ultrabooks and tablets, may not have one. In such cases, you may need to purchase an external DVD drive.
Additionally, DVD playback software is not included with the Windows 10 operating system. This means that you will need to install either Windows Media Player, VLC Media Player, or any third-party software that supports DVD playback.
Don’t worry if you don’t have any of these players installed on your computer yet, as we will provide step-by-step instructions on how to set them up and use them to play your DVDs.
Now that you understand the essentials, let’s explore the three methods you can use to play DVDs on your Windows 10 computer.
Method 1: Using Windows Media Player
Windows Media Player is a built-in media player that comes pre-installed with Windows 10. Although it does not have native DVD playback capabilities, you can still use it to play DVDs with the help of additional software called codecs.
Here’s how you can set up Windows Media Player to play DVDs:
- Launch Windows Media Player by searching for it in the Start menu or clicking on the Windows Media Player icon in the taskbar.
- If you haven’t already installed DVD playback codecs, Windows Media Player will prompt you to do so. Click on the “Yes” button to install the required codecs.
- Follow the installation prompts and restart Windows Media Player once the codecs are installed.
- Insert the DVD you want to play into your computer’s DVD drive.
- Windows Media Player should automatically detect the DVD and start playing it. If it doesn’t, click on the “Play” button in the top navigation bar of Windows Media Player.
Note that Windows Media Player may not support certain DVD formats or encrypted DVDs. If you encounter any issues, you can try using an alternative media player like VLC Media Player, which we’ll discuss in the next section.
It’s worth mentioning that Windows Media Player also offers additional features like creating playlists, managing your music library, and syncing media with your portable devices. So, not only can you play DVDs, but you can also enjoy other multimedia content using this versatile player.
Now that you know how to play DVDs using Windows Media Player, let’s explore another popular option, VLC Media Player.
Method 2: Using VLC Media Player
VLC Media Player is a free and open-source multimedia player that supports a wide range of audio and video formats, including DVDs. It is a popular choice among Windows users due to its versatility and robustness.
Follow these steps to play DVDs using VLC Media Player:
- Download and install VLC Media Player from the official website (www.videolan.org/vlc).
- Launch VLC Media Player by searching for it in the Start menu or clicking on its icon on the desktop.
- Insert the DVD you want to play into your computer’s DVD drive.
- Click on the “Media” tab in the top navigation menu and select “Open Disc” from the dropdown menu.
- In the “Disc Selection” window, make sure the “Disc Device” field displays the correct DVD drive letter. If not, use the dropdown menu to select the correct drive.
- Check the boxes for any additional options you want to enable, such as “No DVD menus” or “Force DVD menus.”
- Click on the “Play” button to start playing the DVD.
VLC Media Player offers a user-friendly interface with intuitive controls for pausing, skipping chapters, adjusting volume, and more. It also provides advanced settings for audio and video playback, allowing you to customize your viewing experience.
One of the advantages of VLC Media Player is its ability to handle DVDs with different region codes and encrypted DVDs. If you were unable to play a DVD using Windows Media Player, VLC Media Player can often bypass these restrictions and successfully play the DVD.
Additionally, VLC Media Player offers many other features such as streaming media, converting file formats, and even acting as a media server. It is an all-around multimedia tool that can handle various playback needs.
Now that you know how to play DVDs using VLC Media Player, let’s explore another option, using third-party software.
Method 3: Using 3rd Party Software
If you’re looking for more advanced features and a dedicated DVD playback experience, you can opt for third-party software designed specifically for playing DVDs. There are several options available, both free and paid, that offer additional functionalities and enhanced DVD playback capabilities.
Here’s how you can use third-party software to play DVDs on Windows 10:
- Research and choose a reliable third-party DVD player software that suits your needs. Some popular options include PowerDVD, WinDVD, and AnyDVD.
- Visit the official website of the software you selected and download the installation file.
- Double-click on the downloaded file to start the installation process.
- Follow the on-screen instructions to install the software on your computer.
- Launch the DVD player software by searching for it in the Start menu or locating its icon on the desktop.
- Insert the DVD you want to play into your computer’s DVD drive.
- Click on the appropriate buttons or options within the software to open the DVD and start playing it.
Third-party DVD player software often provides additional features such as DVD navigation menus, customizable playback settings, advanced audio and video adjustments, and even the ability to play Blu-ray discs. These software options are known for their compatibility with various DVD formats and their ability to handle encrypted DVDs.
Keep in mind that some third-party software may require a purchase or a subscription for full access to all features. However, many offer trial versions or free options with limited functionality that can still fulfill your basic DVD playback needs.
By using third-party software, you can enjoy a dedicated DVD playback experience with all the features and customization options that cater to your preferences.
Now that you know how to use third-party software for playing DVDs on Windows 10, let’s move on to troubleshooting tips in case you encounter any issues.
Troubleshooting Tips
While playing DVDs on Windows 10, you may encounter occasional hiccups or issues. Here are some troubleshooting tips to help you overcome common problems:
- No sound or distorted audio: Ensure that the volume is not muted or turned down low. Check your speakers or headphones for proper connection. If using external speakers, make sure they are powered on and set as the default audio device in your computer’s settings.
- No video or black screen: Verify that the DVD is inserted correctly and is not damaged. Check the DVD drive for any dirt, dust, or debris that might affect the disc’s readability. If using a laptop with an external display, ensure that the display is connected and functioning properly.
- DVD not recognized: Try inserting the DVD into a different DVD drive (if available) to see if the issue is with the drive. If using an external DVD drive, check the connection and try a different USB port. Restart your computer and try again.
- Playback stuttering or freezing: Close any unnecessary programs running in the background that may be consuming system resources. Disable any screen recording or capturing software that may be conflicting with DVD playback. Update your graphics drivers to the latest version.
- Error messages or playback issues: Update your DVD player software to the latest version. Check for any available patches or updates for your operating system. Ensure that you have the necessary codecs installed for the DVD format you are trying to play.
If the above troubleshooting tips do not resolve your issue, consider trying an alternative DVD player software or seeking assistance from technical support or online forums specific to your DVD player software.
It’s also important to note that older DVDs or DVDs from different regions may not be compatible with your DVD drive or chosen software. In such cases, consider using a DVD ripper software to create a digital copy of the DVD that can be played on your Windows 10 computer.
Now that you’re equipped with troubleshooting knowledge, let’s wrap up this guide.
Conclusion
Playing DVDs on Windows 10 may require some additional software or tweaking, but with the methods we’ve covered in this guide, you can easily enjoy your DVD collection on your computer. Whether you choose to use Windows Media Player with codecs, VLC Media Player, or opt for third-party software, the steps are straightforward and effective.
Windows Media Player offers a simple solution with the help of codecs, while VLC Media Player provides versatility and the ability to bypass region codes and encryption. Third-party software offers a dedicated DVD playback experience with advanced features and customization options.
If you encounter any issues while playing DVDs, troubleshoot using the tips we’ve provided. From audio and video problems to playback stuttering or error messages, these troubleshooting steps will help you overcome common DVD playback issues.
Remember, it’s essential to have a DVD drive and compatible software to play DVDs on your Windows 10 computer. If your computer doesn’t have a built-in DVD drive, consider purchasing an external one. Additionally, ensure that you have the necessary codecs installed for your chosen media player.
With these methods and troubleshooting tips, you can now fully enjoy your favorite movies, TV shows, and other content stored on DVDs. So, grab your popcorn, sit back, and let the DVD playback begin!