Introduction
An unlocked Logitech wireless keyboard can provide flexibility and convenience in your daily computing tasks. Whether you need to use it with a different device or troubleshoot connection issues, unlocking your keyboard is a simple process that you can easily accomplish on your own. In this article, we will guide you through three different methods to unlock a Logitech wireless keyboard.
Before we dive into the methods, it’s important to note that the steps may vary slightly depending on the specific Logitech keyboard model you have. However, the general principles will still apply. It’s always a good idea to consult the manufacturer’s documentation or the Logitech support website for device-specific instructions if needed.
Additionally, make sure to have a clear workspace and a reliable power source for your computer or device during the unlocking process. This will help prevent any interruptions that could potentially lead to problems with the keyboard’s functionality.
Now, let’s explore the different methods you can use to unlock your Logitech wireless keyboard.
Preparing for the Unlocking Process
Before you begin the unlocking process, there are a few things you need to do to ensure a smooth and successful experience. Follow these steps to prepare for unlocking your Logitech wireless keyboard:
- Gather the necessary materials: Make sure you have all the required materials for the unlocking process. You will typically need your Logitech wireless keyboard, the accompanying receiver or dongle, and batteries if they are not already installed.
- Check the battery status: If your keyboard operates on batteries, it’s important to check the battery level before proceeding. Replace the batteries if they are low or depleted to prevent any interruptions during the unlocking process.
- Clear the workspace: Find a clean and clutter-free workspace to perform the unlocking process. Having ample space will allow you to work comfortably and minimize the chances of accidentally misplacing any components.
- Ensure a stable power source: Connect your computer or device to a stable power source to prevent any unexpected power loss during the unlocking process. This will help maintain a consistent connection and prevent any potential disruptions.
- Refer to the user manual: If you are unfamiliar with the specific steps for unlocking your Logitech wireless keyboard, refer to the user manual or documentation that came with your keyboard. This will provide you with detailed instructions tailored to your specific model.
By following these preparation steps, you will be well-equipped and ready to unlock your Logitech wireless keyboard using one of the methods outlined in the upcoming sections.
Method 1: Using the Connect Button
One of the simplest methods to unlock a Logitech wireless keyboard is by using the Connect button. This button is typically located on the bottom of the keyboard, near the power switch or battery compartment. Follow these steps to unlock your Logitech wireless keyboard using the Connect button:
- Turn on your keyboard: Locate the power switch on your Logitech wireless keyboard and ensure it is switched on. If your keyboard operates on batteries, make sure they are properly installed and the battery compartment is closed.
- Find the Connect button: Flip over your keyboard and locate the Connect button. It is usually a small button labeled “Connect” or with an icon that resembles a wireless signal.
- Press and hold the Connect button: Press and hold the Connect button for a few seconds until the keyboard’s LED lights start flashing. This indicates that the keyboard is now in pairing mode.
- Pair the keyboard with the computer or device: On your computer or device, open the Bluetooth settings or the Logitech software if applicable. Look for your keyboard in the list of available devices and select it to initiate the pairing process.
- Follow the on-screen instructions: Once you have selected the keyboard in the Bluetooth settings or Logitech software, follow any on-screen instructions that appear to complete the pairing process. This may involve entering a passkey displayed on your computer or device.
- Test the connection: Once the pairing is complete, test the connection by typing on your Logitech wireless keyboard. The keystrokes should register on your computer or device, indicating a successful unlock.
If your Logitech wireless keyboard does not respond or pair successfully using this method, don’t worry. There are alternative methods you can try, which will be discussed in the following sections.
Method 2: Using the Unifying Receiver
If your Logitech wireless keyboard uses a Unifying Receiver, you can utilize this method to unlock your keyboard. Follow these steps to unlock your Logitech wireless keyboard using the Unifying Receiver:
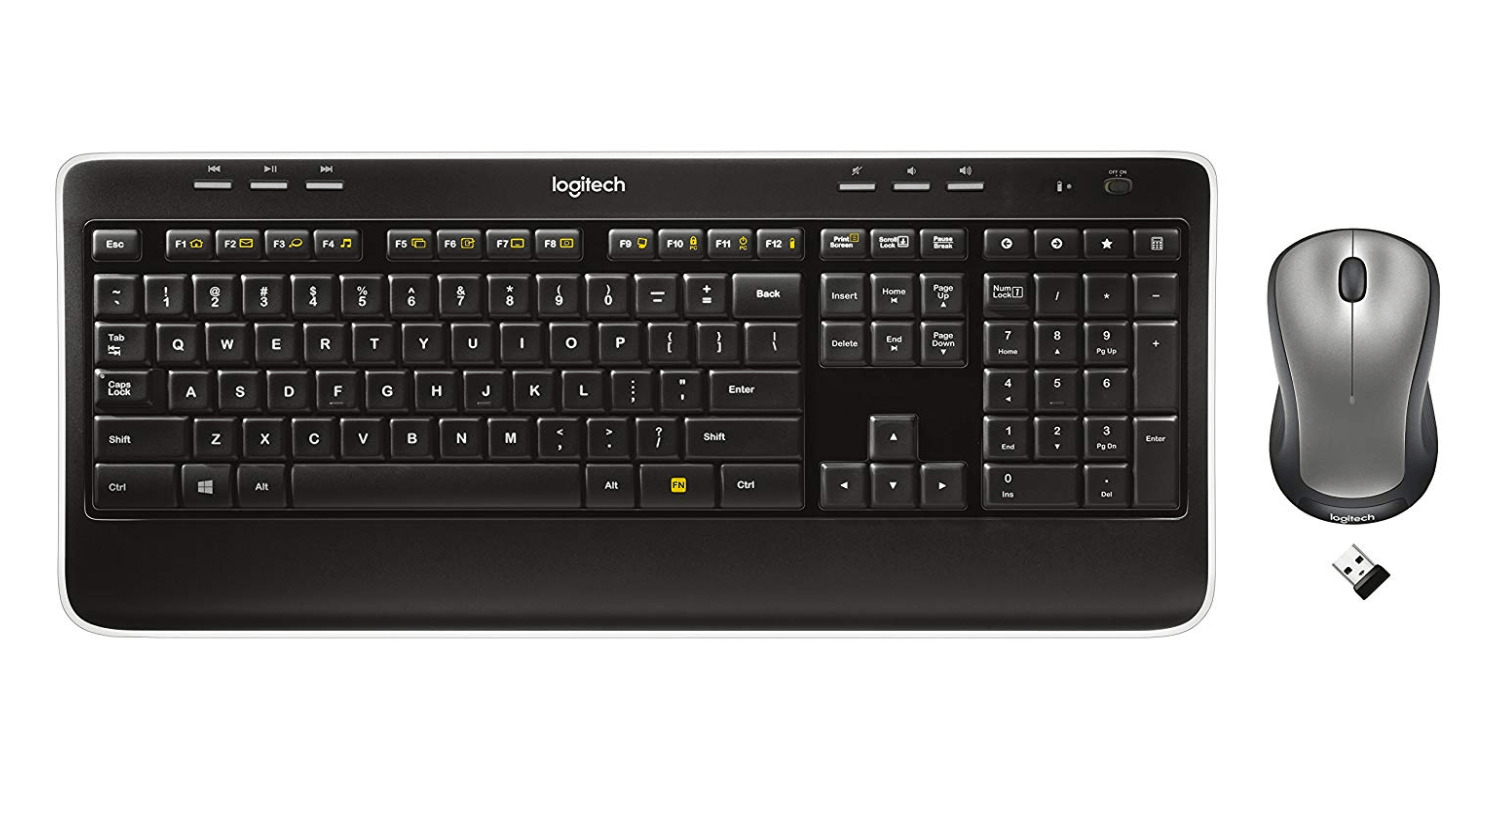
- Insert the Unifying Receiver: Locate the USB port on your computer or device and insert the Logitech Unifying Receiver. Ensure it is securely connected and recognized by your computer or device.
- Check the status of the Unifying Receiver: Look for the LED light on the receiver. If it is blinking, it indicates that the receiver is in pairing mode. If the LED light is not blinking, you may need to press the Connect button on the receiver to put it into pairing mode.
- Turn on your keyboard: Switch on your Logitech wireless keyboard using the power switch or by inserting fresh batteries if required.
- Press the Connect button on the keyboard: Locate the Connect button on your Logitech wireless keyboard. It is usually situated on the bottom, near the power switch or battery compartment. Press and hold the Connect button for a few seconds until the LED lights start flashing.
- Pair the keyboard with the Unifying Receiver: Within a few seconds of pressing the Connect button on the keyboard, press the Connect button on the Unifying Receiver. This will initiate the pairing process between the keyboard and the receiver.
- Confirm the connection: Once the pairing is complete, the LED lights on both the keyboard and the Unifying Receiver should stop flashing and remain steady. This indicates a successful connection between the two devices.
With the keyboard successfully paired to the Unifying Receiver, you can now use your Logitech wireless keyboard without any restrictions. If you encounter any issues or the pairing process does not complete successfully, you can explore the third method discussed in the next section.
Method 3: Resetting the Keyboard
If the previous methods did not unlock your Logitech wireless keyboard, you can try resetting the keyboard to restore its default settings. Here’s how you can reset your Logitech wireless keyboard:
- Turn off the keyboard: Locate the power switch on your Logitech wireless keyboard and switch it off. If your keyboard operates on batteries, remove the batteries.
- Press and hold the Escape key: While the keyboard is turned off, press and hold the Escape (Esc) key on your keyboard. Keep holding the key as you proceed to the next step.
- Turn on the keyboard: While still holding the Escape key, switch on your Logitech wireless keyboard using the power switch or by inserting fresh batteries if required. Continue holding the Escape key throughout this step.
- Release the Escape key: After a few seconds, release the Escape key on your keyboard. The LED lights on the keyboard may start flashing or turn off momentarily.
- Reestablish the connection: Once the reset is complete, follow the instructions provided in Method 1 or Method 2 to pair your Logitech wireless keyboard with your computer or device again. This will establish a new connection and unlock your keyboard.
If the reset process is successful, you should now be able to use your Logitech wireless keyboard without any issues. However, if the problem persists, it may be helpful to contact Logitech support or refer to the documentation provided with your keyboard for further troubleshooting steps.
Conclusion
Unlocking a Logitech wireless keyboard is a straightforward process that you can easily accomplish by following the methods outlined in this article. Whether you choose to use the Connect button, the Unifying Receiver, or resetting the keyboard, these methods offer solutions to unlock your keyboard and restore its functionality.
Before beginning the unlocking process, it’s important to gather the necessary materials and prepare your workspace. Checking the battery status, ensuring a stable power source, and referring to the user manual can help you navigate through the unlocking process with ease.
If the Connect button method does not work, using the Unifying Receiver might be the solution. Inserting and pairing the receiver with your keyboard can establish a secure connection and unlock the keyboard successfully.
In cases where both methods fail, resetting the keyboard can be the final option. By following the steps of turning off the keyboard, holding the Escape key, and then turning it back on, you can restore the default settings and reestablish the connection.
Remember, the specific steps may vary slightly depending on your Logitech wireless keyboard model, so always consult the user manual or Logitech support if you encounter any difficulties.
With your Logitech wireless keyboard successfully unlocked, you can now enjoy the convenience and flexibility it provides. Whether it’s for work, gaming, or everyday tasks, a functioning keyboard is an essential tool for a seamless computing experience.
So go ahead, apply the methods mentioned in this article, and unlock your Logitech wireless keyboard to continue enjoying its benefits.