Introduction
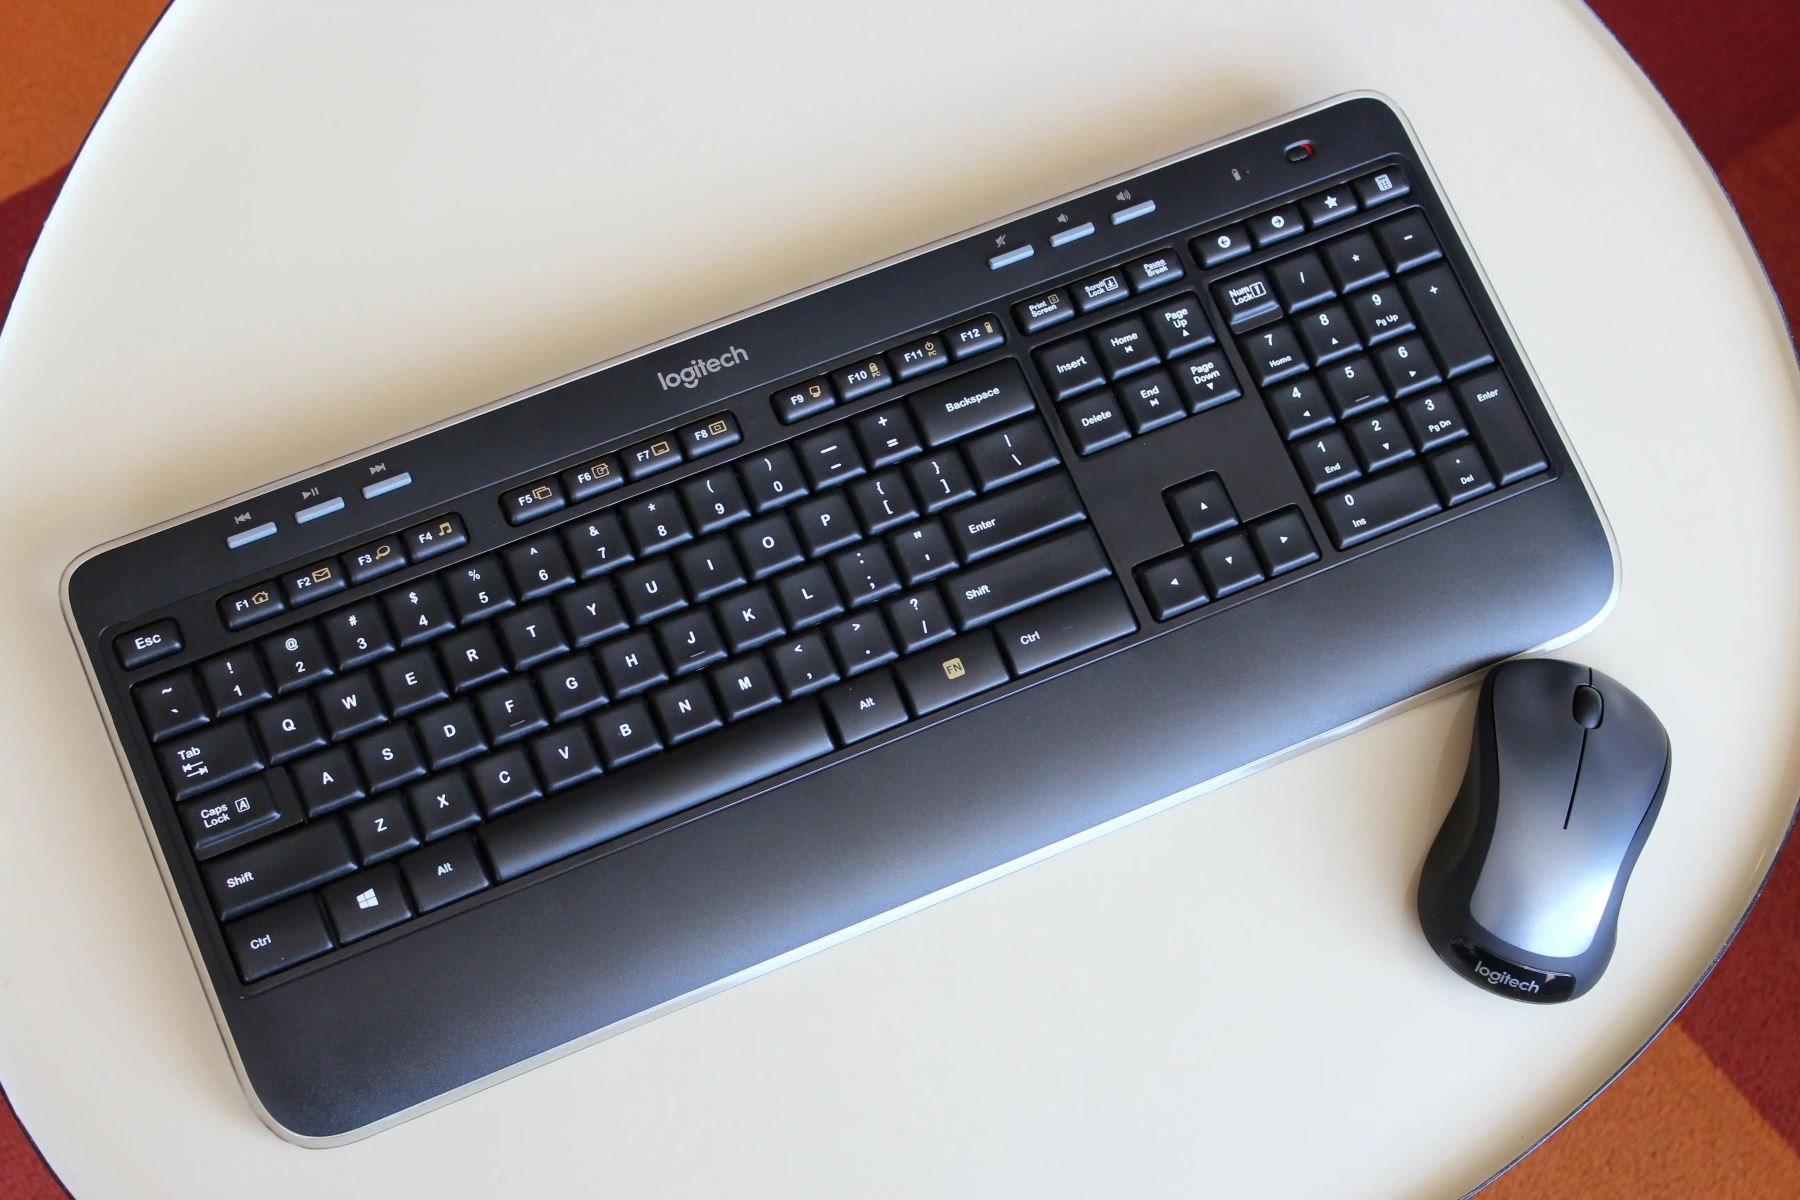
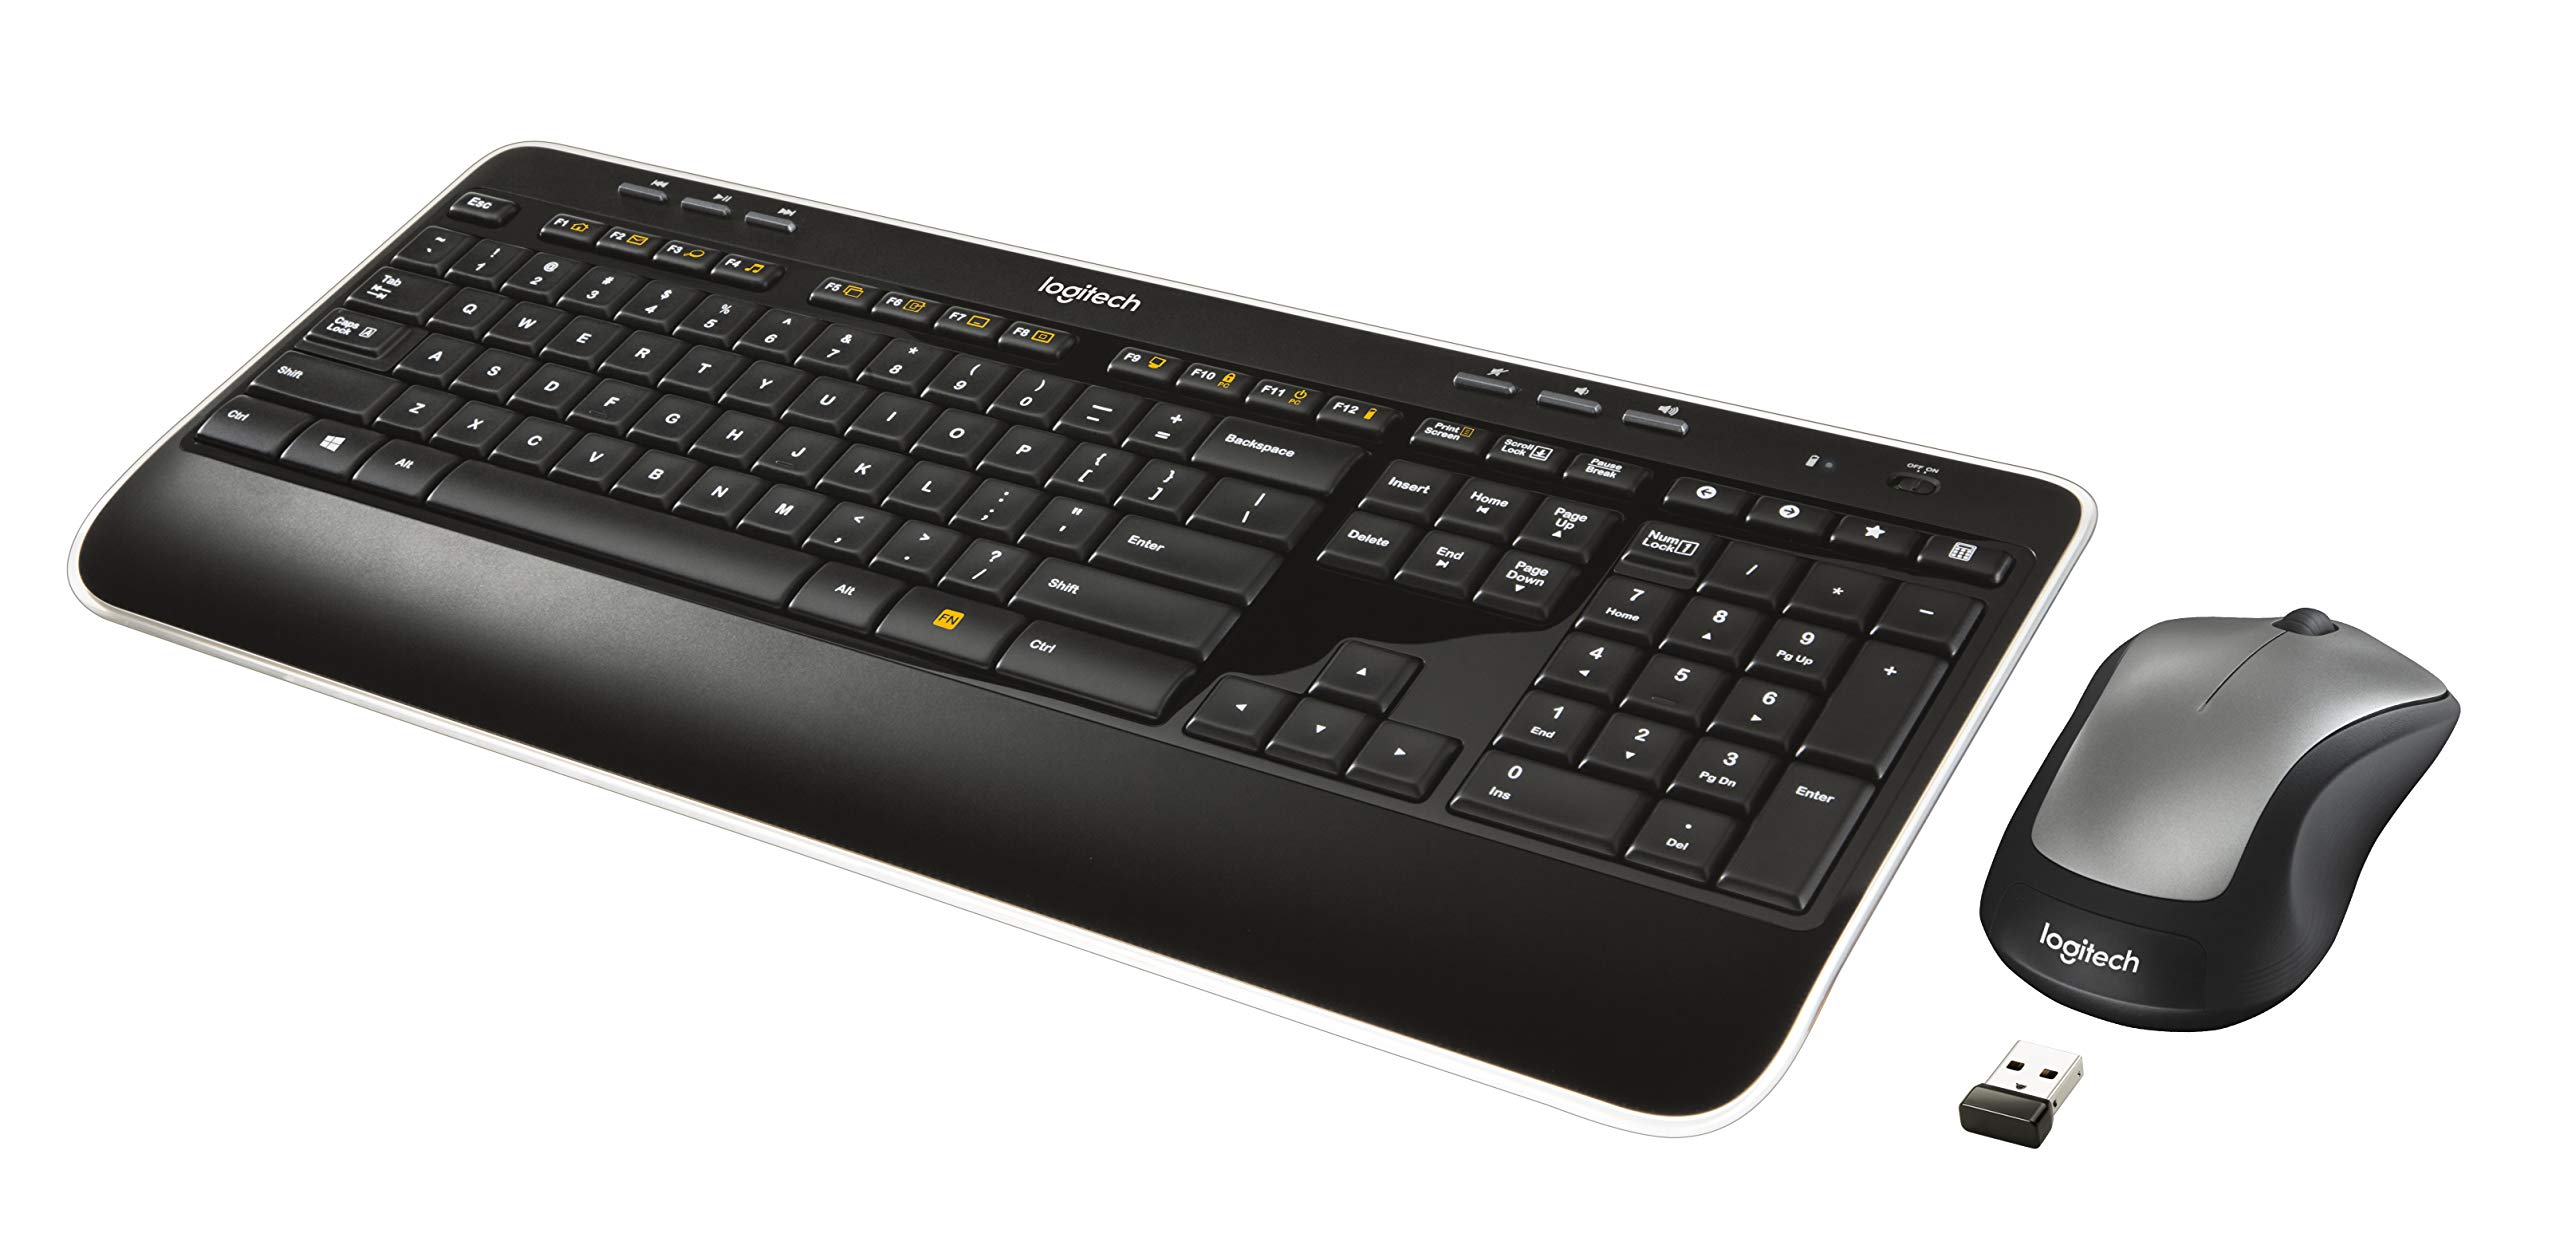
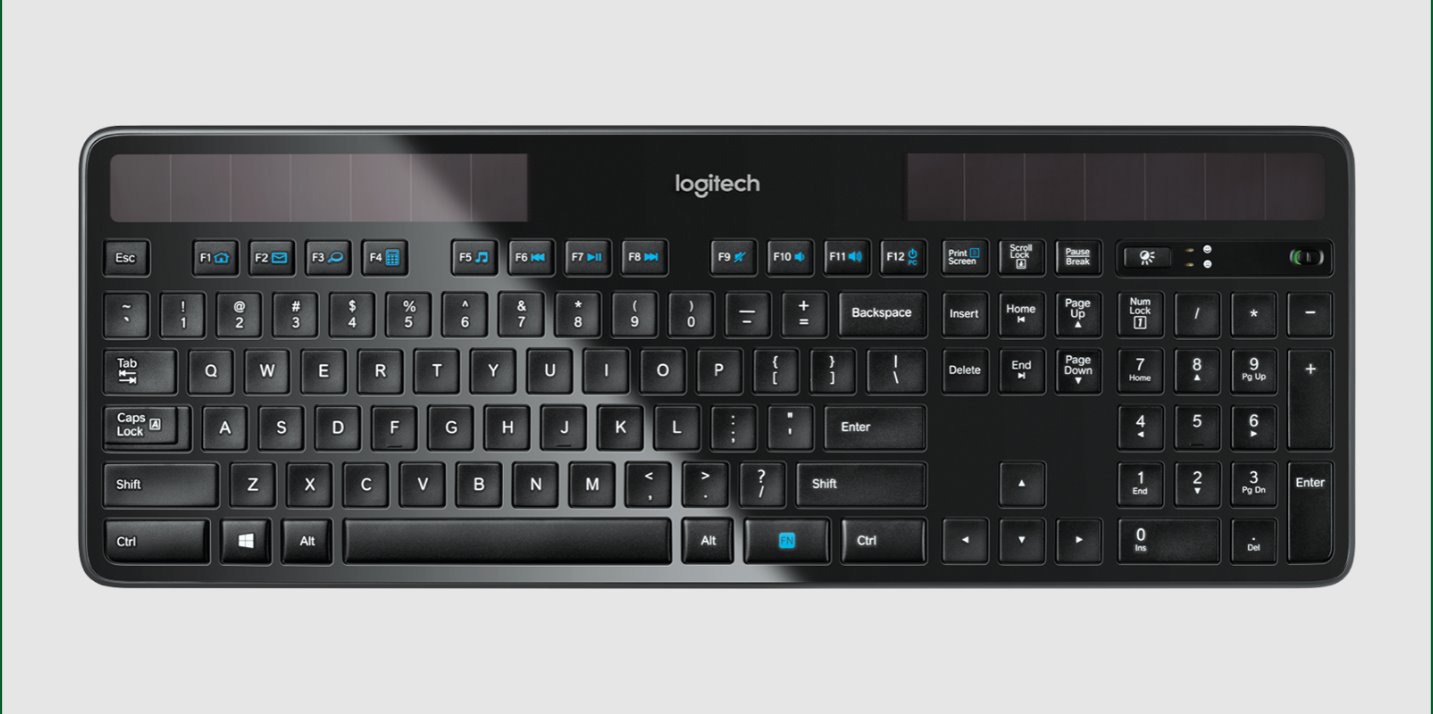
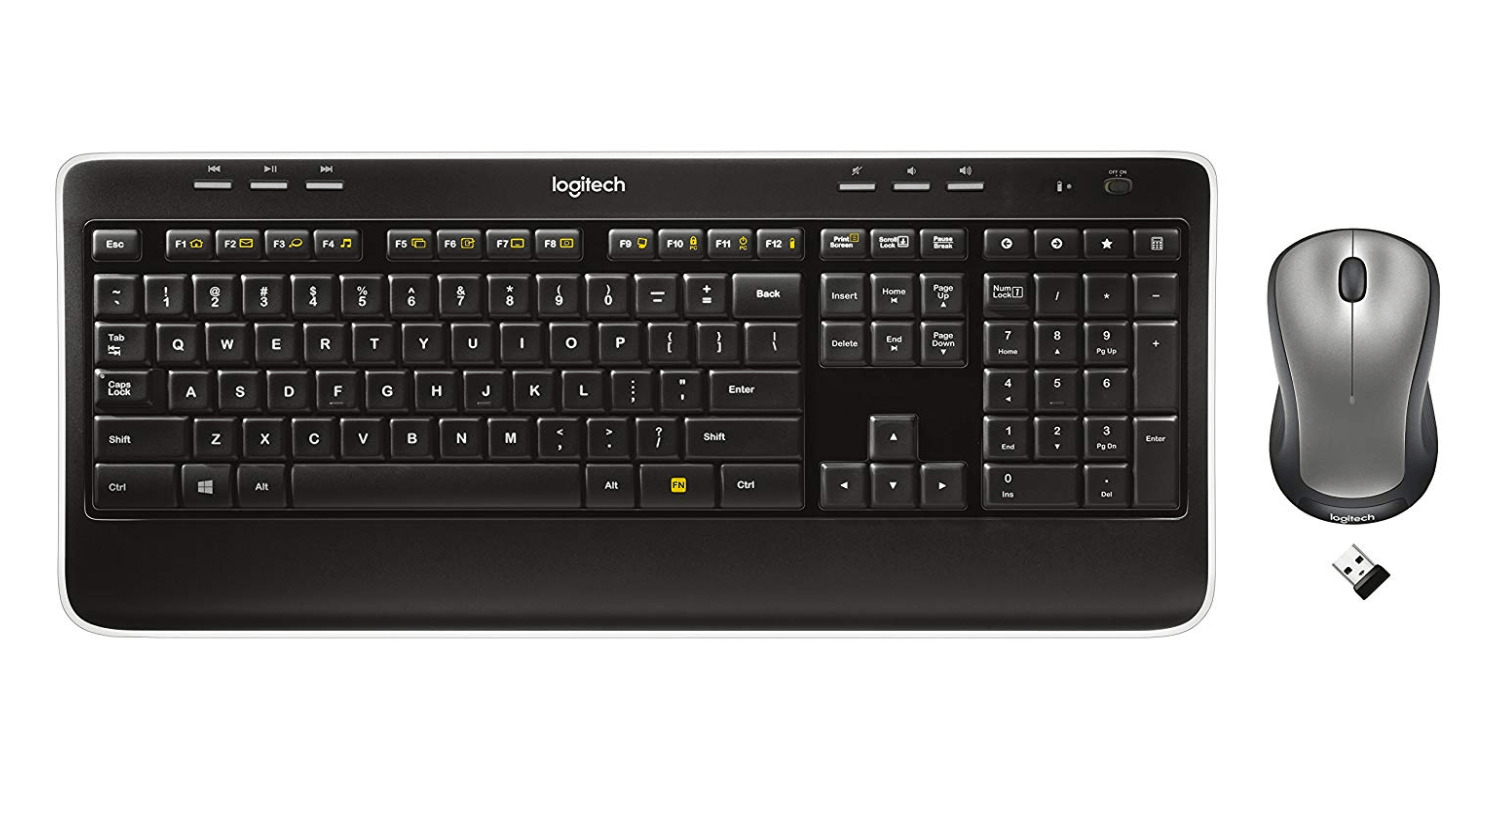
Welcome to the ultimate guide on how to pair the Logitech K520 keyboard! If you’ve recently purchased this sleek and functional keyboard or need to reconnect it to a new device, you’re in the right place. The Logitech K520 is a wireless keyboard that offers seamless connectivity, enhanced typing experience, and customizable settings. Whether you’re using it for work, leisure, or both, getting it paired with your device is the first step to unlocking its full potential.
In this guide, we’ll walk you through the step-by-step process of pairing your Logitech K520 keyboard. We’ll also provide troubleshooting tips for common pairing issues you may encounter along the way. So, grab your K520 keyboard, power it on, and let’s dive in!
Before we begin, it’s worth noting that the Logitech K520 keyboard is compatible with various devices, including desktop computers, laptops, tablets, and even smart TVs. It utilizes a wireless connection using the 2.4 GHz band, offering a reliable and stable connection without the hassle of tangled wires.
Pairing your Logitech K520 keyboard is a straightforward process that shouldn’t take you more than a few minutes. By the end of this guide, you’ll be typing away effortlessly and enjoying the convenience of wireless keyboard functionality.
In the next section, we’ll explain how to power on the Logitech K520 keyboard, which is the first step to initiate the pairing process.
Step 1: Power on the Logitech K520 Keyboard
Before you can pair your Logitech K520 keyboard with your device, the first step is to power it on. Follow these simple instructions to ensure your keyboard is ready for pairing:
1. Locate the power switch: On the backside of the Logitech K520 keyboard, you’ll find a small power switch. It is usually positioned near the top right or left corner.
2. Flip the switch: Using your finger or a small object like a pen, slide the power switch to the “On” position. You may feel a small click indicating that the keyboard is now powered on and ready for pairing.
3. Check the power LED indicator: To verify that your Logitech K520 keyboard is powered on, take a look at the LED indicator. It is typically located near the power switch. If the LED is lit up or blinking, it means that the keyboard is successfully powered on.
With your Logitech K520 keyboard powered on, you’re now ready to move on to the next step of the pairing process. Keep in mind that the power switch may vary in appearance depending on the specific model of your keyboard. However, the basic principle remains the same – locate the power switch and ensure it is in the “On” position.
In the next section, we’ll discuss how to activate the pairing mode on your Logitech K520 keyboard, which is necessary for connecting it to your device.
Step 2: Activate the Pairing Mode
With your Logitech K520 keyboard powered on, the next step is to activate the pairing mode. Activating the pairing mode allows your keyboard to search and connect to your device. Follow these instructions to activate the pairing mode on your Logitech K520 keyboard:
1. Locate the “Connect” button: On the Logitech K520 keyboard, you’ll find a small button with the word “Connect” engraved on it. This button is usually positioned on the backside, near the power switch.
2. Press and hold the “Connect” button: Using your finger or a small object like a pen, press and hold down the “Connect” button. Keep holding it for a few seconds until you see the LED indicator start to blink rapidly.
3. Release the “Connect” button: Once the LED indicator on your Logitech K520 keyboard starts blinking rapidly, release the “Connect” button.
Activating the pairing mode on your Logitech K520 keyboard allows it to be discoverable by your device. This means that your device will be able to detect and establish a wireless connection with the keyboard.
It’s important to note that the pairing mode may have a time limit, typically around a minute or two. If you don’t complete the pairing process within this timeframe, the Logitech K520 keyboard may automatically exit the pairing mode. In such cases, simply repeat the steps mentioned above to re-activate the pairing mode.
In the next section, we’ll discuss how to connect your Logitech K520 keyboard to your device, establishing a wireless connection for seamless typing and control.
Step 3: Connect the Keyboard to your Device
Once you have activated the pairing mode on your Logitech K520 keyboard, it’s time to connect it to your device. Follow these simple instructions to establish a wireless connection between your keyboard and your device:
1. Enable Bluetooth on your device: To connect your Logitech K520 keyboard, make sure the Bluetooth functionality on your device is turned on. Refer to your device’s user manual or settings menu to enable Bluetooth if it’s not already enabled.
2. Search for devices: On your device, navigate to the Bluetooth settings. Look for an option to scan or search for nearby devices. Once you find this option, initiate a search to detect available Bluetooth devices.
3. Select Logitech K520 keyboard: Upon completing the search for nearby devices, your Logitech K520 keyboard should appear in the list of available devices. Select the keyboard from the list to initiate the pairing process.
4. Confirm the pairing request: After selecting the Logitech K520 keyboard, your device may prompt you to confirm the pairing request. Verify that the displayed pairing code on your device matches the one shown on the Logitech K520 keyboard’s LED screen, if applicable. If they match, accept the pairing request.
5. Wait for the connection to establish: Your device will now establish a wireless connection with the Logitech K520 keyboard. This process may take a few moments, so be patient and avoid interrupting the connection process.
Once the connection between your Logitech K520 keyboard and your device is successfully established, you’ll be able to use the keyboard for typing and other functionalities. Keep in mind that some devices may require you to enter a pairing code on the Logitech K520 keyboard for additional security. If prompted, enter the code using the keyboard and follow the on-screen instructions.
In the next section, we’ll explore how to customize the settings of your Logitech K520 keyboard for a personalized typing experience.
Step 4: Customizing Keyboard Settings
Now that you have connected your Logitech K520 keyboard to your device, it’s time to customize the settings to suit your preferences. The Logitech K520 keyboard offers various customization options that can enhance your typing experience. Follow these instructions to customize the keyboard settings:
1. Install Logitech Options software (optional): Logitech offers a software called Logitech Options that allows you to unlock advanced customization features for your keyboard. Visit the Logitech website and download the software compatible with your operating system. Install the software and follow the on-screen instructions to set it up.
2. Launch Logitech Options: If you have installed the Logitech Options software, launch it on your device. You’ll be presented with a user-friendly interface with various customization options.
3. Customize key assignments: In the Logitech Options software, you can customize the key assignments on your Logitech K520 keyboard. This means you can assign different functions or shortcuts to specific keys based on your preferences. For example, you can assign multimedia controls or specific application shortcuts to certain keys.
4. Adjust keyboard settings: The Logitech Options software also allows you to adjust keyboard settings such as key repeat rate, key backlighting (if applicable), and more. Explore the settings and customize them according to your typing style and preferences.
5. Save your settings: Once you have customized the key assignments and adjusted the keyboard settings to your liking, make sure to save the changes in the Logitech Options software. This ensures that your customizations are applied every time you use the Logitech K520 keyboard.
By customizing the settings of your Logitech K520 keyboard, you can create a personalized typing experience that aligns with your unique needs and preferences. Whether you’re a professional typist or a casual user, these settings can enhance productivity and make typing more efficient.
In the next section, we’ll provide some troubleshooting tips for common pairing issues that you may encounter with your Logitech K520 keyboard.
Troubleshooting Common Pairing Issues
While pairing your Logitech K520 keyboard is usually a smooth process, you may encounter some common issues along the way. Here are some troubleshooting tips to help you overcome these challenges:
1. Ensure the device is compatible: Before pairing, double-check that your device is compatible with the Logitech K520 keyboard. Ensure that it supports Bluetooth connectivity and is within the recommended operating system specifications.
2. Reboot your device: If you’re having trouble connecting, try rebooting your device. Sometimes a simple restart can resolve connectivity issues and allow for a successful pairing.
3. Move closer to the device: If the connection is weak or unstable, try moving closer to the device. Obstacles such as walls or other electronic devices may interfere with the Bluetooth signal, so reducing the distance can improve connectivity.
4. Remove interference sources: Nearby electronic devices, such as Wi-Fi routers or other Bluetooth devices, can cause interference. Temporarily move away from these sources or turn them off to see if it improves the pairing process.
5. Replace or recharge batteries: If the keyboard is not powering on or maintaining a stable connection, the batteries may be low or depleted. Replace the batteries with fresh ones or recharge them if they are rechargeable.
6. Reset the keyboard: If all else fails, you can try resetting the Logitech K520 keyboard to its default settings. Look for a small reset button on the underside of the keyboard and use a paperclip or similar tool to press and hold it for a few seconds. This will restore the keyboard to its factory settings, and you can then attempt the pairing process again.
Remember, each Logitech K520 keyboard may have slight variations in terms of buttons or features, so refer to the user manual or Logitech’s support documentation for specific troubleshooting steps or additional guidance.
In case you’re facing persistent pairing issues or need further assistance, consider reaching out to Logitech’s customer support for personalized help and guidance.
With these troubleshooting tips, you should be able to overcome common pairing issues and enjoy a seamless connection between your Logitech K520 keyboard and your device.
Conclusion
Congratulations! You have successfully learned how to pair your Logitech K520 keyboard with your device. By following the step-by-step instructions in this guide, you can now enjoy the convenience of wireless typing and control.
We began by powering on the Logitech K520 keyboard and activating the pairing mode. Then, we guided you through connecting the keyboard to your device using Bluetooth. Once the connection was established, we explored how to customize the keyboard settings to suit your preferences.
In case you encounter any issues during the pairing process, we provided troubleshooting tips to help you overcome common challenges. Remember to ensure device compatibility, reboot your device, check for interference sources, and reset the keyboard if necessary.
Now that your Logitech K520 keyboard is paired with your device, you can take full advantage of its features and enjoy a seamless typing experience. Whether you’re using it for work, gaming, or general computing tasks, this wireless keyboard offers convenience, comfort, and enhanced productivity.
Keep in mind that regular maintenance, such as replacing batteries and keeping your keyboard clean, will help maintain optimal performance. Additionally, refer to the Logitech user manual or support documents for specific instructions and troubleshooting steps.
Thank you for choosing the Logitech K520 keyboard, and we hope this guide has been helpful in pairing and customizing your keyboard. Happy typing!