Introduction
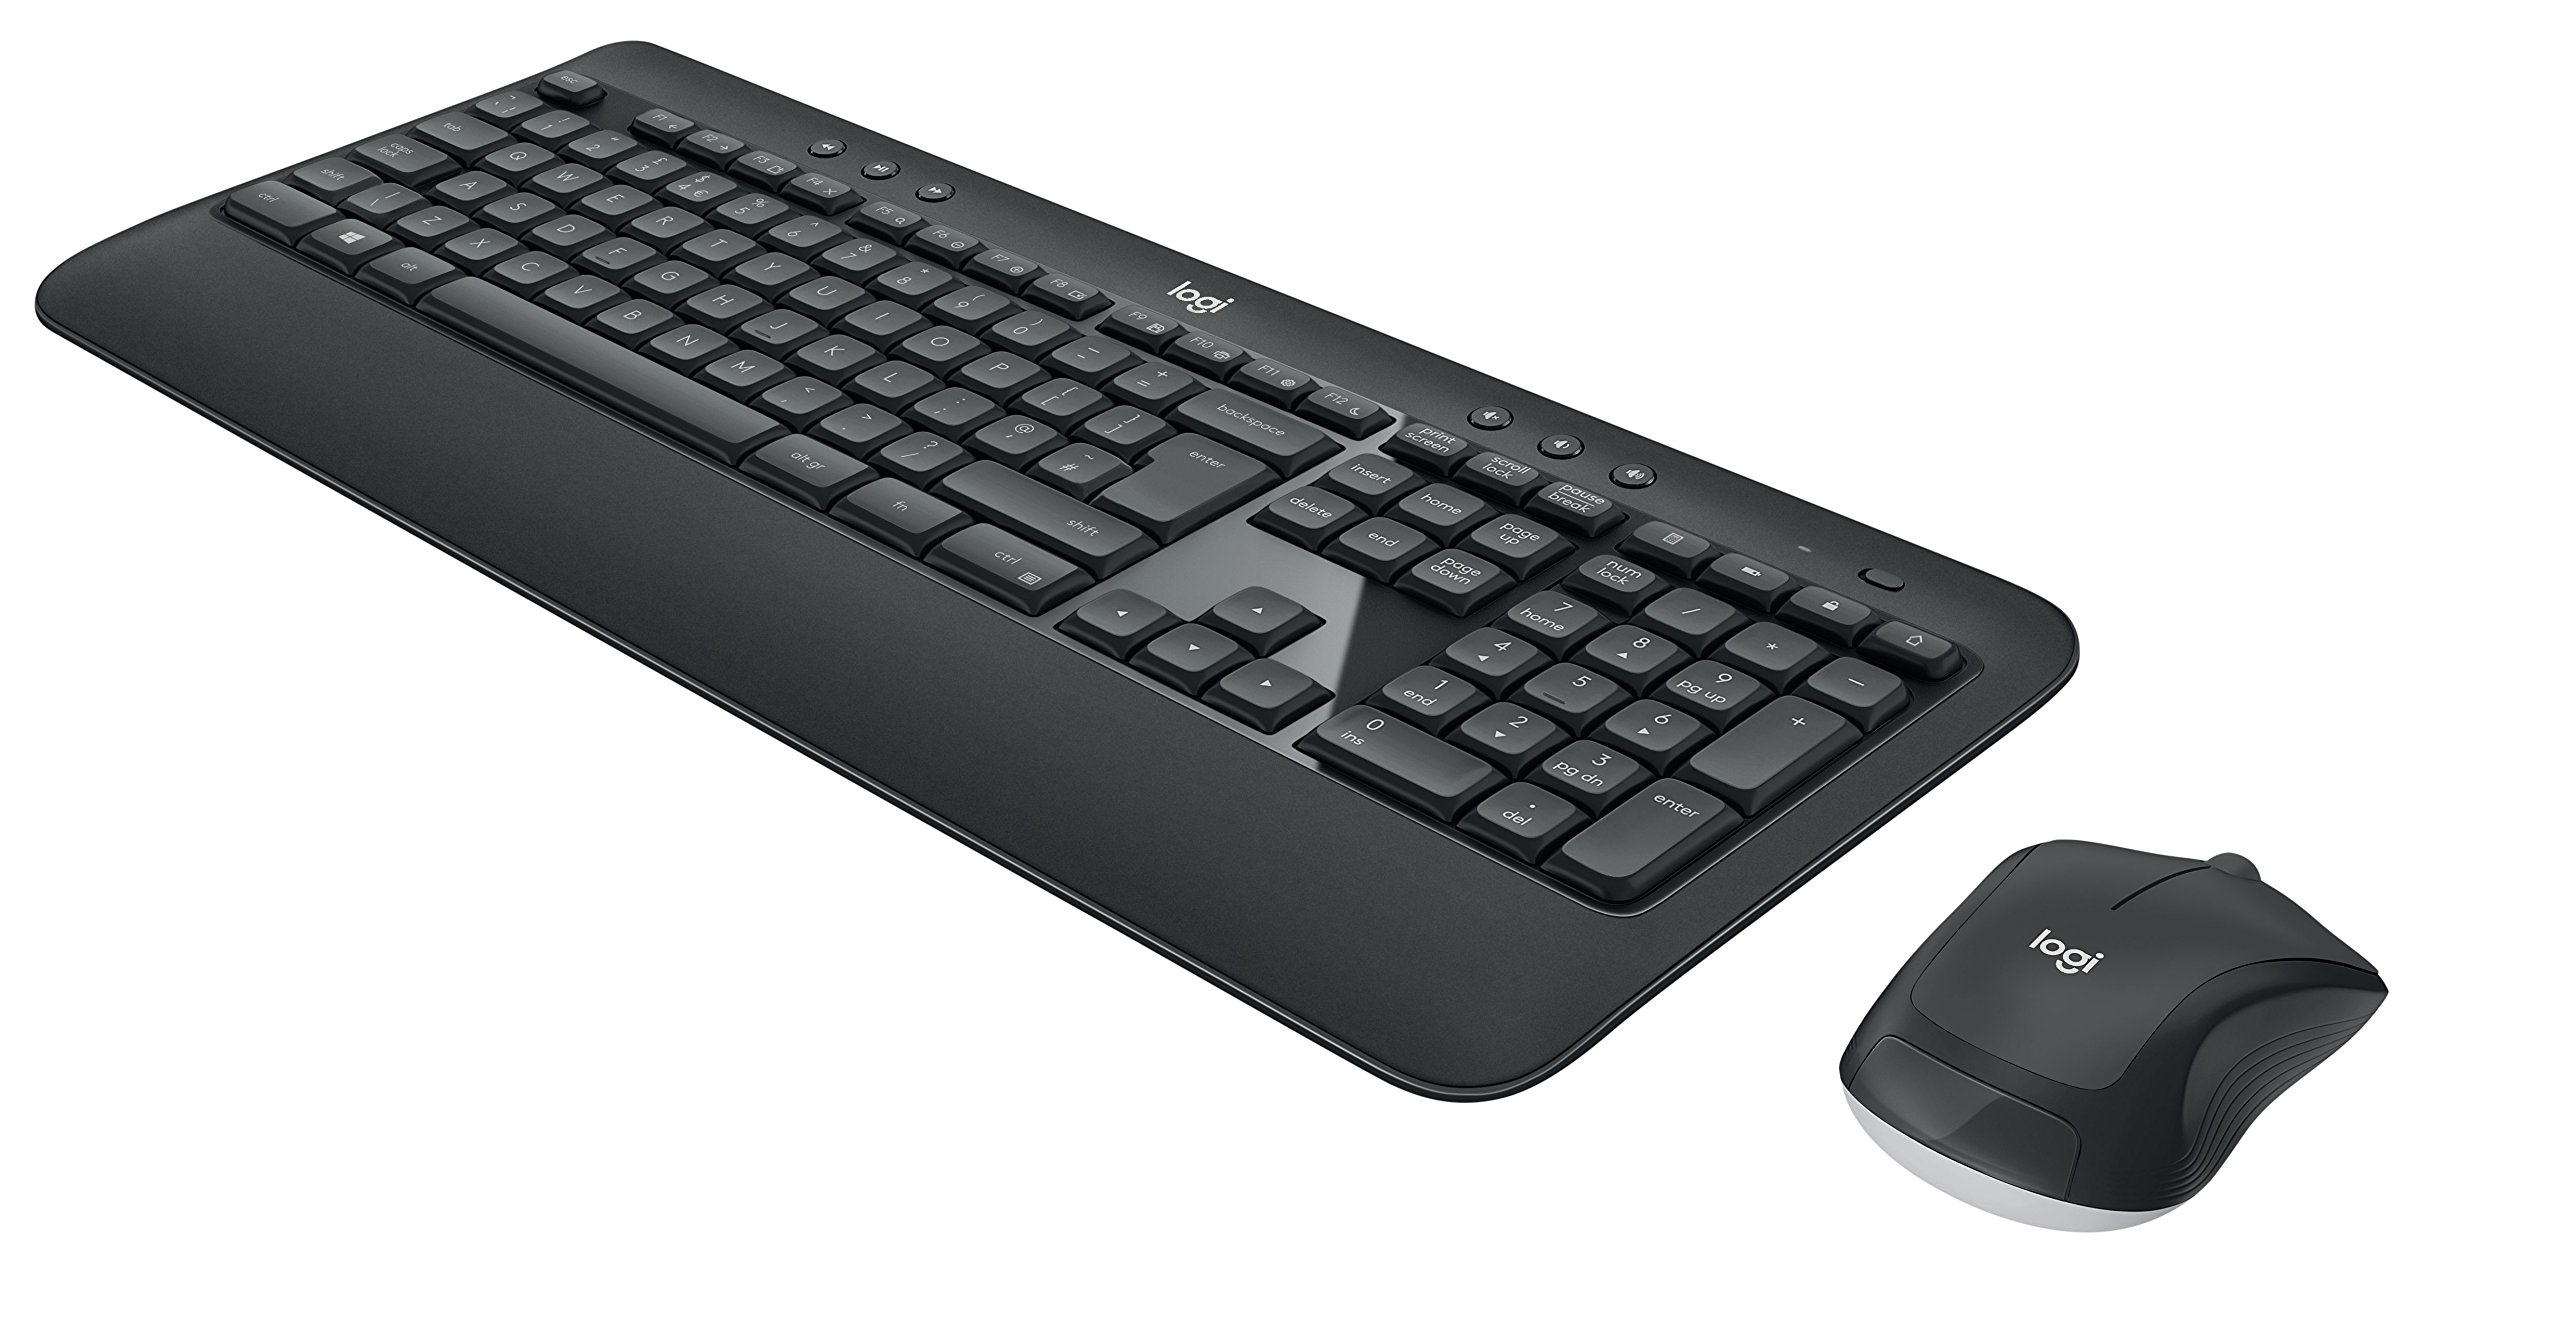
Welcome to the world of Logitech wireless keyboards! If you’re tired of dealing with tangled wires or limited mobility, a wireless keyboard is the perfect solution for you. Logitech’s range of wireless keyboards offers convenience, flexibility, and enhanced productivity.
Whether you’re a student, a professional, or just someone who enjoys the freedom of movement, connecting your Logitech wireless keyboard is a straightforward process. In this article, we will guide you through the necessary steps to get your keyboard up and running in no time.
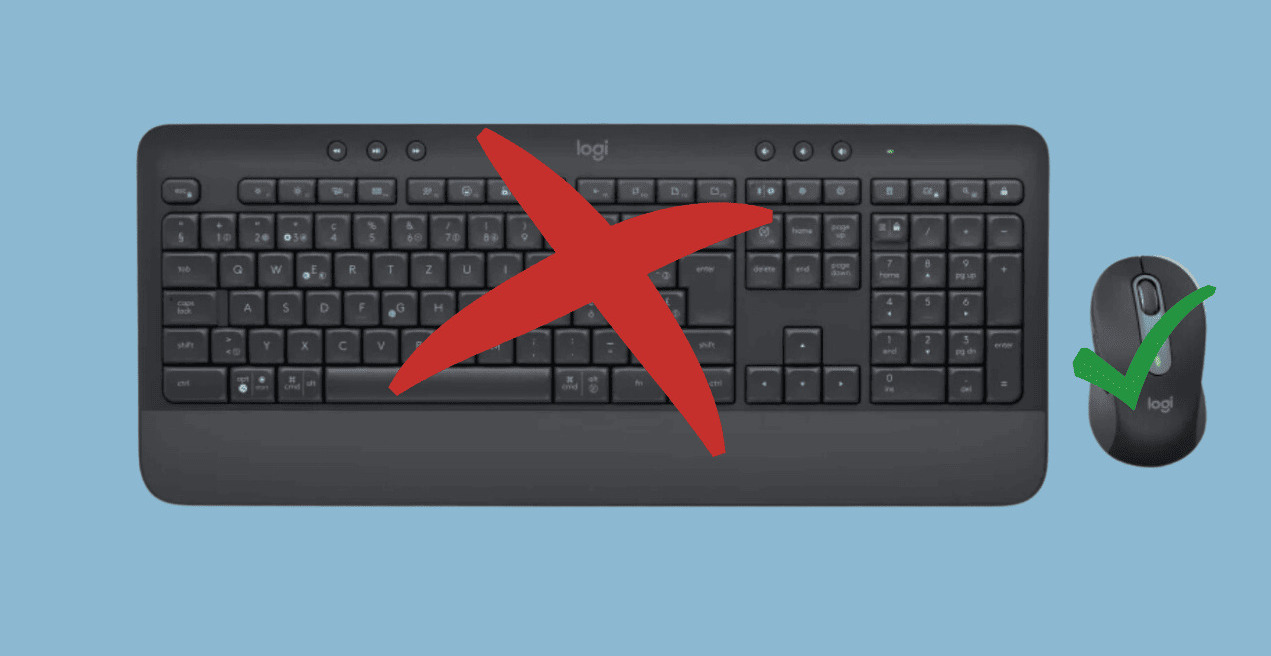
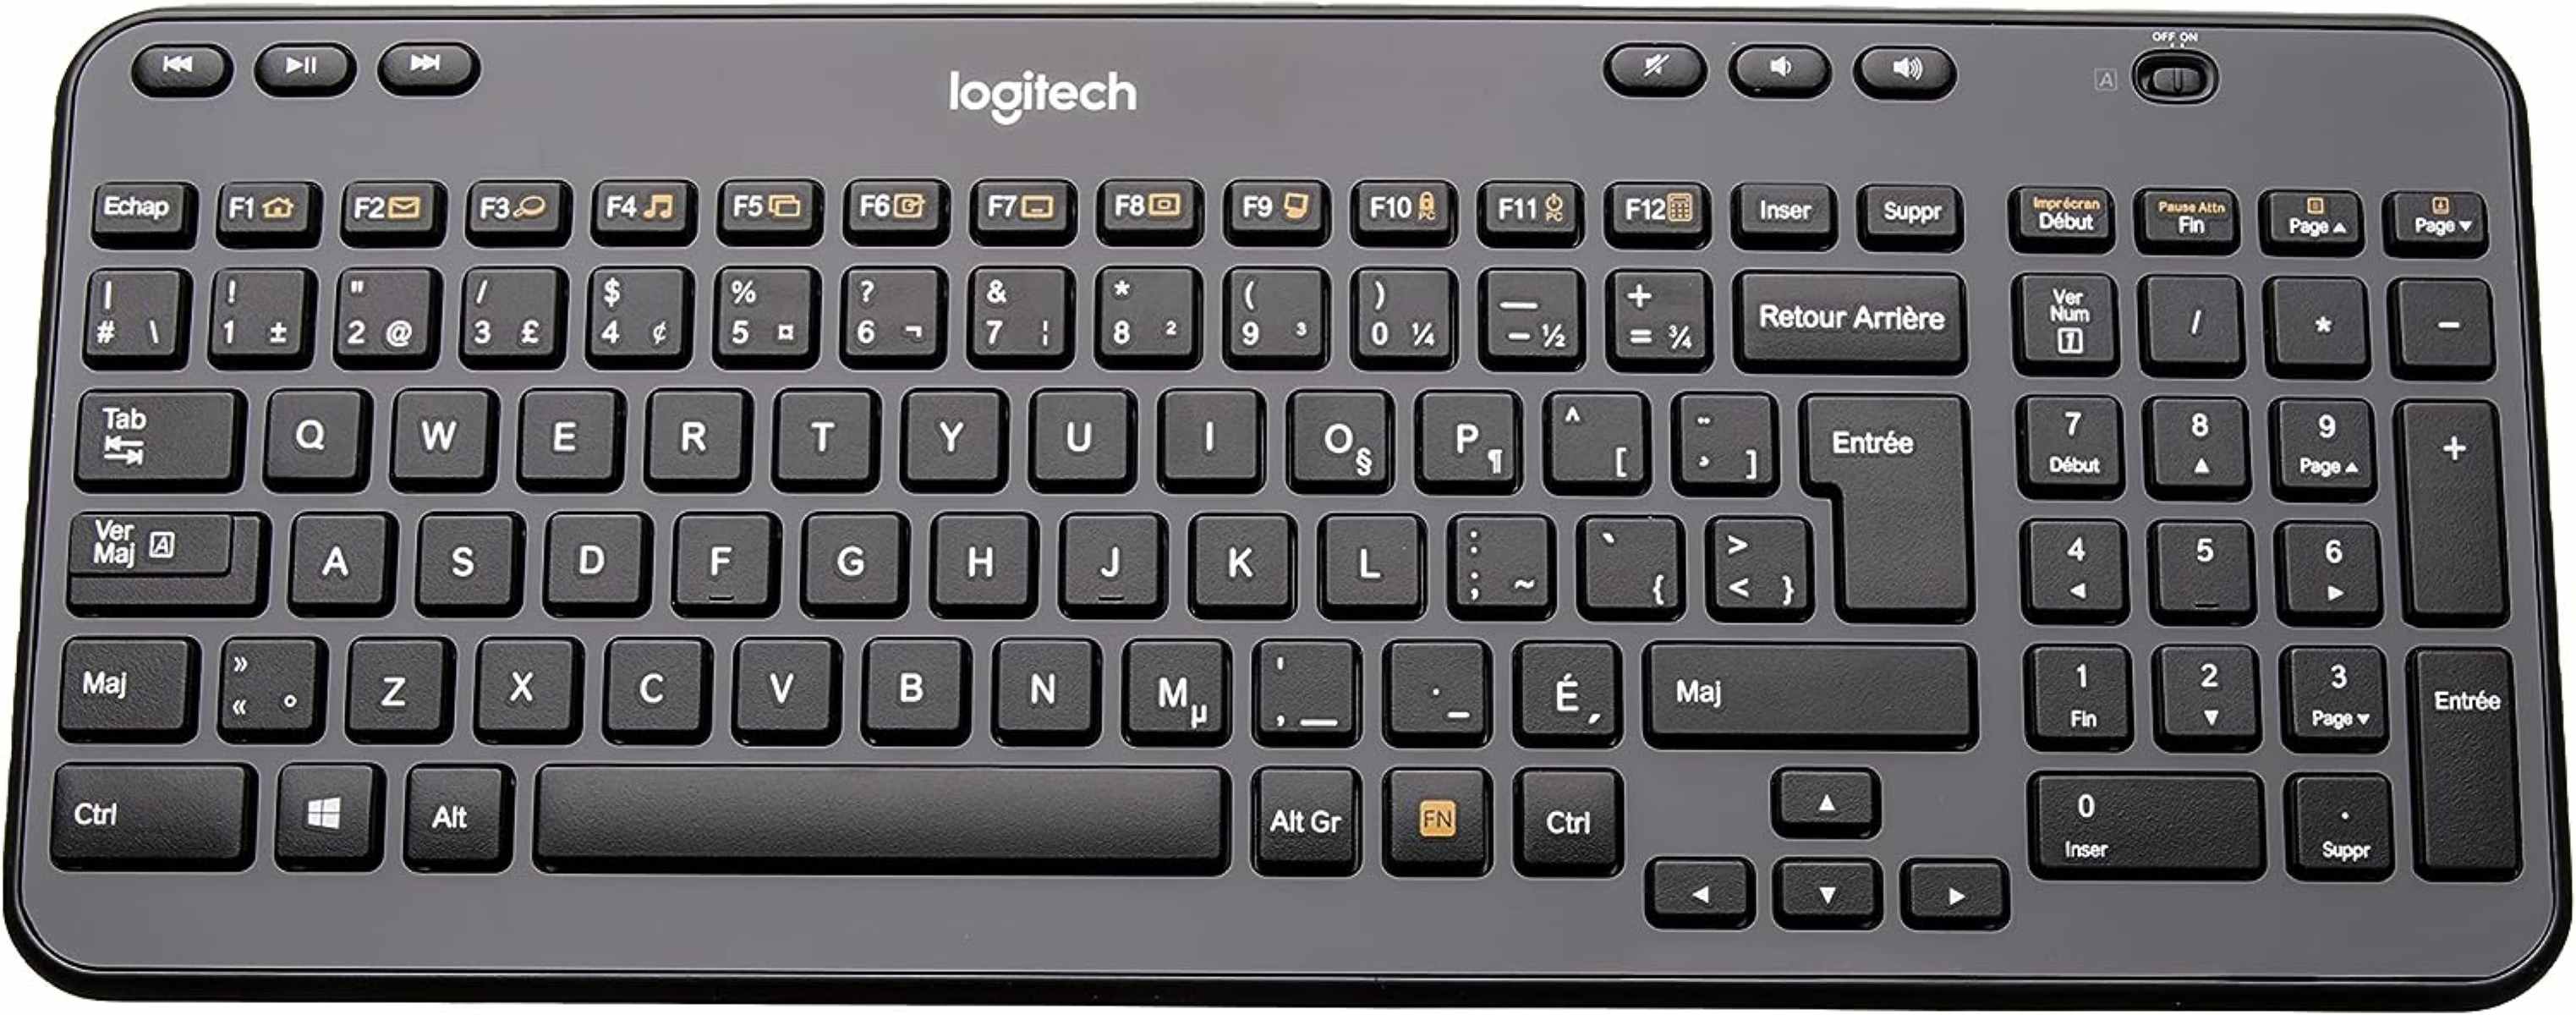
Before we dive into the technical details, it’s worth noting that Logitech offers a variety of wireless keyboards, each with different connection methods and protocols. The instructions provided in this guide are applicable to Logitech keyboards that utilize a small USB receiver (known as a Unifying Receiver). If you have a different keyboard model, the steps might vary slightly, so be sure to consult the user manual or Logitech’s support resources for specific instructions.
Now that we have the basics covered, let’s proceed to the first step: checking the compatibility of your Logitech wireless keyboard with your computer or device.
Step 1: Check Compatibility
Before connecting your Logitech wireless keyboard, it’s crucial to ensure that it’s compatible with your computer or device. This step will save you time and frustration down the line. Here are a few simple checks to verify compatibility:
- Operating System Compatibility: Confirm that your operating system is supported by the Logitech wireless keyboard. Logitech provides drivers and software for Windows, macOS, Chrome OS, and other major operating systems. Visit Logitech’s official website or consult the keyboard’s user manual for a complete list of supported systems.
- Connection Type: Determine if your Logitech wireless keyboard uses the Unifying Receiver or a Bluetooth connection. Most Logitech wireless keyboards come with a USB receiver that needs to be plugged into a USB port on your computer. However, some models offer Bluetooth connectivity, which allows you to connect the keyboard wirelessly without the need for a receiver.
- USB Port Availability: Check if your computer or device has an available USB port for the wireless receiver. If all your USB ports are occupied, consider using a USB hub or disconnecting an unused device to free up a port for the receiver.
By confirming compatibility before connecting your Logitech wireless keyboard, you can avoid potential issues and ensure a smoother setup process. Once you’ve verified compatibility, it’s time to move on to the next step: inserting the batteries into your keyboard.
Step 2: Insert Batteries
Now that you’ve confirmed the compatibility of your Logitech wireless keyboard, it’s time to insert the batteries. Most Logitech wireless keyboards are powered by AA or AAA batteries, which are readily available at most stores. Here’s how you can insert the batteries:
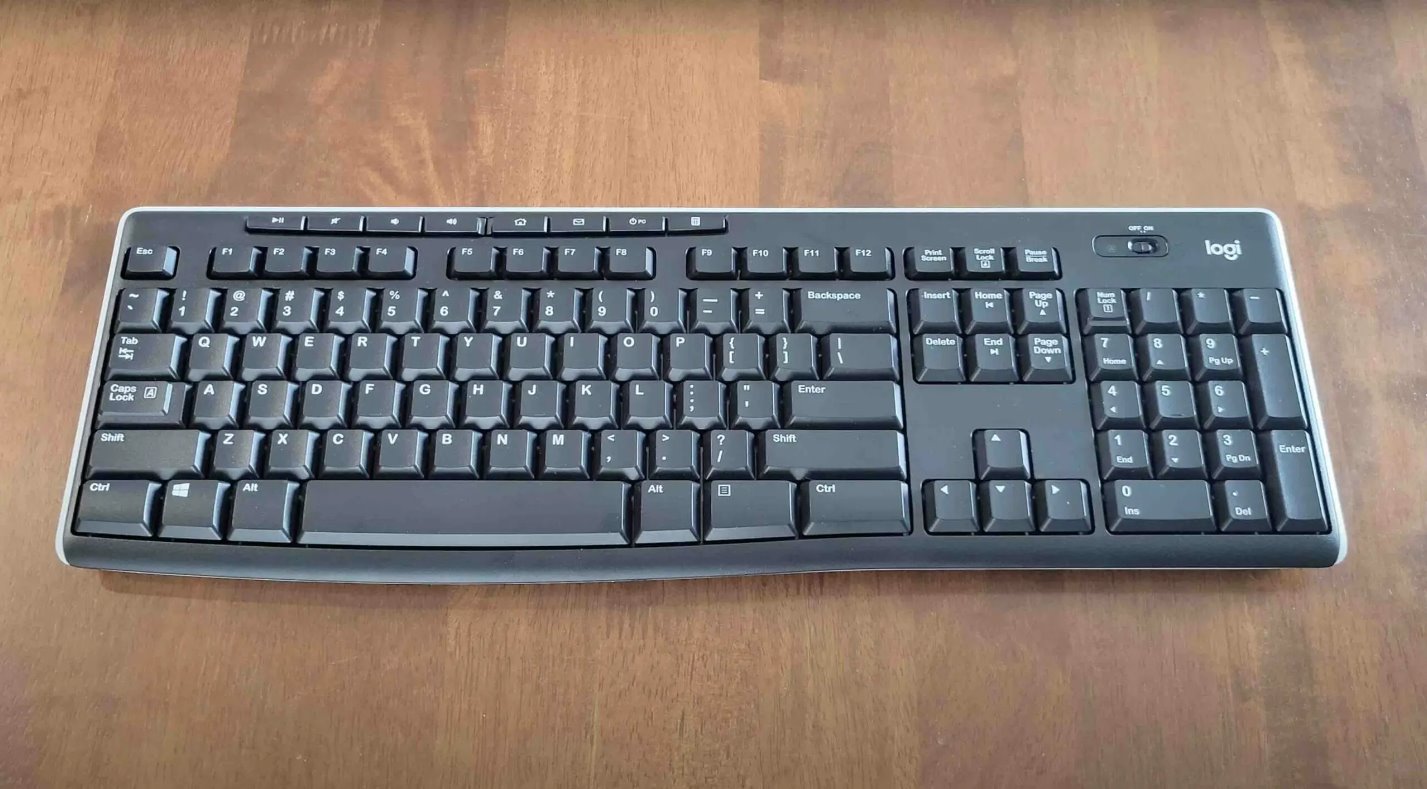
- Locate the Battery Compartment: On the backside of your Logitech wireless keyboard, you will find a sliding cover or a latch that secures the battery compartment. Slide the cover or release the latch to access the battery compartment.
- Insert the Batteries: Take the AA or AAA batteries and insert them into the battery compartment, following the polarity markings (+ and -) indicated inside the compartment. Make sure to align the batteries correctly to ensure proper contact and functionality.
- Secure the Battery Compartment: Once the batteries are inserted, slide the cover back into place or close the latch to secure the battery compartment. Ensure that it is firmly closed to prevent any accidental battery dislodging while using the keyboard.
It’s always a good practice to use fresh batteries to maximize the performance and lifespan of your Logitech wireless keyboard. If your keyboard has a power switch, you can turn it on now. Otherwise, the keyboard will automatically power on when the connection is established.
With the batteries securely inserted, you’re now ready to move on to the next step: connecting the Unifying Receiver to your computer or device.
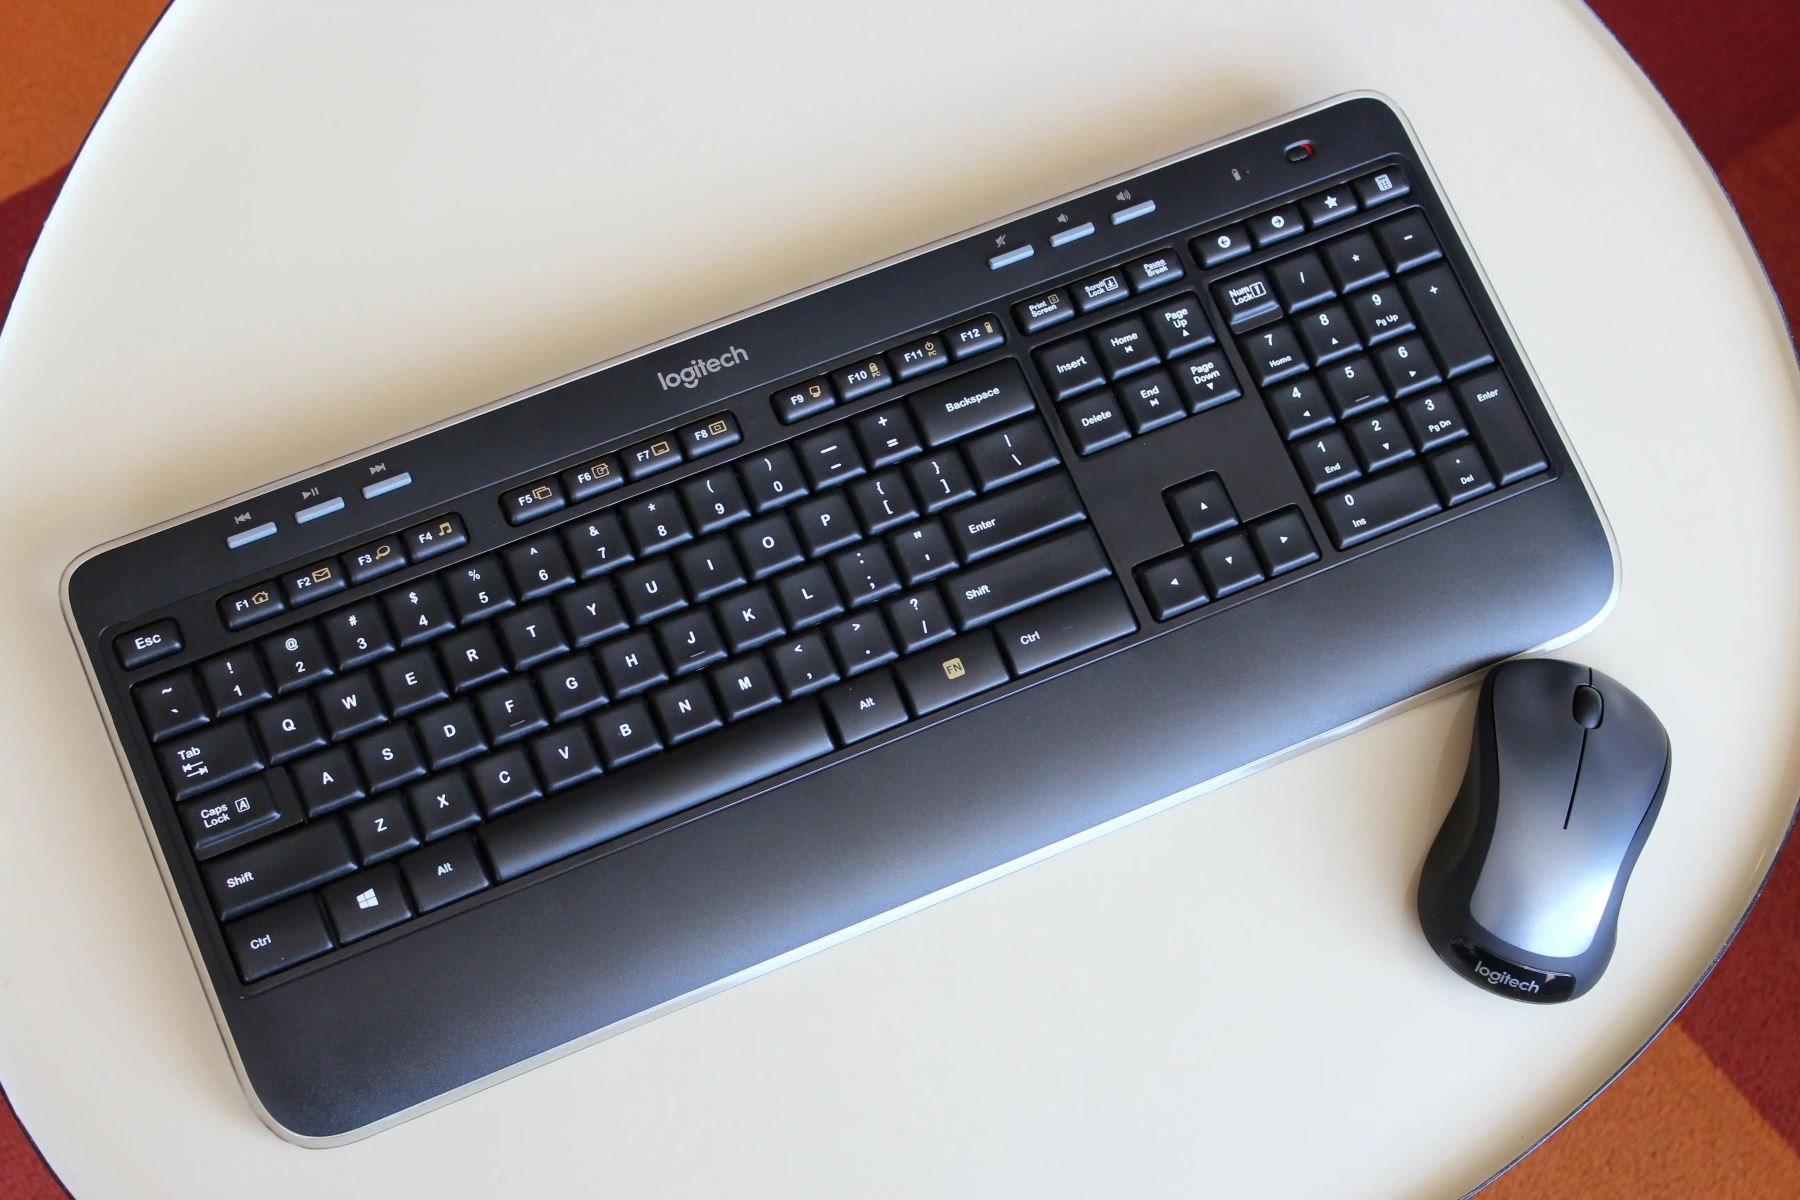
Step 3: Connect the Unifying Receiver
With the batteries in place, it’s time to connect the Unifying Receiver to your computer or device. The Unifying Receiver is a small USB device that allows your Logitech wireless keyboard to communicate with your computer. Follow these steps to connect the Unifying Receiver:
- Locate an Available USB Port: Find an available USB port on your computer or device where you can insert the Unifying Receiver. If needed, you can use a USB hub or an extension cable to extend the reach of the receiver.
- Insert the Unifying Receiver: Take the Unifying Receiver, usually a tiny USB dongle, and firmly insert it into the USB port on your computer. Ensure that it is fully inserted to establish a proper connection.
- Wait for the Driver Installation: After inserting the Unifying Receiver, your operating system will automatically detect the new hardware and may initiate the driver installation process. Wait for the driver installation to complete before proceeding to the next step. This process may take a few seconds to a couple of minutes.
Once the Unifying Receiver is connected and the driver installation is complete, your Logitech wireless keyboard is now ready to be paired with the receiver. The next step will guide you through the pairing process, which establishes a secure wireless connection between your keyboard and the receiver.
Step 4: Pair the Keyboard with the Receiver
Now that you have connected the Unifying Receiver to your computer or device, the next step is to pair your Logitech wireless keyboard with the receiver. This process establishes a secure wireless connection between the keyboard and the receiver. Follow these steps to pair your keyboard:
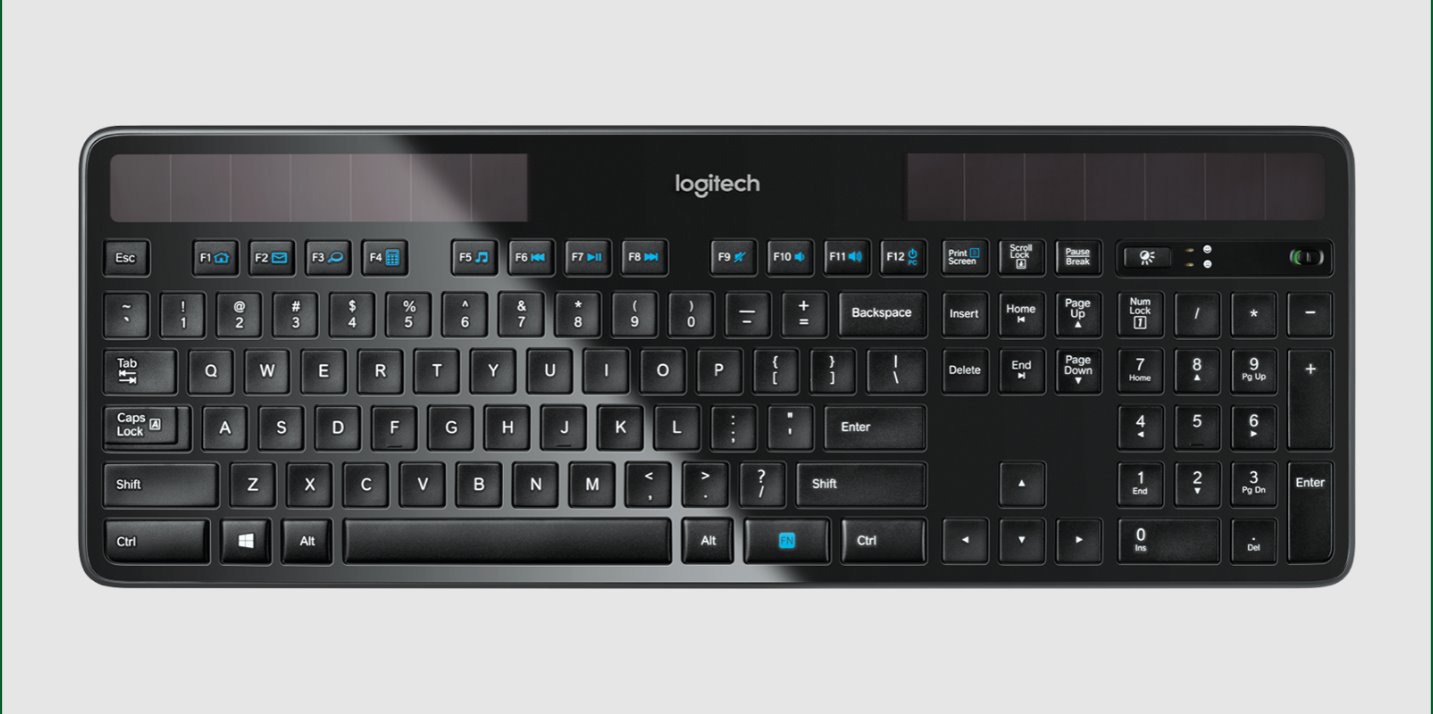
- Ensure Keyboard is in Pairing Mode: Check the user manual or refer to the keyboard’s documentation to determine how to activate the pairing mode. For most Logitech wireless keyboards, this involves pressing a specific key combination or using a dedicated pairing button. Press and hold or activate the pairing mode on your keyboard.
- Prompt Pairing Mode on the Receiver: On the Unifying Receiver, press the pairing button located on the side or bottom of the device. The pairing button is usually small and may require a pen or paperclip to press it. Press and hold the pairing button until the LED indicator on the receiver starts blinking.
- Pair the Keyboard and Receiver: Once the receiver is in pairing mode (blinking LED) and the keyboard is in pairing mode, they will automatically search for each other and establish a connection. This process usually takes a few seconds, and once the pairing is successful, the LED on the receiver will stop blinking, indicating a successful connection.
It’s worth noting that after pairing your Logitech wireless keyboard with the Unifying Receiver, it becomes uniquely paired with that receiver. This means that you can use multiple Logitech devices with a single receiver by following the same pairing process for each device.
Now that your keyboard is successfully paired with the receiver, it’s time to test the connection and ensure everything is functioning as expected. The next step will guide you through the process of testing the connection between your Logitech wireless keyboard and your computer or device.
Step 5: Test the Connection
After pairing your Logitech wireless keyboard with the Unifying Receiver, it’s important to test the connection to ensure that everything is working correctly. Follow these steps to test the connection between your keyboard and your computer or device:
- Place the Keyboard Near the Receiver: Position your Logitech wireless keyboard close to the Unifying Receiver to ensure optimal signal strength and connectivity. Having them in close proximity helps to minimize any potential interference.
- Press a Key: Simply press any key on your Logitech wireless keyboard. If the connection is successful, you should see the corresponding character or action on the screen. This is an indication that your keyboard is properly connected and communicating with your computer or device.
- Verify Functionality: Test out various keys on your keyboard, including the function keys, multimedia keys, and any special features specific to your Logitech wireless keyboard model. Ensure that all the keys are responsive and perform their intended functions correctly. Check if the keyboard settings are customized as desired.
- Confirm Mouse Functionality (If Applicable): If you have a Logitech wireless mouse connected to the same Unifying Receiver, verify its functionality as well. Move the mouse cursor and click on various items to confirm that the mouse is also working in harmony with your keyboard.
If the connection and functionality of your Logitech wireless keyboard are flawless, congratulations! You are now ready to enjoy the wireless freedom and convenience it offers. However, if you encounter any issues during the testing phase, refer to the user manual or consult Logitech’s support resources for troubleshooting steps and assistance.
With the connection successfully tested, you are all set to use your Logitech wireless keyboard for work, study, entertainment, or any other task that requires typing. Experience the seamless and unrestricted nature of a wireless setup, allowing you to unplug and enjoy a clutter-free workspace.
Conclusion
Congratulations! You have successfully connected your Logitech wireless keyboard to your computer or device. By following the steps outlined in this guide, you have unlocked the freedom and flexibility that a wireless keyboard brings to your work or personal setup.
In this article, we began by emphasizing the importance of checking compatibility to ensure a smooth connection process. We then walked you through inserting the batteries, connecting the Unifying Receiver, pairing the keyboard, and testing the connection. Each step was explained in detail to help you navigate the setup process effortlessly.
Remember, Logitech offers a wide range of wireless keyboards with different connection methods, so it’s essential to consult the user manual or Logitech’s support resources for specific instructions tailored to your keyboard’s model. Additionally, feel free to explore Logitech’s additional features and customization options to maximize your keyboard’s potential.
With your Logitech wireless keyboard now connected, you can enjoy the convenience of a tangle-free workspace, improved mobility, and enhanced productivity. Whether you’re a student, professional, or simply looking for a more comfortable typing experience, your Logitech wireless keyboard will undoubtedly be a valuable tool in your daily routine.
If you ever need to disconnect or reconnect your keyboard, refer back to this guide for a quick and easy walkthrough. Enjoy the seamless typing experience and make the most of your Logitech wireless keyboard. Happy typing!