Introduction
Turning on PC case fans is an essential step in optimizing the cooling performance of your computer. Whether you are a gaming enthusiast, a content creator, or simply someone who uses their PC for everyday tasks, ensuring that your components stay cool is crucial for maintaining their longevity and performance.
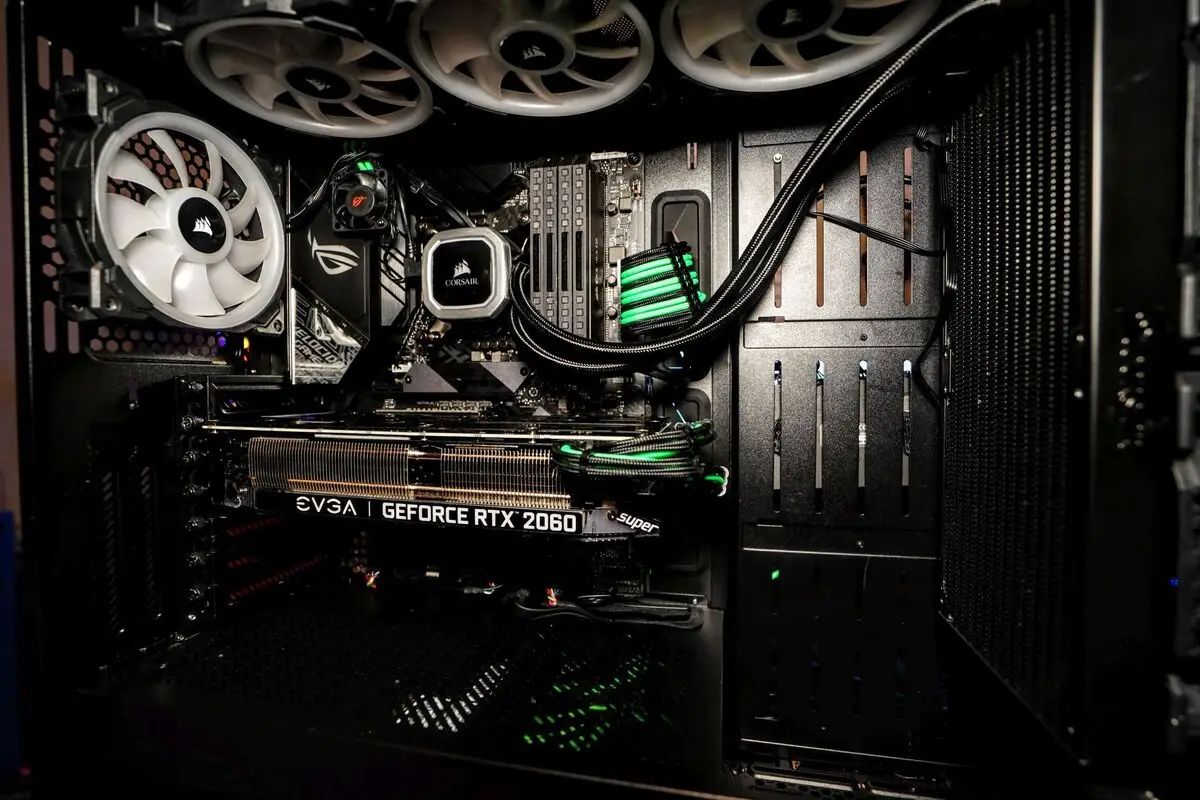
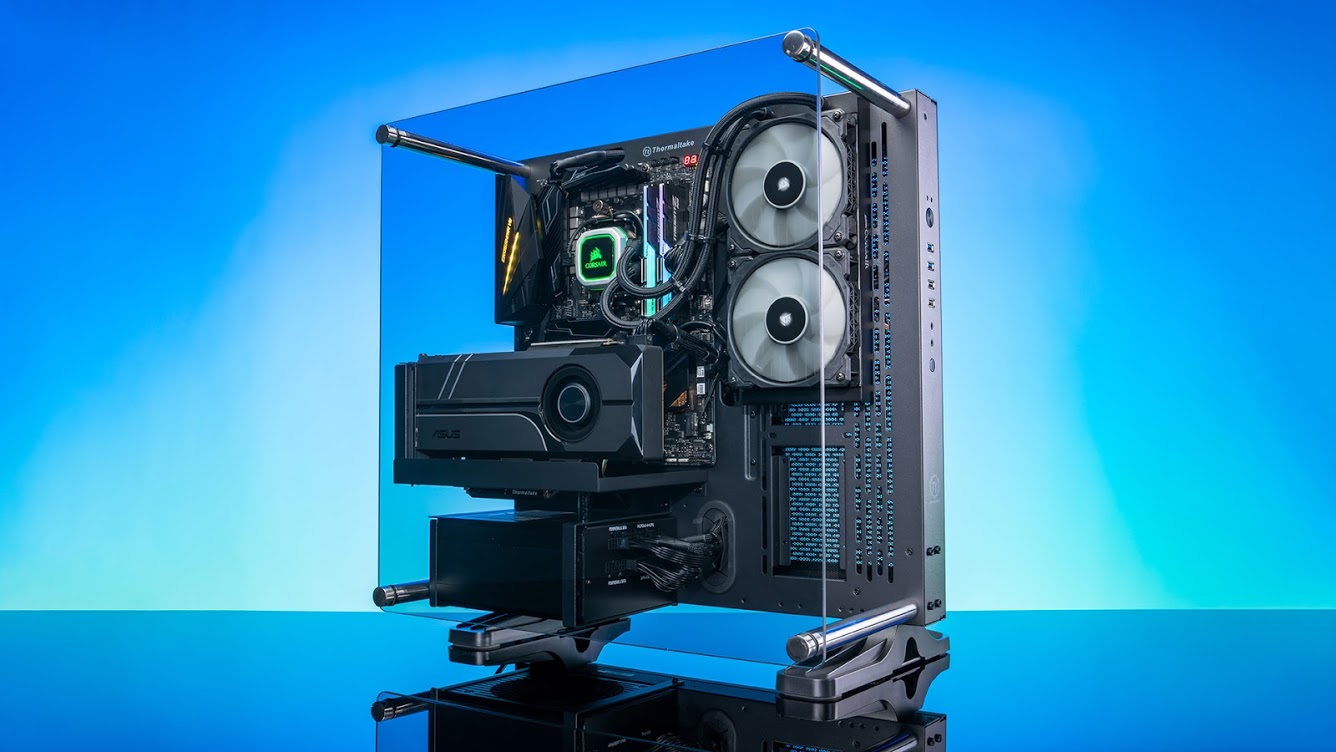
When your PC case fans are properly turned on, they help circulate cool air inside the case, expelling hot air generated by the CPU, GPU, and other components. This promotes efficient heat dissipation, preventing overheating and potential damage to your system. Furthermore, having an effective cooling system can also lead to improved performance, as it helps prevent components from throttling due to excessive heat.
In this guide, we will walk you through the step-by-step process of turning on PC case fans. We will discuss the tools and equipment you will need, as well as the necessary configuration steps. By the end of this guide, you will have a better understanding of how to set up and control your case fans.
Before diving into the process, it’s important to mention that the specific steps may vary depending on your computer’s hardware and software configuration. It’s always advisable to consult the motherboard manufacturer’s documentation or visit their website for detailed instructions specific to your system.
Now, let’s gather our tools and equipment and get ready to turn on those case fans!
Step 1: Gather necessary tools and equipment
Before you begin the process of turning on your PC case fans, it’s important to ensure that you have all the necessary tools and equipment at hand. Here’s a list of items you will need:
- Screwdriver: You may need a screwdriver to remove the side panel of your computer case, depending on its design.
- Thermal paste (optional): If you are planning to remove your CPU cooler or reseat it, you might need thermal paste to ensure optimal heat transfer.
- Anti-static wrist strap (optional): To protect your components from static electricity, it is advisable to use an anti-static wrist strap while working inside the computer case.
- Case fan splitters or fan hub (optional): If you have limited fan headers on your motherboard, you might need case fan splitters or a fan hub to connect multiple fans.
Once you have gathered these tools and equipment, you are ready to move on to the next step of turning on your PC case fans. It’s always a good idea to make sure you have everything you need before starting the process to avoid any interruptions or delays.
Step 2: Identify the fan connectors
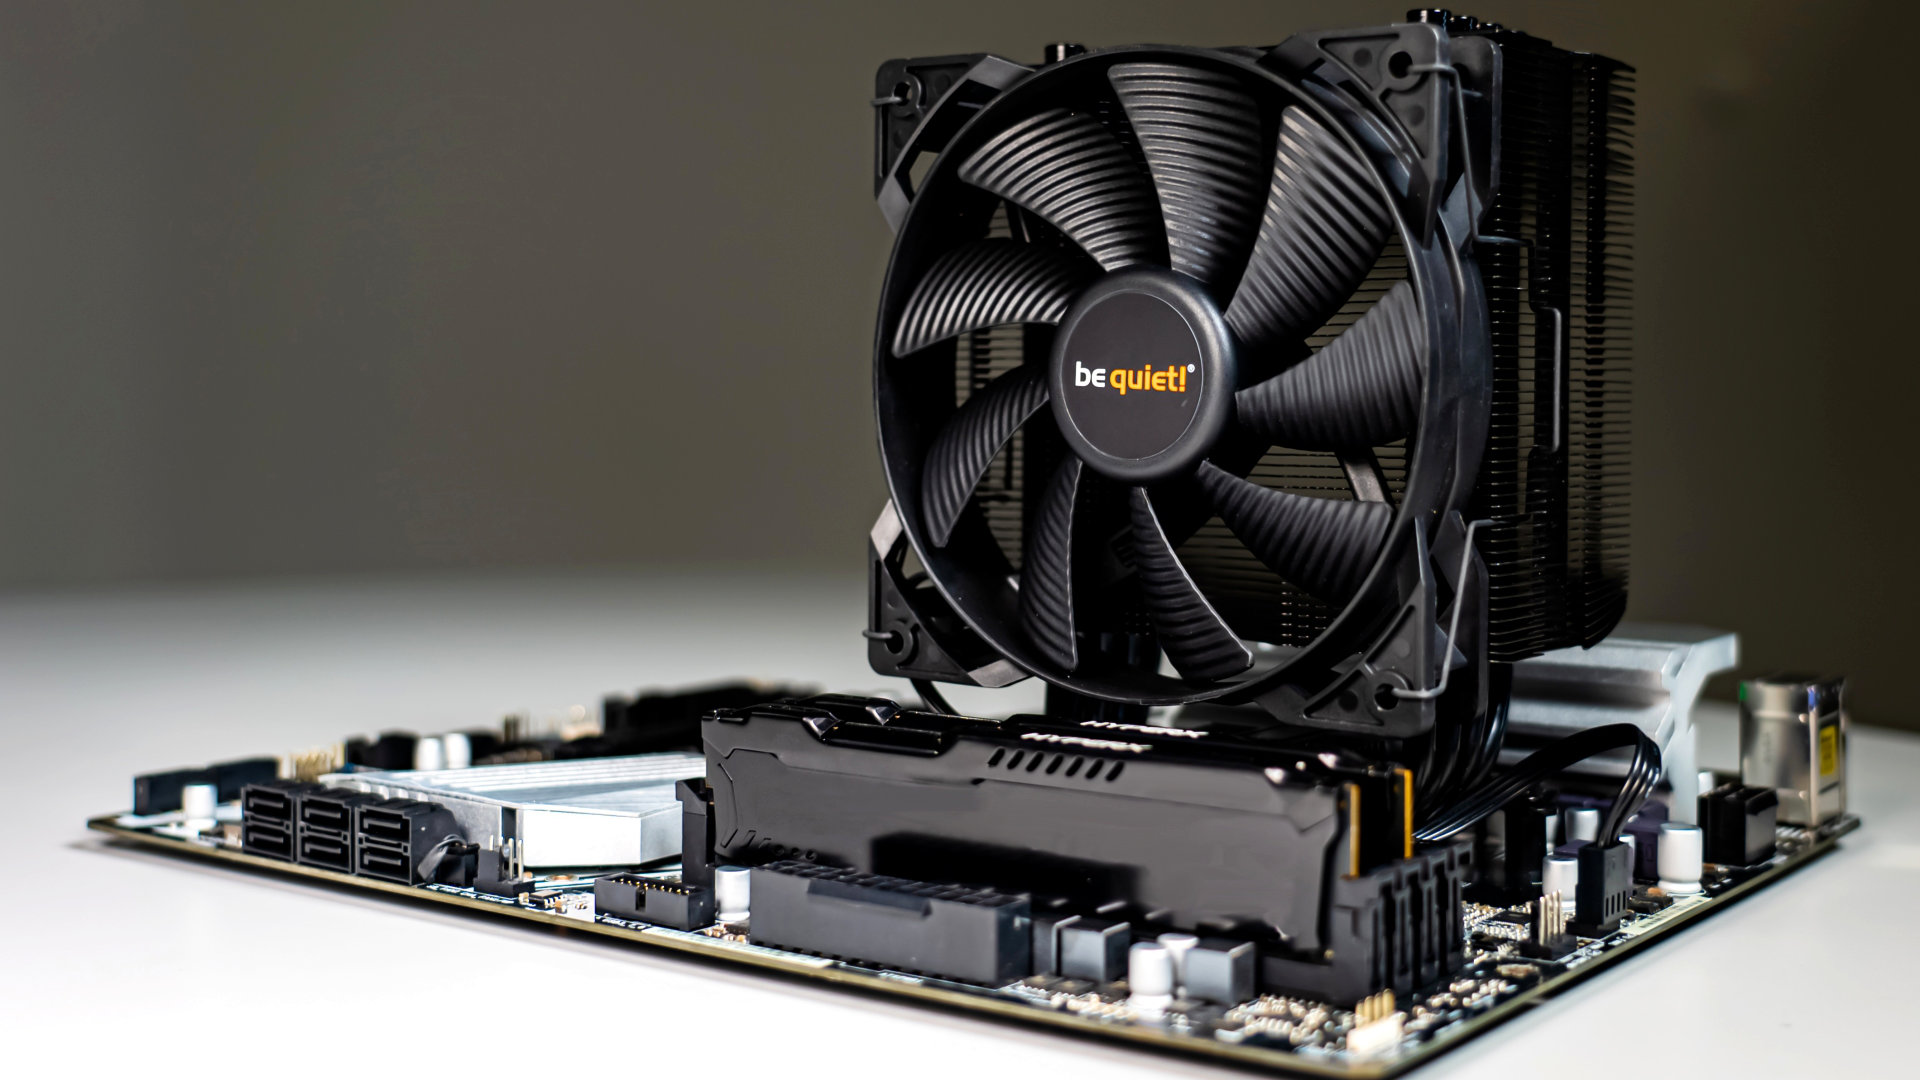
After gathering the necessary tools and equipment, the next step is to identify the fan connectors in your computer case. Most modern motherboards have dedicated headers specifically designed for connecting case fans. These headers are usually labeled as “CHA_FAN” or “SYS_FAN” and are typically located near the CPU socket or along the edge of the motherboard.
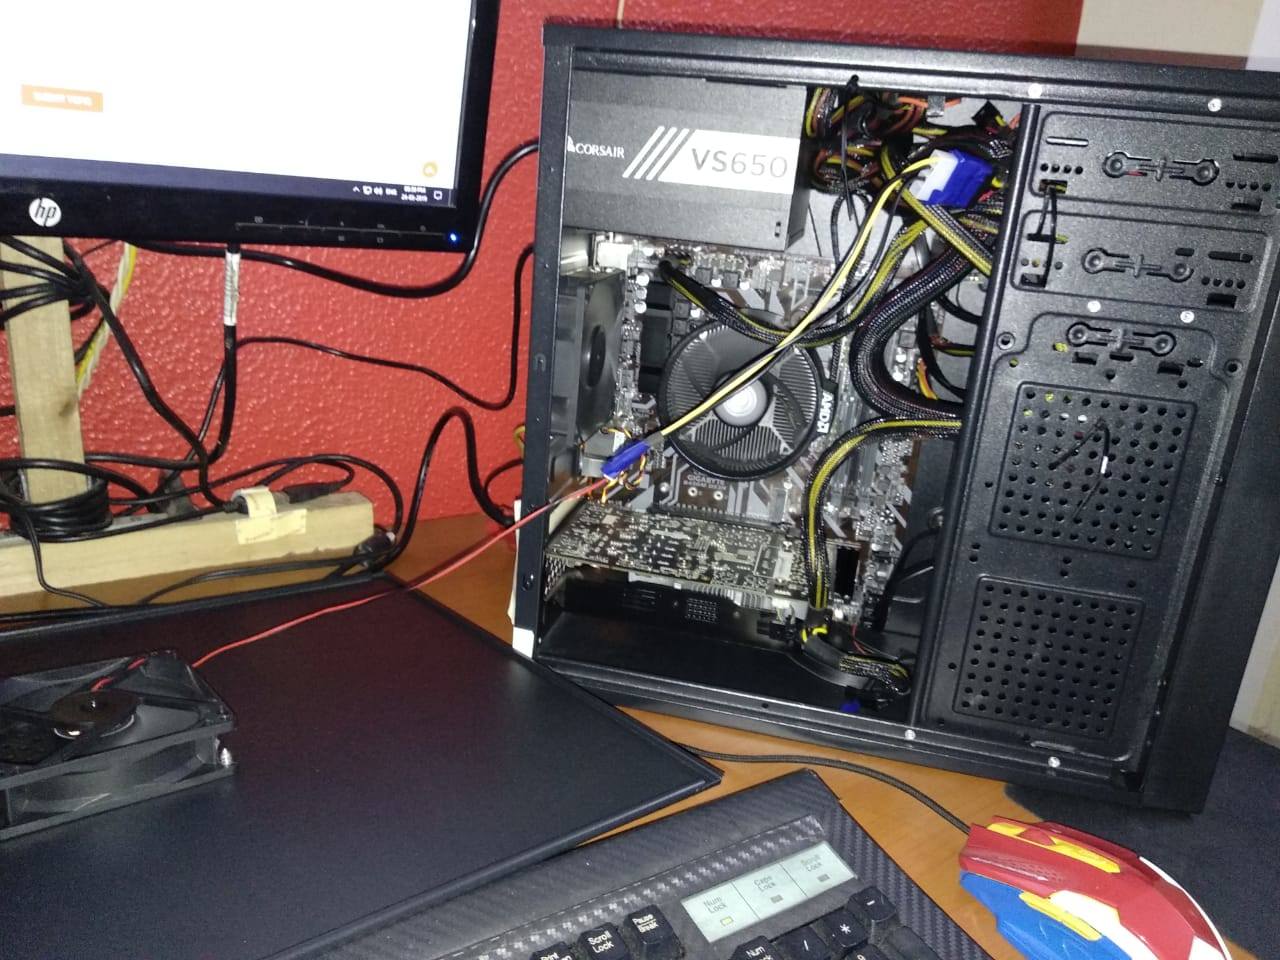
To locate the fan connectors, open up your computer case by removing the side panel. Refer to the manufacturer’s manual if you are unsure about how to access the interior of your case. Once the side panel is removed, you will have a clear view of the motherboard and the components inside.
Take a close look at the motherboard and look for the fan headers. They typically have three or four pins and are marked with labels or icons indicating their purpose. These labels or icons may include “CPU_FAN” for the CPU cooler, “CHA_FAN” or “SYS_FAN” for case fans, and “AIO_PUMP” for an all-in-one liquid cooling solution if your motherboard supports it.
It’s worth noting that the number of fan headers may vary depending on the motherboard model. Higher-end motherboards often have more fan headers, allowing you to connect multiple case fans without needing splitters or a fan hub. If your motherboard doesn’t have enough fan headers, don’t worry – you can still connect your case fans using splitters or a fan hub, which we will cover in a later step.
Once you have located the fan connectors, you are ready to move on to the next step of connecting your case fans to the power supply.
Step 3: Connect the fans to the power supply
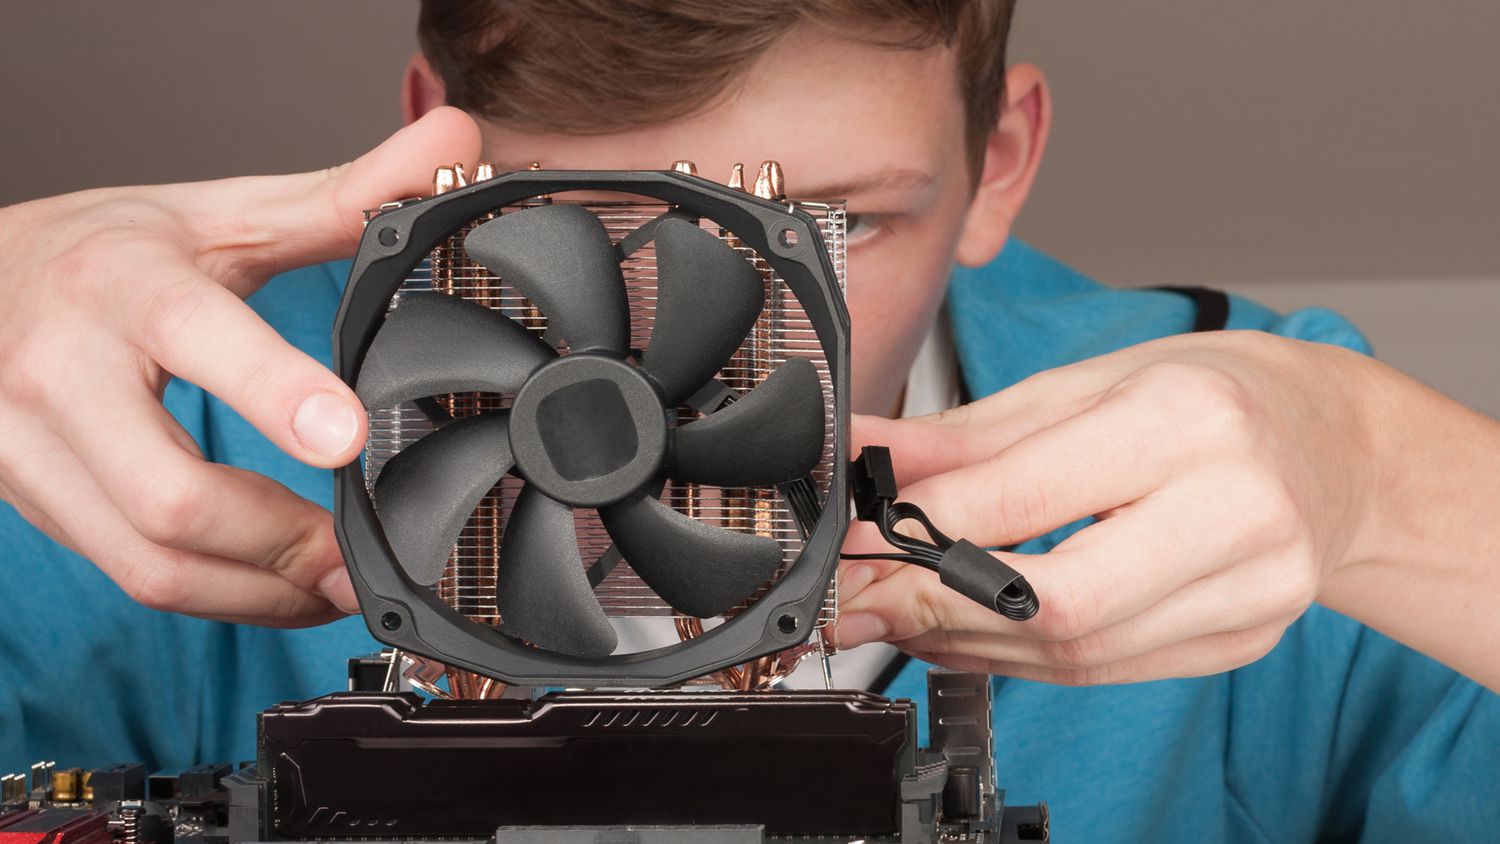
Now that you have identified the fan connectors on your motherboard, it’s time to connect your case fans to the power supply. Follow these steps to ensure a proper connection:
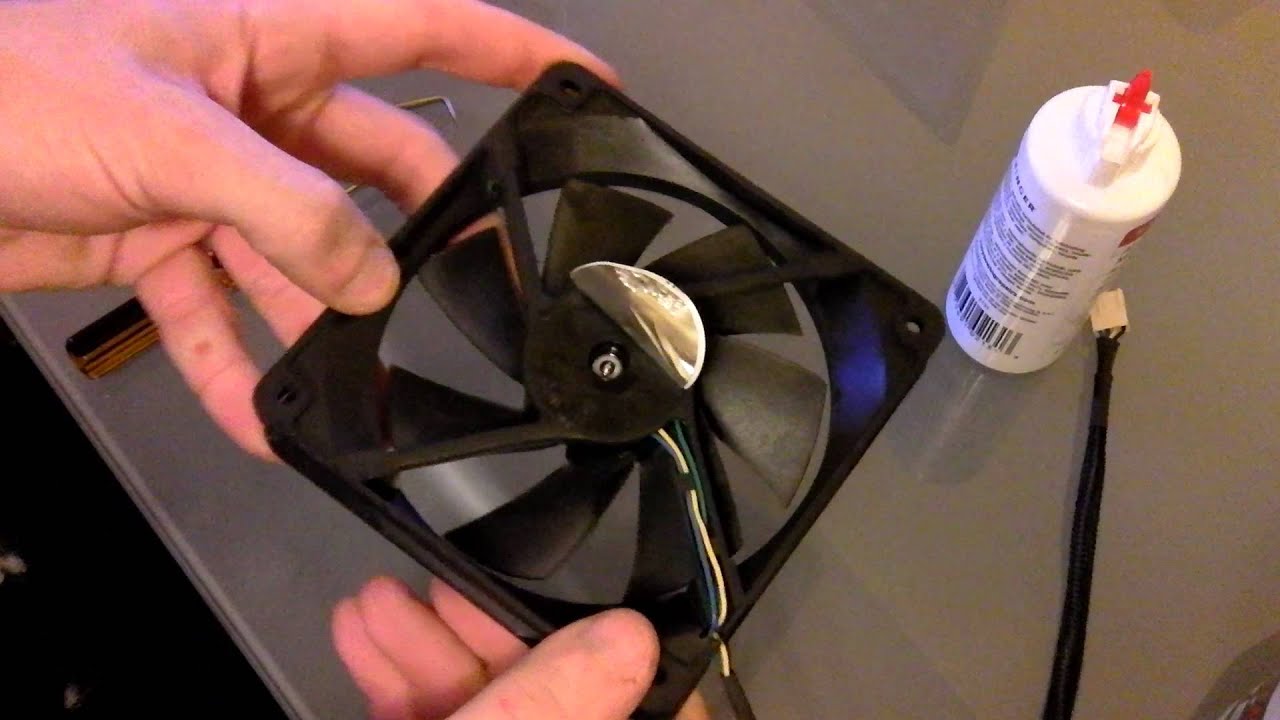
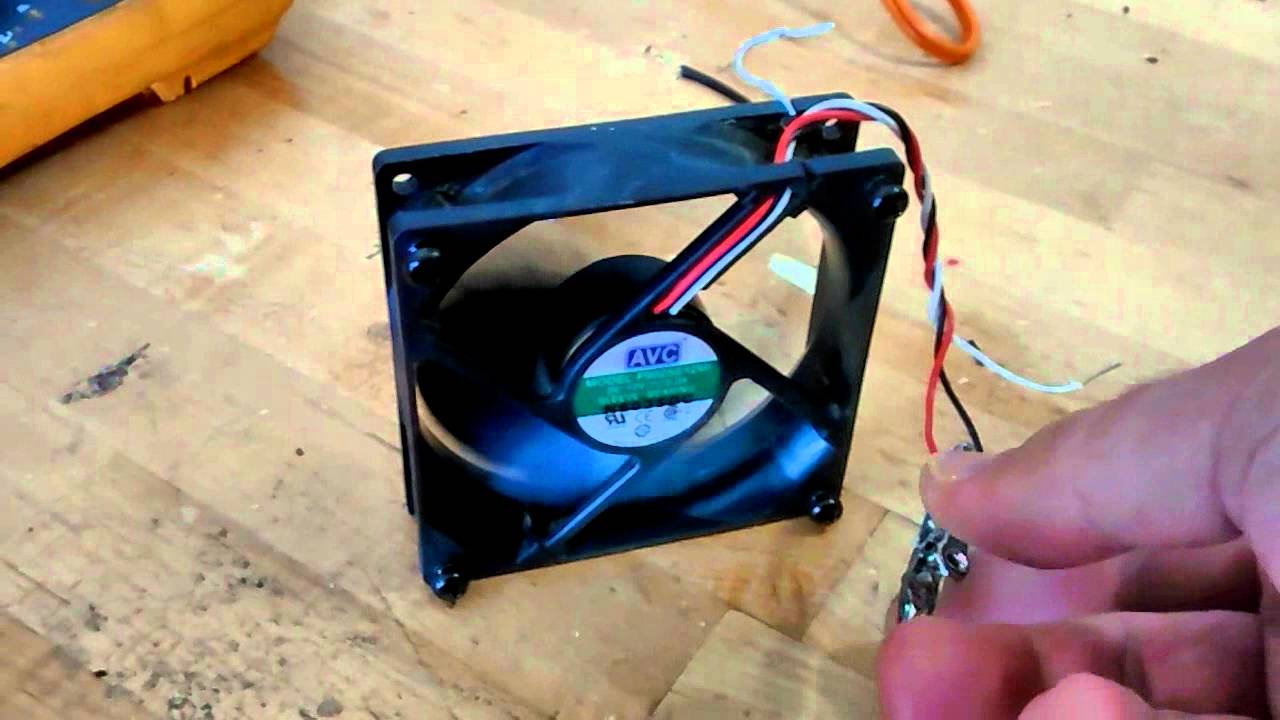
- Locate the fan cables: Each case fan should have a cable with a connector at the end. The connector may have three or four pins, corresponding to the number of pins on the fan headers.
- Align the connector: Take one of the case fan cables and align the connector with one of the available fan headers on the motherboard.
- Secure the connection: Gently press the connector onto the fan header to establish a secure connection. Ensure that the pins on the connector align properly with the corresponding pins on the fan header. You may need to apply slight pressure to ensure a snug fit.
- Repeat the process: If you have multiple case fans, repeat steps 2 and 3 for each fan, connecting them to the available fan headers on the motherboard.
- Additional options: If you do not have enough fan headers on your motherboard, you can use case fan splitters or a fan hub to connect multiple fans to a single fan header. Case fan splitters allow you to connect multiple fans to one fan header, while a fan hub consolidates the connections and allows you to control the fans collectively.
Once you have connected all the case fans to the power supply, you have completed this step. The fans are now physically connected and ready for configuration.
Step 4: Configure fan speed and control settings
After connecting your case fans to the power supply, it’s time to configure their speed and control settings. This step allows you to optimize the cooling performance and noise levels of your PC. Follow these steps to configure fan speed and control:
- Access the BIOS or UEFI settings: Restart your computer and enter the BIOS or UEFI settings. The key to access these settings may vary depending on your motherboard’s manufacturer, but commonly used keys include Del, F2, or F10. Refer to your motherboard’s manual for the exact key or consult the manufacturer’s website.
- Navigate to the fan control settings: Once you are in the BIOS or UEFI settings, navigate to the section related to fan control or fan settings. The exact location and naming of this section may vary depending on your motherboard’s manufacturer.
- Adjust fan speed and control options: Within the fan control settings, you will have various options to adjust the fan speed and control. These options may include setting fan curves, defining temperature thresholds, and selecting fan control modes such as PWM (Pulse Width Modulation) or DC (Direct Current).
- Configure fan profiles: Create customized fan profiles based on your requirements. For example, you can set a more aggressive fan curve for gaming or CPU-intensive tasks to ensure maximum cooling, and a quieter curve for everyday tasks to maintain a silent operation.
- Save and exit: Once you have configured the fan speed and control settings, save the changes and exit the BIOS or UEFI settings. The computer will then restart with the new settings applied.
It’s important to note that not all motherboards have advanced fan control options in the BIOS or UEFI settings. In such cases, you can utilize third-party software provided by the motherboard manufacturer or other software solutions specifically designed for fan control.
By configuring the fan speed and control settings, you can achieve the desired balance between cooling performance and noise levels, ensuring optimal operation of your case fans.
Step 5: Test and troubleshoot fan operation
Once you have configured the fan speed and control settings, it’s essential to test the operation of your case fans to ensure they are functioning correctly. Here are some steps you can take to test and troubleshoot fan operation:
- Power on your computer: Start your computer and observe the case fans to see if they start spinning. You can also listen for any unusual noises that may indicate a problem.
- Check fan speed: Open a monitoring software or access the BIOS/UEFI settings to check the fan speed readings. Ensure that the reported speeds are within the expected range. If the fans are not spinning or the speeds are unusually low, there may be a connection issue or a problem with the fan headers.
- Inspect fan connections: If the fans are not spinning, double-check the connections between the case fans and the fan headers on the motherboard. Ensure that all connectors are securely attached and aligned properly. If necessary, reseat the connections to ensure a proper connection.
- Verify power supply: If the fans are still not working, verify that the power supply is functioning correctly. Make sure all power cables are securely connected to the power supply unit and the motherboard.
- Consider fan control software: If the fan control options in the BIOS/UEFI settings are limited, consider installing fan control software provided by the motherboard manufacturer or reputable third-party software. This software can provide more advanced control options and troubleshooting features for your case fans.
- Seek professional help: If you are unable to resolve any issues with your case fans’ operation or if you suspect a faulty component, it may be necessary to seek professional help from a computer technician or the manufacturer’s support team.
Testing and troubleshooting the fan operation ensures that your case fans are working as intended, providing the necessary cooling and airflow for your computer components.
Conclusion
Congratulations! You have successfully learned how to turn on PC case fans and optimize their performance. By following the steps outlined in this guide, you can ensure that your computer stays cool and performs at its best.
Starting with gathering the necessary tools and equipment, you then identified the fan connectors on your motherboard. Connecting the case fans to the power supply, you established the physical connection needed for their operation. Then, you configured the fan speed and control settings through the BIOS or UEFI settings, allowing you to customize the cooling performance to your needs. Finally, you tested and troubleshooted the fan operation to ensure proper functioning.
Remember, maintaining an optimal temperature for your computer components is essential for their longevity and performance. Properly functioning case fans play a vital role in achieving this goal by cooling down the system, preventing overheating, and maximizing efficiency.
Should you encounter any issues during the process or require additional assistance, do not hesitate to consult your motherboard’s documentation, manufacturer’s website, or seek the help of a professional technician. With their guidance, you can resolve any complications and enjoy the benefits of a well-cooled PC.
Now that you’re equipped with the knowledge and skills to turn on PC case fans, go ahead and unleash the full potential of your computer! Enjoy improved cooling, enhanced performance, and peace of mind knowing that your components are operating at safe temperatures.