Introduction
Welcome to our guide on how to turn off noise cancelling on Beats Studio 3 headphones. Beats Studio 3 is a popular choice among music enthusiasts and audio professionals due to its excellent sound quality and active noise cancelling (ANC) feature. While noise cancelling can be great for blocking out external distractions, there are instances where you may want to disable it. Maybe you prefer to hear your surroundings while walking outdoors or need to conserve battery power. Whatever the reason, we’ll show you the various methods to turn off noise cancelling on your Beats Studio 3 headphones.
Noise cancelling technology works by using internal microphones to detect ambient sounds and producing an opposing soundwave to cancel them out. This creates a peaceful and immersive listening experience. However, it’s important to note that disabling noise cancelling may result in more external noise reaching your ears. Therefore, make sure to consider your surroundings and safely use your headphones in environments that do not jeopardize your personal safety.
In the following sections, we will explore the step-by-step process of turning off noise cancelling on Beats Studio 3 headphones. We’ll also discuss alternative methods to disable noise cancelling and provide some helpful tips and tricks for managing noise cancelling settings. By the end of this guide, you’ll have the knowledge and confidence to control the noise cancelling feature on your Beats Studio 3 headphones to suit your preferences and needs.
Why Turn off Noise Cancelling?
While noise cancelling is a valuable feature on Beats Studio 3 headphones, there are several reasons why you may want to turn off this functionality. Here are a few common scenarios where disabling noise cancelling can be beneficial:
- Prolonged Battery Life: Noise cancelling requires additional power to operate, which can reduce the overall battery life of your headphones. By disabling noise cancelling when you don’t need it, you can conserve battery power and enjoy your music for longer periods.
- Awareness of Surroundings: In certain situations, it’s important to be aware of your surroundings. If you’re walking or running outdoors, for example, it’s crucial to hear approaching vehicles or other pedestrians. By turning off noise cancelling, you can maintain awareness and prioritize your safety.
- Improved Sound Quality: Some individuals prefer the natural sound signature without the artificial audio processing that noise cancelling provides. By disabling noise cancelling, you can experience the audio as it was intended, without any alterations from cancelling out external noise.
- Easier Communication: Noise cancelling can impede communication, especially in situations where you need to interact with others or hear important announcements. Disabling noise cancelling allows you to have clearer conversations and stay connected with the people around you.
It is essential to understand that noise cancelling is designed to enhance your listening experience, and it can be incredibly useful in many instances. However, being able to turn it off when needed gives you more control over your headphones’ functionality and allows you to adapt to different environments and circumstances.
Now that we’ve explored the reasons for turning off noise cancelling, let’s dive into the step-by-step process of disabling this feature on your Beats Studio 3 headphones.
Steps to Turn off Noise Cancelling on Beats Studio 3
Turning off noise cancelling on your Beats Studio 3 headphones is a simple process. Follow these steps to disable the noise cancelling feature:
- Make sure your Beats Studio 3 headphones are turned on and connected to your device via Bluetooth.
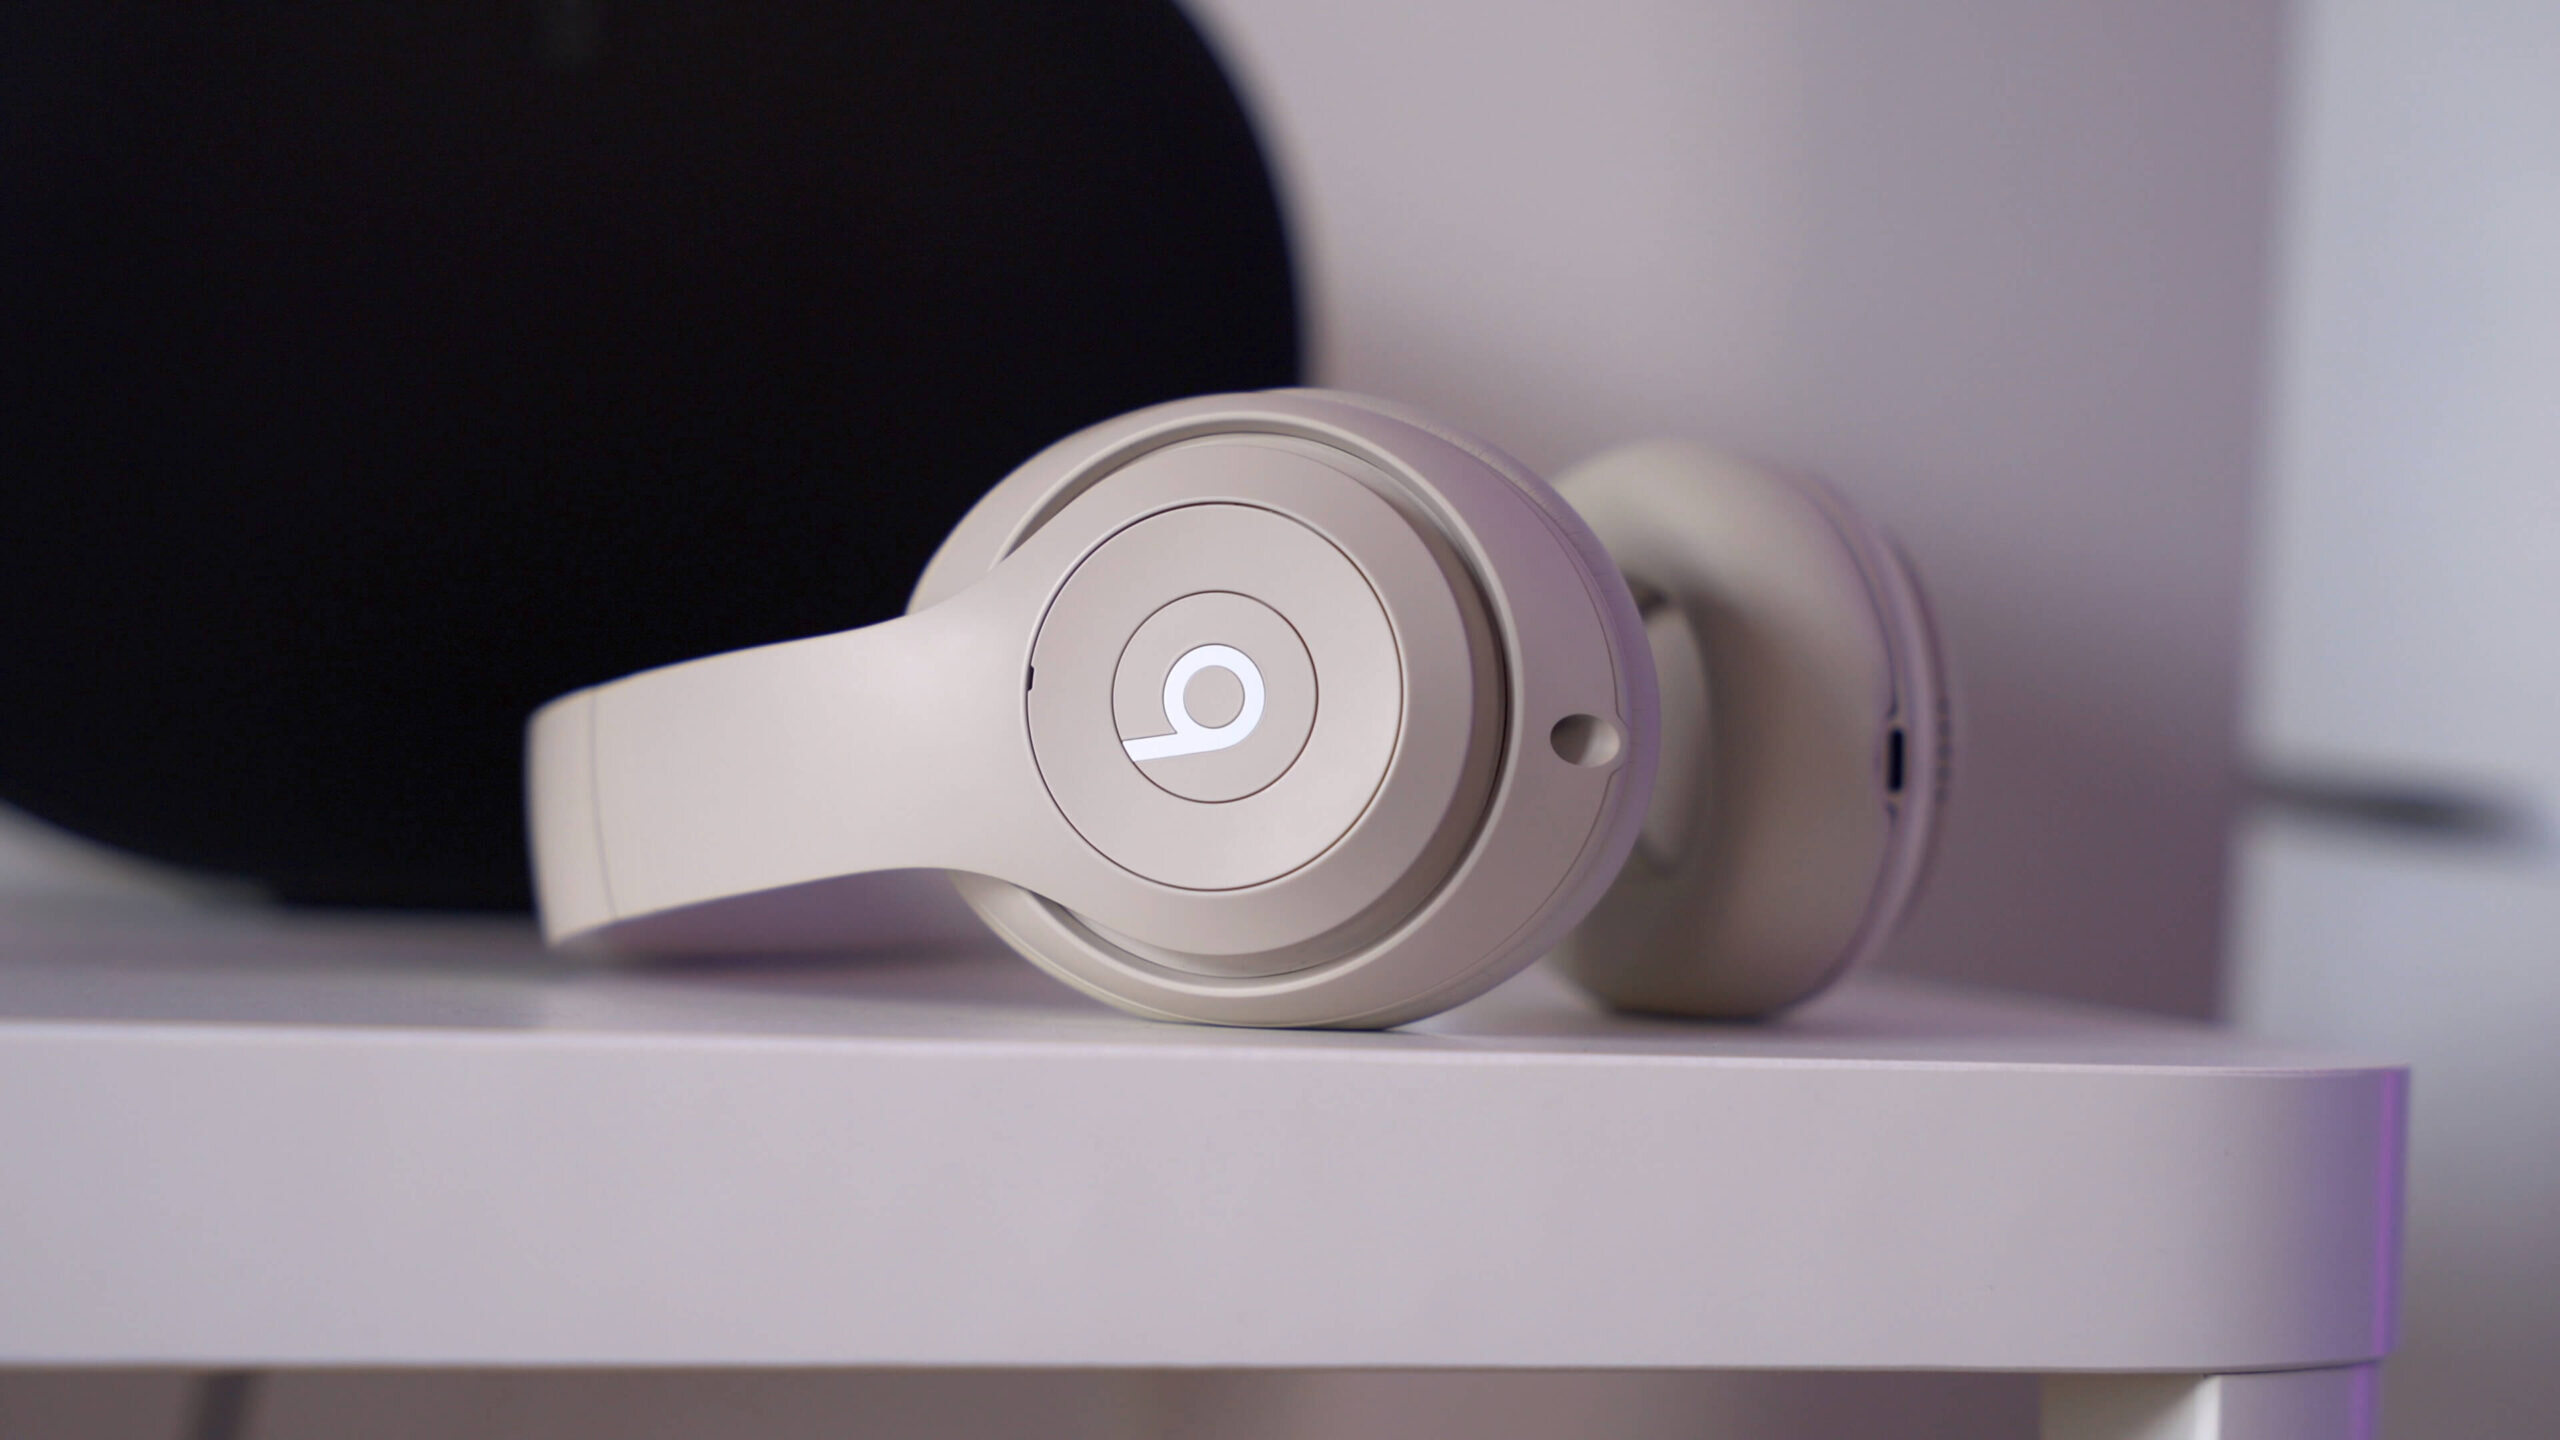
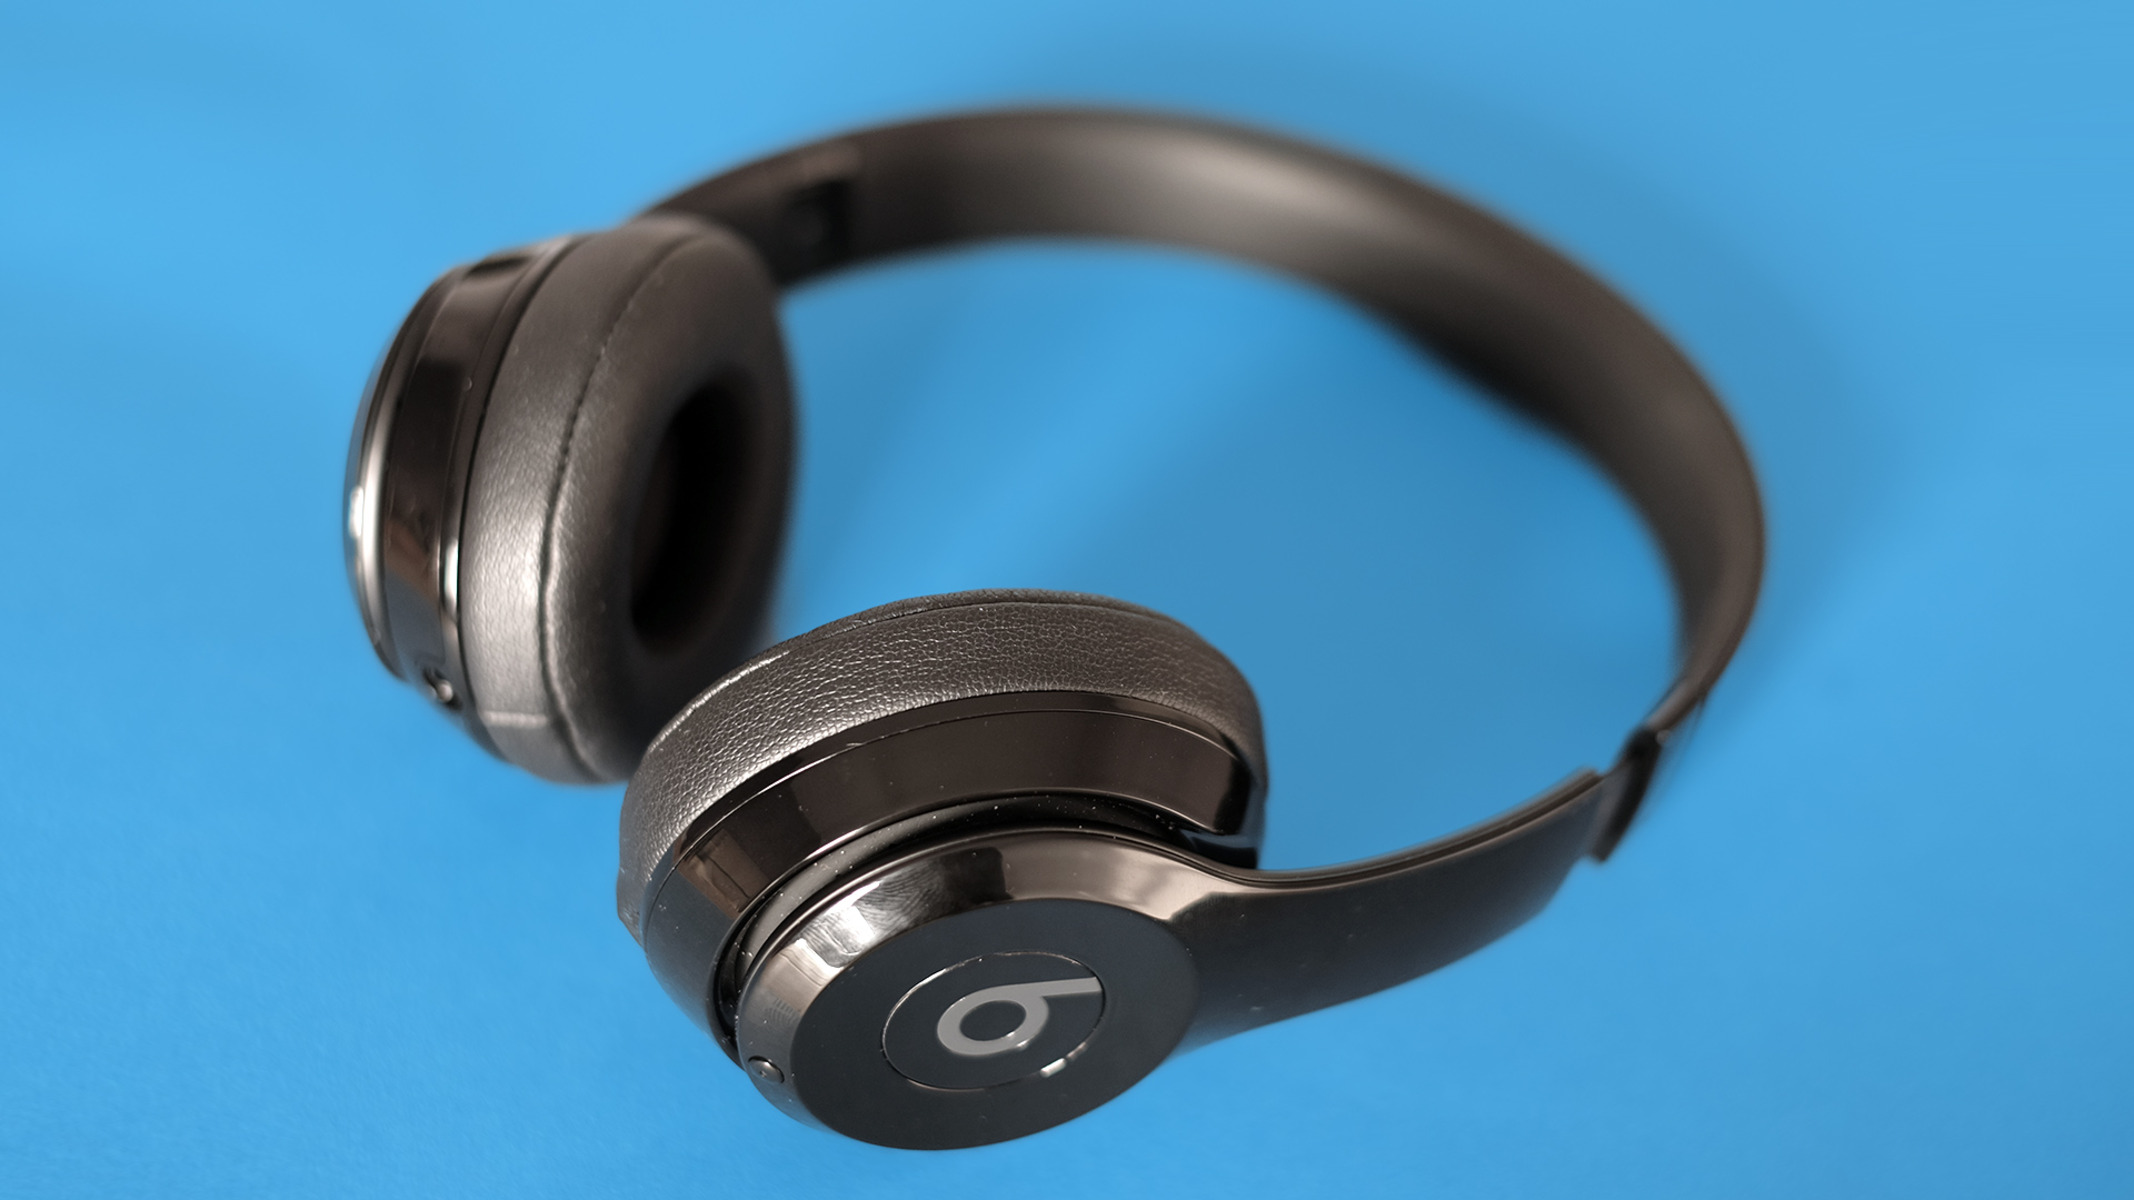
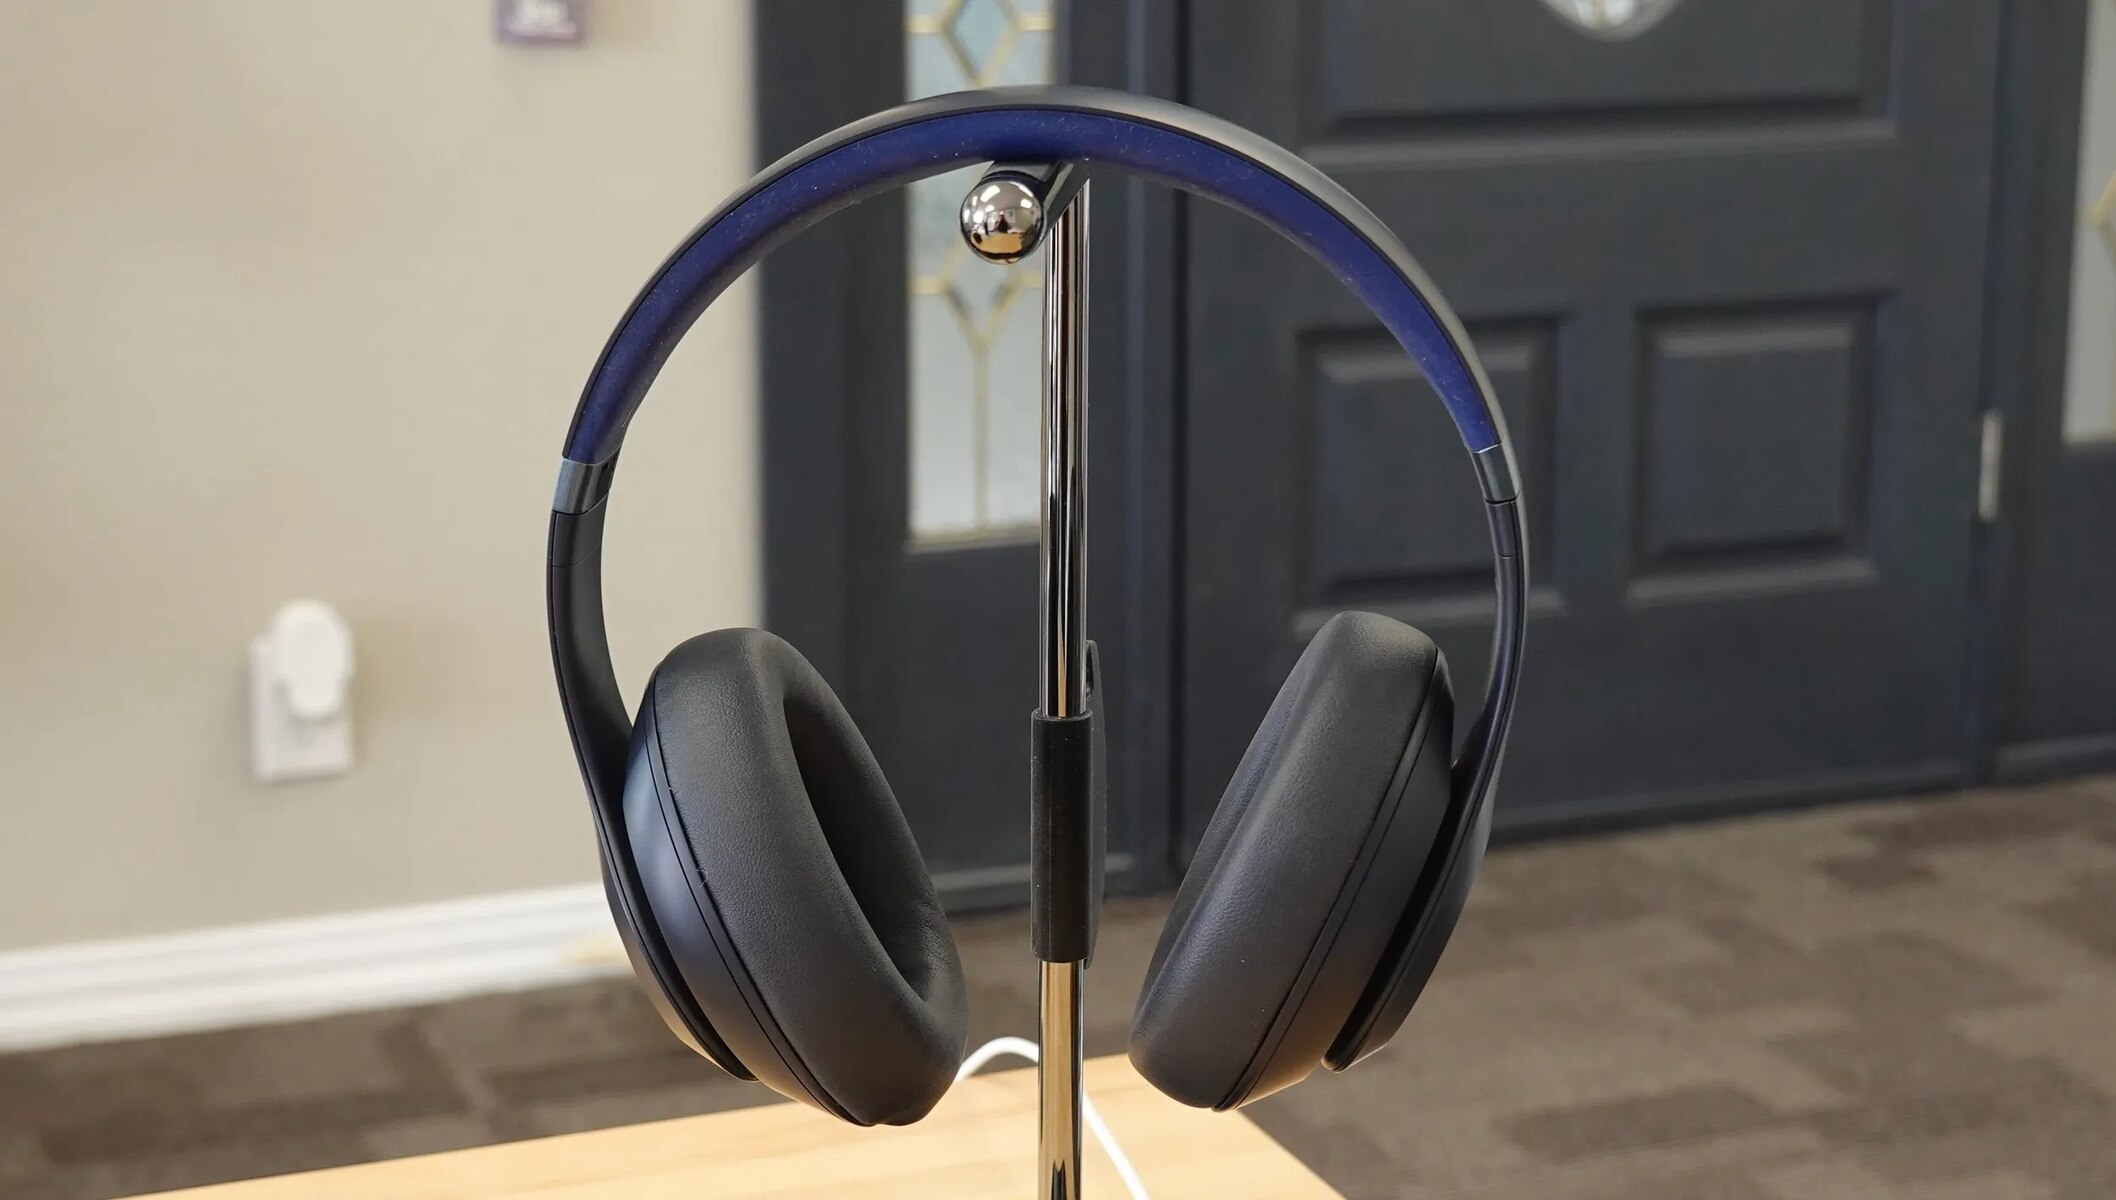
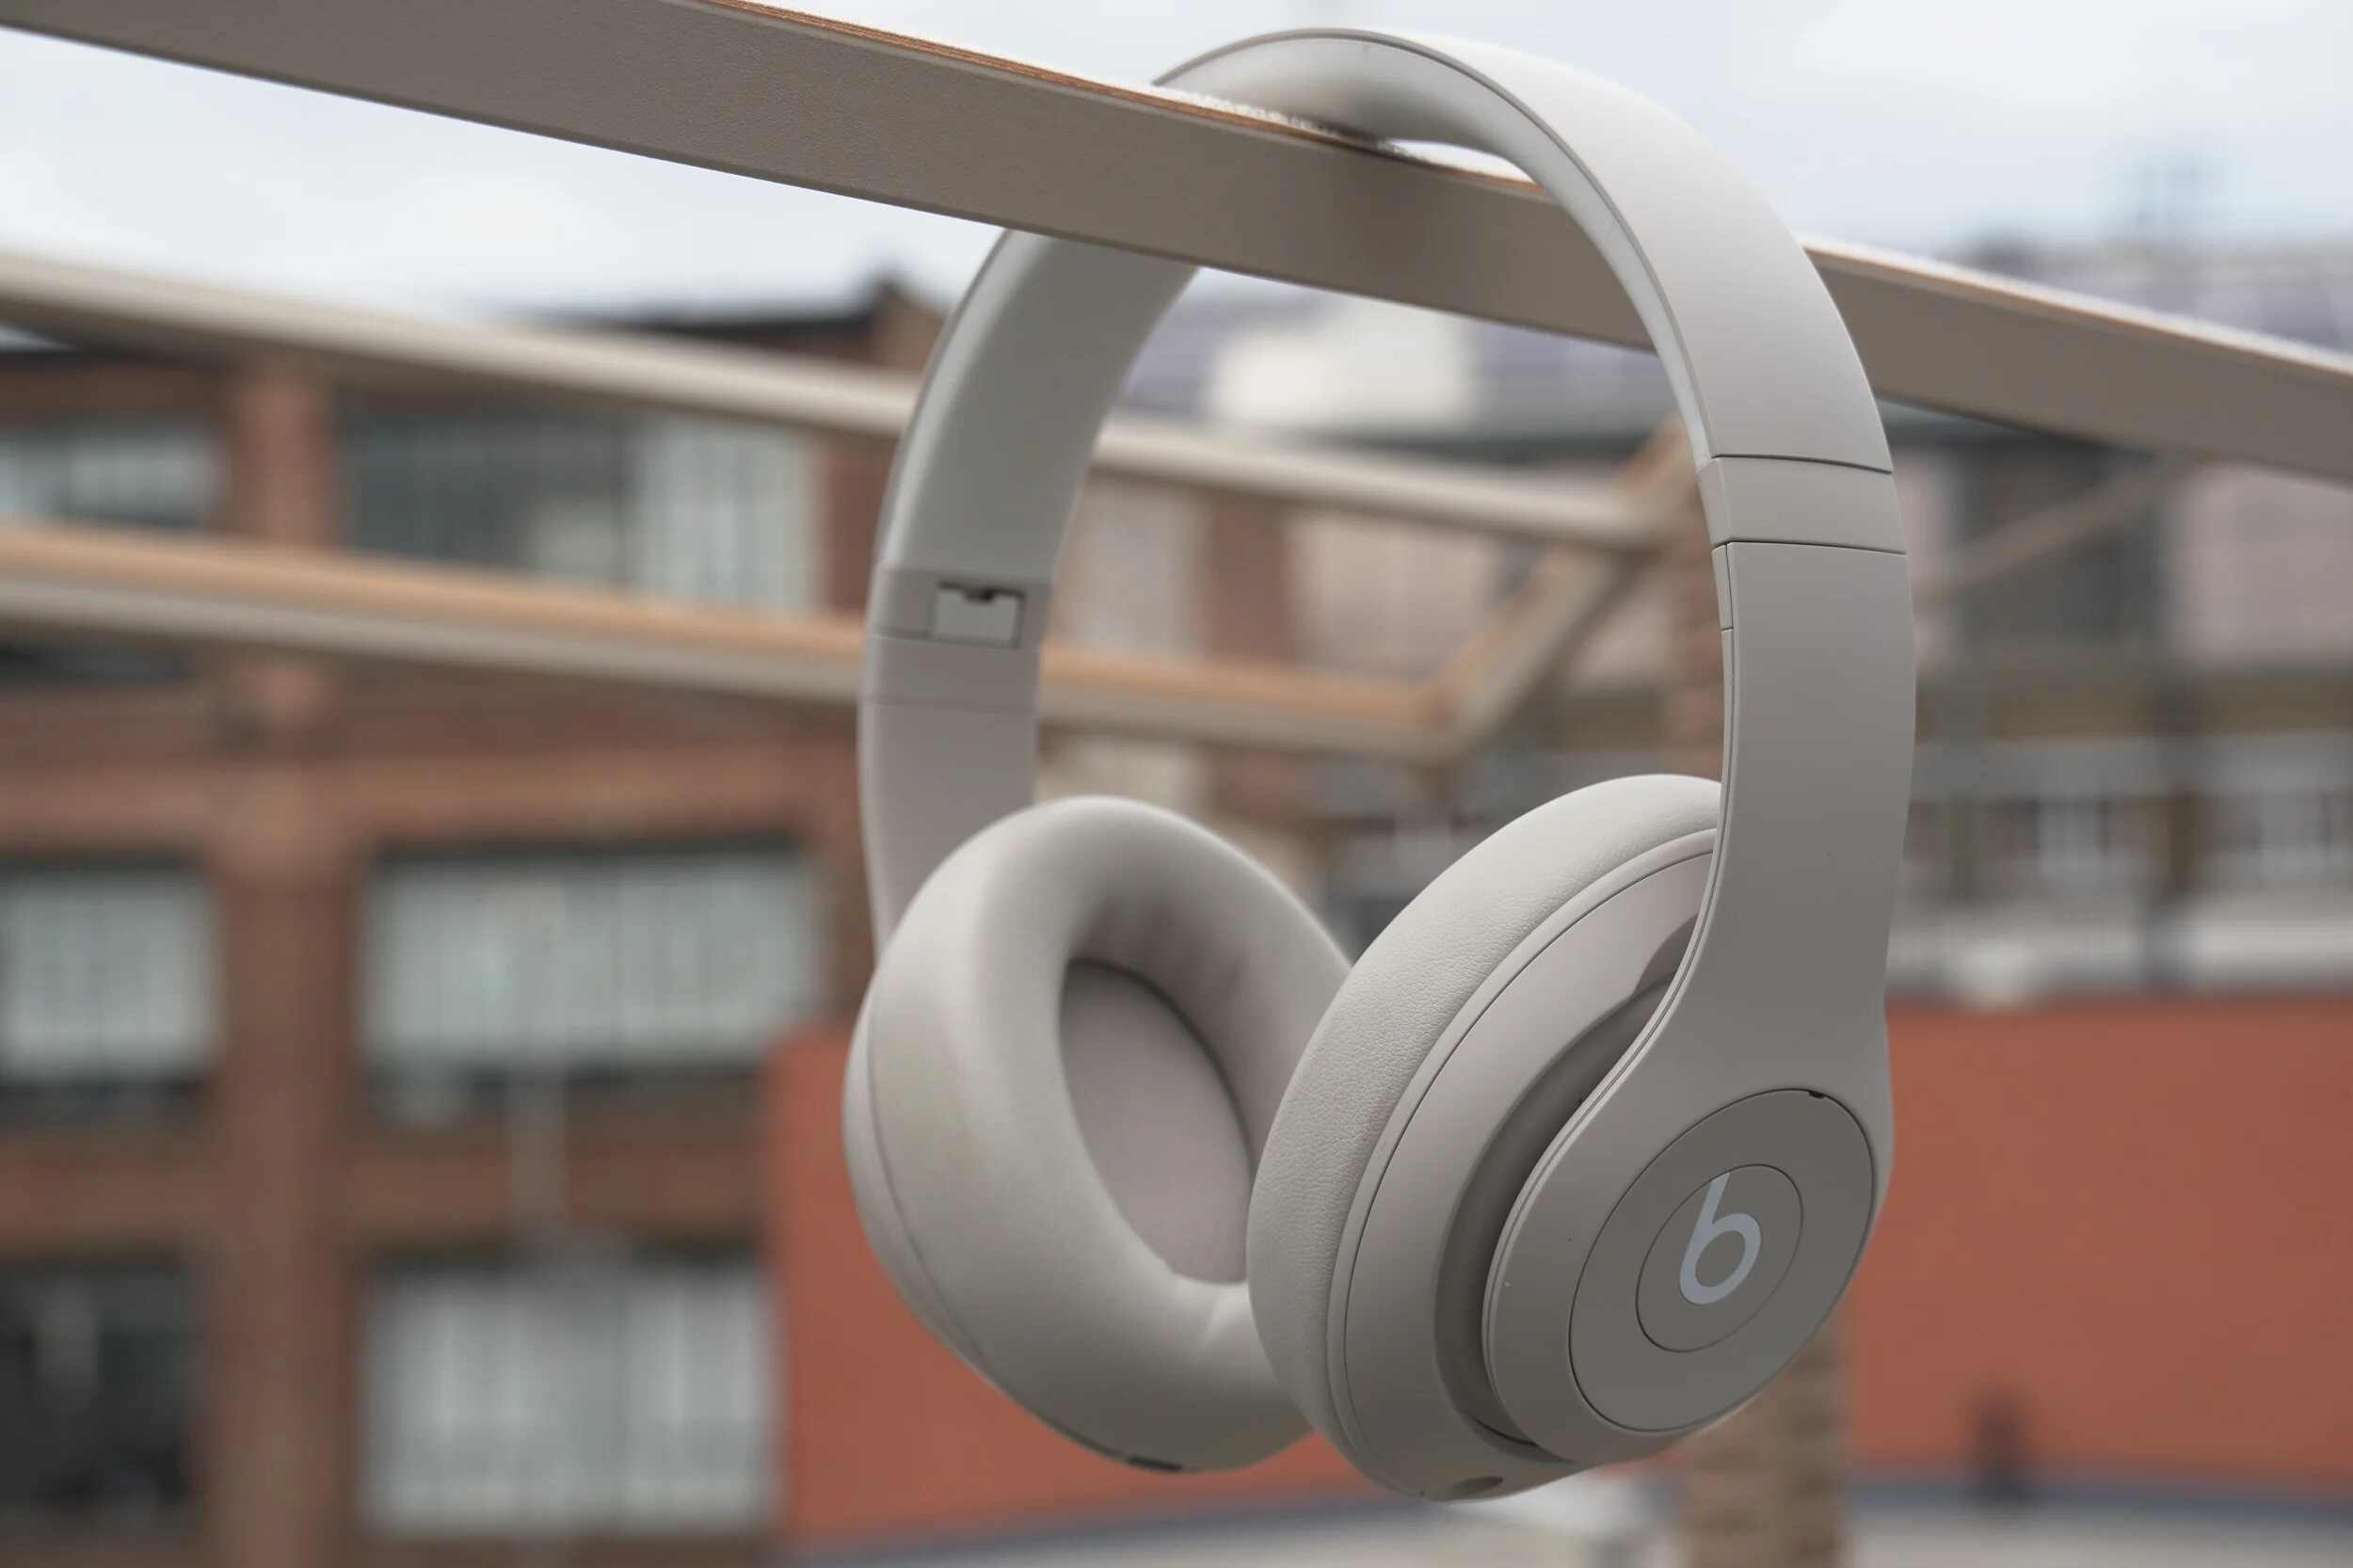
- Locate the power button on your headphones. It is typically located on the left ear cup or integrated into the Beats logo/button.
- Press and hold the power button for a few seconds until you hear the “Beats” prompt. This indicates that your headphones are turned on and ready to use.
- Look for the noise cancelling button on your headphones. It is usually located on the right ear cup or integrated into the Beats logo/button. The noise cancelling button is often labeled with an icon or symbol representing noise cancelling.
- Press the noise cancelling button once to activate or deactivate the noise cancelling feature. When noise cancelling is enabled, you may hear a gentle tone or chime to indicate that the feature is active.
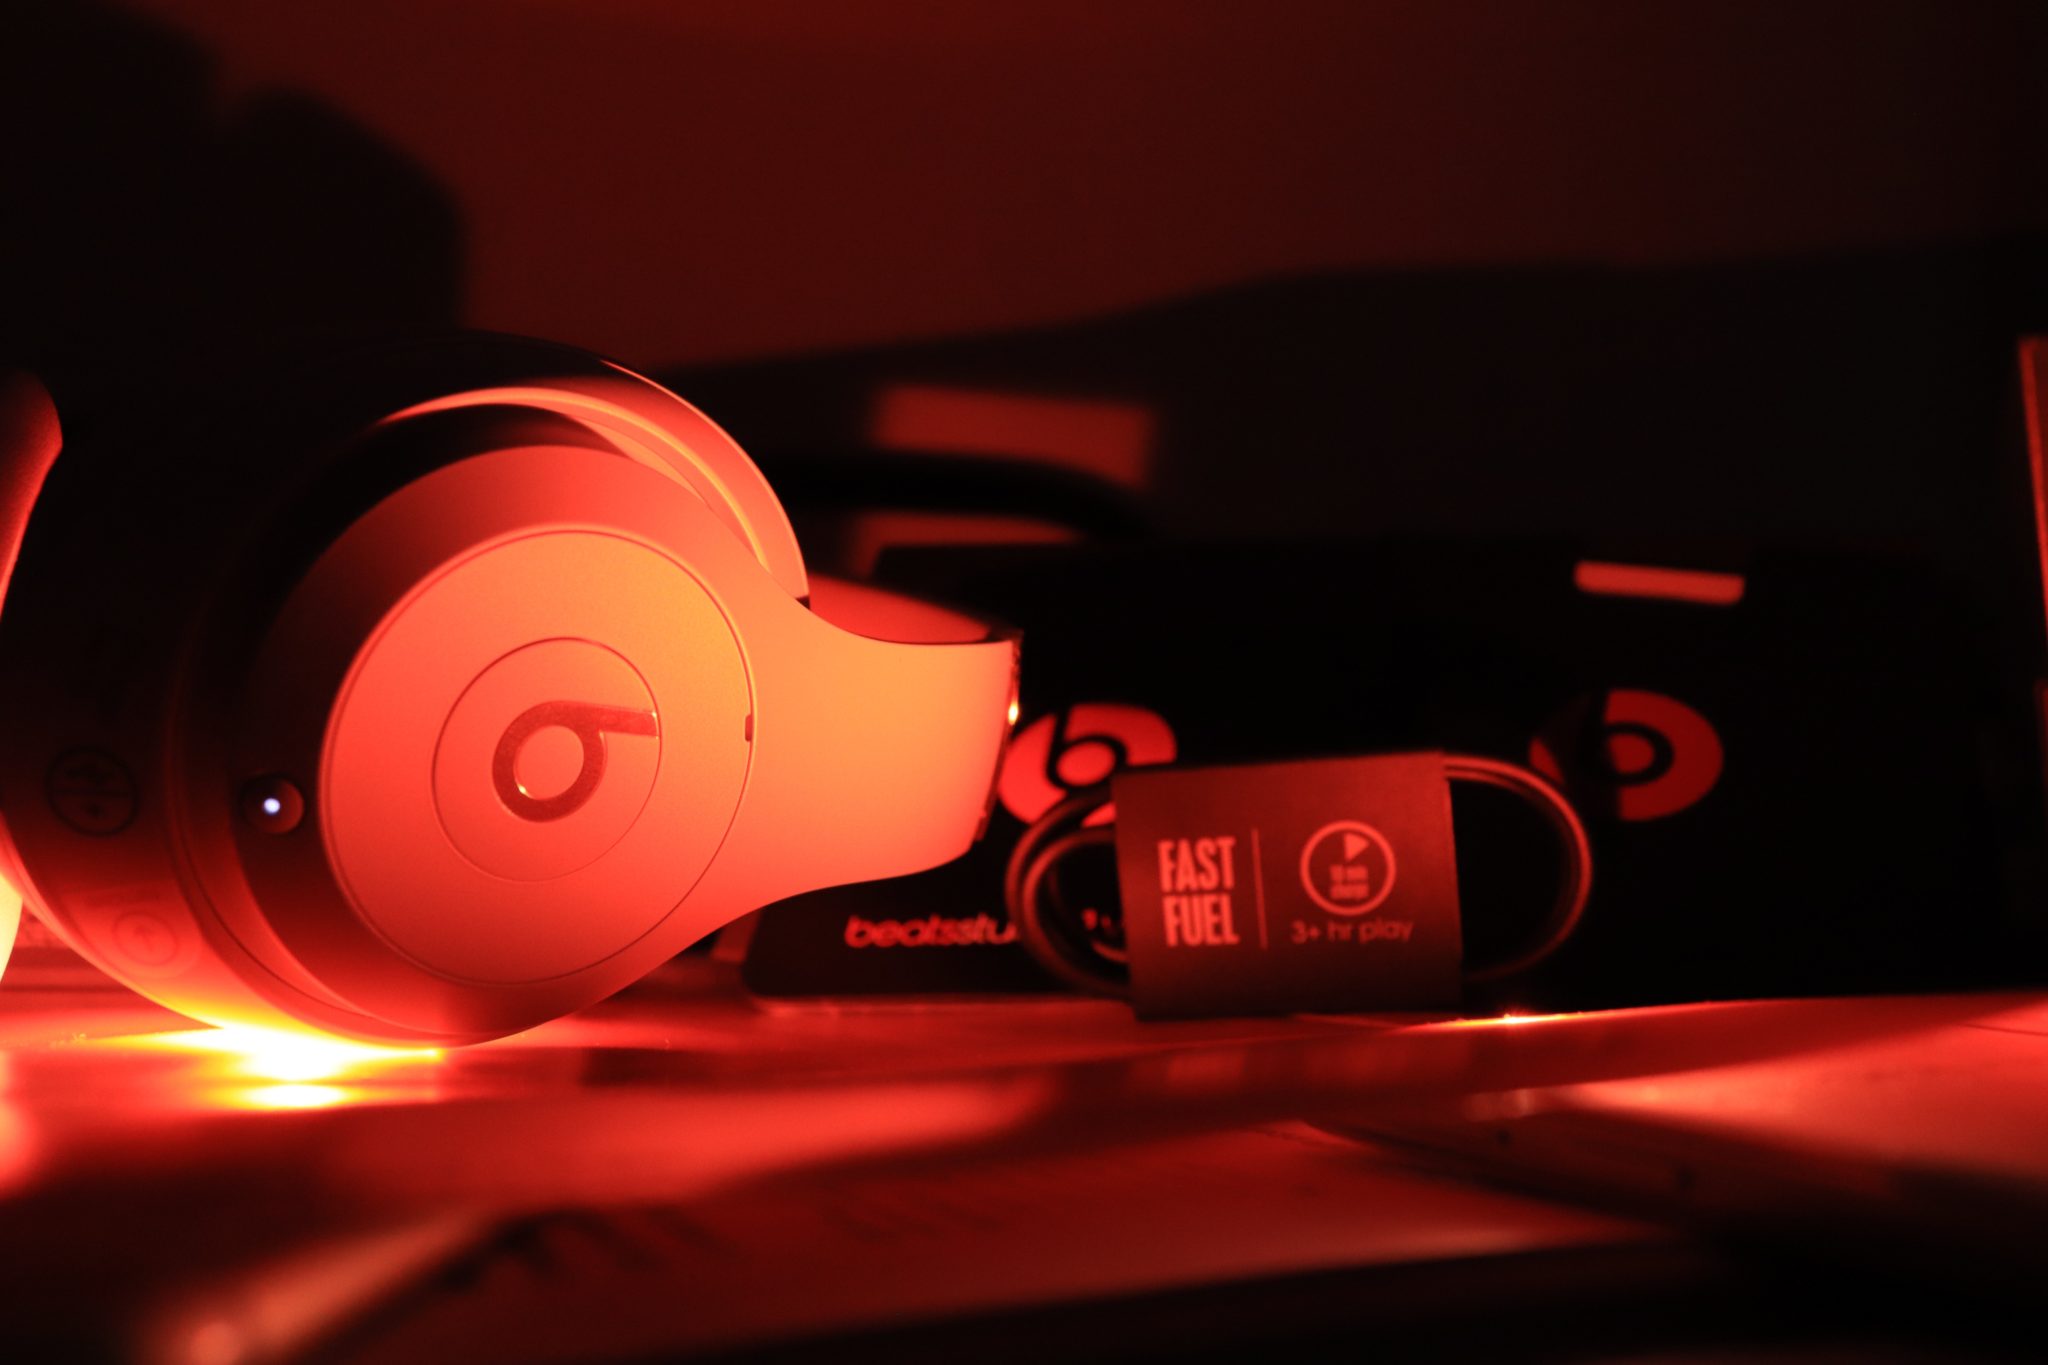
- Verify the noise cancelling status by checking the LED indicators on your headphones. Some models have LED lights that change color or blink to indicate the active noise cancelling status. Refer to the user manual for specific LED indicator information.
- Once you have disabled noise cancelling, you can enjoy your music without the intended noise reduction.
It’s important to note that the exact placement and design of buttons may vary slightly depending on the specific model of your Beats Studio 3 headphones. However, the general process of turning off noise cancelling should be consistent across all models.
By following these simple steps, you can effortlessly turn off noise cancelling on your Beats Studio 3 headphones and personalize your listening experience according to your preference and environment.
Alternative Methods to Disable Noise Cancelling
In addition to using the noise cancelling button on your Beats Studio 3 headphones, there are alternative methods you can explore to disable noise cancelling. Here are a few options:
- Control through the Beats app: If you have the Beats app installed on your device, you can utilize this application to manage your headphones’ settings, including noise cancelling. Open the app, locate the noise cancelling option, and toggle it off to disable the feature. Check the documentation or user manual for more information on navigating the Beats app and customizing your preferences.
- Adjusting the volume: Another quick method to temporarily reduce the impact of noise cancelling is by adjusting the volume level. Lowering the volume can allow more ambient sound to reach your ears, effectively minimizing the effect of noise cancelling. This method is particularly useful when you need awareness of your surroundings but don’t want to fully disable noise cancelling.
- Selecting the “Transparency” mode: Some newer models of Beats headphones have a transparency mode feature that lets in external sound while still providing some level of noise cancelling. This mode is designed to create a balance between environmental awareness and audio immersion. Check if your Beats Studio 3 headphones support this feature and activate it through the appropriate button or app settings.
- Using an audio cable: If you prefer a non-wireless connection or want to completely turn off all electronic processing, you can connect your Beats Studio 3 headphones to a device using the included audio cable. By using the wired connection, you can bypass the noise cancelling function and enjoy your music in its raw form without any noise reduction.
- Customizable ANC levels: Some advanced noise-cancelling headphones allow you to adjust the level of noise cancelling manually. Check if your Beats Studio 3 headphones offer this feature, and if so, explore the settings to customize the intensity of noise cancelling or even turn it off completely.
Remember to refer to the user manual or official documentation for your specific Beats Studio 3 model to ensure you are utilizing all available methods to disable noise cancelling effectively. Each headphone model may have slightly different functionalities and options for managing noise cancelling.
By exploring these alternative methods to disable noise cancelling, you have the flexibility to adapt your listening experience based on your preferences, surroundings, and the tasks at hand.
Tips and Tricks for Managing Noise Cancelling on Beats Studio 3
Managing the noise cancelling feature on your Beats Studio 3 headphones effectively can enhance your listening experience and provide greater control over ambient noise. Here are some tips and tricks to help you optimize and make the most out of noise cancelling:
- Experiment with different noise cancelling levels: If your Beats Studio 3 headphones offer customizable noise cancelling levels, take the time to experiment with different settings. This allows you to find the right balance between reducing external noise and maintaining audio clarity based on your preferences.
- Consider the environment: Noise cancelling is particularly useful in noisy environments like airplanes or public transportation. Be aware of your surroundings and activate noise cancelling when you need to focus or relax. When you’re in a safe and quiet place, consider turning off noise cancelling to conserve battery or stay alert to your surroundings.
- Utilize the “ANC + Transparency” mode: If your Beats Studio 3 headphones have a transparency mode, make use of it. This mode allows you to enjoy both noise cancelling and some external sound, making it easier to engage in conversations or hear important announcements while still reducing noise distractions.
- Keep your headphones updated: It’s essential to regularly check for firmware updates for your Beats Studio 3 headphones. These updates may include improvements to the noise cancelling feature or additional settings that can enhance your overall listening experience. Visit the official Beats support website or use the companion app to ensure your headphones are up to date.
- Combine noise cancelling with EQ adjustments: Experiment with equalizer (EQ) settings on your device or audio player to find the perfect balance of noise reduction and audio enhancement. Fine-tuning the EQ can help compensate for any perceived loss of audio quality due to noise cancelling, ensuring a satisfying listening experience.
- Keep headphones clean and maintained: Regularly clean your Beats Studio 3 headphones to prevent any build-up or blockage in the noise-cancelling microphones. This ensures optimal noise cancelling performance and extends the lifespan of your headphones.
By following these tips and tricks, you can maximize your control over noise cancelling settings and tailor your Beats Studio 3 headphones to align with your preferences and the listening environment.
Conclusion
Turning off noise cancelling on your Beats Studio 3 headphones can be advantageous in various situations, such as prolonging battery life, maintaining awareness of your surroundings, or enjoying the natural sound signature. By following the steps outlined in this guide, you can easily disable noise cancelling and personalize your listening experience.
We explored alternative methods to disable noise cancelling, including using the Beats app, adjusting volume levels, activating transparency mode, using an audio cable, or customizing ANC levels. These options provide flexibility and allow you to adapt your headphones’ functionality to your specific needs.
It’s important to keep in mind the environment you are in and the tasks at hand. Noise cancelling is beneficial in noisy environments where you need to minimize distractions, but it’s crucial to maintain awareness of your surroundings when necessary. By managing noise cancelling efficiently, you can strike the right balance between audio immersion and situational awareness.
Remember to regularly update your Beats Studio 3 headphones and keep them clean to ensure optimal performance. Experiment with different noise cancelling levels and combine them with EQ adjustments to achieve the best audio experience possible.
With the knowledge gained from this guide, you now have the tools to control and manage the noise cancelling feature on your Beats Studio 3 headphones. Enjoy your music, podcasts, and audio content while maintaining control over your audio environment.


