Introduction
Welcome to this tutorial on how to trim a video on Windows! Whether you’re a filmmaker, a YouTuber, or someone who just loves capturing moments, knowing how to trim videos is essential for creating professional-looking content. Trimming a video allows you to remove unwanted sections, adjust the length, and polish your final product.
Windows offers a variety of video editing software options that make the trimming process quick and easy. In this guide, we will walk you through the step-by-step process of trimming a video on Windows. So, let’s get started!
Before we dive into the specific steps, it’s important to note that the process may vary slightly depending on the video editing software you use. However, the underlying principles remain the same, so even if you’re using a different program, this guide should still be helpful.
Now, without further ado, let’s begin the journey of learning how to trim videos on Windows!
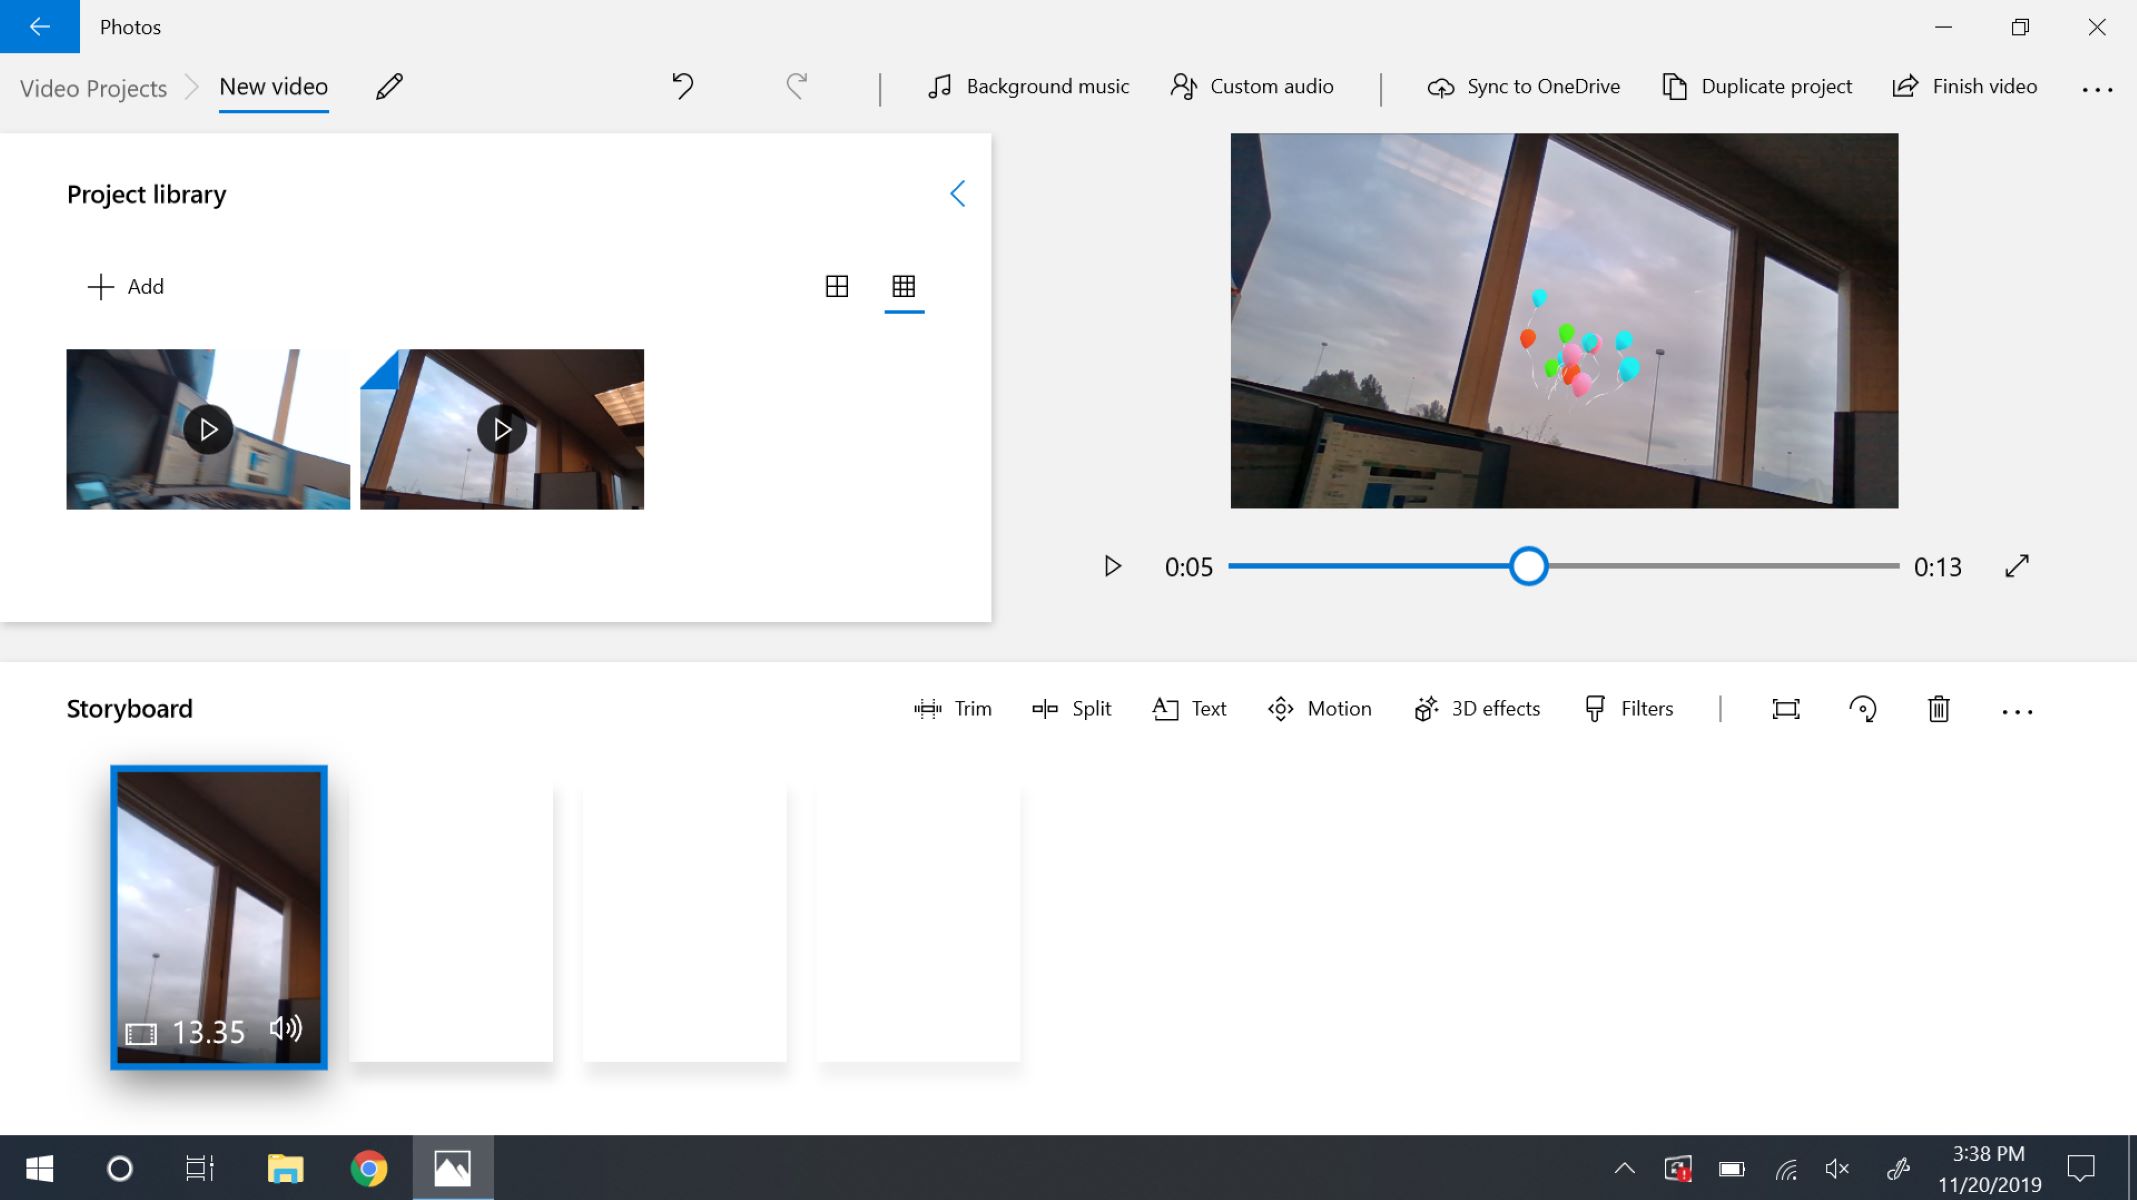
Step 1: Open the video editing software
The first step in trimming a video on Windows is to open the video editing software of your choice. Windows offers several options, including built-in software like Windows Movie Maker, as well as third-party applications like Adobe Premiere Pro, Filmora, and Sony Vegas Pro.
To open the video editing software, you can either search for it in your “Start” menu or locate it in your installed programs list. Once you find the software, simply click on it to open it.
If you’re using a third-party video editing software, you may need to create a new project or open an existing one. Follow the software’s instructions for creating a new project, and make sure to choose the appropriate settings for your video, such as resolution, frame rate, and aspect ratio.
Once you have the video editing software open and set up, you’re ready to move on to the next step.
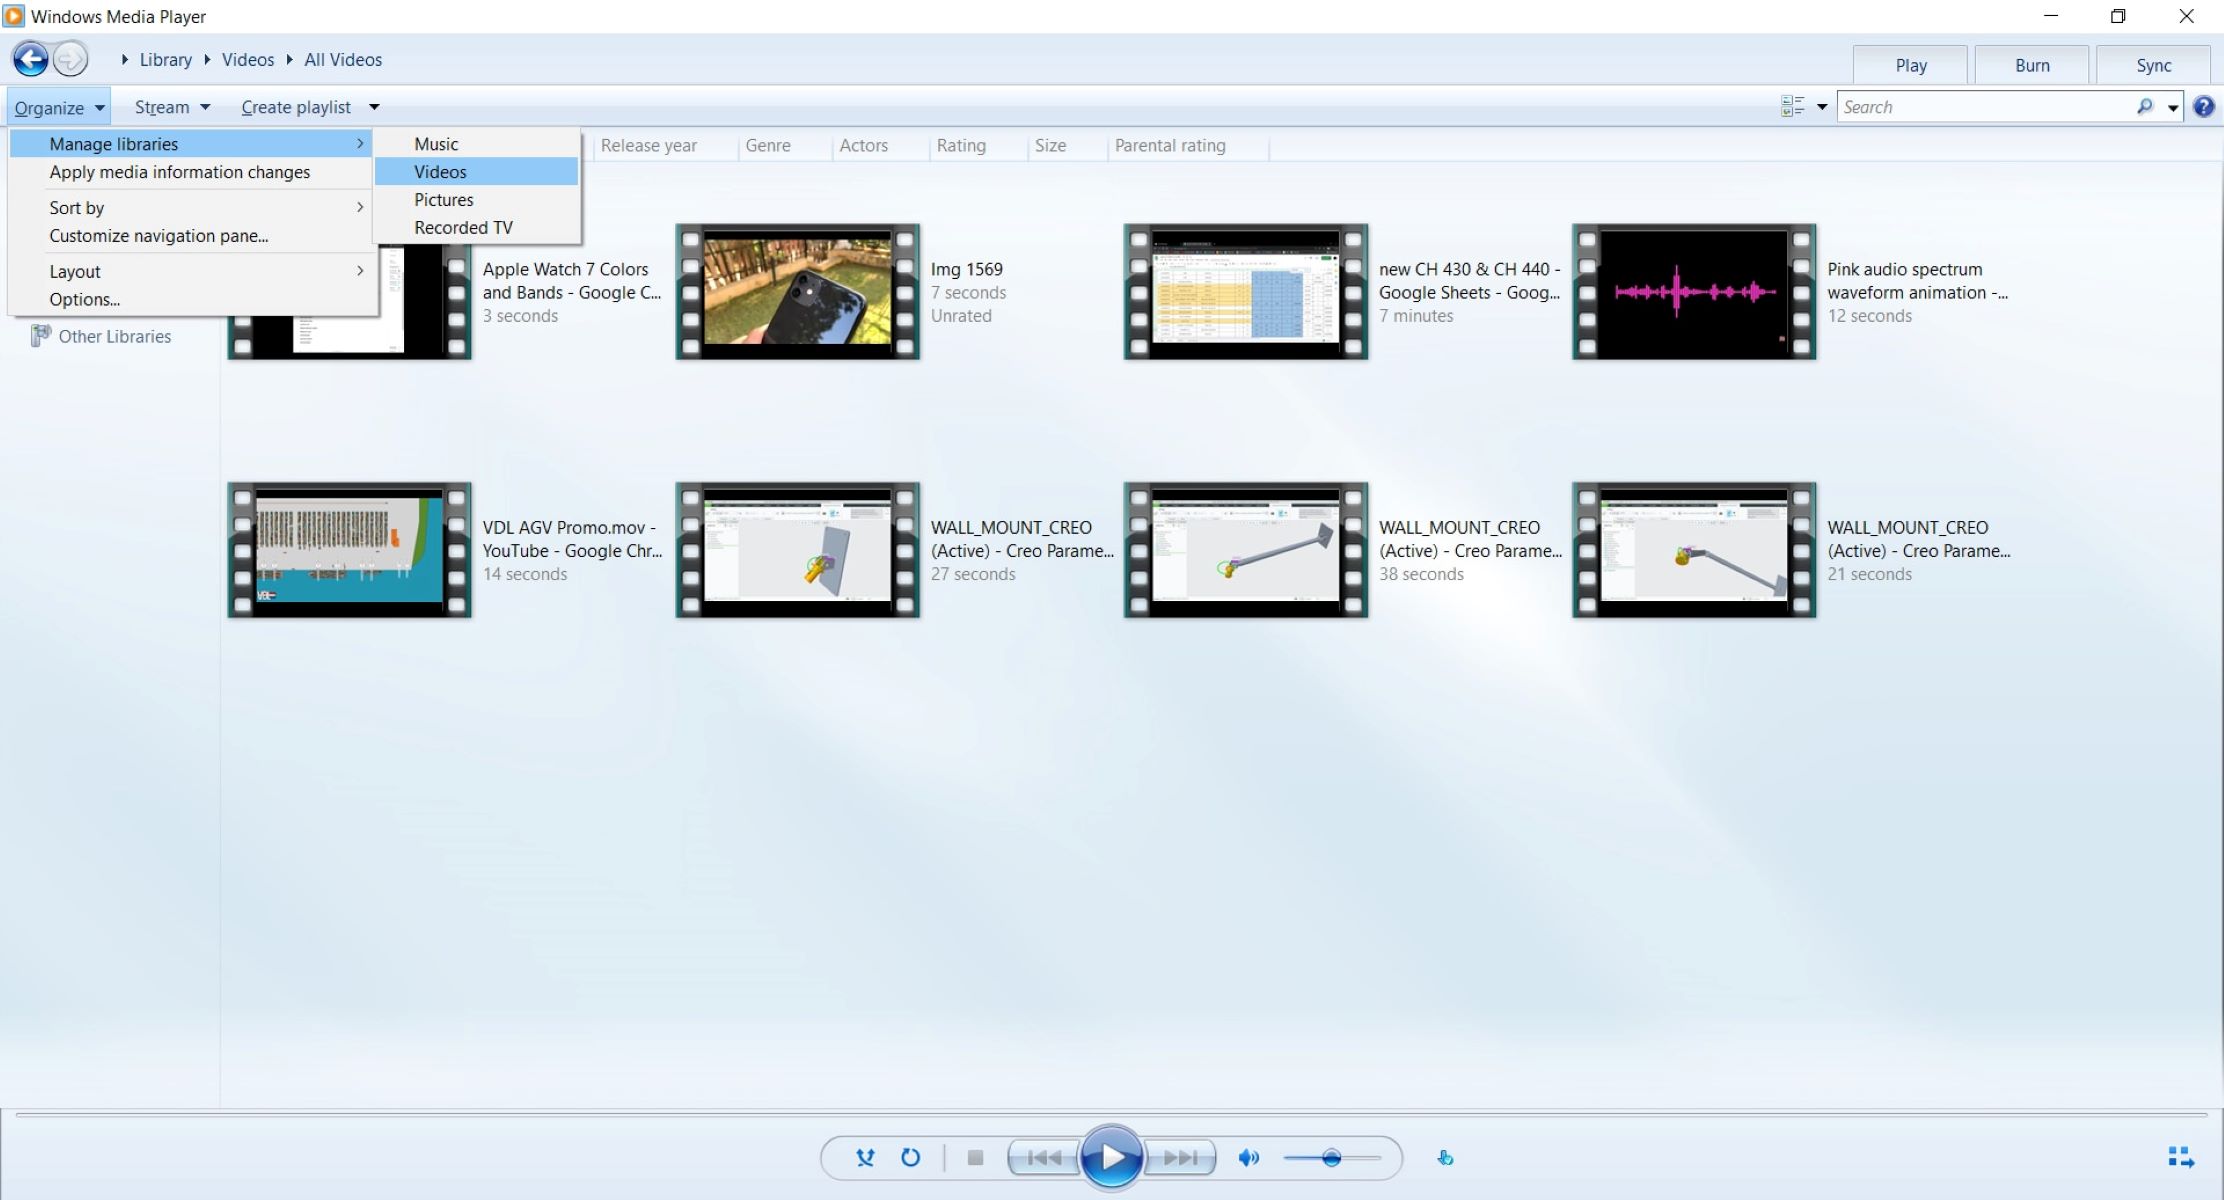
Step 2: Import the video file
After opening your chosen video editing software, the next step is to import the video file that you want to trim. Most video editing software programs have a dedicated “Import” or “Add Media” button, usually located at the top or in the toolbar.
Click on the “Import” button and navigate to the location where your video file is saved on your computer. Select the video file and click “Open” or “Import” to add it to your project.
Depending on the software you’re using, you may also have the option to drag and drop the video file directly into the project window. This can be a quicker and more efficient way of importing your video.
Once the video file is imported, you will typically see a preview of it in the project window or the timeline. This allows you to preview the video and make any necessary adjustments before starting the trimming process.
It’s important to note that some video editing software programs may also allow you to import multiple video files at once. This can be especially useful if you have different clips that you want to combine or edit together in your final video.
With the video file successfully imported, you’re now ready to proceed to the next step and start trimming your video!
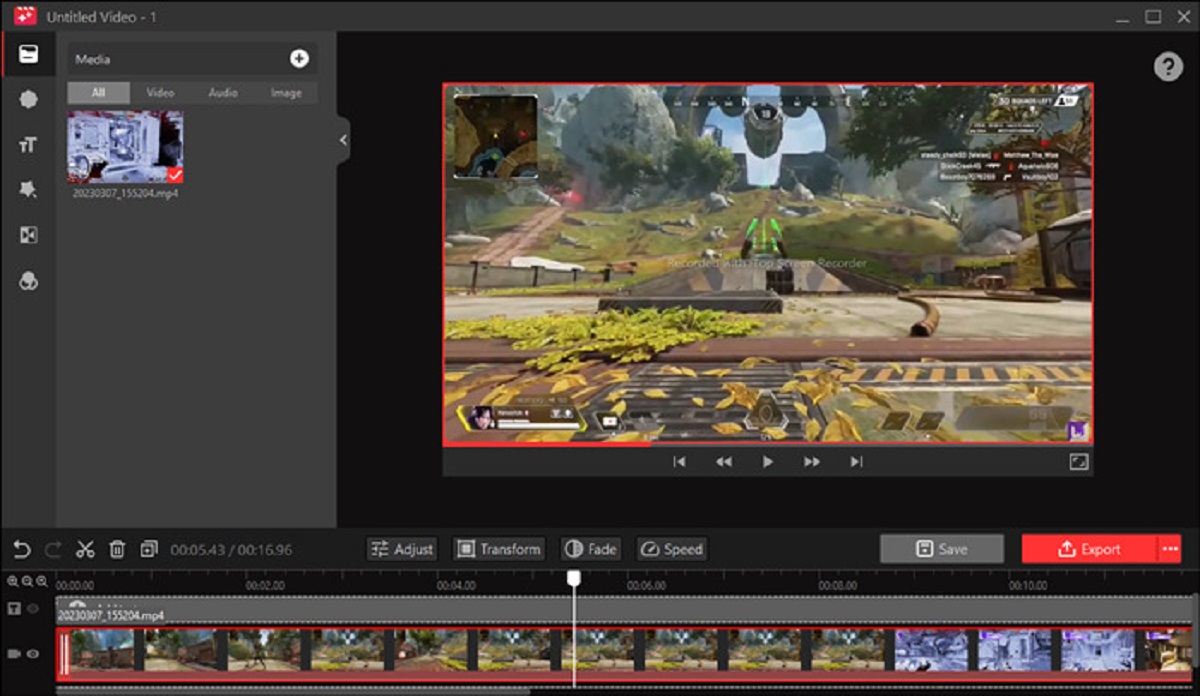
Step 3: Split the video
Now that you have imported your video file into the editing software, it’s time to split the video into smaller sections. This will allow you to remove unwanted parts and focus on the specific segments you want to keep.
Most video editing software programs provide a variety of tools and methods to split a video. One common method is to use the “Razor” or “Split” tool, which enables you to slice the video at specific points.
To split the video, locate the point in the timeline where you want to make the cut. Then, click on the “Razor” or “Split” tool and position the cursor at that point. Click or drag the cursor across the timeline, creating a split at your desired location.
Once you’ve made the split, you will see that the video is now divided into two separate sections. You can continue to split the video as needed to further refine the sections you want to trim. This allows for precise control over which parts of the video you want to keep or remove.
Alternatively, some video editing software programs also offer the option to split the video by selecting the desired portion and using keyboard shortcuts or menu options to split it quickly.
It’s important to remember that while splitting the video, you should be mindful of maintaining a seamless flow between the different sections. Take into consideration factors like scene transitions, audio continuity, and overall visual coherence.
By splitting the video into smaller sections, you can easily identify and remove any unwanted portions, ensuring that your final trimmed video is concise and well-crafted.
Step 4: Remove unwanted sections
After splitting the video into smaller sections, the next step is to remove any unwanted parts. This allows you to refine your video and focus on the essential content that you want to keep.
To remove an unwanted section, select the portion of the video you wish to delete. This can be done by clicking and dragging over the segment in the timeline or selecting it using the cursor. Once the section is selected, right-click on it and choose the “Delete” or “Remove” option from the context menu.
Alternatively, some video editing software programs offer a simple delete button or the ability to press the “Delete” or “Backspace” key on your keyboard to remove the selected section.
It’s important to be careful when removing sections to avoid accidentally deleting the wrong part of the video. Make sure to preview your edits and double-check your selections before confirming the deletion.
If you realize that you’ve removed a portion of the video that you wanted to keep, don’t worry! Most video editing software programs provide an “Undo” option or a step-by-step history that allows you to revert the changes and restore the deleted section.
Remember, the goal is to create a cohesive and engaging video by removing any unnecessary content. This could include repetitive footage, awkward pauses, or any parts that do not contribute to the overall storytelling or message of your video.
By removing unwanted sections, you can ensure that your trimmed video is concise, engaging, and delivers the intended message effectively.
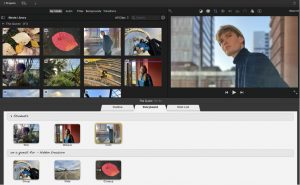
Step 5: Rearrange the video clips
Once you have removed the unwanted sections from your video, it’s time to arrange the remaining clips in the desired sequence. Rearranging the video clips allows you to create a cohesive flow and tell your story or convey your message effectively.
To rearrange the video clips, simply click and drag them to the desired position in the timeline. Most video editing software programs provide a visual representation of the clips in the timeline, allowing you to easily organize and reposition them.
You can move a clip forward or backward in the timeline to change its position relative to other clips. This will alter the chronological order in which the clips are presented.
If you want to insert a new clip between two existing clips, you can drag it into the desired spot in the timeline. The existing clips will automatically shift to accommodate the new addition.
In some cases, you may need to adjust the duration of certain clips to create a smooth transition between them. This can be done by clicking on the edge of the clip and dragging it to make it longer or shorter.
Rearranging the video clips allows you to create a visually engaging and well-paced video that captures the attention of your audience. Think about the narrative flow, visual continuity, and any specific storytelling techniques you want to employ.
By carefully arranging the video clips, you can enhance the overall impact of your video and create a compelling viewing experience for your audience.
Step 6: Trim the video length
Now that you have rearranged the video clips and established the desired sequence, it’s time to trim the length of your video. Trimming allows you to fine-tune the duration of each clip and ensure that the overall video length aligns with your intended purpose and audience preferences.
To trim a video clip, select it in the timeline and look for the “Trim” or “Cut” tool in your video editing software. This tool usually appears as two arrows pointing towards each other, indicating the ability to trim or cut the clip at a specific point.
Click and drag either end of the clip to shorten or lengthen its duration. As you adjust the clip’s length, you will see the changes reflected in real-time in the timeline or the preview window.
It’s important to consider the pacing and continuity of your video when trimming. Pay attention to natural transitions, such as audio cues, visual cues, and scene changes. Smooth transitions help maintain flow and engagement throughout the video.
If you need to remove a section within a clip without affecting the overall length, you can use the split tool (or razor tool) mentioned earlier in step 3 to divide the clip at the desired point. Then, select and remove the unwanted section, eliminating any unnecessary content.
Trimming the video length is crucial for creating concise, engaging, and captivating content. It allows you to capture your audience’s attention and deliver your message effectively within a suitable timeframe.
Take your time to review and fine-tune the length of each clip to achieve the desired impact and maintain the viewer’s interest from start to finish.
Step 7: Save the trimmed video
After you have successfully trimmed your video and are satisfied with the final result, it’s time to save your work. Saving the trimmed video ensures that your edits are preserved and ready for sharing or further use.
To save the trimmed video, navigate to the “File” or “Export” menu in your video editing software. From there, you will typically have a range of options to choose from, such as the desired file format, resolution, quality, and destination folder.
Choose the appropriate settings based on your requirements and preferences. Consider factors like the intended platform for your video, file size limitations, and playback compatibility. Popular video file formats include MP4, MOV, and AVI.
Once you have set the desired parameters, click on the “Save” or “Export” button to begin the saving process. Depending on the length and complexity of your video, it may take some time to render and export the final trimmed video.
While the video is saving, make sure to avoid closing the video editing software or interrupting the process to prevent any potential loss or corruption of the file.
Once the saving process is completed, you will have a trimmed video file that reflects all your edits and adjustments. You can now use this file to upload it to video sharing platforms, embed it on websites, or further edit it in the future, if needed.
Remember to give your trimmed video an appropriate and descriptive filename, so it’s easy to identify and organize in your files.
Congratulations! You have successfully trimmed your video and saved the final version. It’s now ready to be shared with your audience, friends, or clients.
Conclusion
Trimming a video on Windows is a valuable skill to have, whether you’re a content creator, filmmaker, or someone who simply wants to enhance their videos. By following the step-by-step process outlined in this guide, you can easily trim videos and create professional-looking content.
Throughout the trimming process, it’s important to use the video editing software of your choice, import the video file, split it into smaller sections, remove the unwanted parts, rearrange the clips, trim their length, and finally, save the trimmed video. Each step plays a crucial role in refining your video and delivering a compelling final product.
Remember to be mindful of the flow, pacing, and visual coherence while trimming your video. Smooth transitions, natural editing, and concise storytelling will help captivate your audience and keep them engaged from start to finish.
Keep in mind that the software and specific steps may vary depending on the video editing program you’re using. However, the fundamental principles of trimming a video remain consistent across platforms. Take advantage of the various tools and features offered by your chosen software to enhance your editing abilities.
Now that you possess the knowledge and skills to trim videos on Windows, you can confidently create captivating content that stands out. Make use of this newfound expertise to bring your creative vision to life and make a lasting impression on your viewers.
So, what are you waiting for? Start exploring the world of video editing, trim your videos, and unleash your creativity!