Introduction
Welcome to the world of video editing with Windows Media Player! Whether you’re a beginner or have some experience, this article will guide you through the basics of editing videos using this widely-used media player on Windows operating systems.
Windows Media Player is a versatile tool that not only plays media files but also offers a range of editing features to enhance your videos. It provides a user-friendly interface and a variety of editing options that allow you to trim clips, add transitions, adjust video speed, and much more.
With Windows Media Player, you can unleash your creativity and transform your raw video footage into polished masterpieces. Whether you’re editing videos for personal use, for social media, or for professional projects, this software has got you covered.
In this article, we will explore the various features and functions of Windows Media Player to help you get started with video editing. We’ll cover everything from importing videos to applying visual effects, adding audio, and exporting your final project.
So, whether you’re looking to create a travel vlog, a tutorial video, or simply want to enhance your home movies, let’s dive into the world of video editing with Windows Media Player and unlock your creative potential!
Getting Started
Before you begin editing videos in Windows Media Player, it’s important to ensure that you have the software installed on your Windows operating system. Windows Media Player is typically pre-installed on most Windows versions, but if you don’t have it, you can easily download it from the Microsoft website.
Once you have Windows Media Player installed, follow these steps to start editing your videos:
- Open Windows Media Player: Launch the application by locating it in your Start menu or searching for it in the search bar.
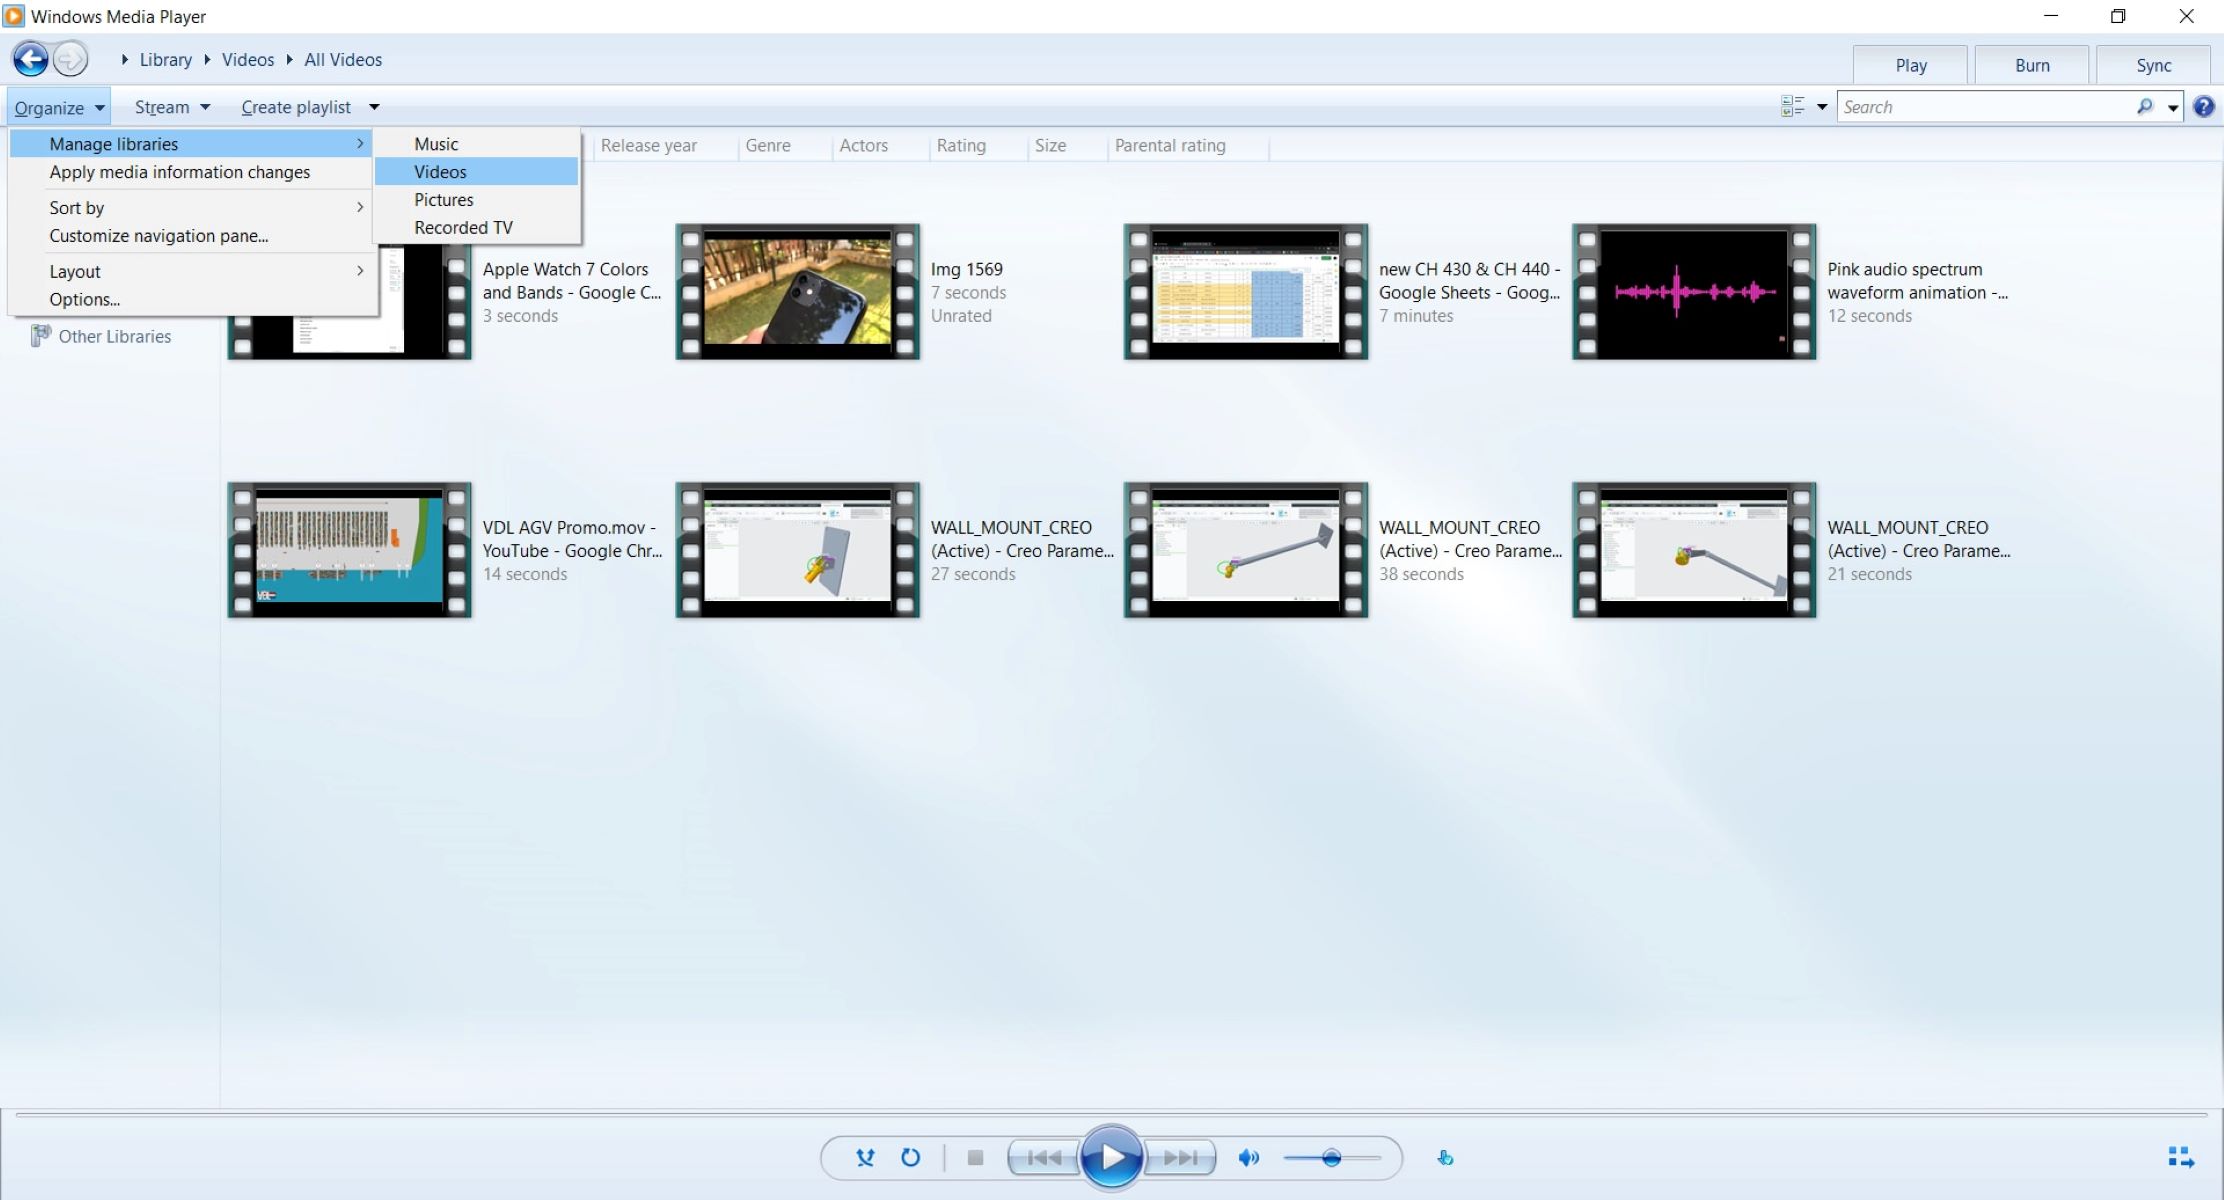
- Navigate to the Library: Click on the “Library” tab in the menu at the top of the player’s interface. This is where you will manage and organize your video files.
- Import Videos: To import videos into Windows Media Player, click on the “File” option in the top left corner of the player and select “Add to Library” from the dropdown menu. Choose the folder or files that contain your videos and click “Add”.
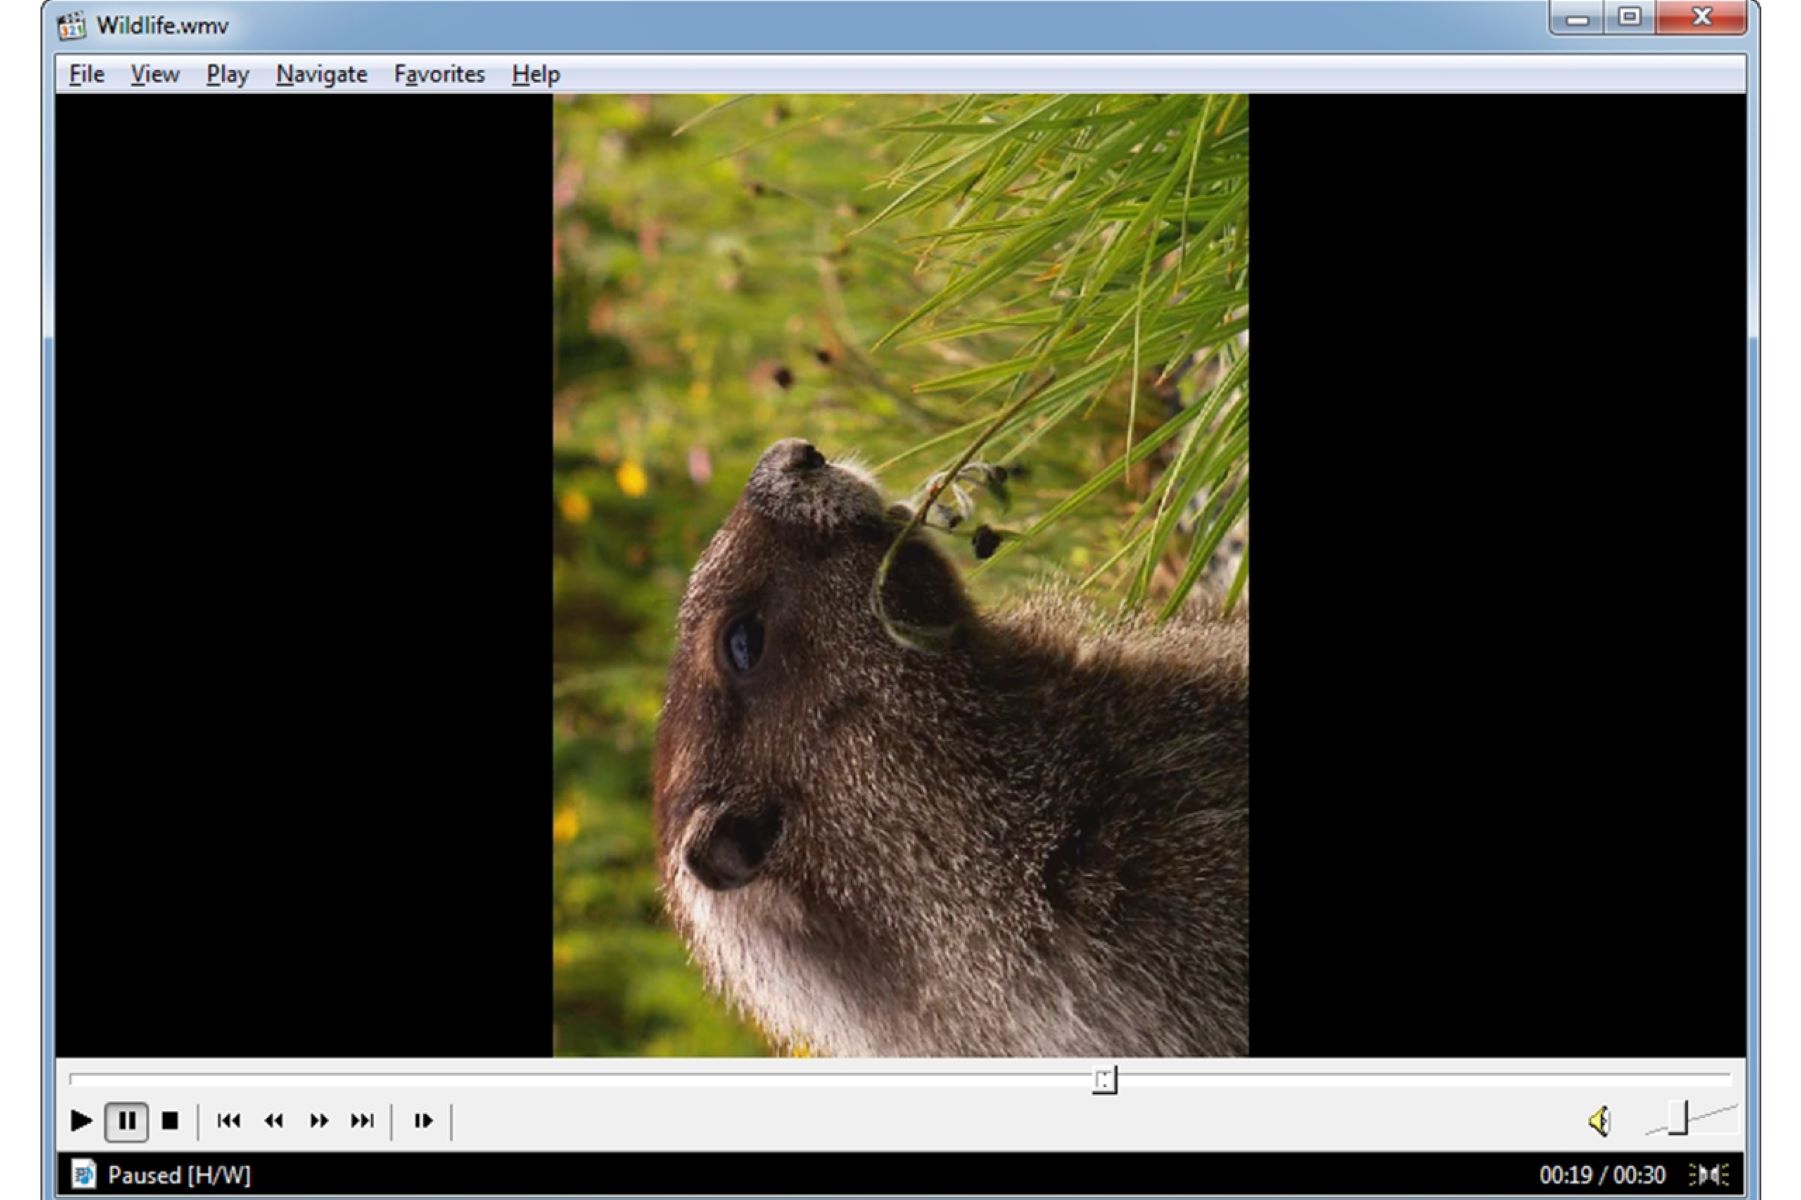
- Select a Video: Once you have imported your videos, navigate to the Library and locate the video you want to edit. Double-click on it to start playback.
Now that you have successfully opened your video in Windows Media Player, you’re ready to start exploring the various editing features and techniques to make your video stand out.
It’s worth mentioning that while Windows Media Player offers basic video editing capabilities, it may not have all the advanced features found in dedicated video editing software. However, it provides a great starting point for beginners and those who prefer a simpler editing experience.
It’s time to unleash your creativity and bring your videos to life using Windows Media Player. In the following sections, we’ll delve into the different editing features and techniques available, allowing you to create impressive videos that will grab the attention of your audience. So, let’s get started!
Importing Videos
Now that you have opened Windows Media Player and selected your desired video, let’s explore how to import videos into the software.
To import videos into Windows Media Player, follow these steps:
- Click on the “Library” tab: Located at the top of the player’s interface, the Library tab is where you can manage and organize your video files.
- Select “File” and choose “Add to Library”: Click on the “File” option in the top left corner of the player and select “Add to Library” from the dropdown menu.
- Browse and select your video files: A dialog box will appear, allowing you to navigate through your computer’s folders. Choose the folder or files that contain your videos and click “Add”.
Windows Media Player will then proceed to scan and import the selected videos into its library. Once the importing process is complete, you can easily access and manage your videos within the Library tab.
If you already have your videos stored in a specific folder on your computer, you can also drag and drop them directly into the Windows Media Player interface. Simply locate the videos you want to import and drag them into the Library area.
It’s important to note that Windows Media Player supports various video file formats, including but not limited to AVI, WMV, MP4, and MKV. This enables you to import a wide range of video files for editing purposes.
By importing your videos into Windows Media Player, you gain easy access to your video library, making it convenient to select and edit your desired clips. This sets the stage for further editing and customization options, such as trimming, adding effects and transitions, adjusting brightness, and much more.
In the next sections, we will explore these editing features in detail, allowing you to transform your raw video footage into captivating creations. Let’s continue our journey in mastering video editing with Windows Media Player!
Trimming and Splitting Clips
One of the fundamental editing techniques is trimming and splitting video clips. This allows you to remove unwanted sections and retain only the essential parts of your footage. Windows Media Player provides easy-to-use tools for accomplishing this task.
To trim and split clips in Windows Media Player, follow these steps:
- Select the clip you want to edit: In the Library tab, locate the video clip you wish to trim and double-click on it to start playback.
- Pause at the desired start point: Once the video is playing, pause it at the desired starting point of the section you want to keep.
- Set the start point: Click on the “Edit” menu at the top of the player’s interface and select “Set start point”.
- Resume playing and pause at the desired end point: Continue playing the video and pause it at the desired ending point of the section you want to keep.
- Set the end point: Go back to the “Edit” menu and choose “Set end point”.
By following these steps, you have successfully trimmed the selected video clip in Windows Media Player. The trimmed section is now separated from the original clip and can be viewed independently.
If you need to further refine your edits, you can split a video clip into multiple smaller clips. This can be useful for removing unnecessary portions or rearranging sequences. To accomplish this, follow these steps:
- Select the clip you want to edit: Double-click on the video clip in the Library tab to start playback.
- Pause at the desired splitting point: Pause the video at the point where you want to split it into separate clips.
- Split the clip: Go to the “Edit” menu and select “Split”. The clip will be split into two separate clips at the designated point.
With the ability to trim and split video clips, you have greater control over the content and structure of your videos. It allows you to eliminate unwanted sections, focus on the most important moments, and create a more polished and concise final result.
In the next sections, we will explore additional editing features in Windows Media Player, including adding transitions, changing video speed, adjusting brightness and contrast, and more. Let’s continue our journey in mastering video editing with Windows Media Player!
Adding Transitions
Transitions are essential for creating smooth and seamless transitions between video clips, enhancing the overall flow and visual appeal of your project. Windows Media Player offers a range of built-in transitions that you can easily apply to your videos.
To add transitions in Windows Media Player, follow these steps:
- Select the video clips: In the Library tab, choose the video clips you want to add transitions between. Hold down the Ctrl key to select multiple clips.
- Click on the “Edit” menu: Located at the top of the player’s interface, click on “Edit” and choose “Video transitions” from the dropdown menu.
- Select a transition: A window will open with various transition options. Browse through the available transitions, such as fade, dissolve, wipe, or slide, and click on the one you want to apply.
- Adjust the transition duration: Once the transition is applied, you can adjust its duration by dragging the edges of the transition icon on the timeline.
By following these steps, you can add visually pleasing transitions between your video clips in Windows Media Player. These transitions smooth out the jump cuts and provide a professional touch to your video editing.
It’s important to note that transitions should be used strategically and sparingly. They should serve a purpose and enhance the story or visual experience of your video. Overusing transitions or choosing inappropriate ones can distract the viewer and detract from the overall quality of your project.
Experiment with different transitions and consider the mood and style of your video to find the ones that complement your content best. Play around with the transition duration to achieve the desired timing and effect.
In addition to transitions between video clips, Windows Media Player also allows you to add transitions to the beginning and end of your video. These can be used to fade in at the start and fade out at the end, creating a smooth entry and exit for your videos.
With the ability to add transitions, you can elevate the professionalism and visual impact of your videos. In the next sections, we will explore additional editing features in Windows Media Player, including changing video speed, adjusting brightness and contrast, adding text and captions, and more. Let’s continue our journey in mastering video editing with Windows Media Player!
Changing Video Speed
Altering the speed of your video clips can add a creative touch to your editing and help you convey different moods or emphasize certain moments. Windows Media Player allows you to easily change the playback speed of your videos.
To change the video speed in Windows Media Player, follow these steps:
- Select the video clip: In the Library tab, choose the video clip you want to modify the speed of and double-click on it to start playback.
- Click on the “Play” button: Start playing the video clip.
- Open the “Enhancements” menu: In the top menu bar, click on “Play” and select “Enhancements” from the dropdown menu.
- Select “Play Speed Settings”: From the Enhancements menu, choose “Play Speed Settings”.
- Adjust the playback speed: A dialog box will appear with a slider that allows you to increase or decrease the speed of the video. Move the slider to the left for slower playback or to the right for faster playback.
By following these steps, you can easily change the playback speed of your video clip in Windows Media Player. This can be helpful in various situations, such as creating slow-motion effects or speeding up time-lapse videos.
Experiment with different playback speeds to achieve the desired effect. A slower speed can create a dreamy or dramatic atmosphere, while a faster speed can bring energy and excitement to your footage. Adjusting the speed can help you control the pacing and enhance the storytelling of your video.
In addition to adjusting the entire clip’s speed, Windows Media Player also allows you to set specific sections of the video to play at different speeds. This can be done by using the “Set start point” and “Set end point” options in the Edit menu, as mentioned in the previous section on trimming and splitting clips.
With the ability to change video speed, you have a powerful tool at your disposal to enhance the emotional impact and creative expression of your videos. In the next sections, we will explore additional editing features in Windows Media Player, including adjusting brightness and contrast, adding text and captions, combining multiple videos, and more. Let’s continue our journey in mastering video editing with Windows Media Player!
Adjusting Video Brightness and Contrast
The brightness and contrast of your video significantly impact its overall look and visual quality. Windows Media Player provides convenient tools that allow you to adjust these parameters and enhance the appearance of your clips.
To adjust the brightness and contrast of your video in Windows Media Player, follow these steps:
- Select the video clip: In the Library tab, choose the video clip you want to modify the brightness and contrast of and double-click on it to start playback.
- Pause the video at the desired frame: Pause the video at a frame that represents the overall brightness and contrast you want to achieve.
- Open the “Enhancements” menu: In the top menu bar, click on “Play” and select “Enhancements” from the dropdown menu.
- Select “Video Settings”: From the Enhancements menu, choose “Video Settings”.
- Adjust the brightness and contrast sliders: A dialog box will appear with sliders for adjusting brightness and contrast. Move the sliders to the left to decrease the values or to the right to increase them.
By following these steps, you can easily modify the brightness and contrast of your video clip in Windows Media Player. Increasing the brightness can make a video appear more vibrant and illuminated, while adjusting the contrast can enhance the distinction between light and dark areas, adding depth and richness to the visuals.
It’s important to find the right balance when adjusting the brightness and contrast. Overdoing it can lead to unnatural or washed-out visuals. Take time to experiment with different settings and preview the changes in real-time to achieve the desired effect.
In addition to brightness and contrast adjustments, Windows Media Player also offers other video enhancement options, such as saturation, hue, and sharpness. These allow you to fine-tune the colors and sharpness of your videos, further enhancing their overall quality.
With the ability to adjust video brightness and contrast, you can greatly enhance the visual appeal of your videos. In the next sections, we will explore additional editing features in Windows Media Player, including adding text and captions, combining multiple videos, applying visual effects and filters, and more. Let’s continue our journey in mastering video editing with Windows Media Player!
Adding Text and Captions
Text and captions are essential elements in video editing as they provide important information, context, or enhance the storytelling. Windows Media Player offers tools that allow you to easily add text and captions to your videos, making your content more engaging and informative.
To add text and captions in Windows Media Player, follow these steps:
- Select the video clip: In the Library tab, choose the video clip you want to add text and captions to and double-click on it to start playback.
- Pause the video at the desired frame: Pause the video at the frame where you want to insert the text or captions.
- Open the “Enhancements” menu: Click on the “Play” option in the top menu bar and select “Enhancements” from the dropdown menu.
- Select “Video Settings”: From the Enhancements menu, choose “Video Settings”.
- Click on the “Add captions or subtitles” button: In the Video Settings dialog box, click on the “Add captions or subtitles” button at the bottom.
- Enter the text: A text editor window will appear, allowing you to type in the text or captions you want to add. You can customize the font, size, color, position, and duration of the text.
- Adjust the text duration: In the text editor window, you can also specify the start and end time of the text or captions, determining how long they should appear on the screen.
- Save and apply the changes: Once you have entered the desired text and adjusted the settings, click “OK” to save the changes and apply the text or captions to your video.
By following these steps, you can easily add text and captions to your video clips in Windows Media Player. This feature is particularly useful for adding titles, subtitles, or explanatory text to your videos, giving them a professional and polished look.
Experiment with different text styles, colors, and positions to ensure that the text is legible and visually pleasing. It’s also important to consider the duration and timing of the text or captions, making sure that they appear at the appropriate moments in your video.
In addition to adding text and captions, Windows Media Player also allows you to add watermarks or logos to your videos. This can be helpful for branding purposes or protecting your content.
With the ability to add text and captions, you can effectively communicate information and enhance the storytelling in your videos. In the next sections, we will explore additional editing features in Windows Media Player, including combining multiple videos, applying visual effects and filters, adding audio, and more. Let’s continue our journey in mastering video editing with Windows Media Player!
Combining Multiple Videos
Combining multiple videos into a single composition is a common practice in video editing, allowing you to create a seamless narrative or compile different clips into a cohesive story. Windows Media Player offers easy-to-use tools that enable you to effortlessly merge multiple videos into one.
To combine multiple videos in Windows Media Player, follow these steps:
- Select the video clips: In the Library tab, choose the video clips you want to combine by holding down the Ctrl key and clicking on each clip.
- Click on the “Create playlist” button: Located in the bottom left corner of the player’s interface, click on the “Create playlist” button. This will create a new playlist that will contain your merged videos.
- Drag and drop the video clips into the playlist: Take the selected video clips and drag them over to the newly created playlist. You can arrange the order of the clips by dragging them up or down within the playlist.
- Save the playlist: Once you have the desired order of the video clips in the playlist, click on the “Save playlist” button and give your playlist a name. This will save your merged videos as a single playlist file.
By following these steps, you can easily combine multiple videos into one composition using Windows Media Player. The merged videos will play in the order specified within the playlist, creating a seamless playback of your video clips.
Within the playlist, you can also make further adjustments to each individual video, such as trimming clips, adjusting volume levels, or adding transitions. This allows you to fine-tune the final presentation of your combined videos.
It’s worth noting that when merging videos, it’s important to ensure that they are in the same file format and have compatible settings. This will ensure a smooth merging process and a consistent playback of the merged videos.
By combining multiple videos, you have the flexibility to tell a more comprehensive story or compile different moments into a single composition. Whether you’re creating a montage, a highlights reel, or a longer narrative, Windows Media Player gives you the tools to easily merge your videos and create a cohesive final product.
In the next sections, we will explore additional editing features in Windows Media Player, including applying visual effects and filters, adding audio, adjusting volume levels, exporting and saving videos, and more. Let’s continue our journey in mastering video editing with Windows Media Player!
Applying Visual Effects and Filters
Visual effects and filters can significantly enhance the look and feel of your videos, adding creative flair or altering the mood and atmosphere. Windows Media Player offers a range of built-in visual effects and filters that you can easily apply to your video clips.
To apply visual effects and filters in Windows Media Player, follow these steps:
- Select the video clip: In the Library tab, choose the video clip you want to apply visual effects or filters to and double-click on it to start playback.
- Pause the video at the desired frame: Pause the video at the frame where you want to apply the visual effect or filter.
- Open the “Video Effects” menu: In the top menu bar, click on “Play” and select “Video Effects” from the dropdown menu.
- Browse and choose a visual effect or filter: A window will open with various visual effects and filters to choose from, such as black and white, sepia, blur, or sharpen. Browse through the available options and click on the one you want to apply.
- Adjust the settings (if applicable): Depending on the selected effect or filter, you may have additional settings to adjust. Use sliders or dropdown menus to fine-tune the parameters and achieve the desired result.
By following these steps, you can easily apply visual effects and filters to your video clip in Windows Media Player. Experiment with different effects and filters to achieve the desired look and atmosphere for your video.
It’s important to note that while visual effects and filters can enhance your video, it’s essential to use them judiciously. Overusing or applying inappropriate effects can detract from the overall quality and distract the viewer. Choose effects and filters that complement your video and add value to the storytelling or visual aesthetics.
In addition to applying visual effects and filters to individual clips, Windows Media Player also offers the option to apply effects and filters to the entire video. This can be done by adjusting settings in the Enhancements menu, under Video Settings.
With the ability to apply visual effects and filters, you can unleash your creativity and transform your videos into visually captivating masterpieces. In the next sections, we will explore additional editing features in Windows Media Player, including adding audio, adjusting volume levels, exporting and saving videos, and more. Let’s continue our journey in mastering video editing with Windows Media Player!
Adding Audio
Adding audio to your videos can greatly enhance the overall viewer experience, whether it’s background music, sound effects, or narration. Windows Media Player provides simple and convenient tools to incorporate audio into your video projects.
To add audio to your videos in Windows Media Player, follow these steps:
- Select the video clip: In the Library tab, choose the video clip you want to add audio to and double-click on it to start playback.
- Pause the video at the desired frame: Pause the video at the frame where you want the audio to start.
- Open the “Enhancements” menu: Click on the “Play” option in the top menu bar and select “Enhancements” from the dropdown menu.
- Select “Audio Levels” or “Audio Enhancements”: From the Enhancements menu, choose either “Audio Levels” or “Audio Enhancements”, depending on the adjustments you want to make to the audio.
- Add audio: In the Audio Levels or Audio Enhancements dialog box, you can adjust the volume levels, apply equalizer settings, or add audio effects. You can also use the “Add music” button to import audio files and synchronize them with your video.
- Adjust the audio duration: Just like trimming and splitting video clips, you can also trim or adjust the duration of the audio to fit your video’s timeline.
By following these steps, you can easily add audio to your video clip in Windows Media Player. You have the flexibility to add background music, overlay sound effects, or even include narration to provide context or commentary.
When selecting audio for your videos, ensure that you have the necessary rights and permissions to use the audio legally. It’s important to respect copyright laws and obtain proper licenses or use royalty-free audio tracks.
In addition to adding external audio files, Windows Media Player also allows you to extract or separate the audio from the video itself. This can be useful if you want to remove background noise, edit the audio separately, or create a customized soundtrack.
With the ability to add audio to your videos, you can elevate the overall impact and engagement of your projects. In the next sections, we will explore additional editing features in Windows Media Player, including adjusting volume levels, exporting and saving videos, and more. Let’s continue our journey in mastering video editing with Windows Media Player!
Adjusting Volume Levels
Audio volume levels play a crucial role in creating a pleasant and balanced viewing experience for your videos. Windows Media Player offers the ability to adjust volume levels, allowing you to control the audio intensity and ensure optimal audio quality.
To adjust volume levels in Windows Media Player, follow these steps:
- Select the video clip: In the Library tab, choose the video clip you want to adjust the volume levels of and double-click on it to start playback.
- Pause the video at the desired frame: Pause the video at a frame where you want to adjust the volume.
- Open the “Enhancements” menu: Click on the “Play” option in the top menu bar and select “Enhancements” from the dropdown menu.
- Select “Audio Levels”: From the Enhancements menu, choose “Audio Levels”.
- Adjust the volume slider: In the Audio Levels dialog box, you can adjust the volume slider to increase or decrease the audio volume. You can also separately adjust the volume for the left and right audio channels.
By following these steps, you can easily adjust the volume levels of your video clip in Windows Media Player. This enables you to control the audio levels and ensure that the sound is clear, balanced, and at the appropriate volume for your audience.
It’s important to maintain a balance between the video’s audio and other elements, such as background music or narration. When adjusting volume levels, consider the overall audio mix and ensure that no element overpowers the others.
In addition to adjusting volume levels for the entire video clip, Windows Media Player also allows you to adjust volume levels for specific sections. This can be done by using the “Set start point” and “Set end point” options in the Edit menu, as mentioned in the earlier section on trimming and splitting clips.
With the ability to adjust volume levels, you can ensure that your video’s audio is clear, balanced, and enjoyable for your audience. In the next sections, we will explore additional editing features in Windows Media Player, including exporting and saving videos, and more. Let’s continue our journey in mastering video editing with Windows Media Player!
Exporting and Saving Videos
Once you have completed editing your videos in Windows Media Player, it’s time to export and save your final projects. Exporting ensures that your edited videos are in a usable format and can be shared or played on various devices and platforms.
To export and save videos in Windows Media Player, follow these steps:
- Select the edited video: In the Library tab, choose the video that you want to export and save.
- Click on the “File” option: Located at the top left corner of the player’s interface, click on “File”.
- Select “Save as” or “Convert to”: From the File dropdown menu, choose either “Save as” or “Convert to”.
- Choose the desired file format: A dialog box will appear, allowing you to choose the file format in which you want to save your video. Windows Media Player supports various file formats such as MP4, WMV, AVI, and more.
- Specify the destination folder and file name: Select the folder location where you want to save your video and provide a name for the file.
- Adjust any additional settings: Depending on the chosen file format, you may have the option to adjust additional settings such as video quality, resolution, or codec settings. Modify these settings according to your preferences or requirements.
- Click “Save” or “Convert”: Once you have selected the desired file format, folder, and name, click the “Save” or “Convert” button to begin the exporting process.
By following these steps, you can easily export and save your edited videos in Windows Media Player. The software will process and save the video according to the specified settings and file format.
It’s important to consider the intended use and destination of your video when choosing the file format. Different platforms and devices have specific requirements, so select a format that ensures compatibility and optimal playback quality.
Once the exporting process is complete, you will have a saved video file that you can share, upload to social media platforms, or burn to a DVD for physical distribution. You can also play the video using Windows Media Player or other compatible media players.
With the ability to export and save your videos, you can share your edited creations with the world. In the next sections, we will explore additional editing features in Windows Media Player, such as applying visual effects and filters, adjusting audio, and more. Let’s continue our journey in mastering video editing with Windows Media Player!
Conclusion
Congratulations! You have now learned the basics of editing videos using Windows Media Player. This versatile software provides a range of editing features and tools that allow you to transform your raw footage into polished and captivating videos.
Throughout this guide, we’ve covered various aspects of video editing, from importing and trimming clips to adding transitions, adjusting video speed, applying visual effects, adding audio, and more. By utilizing these features, you can create professional-looking videos that resonate with your audience.
Remember to approach video editing with a balance of technical expertise and creativity. While Windows Media Player offers a solid set of editing capabilities, it’s important to note that it may not have all the advanced features found in dedicated video editing software. If you feel the need for more advanced editing features, consider exploring other dedicated video editing tools.
Lastly, as you continue your video editing journey, don’t be afraid to experiment and explore new techniques. Each video project presents an opportunity to unleash your creativity and develop your own unique style and storytelling approach.
Now it’s time to put your newfound knowledge into practice. Open up Windows Media Player, import your video clips, and start exploring the various editing features. Whether you’re creating videos for personal enjoyment, social media platforms, or professional projects, Windows Media Player can be a valuable tool in your video editing arsenal.
Happy editing!