Introduction
Video cropping is a useful technique that allows you to remove unwanted parts of a video and focus on the essential content. Whether you want to remove distracting elements, tailor the aspect ratio, or highlight a specific portion of the video, learning how to crop videos on Windows can greatly enhance the visual appeal and storytelling of your footage.
With numerous video editing software available, it is important to choose the right one to effectively crop your videos. In this article, we will guide you through the steps of cropping videos on Windows, helping you achieve the desired results with clarity and precision.
Keep in mind that while there are paid video editing software options available with advanced features, there are also free software alternatives that can effectively accomplish basic video cropping tasks. The steps outlined here can be applied to popular video editing programs like Adobe Premiere Pro, Filmora, and iMovie, providing you with the flexibility to choose the software that best suits your needs.
By following the steps in this guide, you will be able to crop your videos seamlessly, ensuring that your audience’s attention is focused on the most relevant and captivating aspects of your footage.
Choosing the Right Video Editing Software
When it comes to cropping videos on Windows, selecting the right video editing software is crucial. The software you choose should have the necessary features, user-friendly interface, and compatibility with your Windows device. Here are a few factors to consider before making your decision:
- Features: Look for video editing software that offers a dedicated crop tool. This tool should allow you to easily select and adjust the cropping area, preview the changes in real-time, and apply the crop without compromising the quality of your video.
- User-Friendliness: Opt for software with an intuitive interface that makes the cropping process straightforward and accessible, even if you are a beginner. The tool should have clear instructions and a seamless workflow, enabling you to crop your video without feeling overwhelmed.
- Compatibility: Ensure that the video editing software you choose is compatible with your Windows operating system version. Check if the software offers frequent updates and technical support, as this will ensure a smooth and hassle-free cropping experience.
- Additional Features: Consider whether you require any additional features, such as video stabilization, color correction, or special effects. Some video editing software provides a comprehensive suite of tools that can enhance your videos beyond simple cropping.
- Cost: While paid video editing software often offers more advanced features, free software options can still effectively meet basic cropping needs. Evaluate your budget and weigh the benefits and limitations of both paid and free software before making a decision.
Once you have considered these factors, you will be well-equipped to choose the video editing software that aligns with your requirements. The following steps will guide you through the process of cropping videos on Windows, utilizing the chosen software to achieve impressive results.
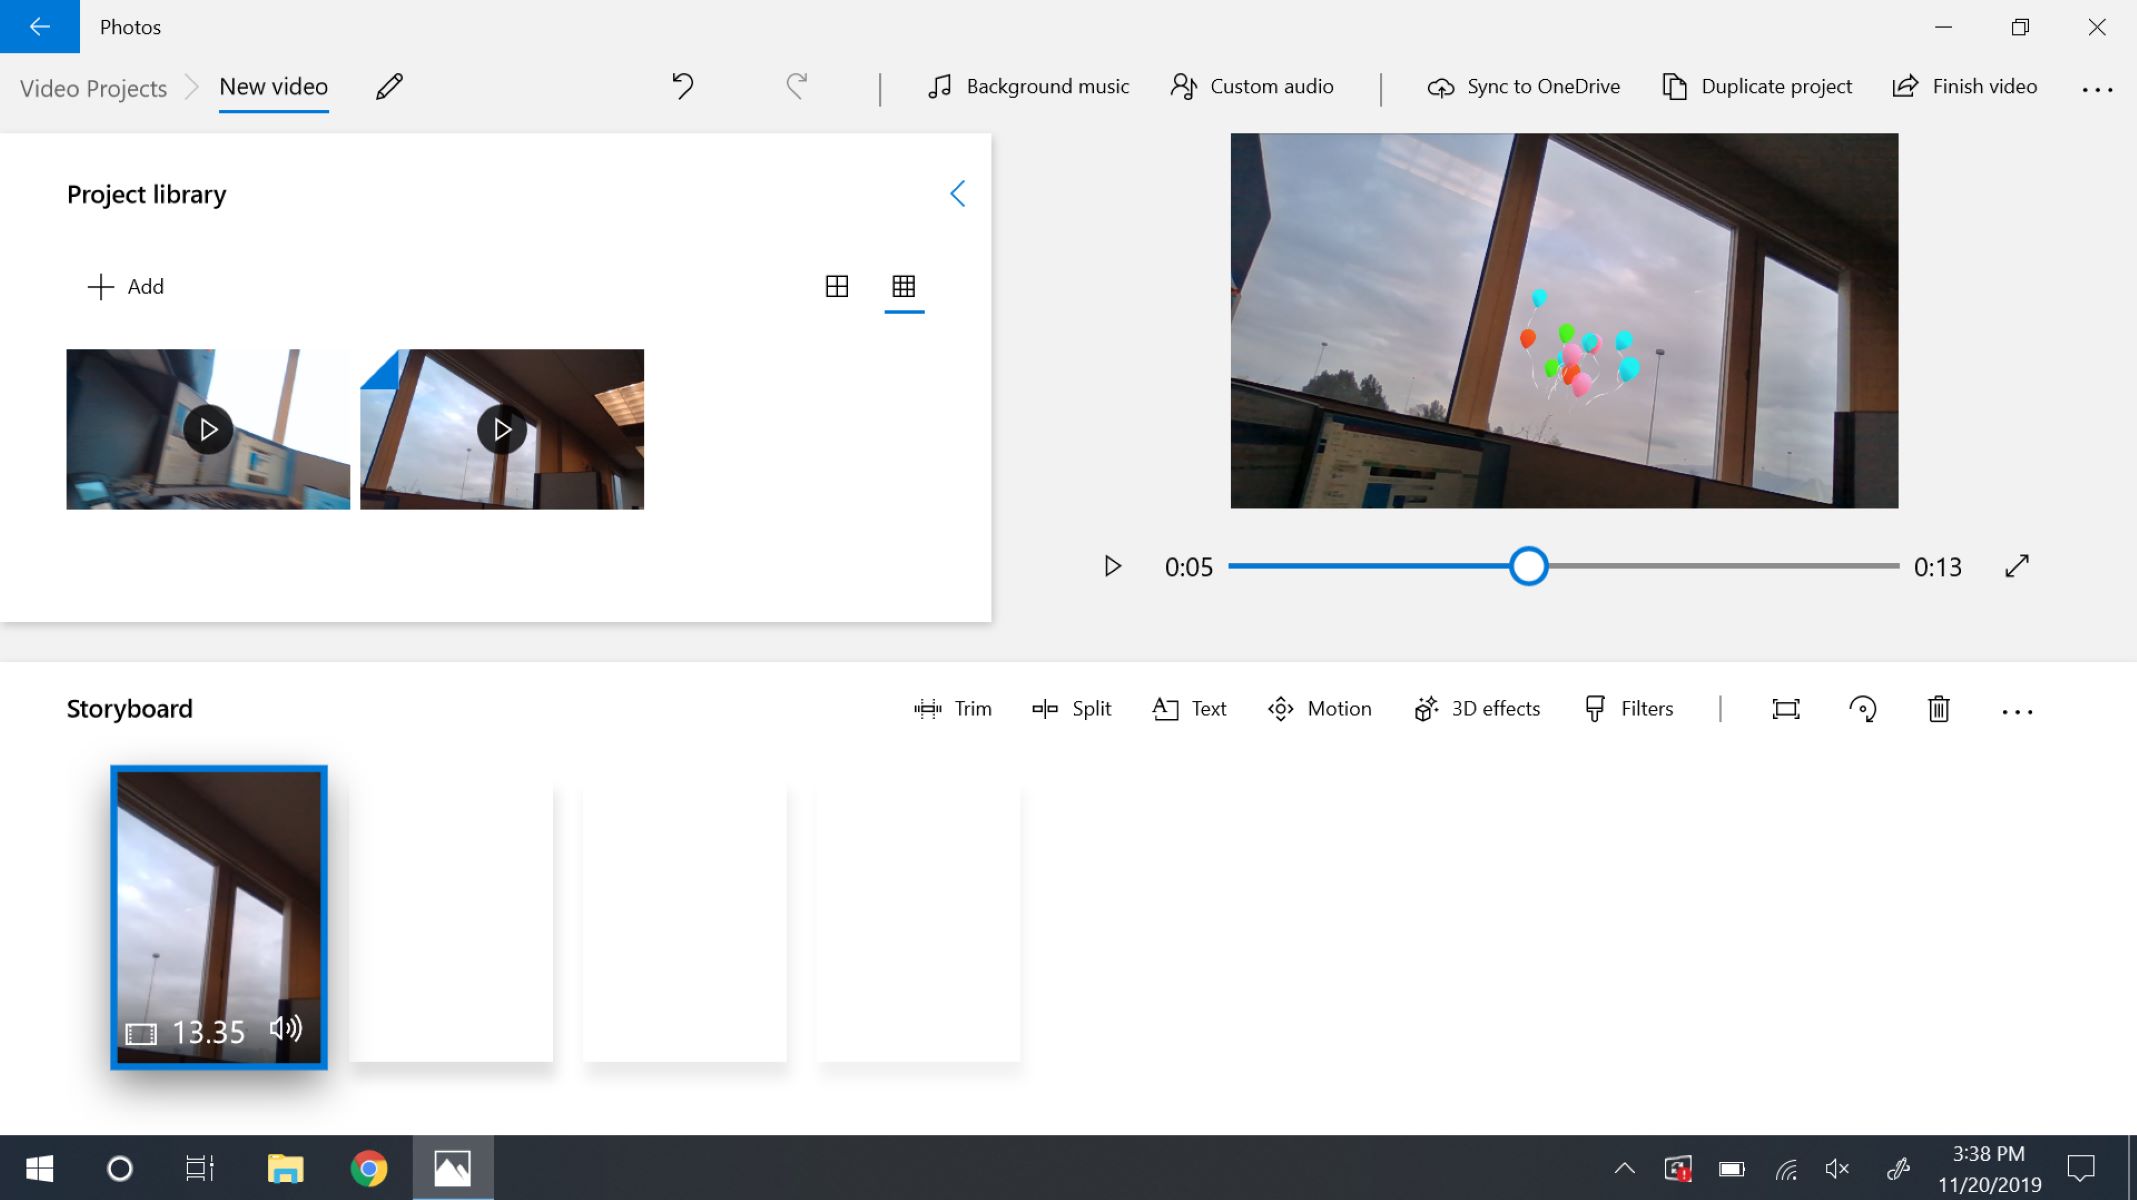
Step 1: Importing Your Video
The first step in cropping your video on Windows is to import it into the chosen video editing software. Here’s how you can do it:
- Launch the video editing software you have installed on your Windows device. Ensure that your video is saved in a location accessible by the software.
- Click on the “Import” or “File” tab in the software’s menu bar. A drop-down menu will appear, giving you options to import media files.
- Select the option that allows you to import a video file. This may be labeled as “Import Media,” “Import Video,” or a similar term depending on the specific software you are using.
- Browse through your computer’s files to locate and select the video you want to crop. Click the “Open” or “Import” button to import the video into the software’s timeline.
Once you have successfully imported your video, you are ready to move on to the next step of cropping it. It’s important to note that some video editing software may have slight variations in the import process, but the basic principles remain the same.
By following these steps, you have now successfully imported your video into the video editing software of your choice. You are a step closer to cropping your video effectively and achieving the desired results.
Step 2: Selecting the Crop Tool
After importing your video into the video editing software on your Windows device, the next step is to select the crop tool. This tool allows you to define the area of the video you want to keep, while removing any unnecessary parts. Follow these steps to select the crop tool:
- Locate the video clip on the timeline of your video editing software. This is where you will be applying the crop.
- Click on the video clip to select it. You may need to double-click or right-click on the clip, depending on the software you are using.
- Look for a toolbar or panel that contains various editing options. The crop tool is typically represented by an icon that resembles two overlapping right-angle lines or a rectangular frame.
- Click on the crop tool icon to activate it. This will enable you to define the cropping area for your video.
Once you have successfully selected the crop tool, you are ready to proceed with the next steps of adjusting the crop settings and refining the cropping area. Remember that the specific location and appearance of the crop tool may vary slightly depending on the video editing software you are using.
By following these steps, you have now selected the crop tool in your chosen video editing software. You are now equipped with the necessary tool to effectively crop your video and remove any unwanted parts.
Step 3: Adjusting the Crop Tool Settings
With the crop tool selected in your video editing software on your Windows device, it’s time to adjust the settings to define the specific area you want to keep in your video. Follow these steps to adjust the crop tool settings:
- Click and drag the edges of the crop frame to resize and reposition it according to your desired crop area. The crop frame represents the portion of the video that will be retained.
- Pay attention to any gridlines or guides that may appear on the screen to assist you in aligning the crop area. These visual aids can help you achieve a symmetrical and visually appealing crop.
- Explore additional settings or options related to the crop tool. This may include options to maintain the aspect ratio of the original video, rotate the crop area, or fine-tune the position and size of the crop frame.
- Take advantage of any preview functionality provided by the video editing software. This allows you to see the result of your crop in real-time before finalizing it.
Remember to take your time while adjusting the crop tool settings to ensure that you achieve the desired crop area accurately. It’s important to strike a balance between removing unnecessary portions and preserving the integrity and composition of the video.
By following these steps, you have now adjusted the crop tool settings in your chosen video editing software. You are one step closer to achieving a precise and visually pleasing crop for your video.
Step 4: Previewing Your Crop
Once you have adjusted the crop tool settings in your video editing software on your Windows device, it is essential to preview your crop to ensure it meets your expectations. Previewing allows you to see how the final cropped video will look and make any necessary adjustments. Follow these steps to preview your crop:
- Locate the preview window within your video editing software. This window typically displays a real-time playback of your edited video.
- Play the video within the preview window to see the effects of your crop. Pay attention to how the cropped area looks in motion and whether it aligns with your intended vision for the video.
- If you are not satisfied with the crop, go back to the crop tool settings and make any necessary adjustments. Repeat the process of resizing, repositioning, and fine-tuning the crop frame until you are satisfied.
- Continue previewing the video after each adjustment to ensure that the crop is meeting your desired outcome.
Previewing your crop is crucial to ensure that your final video has the intended composition and visual impact. Take the time to review the crop from different angles and perspectives, and consider seeking feedback from others if available.
By following these steps, you have now previewed your crop in your chosen video editing software. You are now ready to apply the crop to your video, confident that it aligns with your creative vision.
Step 5: Applying the Crop
After previewing and fine-tuning your crop, it’s time to apply the crop to your video. This step finalizes the cropping process and makes the changes you’ve made permanent. Follow these steps to apply the crop to your video:
- Ensure that the crop frame is positioned exactly as you desire within the video.
- Look for an “Apply” or “Crop” button within your video editing software. This button is typically located near the crop tool or in the toolbar.
- Click the “Apply” or “Crop” button to execute the crop. Once applied, the unwanted portions of the video will be permanently removed, and the remaining area defined by the crop frame will be retained.
- Take a final look at the video within the preview window to confirm that the applied crop matches your intended outcome.
Applying the crop is a significant step as it ensures that your video is modified accordingly and reflects your creative vision. Make sure that you are completely satisfied with the crop before proceeding.
By following these steps, you have now successfully applied the crop to your video in your chosen video editing software. Your video is now accurately cropped and ready for export.
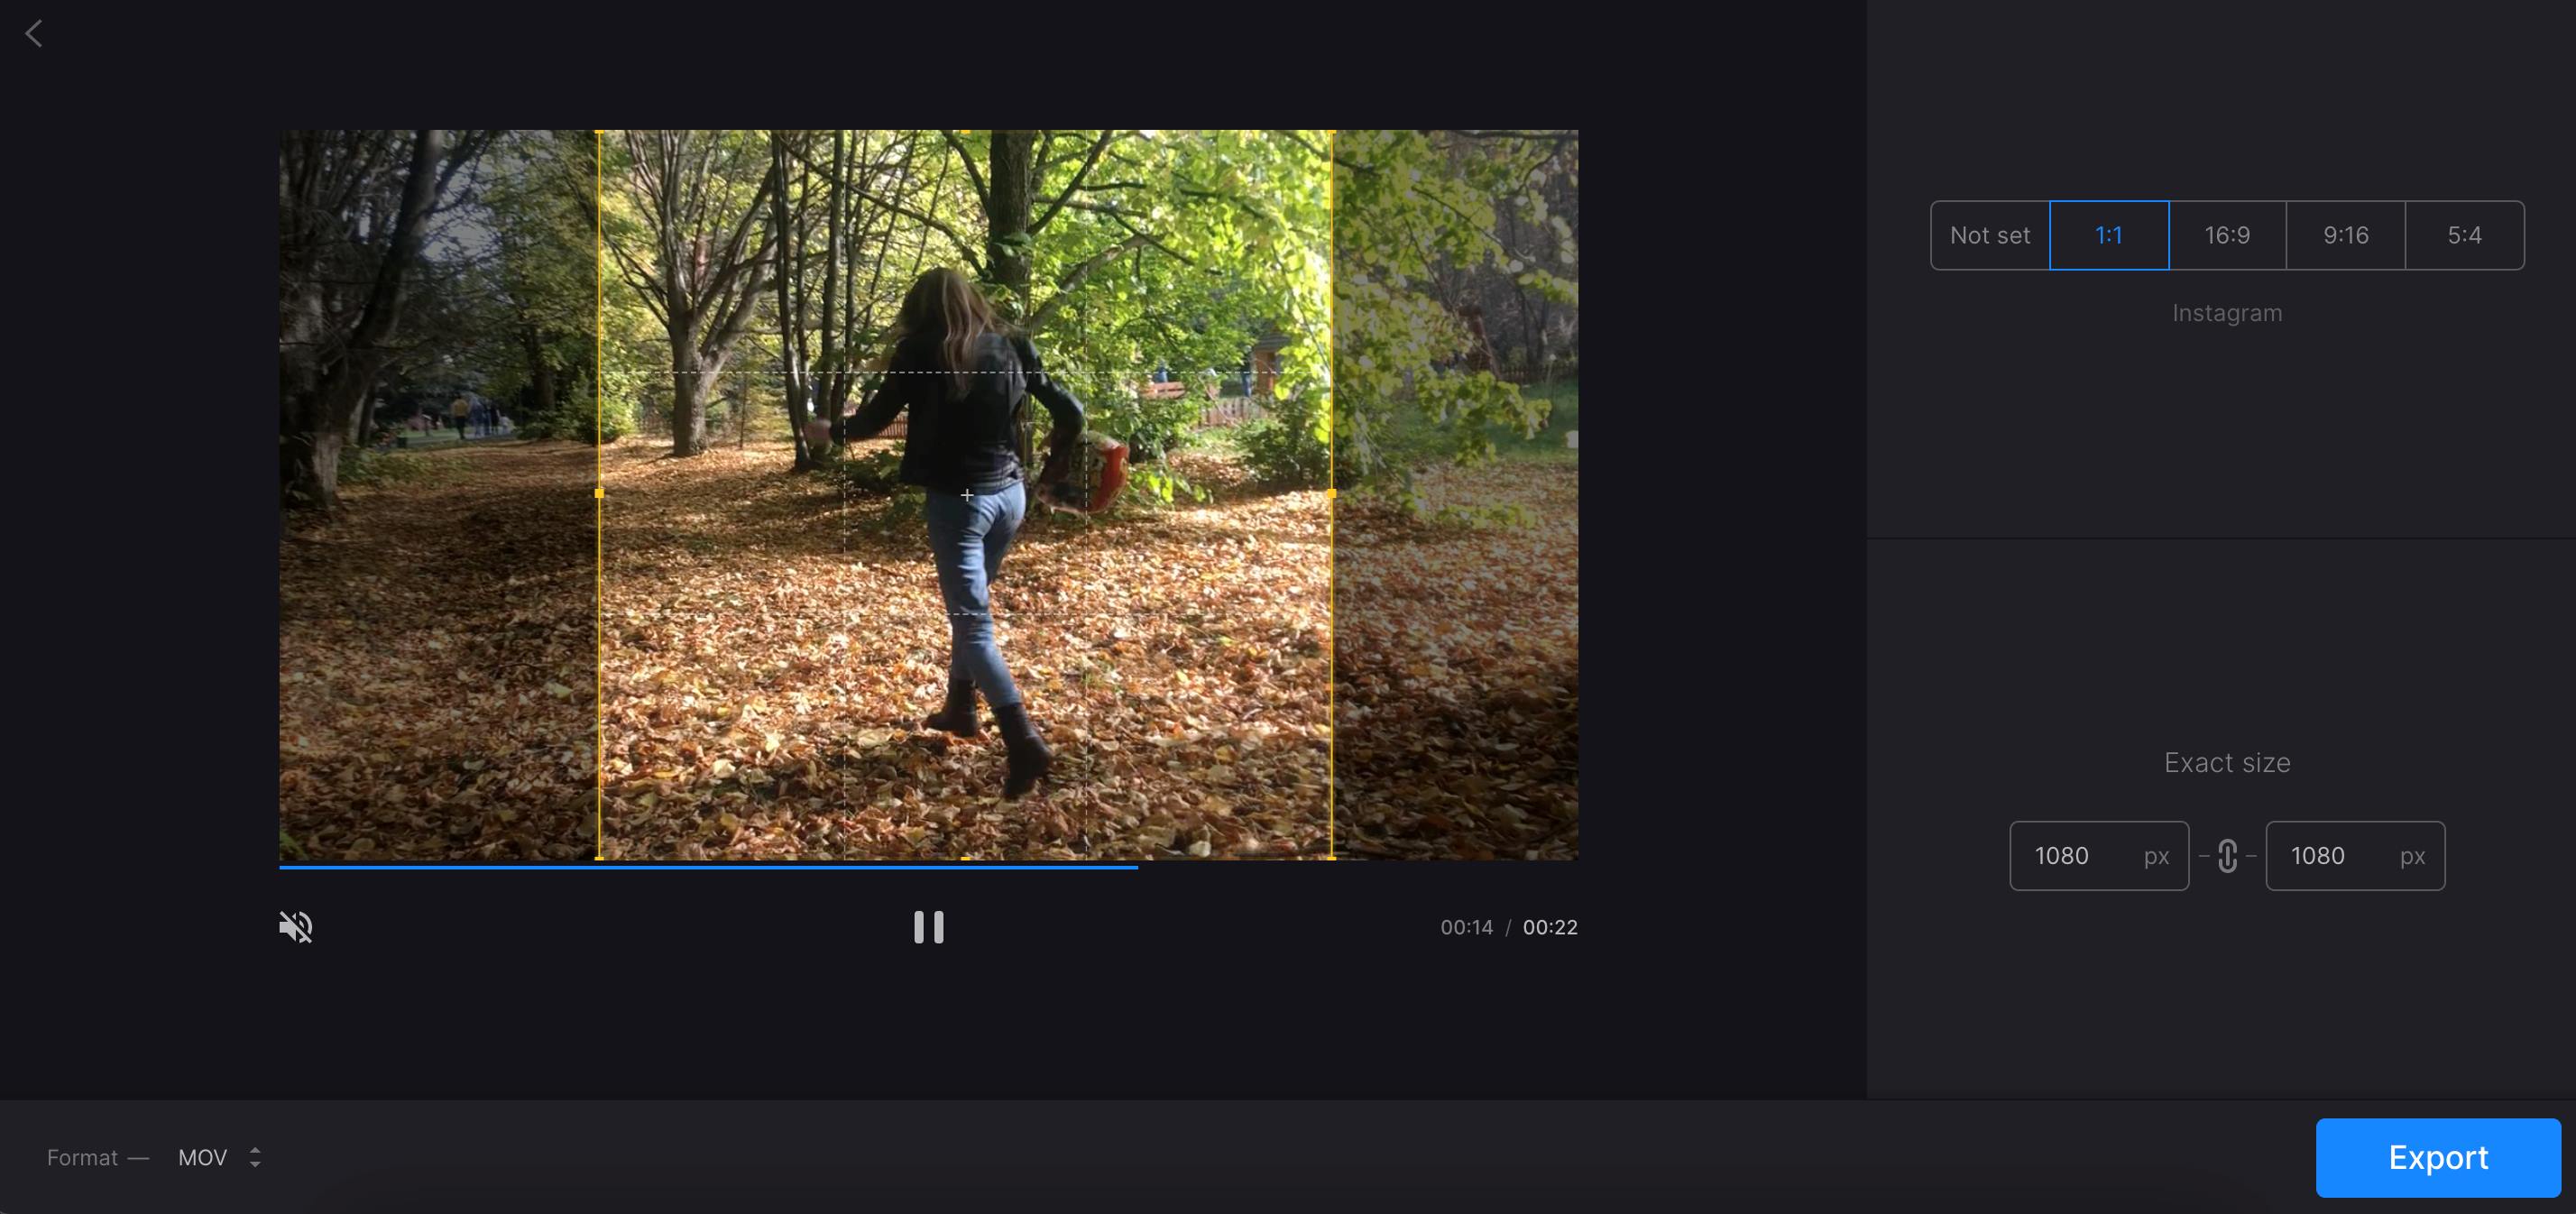
Step 6: Exporting Your Cropped Video
After applying the crop to your video, the final step is to export the cropped video file from your video editing software on your Windows device. This will create a new file that includes only the cropped portion of your original video. Follow these steps to export your cropped video:
- Look for an “Export” or “Save” option in your video editing software’s menu bar. This option is usually located under the “File” menu.
- Select the “Export” or “Save” option to open the export settings dialog box.
- Within the export settings dialog box, choose the desired video format and quality settings for your cropped video. Some common formats include MP4, AVI, and MOV.
- Specify the destination folder where you want to save the exported video file. Choose a location that is easily accessible and memorable.
- Click the “Export” or “Save” button to initiate the export process. Depending on the length and complexity of your video, this process may take some time.
- Once the export is complete, navigate to the destination folder you specified to find your newly cropped video file.
With the exported cropped video file, you can now use it for various purposes such as sharing on social media, uploading to video platforms, or incorporating it into your projects.
By following these steps, you have successfully exported your cropped video in your chosen video editing software on your Windows device. Congratulations! You have completed the entire process of cropping a video and have a ready-to-use cropped video file.
Additional Tips for Cropping Videos on Windows
While the main steps outlined above can help you successfully crop videos on Windows, here are some additional tips to enhance your video cropping experience:
- Save a backup of the original video: Before cropping your video, make sure to create a backup copy of the original file. This ensures that you can revert back to the original video if needed.
- Experiment with different crop ratios: Explore different aspect ratios when cropping your video. Depending on the intended platform or purpose of the video, different ratios can offer unique visual effects and storytelling opportunities.
- Consider using guides and alignment tools: Many video editing software programs offer guides and alignment tools to help you align your crop accurately. Utilize these tools to ensure precise cropping and maintain a professional look.
- Take advantage of keyboard shortcuts: Familiarize yourself with common keyboard shortcuts in your chosen video editing software. These shortcuts can help streamline your workflow and make the cropping process faster and more efficient.
- Watch tutorials and seek inspiration: If you’re new to video cropping or want to explore different techniques, watch tutorials and seek inspiration from other creators. Learning from experienced individuals can provide valuable insights and inspire your own creative choices.
- Pay attention to video quality: When cropping a video, it’s essential to maintain its quality. Keep an eye on the resolution, bitrate, and compression settings during the exporting process to ensure the cropped video maintains its visual integrity.
By keeping these additional tips in mind, you can elevate your video cropping skills and create visually captivating and engaging content.
Remember, practice makes perfect. The more you experiment and crop videos on Windows, the more confident and skilled you’ll become in achieving your desired results.
Conclusion
Cropping videos on Windows can greatly enhance the visual appeal and storytelling of your footage. Whether you want to remove distracting elements, adjust the aspect ratio, or highlight specific portions, following the steps outlined in this guide can help you achieve impressive results.
By choosing the right video editing software, importing your video, selecting the crop tool, adjusting the settings, previewing your crop, applying it, and finally exporting your cropped video, you have the necessary knowledge to effectively crop your videos on Windows.
Remember to consider the additional tips provided, such as saving a backup of the original video, experimenting with different crop ratios, utilizing guides and alignment tools, and paying attention to video quality. These tips can further enhance your video cropping process and help you create visually captivating content.
Now that you have learned the step-by-step process of cropping videos on Windows, it’s time to put your skills into practice. Start exploring the possibilities, experiment with different cropping techniques, and allow your creativity to flourish.
With every video you crop, you will refine your skills and develop your unique style. So, go ahead, unleash your creativity, and enjoy the process of transforming your videos into captivating visual stories.