Introduction
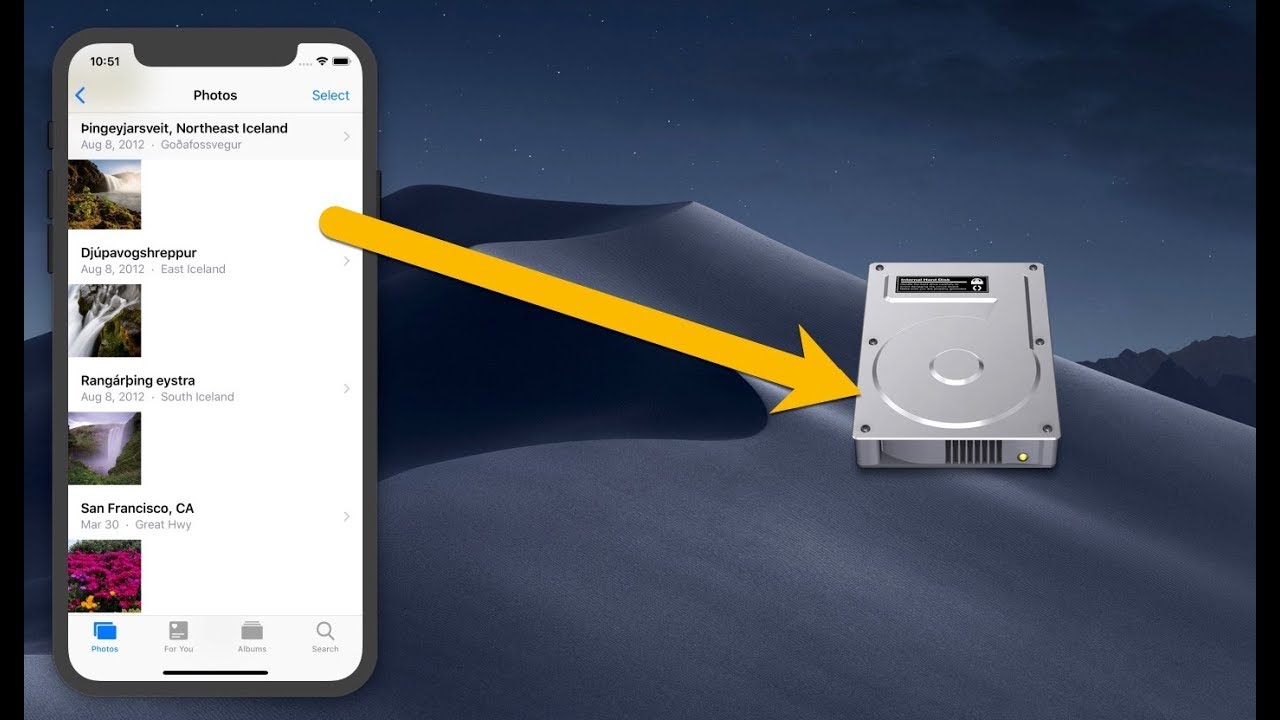
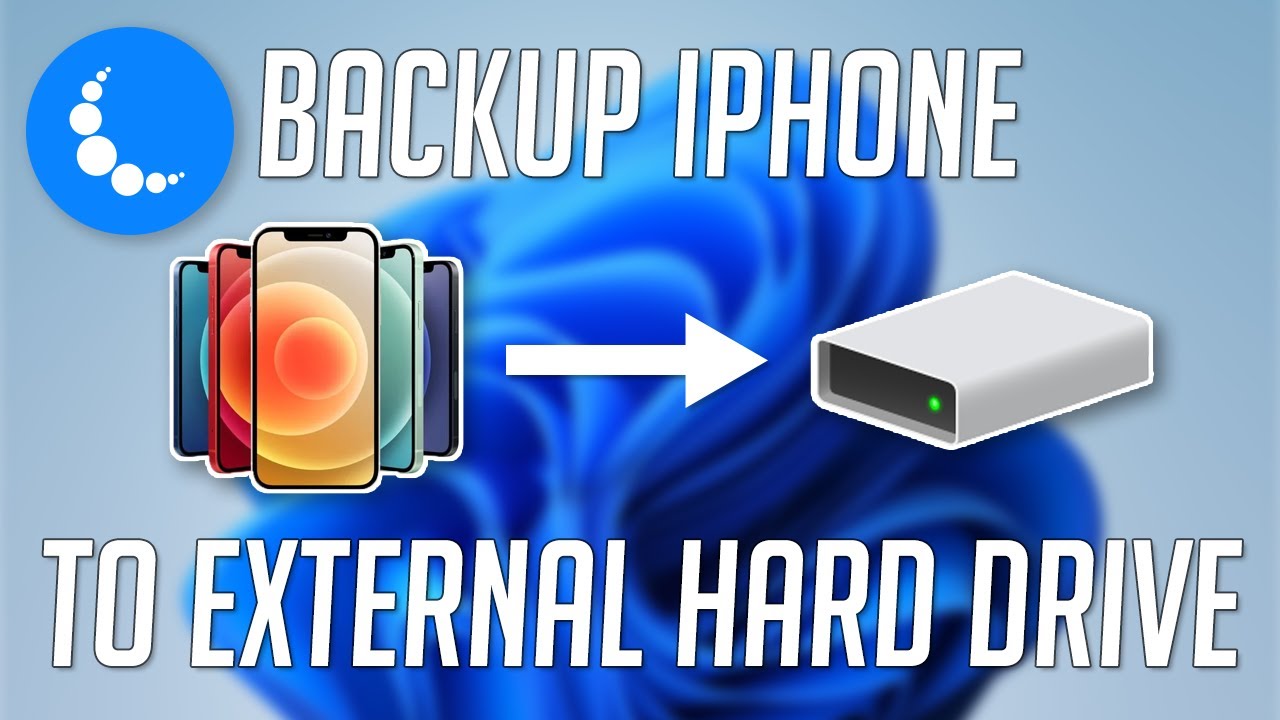
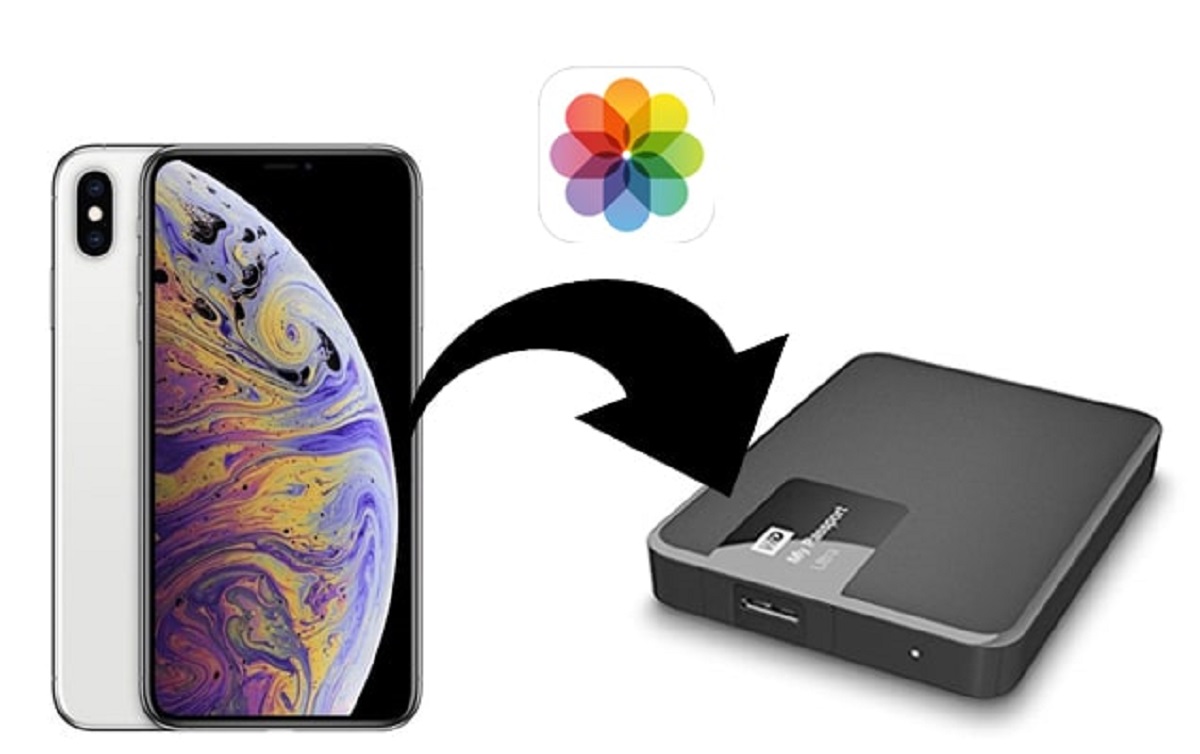
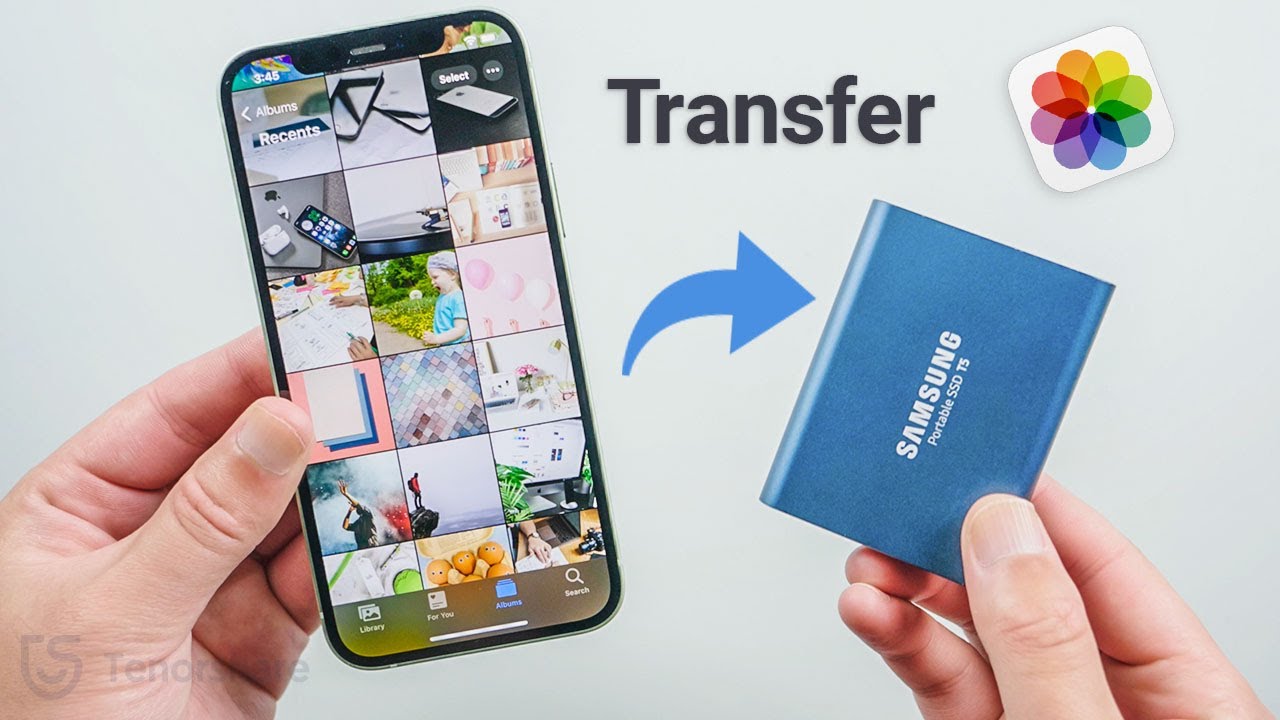
Transferring videos from your iPhone to an external hard drive is a great way to free up valuable storage space on your device while ensuring your precious memories and favorite videos are safely stored. However, the process may seem daunting if you’re not familiar with the necessary steps. Fortunately, it’s easier than you might think, and in this guide, we will walk you through the process step by step.
Having a backup of your videos is essential to protect them from potential loss due to accidental device damage, loss, or corruption. By transferring your videos to an external hard drive, you can enjoy peace of mind knowing that your precious moments are stored securely.
Whether you have captured memorable moments with friends and family, recorded stunning travel videos, or simply want to offload some space on your iPhone, transferring videos to an external hard drive is a convenient solution. Plus, by storing your videos on an external hard drive, you can easily access and share them across various devices.
This guide will focus on the steps required to transfer videos from an iPhone to an external hard drive. We will cover how to connect your iPhone to your computer, import videos from your iPhone to your computer, connect your external hard drive to your computer, and finally, transfer the videos from your computer to the external hard drive.
Before we dive into the details, it’s important to note that this guide assumes you are using a Windows or Mac computer and that you have a compatible external hard drive and USB cable. Let’s get started with the first step – connecting your iPhone to your computer.
Step 1: Connect your iPhone to your computer
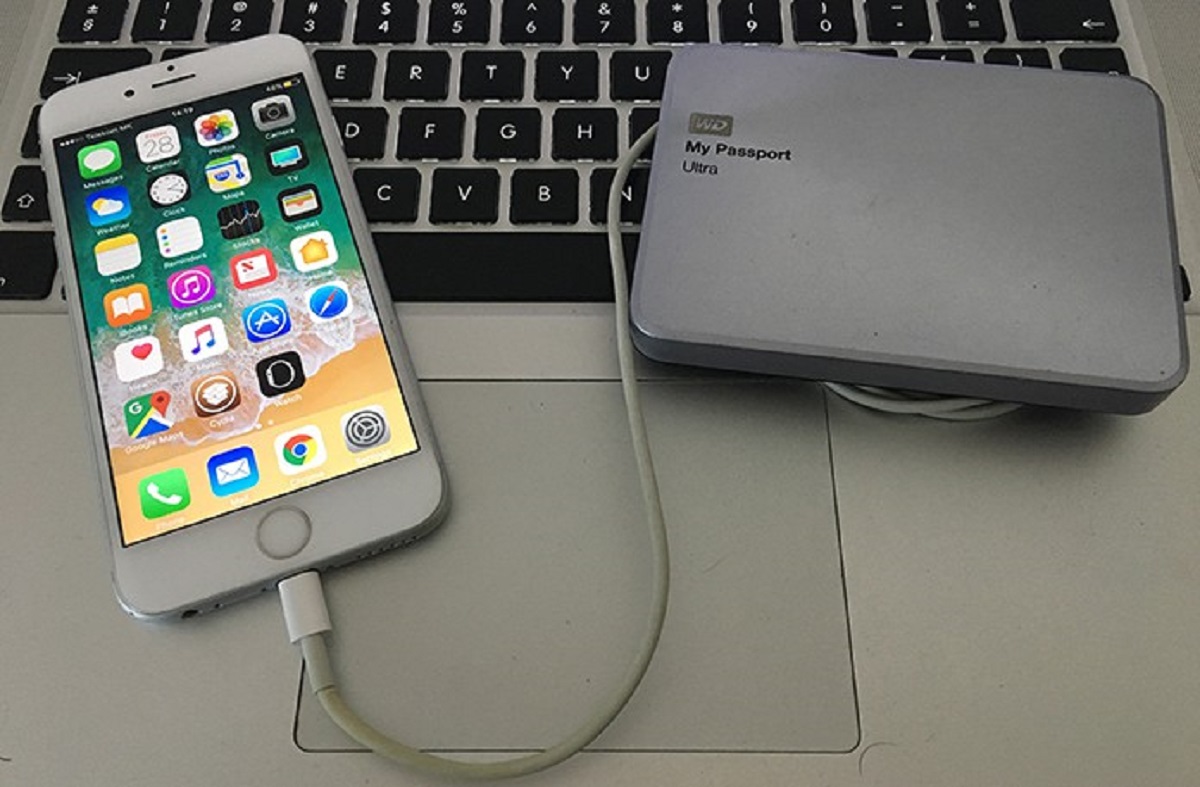
The first step in transferring videos from your iPhone to an external hard drive is to connect your iPhone to your computer. This can be done using a USB cable that came with your iPhone.
Start by plugging one end of the USB cable into the charging port of your iPhone. Then, take the other end of the cable and plug it into a USB port on your computer. Depending on the model of your iPhone and computer, you may need to use a USB-A to Lightning cable or a USB-C to Lightning cable.
Once the cable is connected, your iPhone should display a prompt asking if you trust this computer. Tap “Trust” to grant your computer access to your iPhone’s data. If you have previously trusted this computer, the prompt may not appear.
At this point, your iPhone and computer should be connected. You can verify the connection by launching the iTunes or Finder application on your computer and looking for your iPhone listed as a connected device.
Connecting your iPhone to your computer is an essential step as it enables you to access your iPhone’s storage and transfer videos to your computer for further processing and organization before transferring them to the external hard drive.
With your iPhone successfully connected to your computer, you’re ready to move on to the next step – importing videos from your iPhone to your computer.
Step 2: Import videos from your iPhone to your computer
Now that your iPhone is connected to your computer, you can import videos from your iPhone to your computer. There are several methods you can use to accomplish this, depending on your computer’s operating system.
If you’re using a Mac computer, you can use the built-in application called “Photos” to import videos. Launch the Photos app, and your iPhone should appear in the sidebar under the “Devices” section. Click on your iPhone’s name, and you will see a list of all the videos on your device. Select the videos you want to import, or click “Import All New Items” to import all videos. Choose the destination folder on your computer where you want to save the videos, and click “Import” to start the process. Once the import is complete, you can find your imported videos in the selected destination folder.
If you’re using a Windows computer, you can import videos using the built-in software called “Photos” or the “File Explorer.” To use the Photos app, connect your iPhone to your computer and open the Photos app. Click on the “Import” button at the top right corner of the app, and you will see all the videos on your iPhone. Select the videos you want to import, or click “Import All” to import all videos. Choose the destination folder on your computer, and click “Continue” to start the import process. Once the import is complete, you can access your imported videos in the selected destination folder.
If you prefer using the File Explorer, connect your iPhone to your computer and open the File Explorer window. Your iPhone should appear in the “This PC” section. Double-click on your iPhone’s name to open it and navigate to the “DCIM” folder. Inside the DCIM folder, you will find folders named “100APPLE,” “101APPLE,” and so on, depending on the number of videos you have. Open the appropriate folder and copy the videos you want to import to a folder on your computer’s hard drive.
By following these steps, you can successfully import videos from your iPhone to your computer, making it easier to organize and prepare them for transfer to the external hard drive. With your videos safely imported to your computer, it’s time to move on to the next step – connecting your external hard drive to your computer.
Step 3: Connect your external hard drive to your computer
In this step, you will connect your external hard drive to your computer. The method of connection may vary depending on the type of external hard drive you have.
If you have a USB external hard drive, start by locating an available USB port on your computer. Then, take the appropriate USB cable for your external hard drive and connect one end of the cable to your computer’s USB port. Next, connect the other end of the cable to the USB port on your external hard drive.
If you are using a Mac computer, you may need to format the external hard drive to be compatible with the macOS system. To do this, open the “Disk Utility” application from the “Applications” folder or by searching for it using Spotlight. Select your external hard drive from the list of available drives, click on the “Erase” tab, and choose the appropriate format for your hard drive (such as “Mac OS Extended (Journaled)”). Click “Erase” to format the hard drive.
For Windows users, you may not need to format the external hard drive as it should already be compatible with the NTFS file system. However, if your external hard drive is not recognized or causes any issues, you can use the Disk Management utility to format it. To access Disk Management, right-click on the Start button, select “Disk Management,” locate your external hard drive, right-click on it, and select “Format.” Choose the appropriate file system (such as NTFS) and click “OK” to format the hard drive.
Once your external hard drive is connected and properly formatted, it should appear as a new drive on your computer. An icon representing the external hard drive may appear on your desktop or in the “This PC” section of File Explorer (Windows) or on the desktop or in the Finder sidebar (Mac).
With your external hard drive successfully connected and recognized by your computer, you are now ready to proceed to the next step – transferring the videos from your computer to the external hard drive.
Step 4: Transfer videos from your computer to the external hard drive
Now that you have connected your external hard drive to your computer, it’s time to transfer the videos from your computer to the external hard drive. This step will vary depending on your operating system.
If you are using a Mac computer, you can simply drag and drop the videos from your computer’s storage onto the external hard drive icon on your desktop or in Finder. Alternatively, you can right-click on the videos, select “Copy,” navigate to the external hard drive, right-click, and select “Paste” to move the videos to the external hard drive. The transfer process may take some time, depending on the size and number of videos being transferred.
For Windows users, open File Explorer and locate the folder where your videos are stored on your computer. Select the videos you want to transfer to the external hard drive, right-click on them, and choose “Copy.” Then, navigate to the external hard drive in File Explorer, right-click in an empty space within the drive, and select “Paste” to transfer the videos. Alternatively, you can drag and drop the videos from your computer’s storage onto the external hard drive in File Explorer.
During the transfer process, it’s important to ensure that you have enough space available on your external hard drive to accommodate the videos. If needed, you may need to delete or move files from the external hard drive to create space.
Once the transfer is complete, you should be able to access your videos directly from the external hard drive. You can safely disconnect the external hard drive from your computer by clicking on the “Eject” or “Safely Remove Hardware” option in your operating system.
Transferring your videos from your computer to the external hard drive not only frees up valuable storage space on your computer but also provides a secure backup for your videos. It also allows for easy sharing and accessibility of your videos across multiple devices.
With the videos successfully transferred to your external hard drive, you have completed the final step. Congratulations! Your videos are now safely stored on the external hard drive, and you can enjoy the additional storage space on your computer.
Conclusion
Transferring videos from your iPhone to an external hard drive is a straightforward process that allows you to free up space on your device and ensure the safety of your precious memories. By following the steps outlined in this guide, you can easily connect your iPhone to your computer, import videos from your iPhone, connect your external hard drive, and transfer videos from your computer to the external hard drive.
Having a backup of your videos is vital to protect them from potential loss or corruption. Storing your videos on an external hard drive not only provides a secure backup but also allows for easy accessibility and sharing across multiple devices.
Remember to connect your iPhone to your computer using a USB cable and import videos using the appropriate software, such as Photos or File Explorer. After that, connect your external hard drive to your computer and transfer the videos from your computer to the external hard drive by dragging and dropping or copying and pasting them. Ensure that you have sufficient space on your external hard drive before starting the transfer process.
By taking these steps, you can declutter your iPhone’s storage, safeguard your videos, and create room for new recordings and memories. Transferring videos to an external hard drive also provides a convenient means of sharing your videos with others and accessing them from different devices.
Now that you have successfully transferred your videos to the external hard drive, you can enjoy peace of mind, knowing that your precious memories are securely stored. Take some time to organize your videos on the external hard drive for easy retrieval and future enjoyment.
We hope this guide has helped you understand the process of transferring videos from your iPhone to an external hard drive. Feel free to refer back to this guide whenever you need to transfer videos or share this valuable knowledge with others.
Thank you for reading, and happy video transferring!


