Introduction
Gaming enthusiasts often find themselves facing a common issue: limited storage space on their gaming devices. The ever-increasing size of modern games can quickly fill up the internal storage of consoles or PCs, leaving little room for new game installations. Fortunately, the solution to this problem lies in utilizing an external hard drive to store and play games.
By using an external hard drive, players can expand their storage capacity and enjoy their favorite games without the worry of running out of space. Whether you’re a console gamer or a PC enthusiast, playing games from an external hard drive offers convenience, flexibility, and the ability to store a vast library of games.
In this guide, we will walk you through the process of playing games from an external hard drive. We will cover everything from selecting the right external hard drive for your needs to formatting it and transferring games onto it. Additionally, we’ll provide instructions on setting up games on both PC and console platforms, and how to manage updates and patches effectively.
Playing games from an external hard drive not only frees up space on your primary storage but also allows you to take your gaming experience with you wherever you go. Whether you want to play games on a friend’s console or have the convenience of accessing your entire game library on-the-go, an external hard drive is a valuable tool for gamers.
So, if you’re ready to unlock the potential of your gaming setup and optimize your storage capacity, strap in as we guide you through the process of playing games from an external hard drive. From beginner to advanced gamers, this guide will provide you with the knowledge and steps needed to enhance your gaming experience and bring your gameplay to new heights.
Choosing the Right External Hard Drive
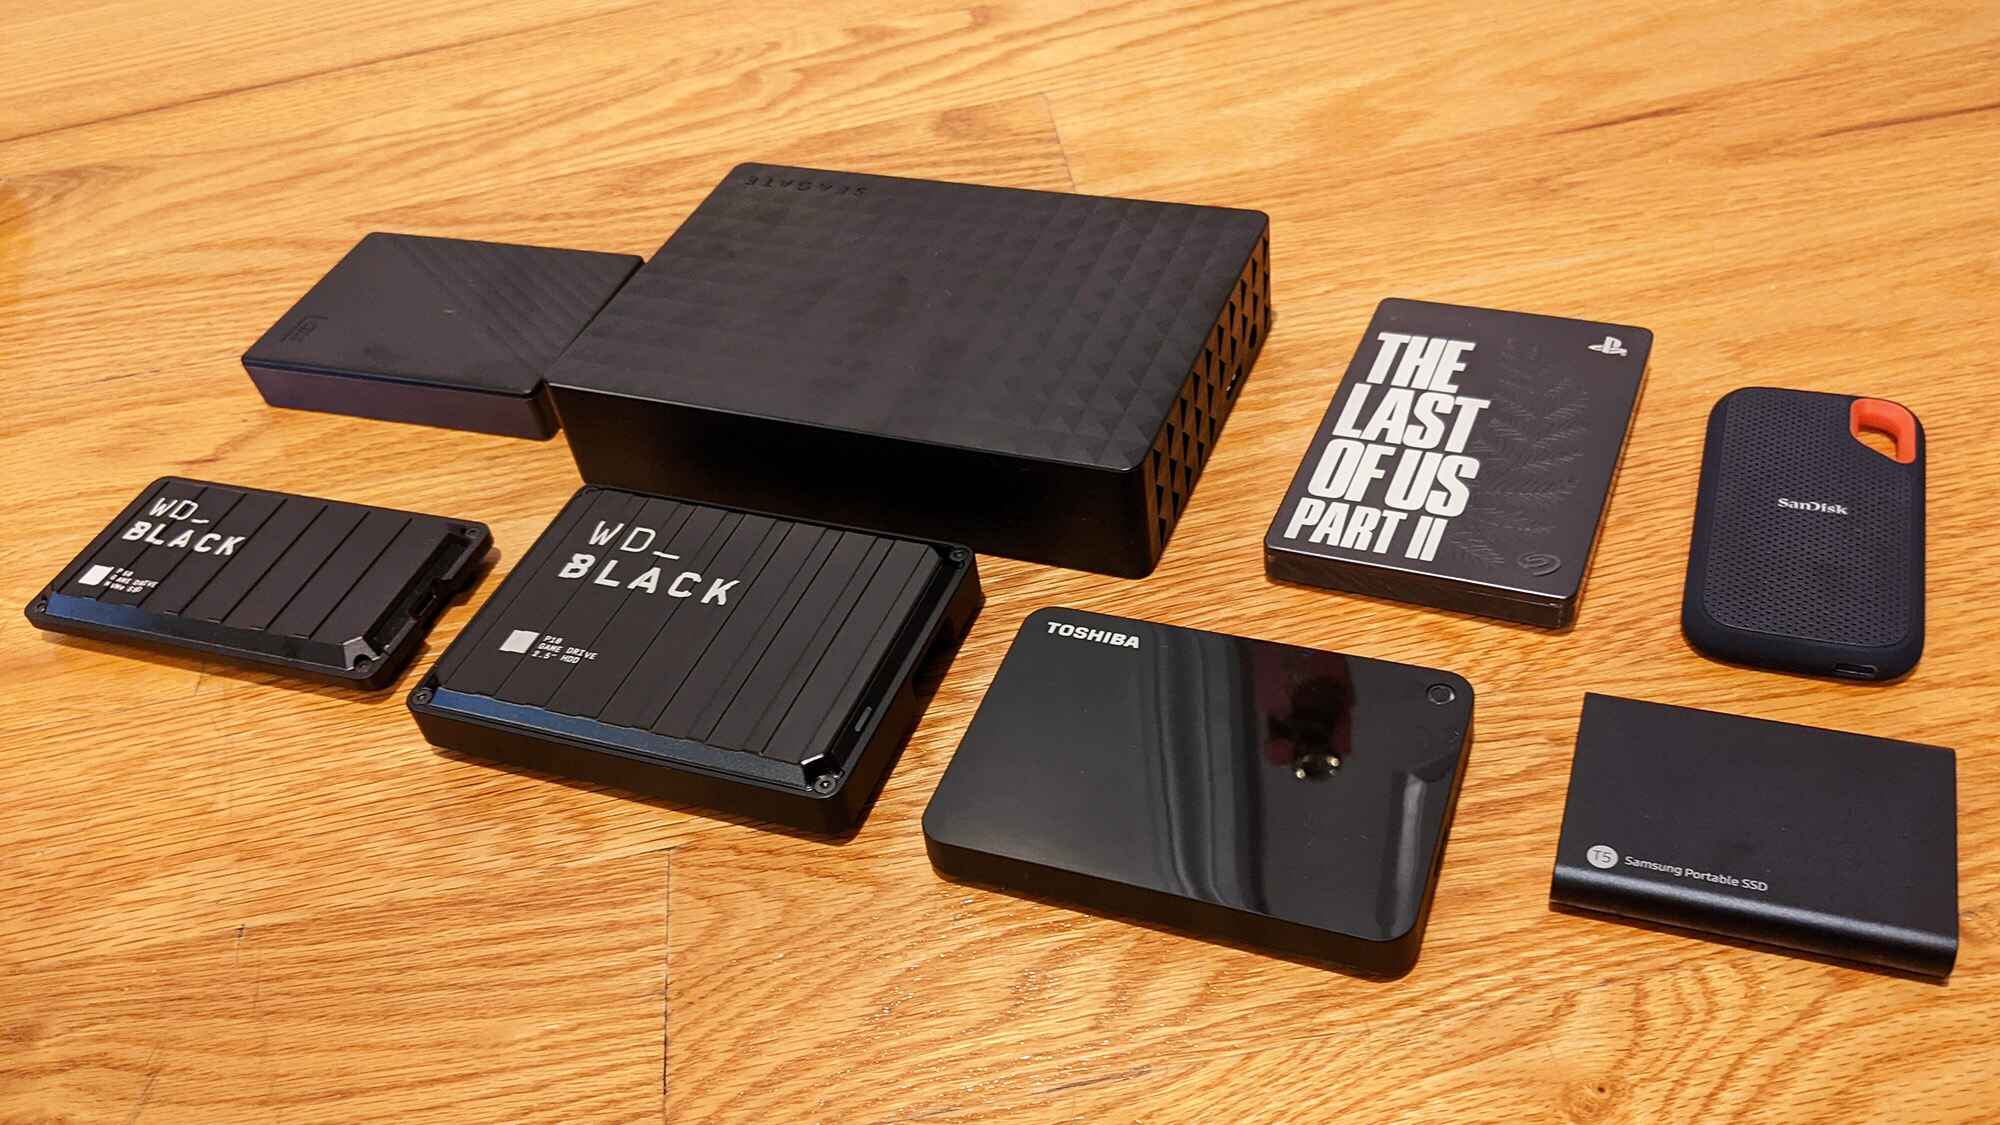
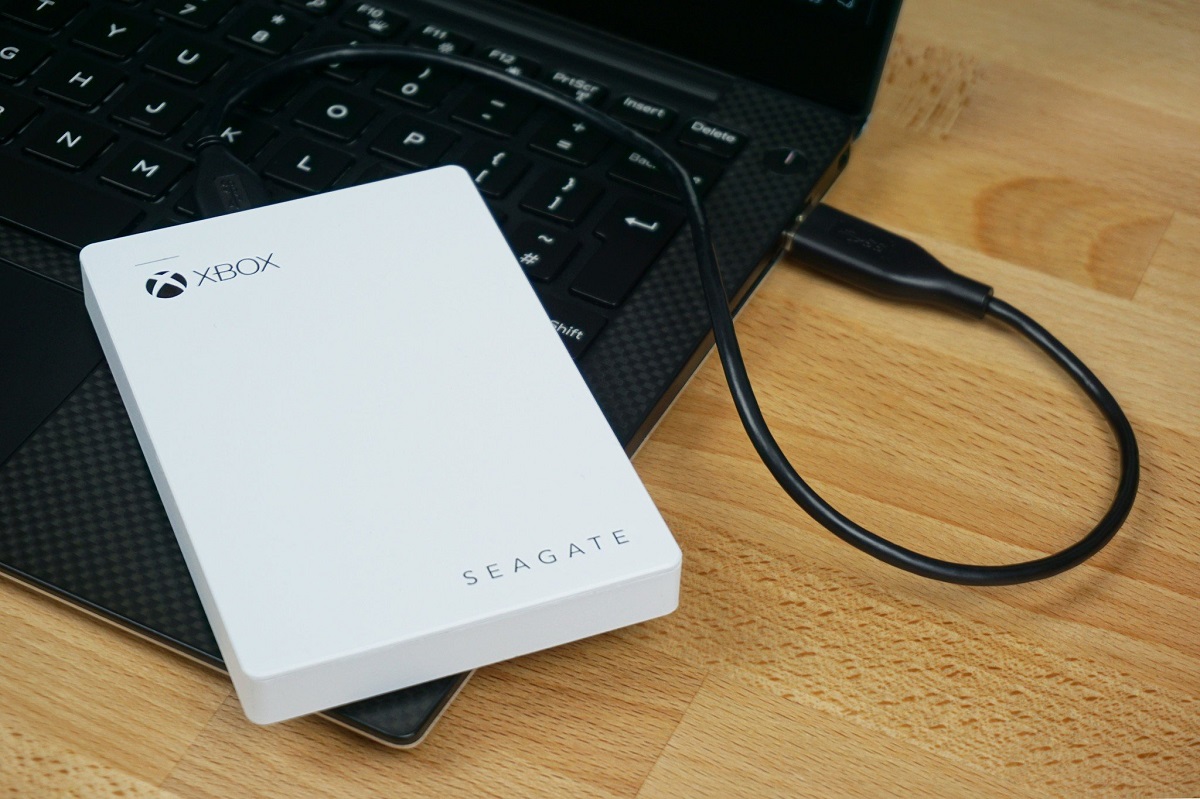
Before embarking on your journey to play games from an external hard drive, it’s essential to select the right external hard drive for your needs. With a wide variety of options available on the market, choosing the best one can be a bit overwhelming. Here are some key factors to consider when making your decision.
Storage Capacity: The most crucial factor to consider is the storage capacity of the external hard drive. As modern games can be quite large, it’s advisable to opt for a drive with ample storage space. Depending on your needs, you can choose from options ranging from 1TB to 8TB or more. Consider the size of your game library and the number of games you plan to store on the drive. It’s always better to have extra space for future expansions.
Connectivity: Another essential aspect is the connectivity options the external hard drive offers. For console gamers, USB 3.0 or higher is the preferred choice, as it provides faster data transfer speeds compared to USB 2.0. PC gamers may also consider Thunderbolt or eSATA connections for even faster performance. Make sure your gaming device supports the chosen connectivity option before making a purchase.
Durability and Portability: If you plan to carry your external hard drive around or travel with it, durability and portability become important considerations. Look for drives that offer rugged housing or shock resistance to protect your data in case of accidental drops or bumps. Additionally, compact and lightweight drives are preferable for easy transportation.
Compatibility: Ensure that the external hard drive you choose is compatible with your gaming device. Different consoles and PCs may have specific requirements or limitations. Double-check the compatibility details to avoid any compatibility issues that may arise after purchase.
Price: Of course, the price is always a factor when making a purchase. Set a budget based on your requirements and compare different options within that range. Don’t forget to consider the overall value and quality of the drive rather than just the price tag alone. Remember, investing in a reliable and high-quality external hard drive will pay off in the long run.
With these factors in mind, take your time to research and compare various external hard drive models. Read reviews from trusted sources and consider the experiences and recommendations of fellow gamers. By choosing the right external hard drive, you’ll ensure a seamless gaming experience with ample storage capacity and reliable performance.
Formatting the External Hard Drive
Once you’ve selected an external hard drive that meets your requirements, the next step is to format it properly. Formatting the external hard drive ensures compatibility with your gaming device and prepares it for storing and playing games. Here’s a step-by-step guide to formatting your external hard drive.
Step 1: Backup: Before formatting the external hard drive, make sure to back up any important data stored on it. Formatting will erase all existing data, so it’s crucial to have a backup to avoid losing any valuable files or documents.
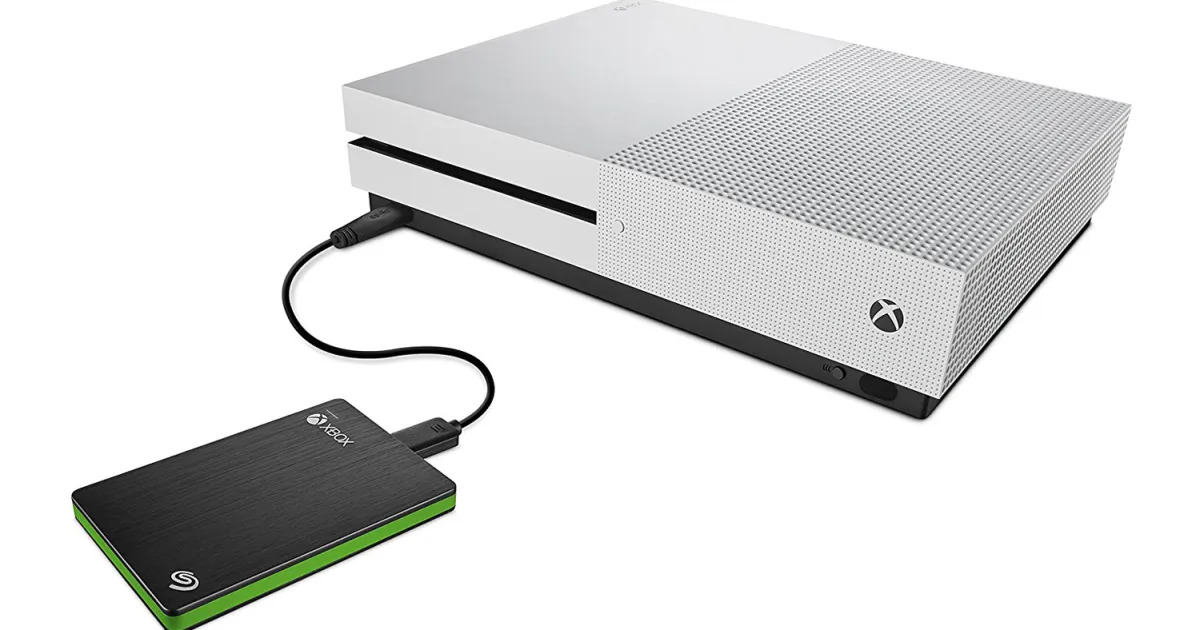
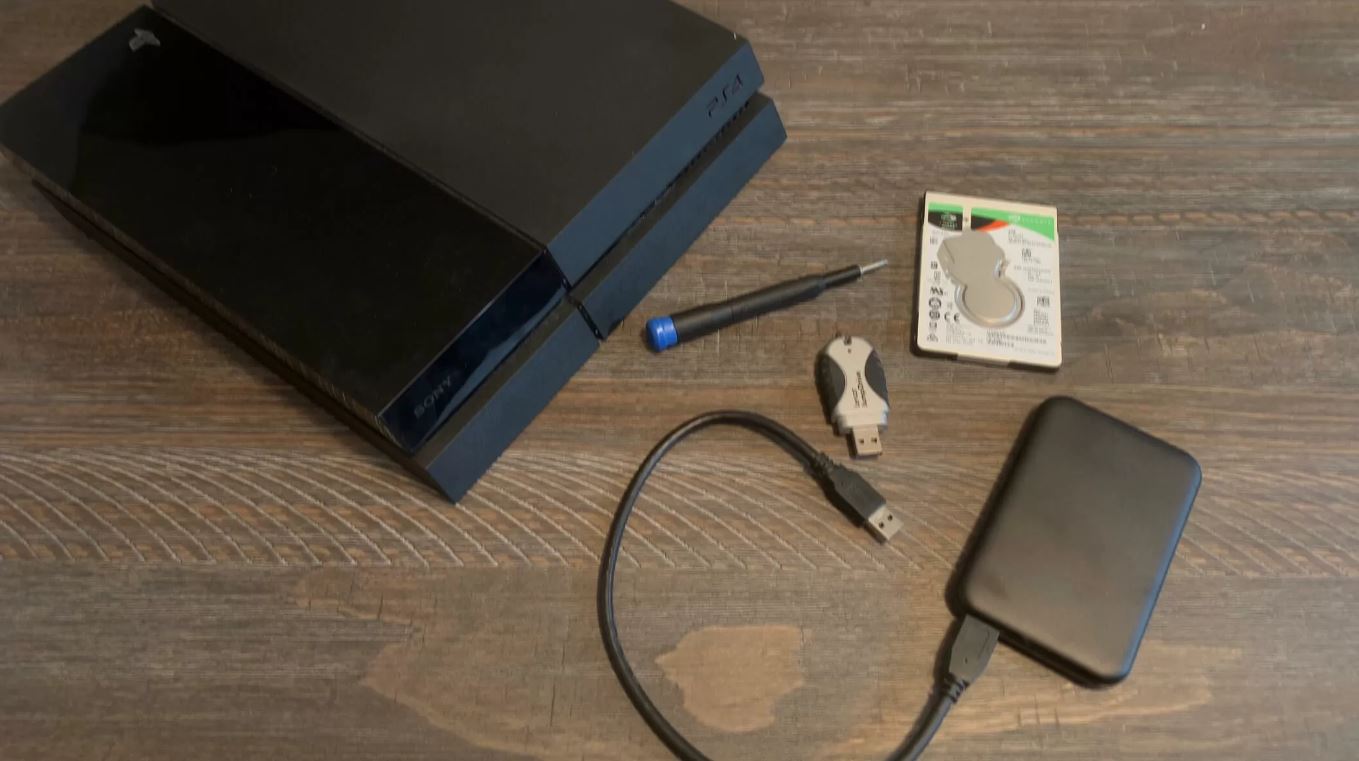
Step 2: Connect the Drive: Connect the external hard drive to your gaming device using the appropriate cable. For consoles, use a USB cable, while PCs may require specific cables depending on the connection type (USB, Thunderbolt, etc.).
Step 3: Determine File System: Decide on the file system you want to use for your external hard drive. For Windows users, NTFS is the recommended file system, as it supports larger file sizes and provides better performance. For Mac users, macOS Extended (Journaled) or APFS are the recommended options.
Step 4: Formatting on PC: If you’re using a PC, open the “Disk Management” utility by right-clicking on the Windows Start button and selecting “Disk Management” from the menu. Locate your external hard drive, right-click on it, and choose “Format.” Select the desired file system and follow the on-screen instructions to complete the formatting process.
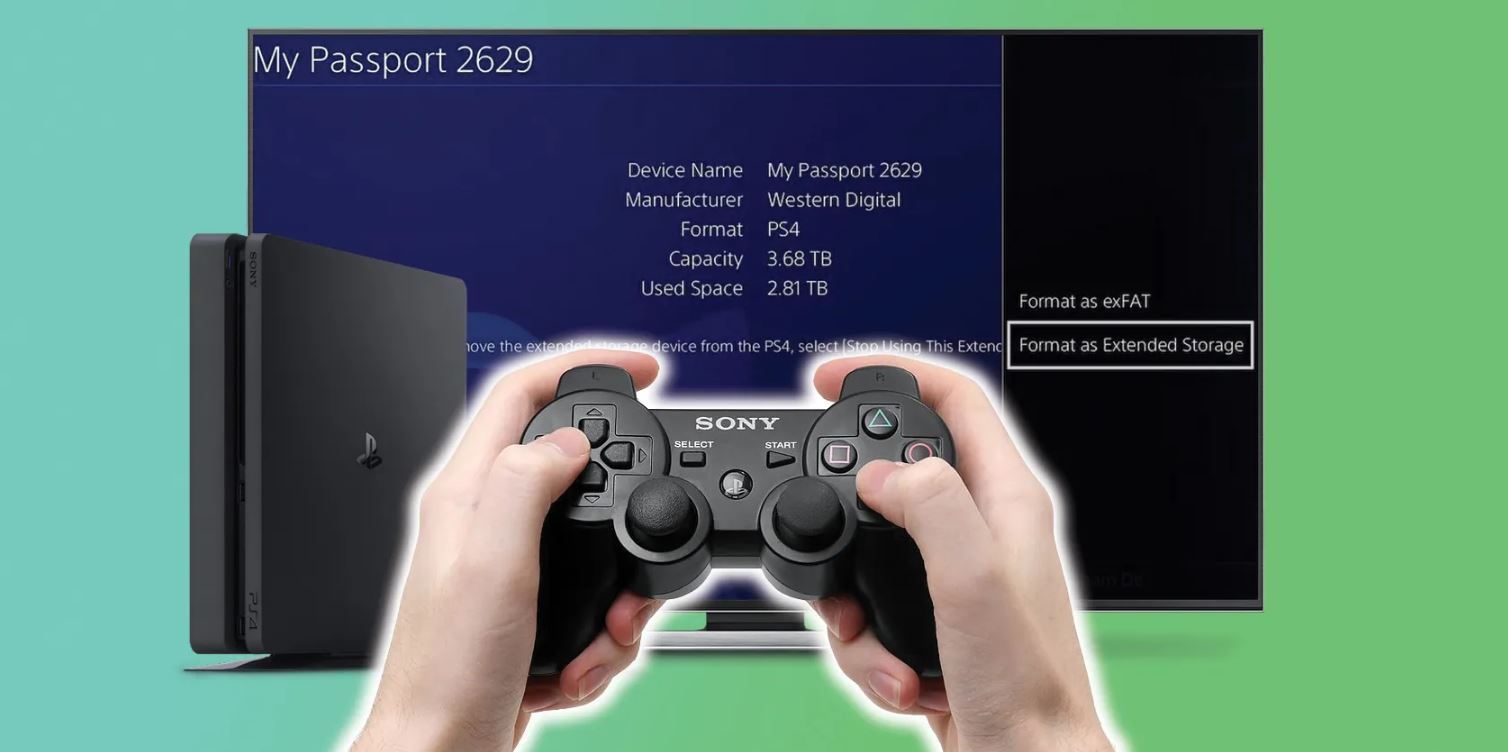
Step 5: Formatting on Console: For consoles, formatting the external hard drive can usually be done through the device’s settings. Consult the user manual or check the manufacturer’s website for specific instructions on formatting an external hard drive for your console model.
Step 6: Assign a Drive Letter (Optional): After formatting, you may choose to assign a drive letter to your external hard drive for easy identification. On Windows, this can be done through the “Disk Management” utility. Right-click on the formatted external hard drive, select “Change Drive Letter and Paths,” and follow the prompts to assign a letter.
Once the formatting process is complete, your external hard drive is ready to be used for playing games. Take note that formatting will erase all existing data, so ensure you have made a backup before proceeding. With a properly formatted external hard drive, you can now move on to transferring games and setting them up on your gaming device.
Transferring Games to the External Hard Drive
With your external hard drive properly formatted and ready, it’s time to transfer your games onto it. The process differs slightly depending on whether you’re a PC gamer or a console gamer. Here’s a step-by-step guide for both scenarios.
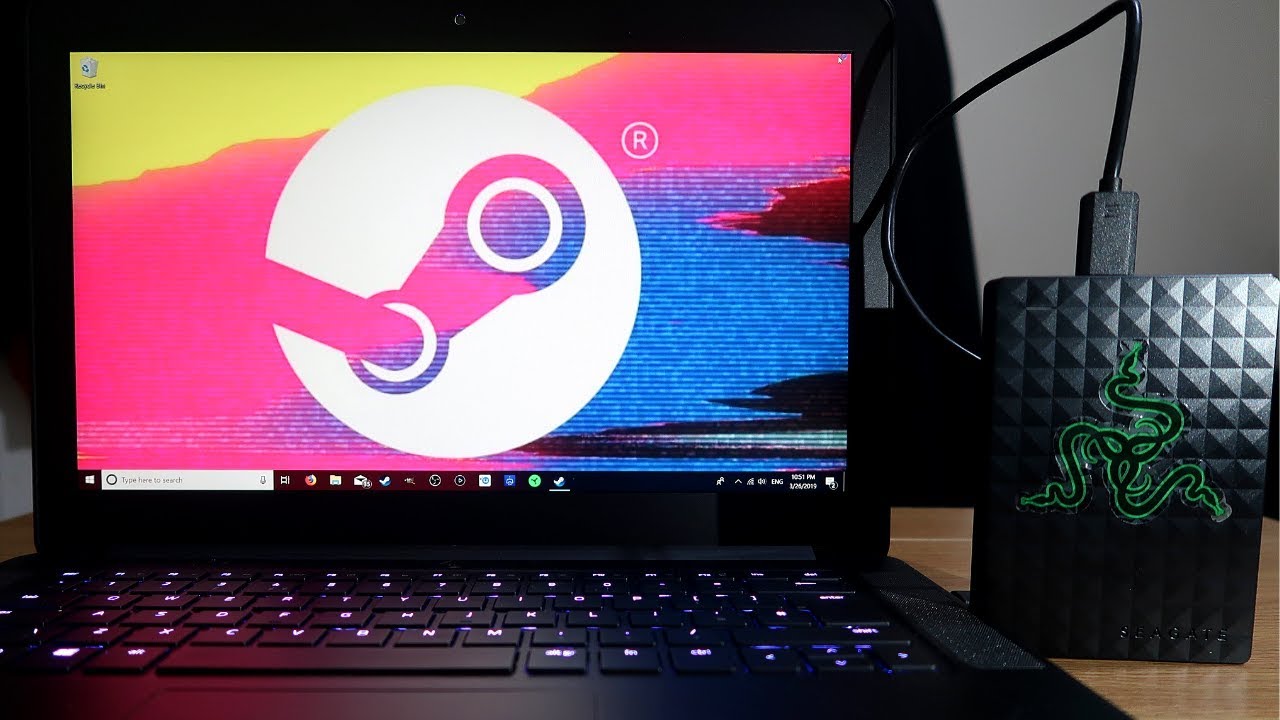
For PC Gamers:
- Open the game distribution platform you use, such as Steam, Epic Games Store, or GOG.
- Go to your game library and locate the game you want to transfer.
- Right-click on the game and select “Properties” or “Manage” to access the game’s installation files.
- Look for an option to relocate or move the game files to a new location.
- Choose the external hard drive as the new location for the game files.
- Follow the on-screen instructions to initiate the transfer process.
- Repeat these steps for each game you want to transfer to the external hard drive.
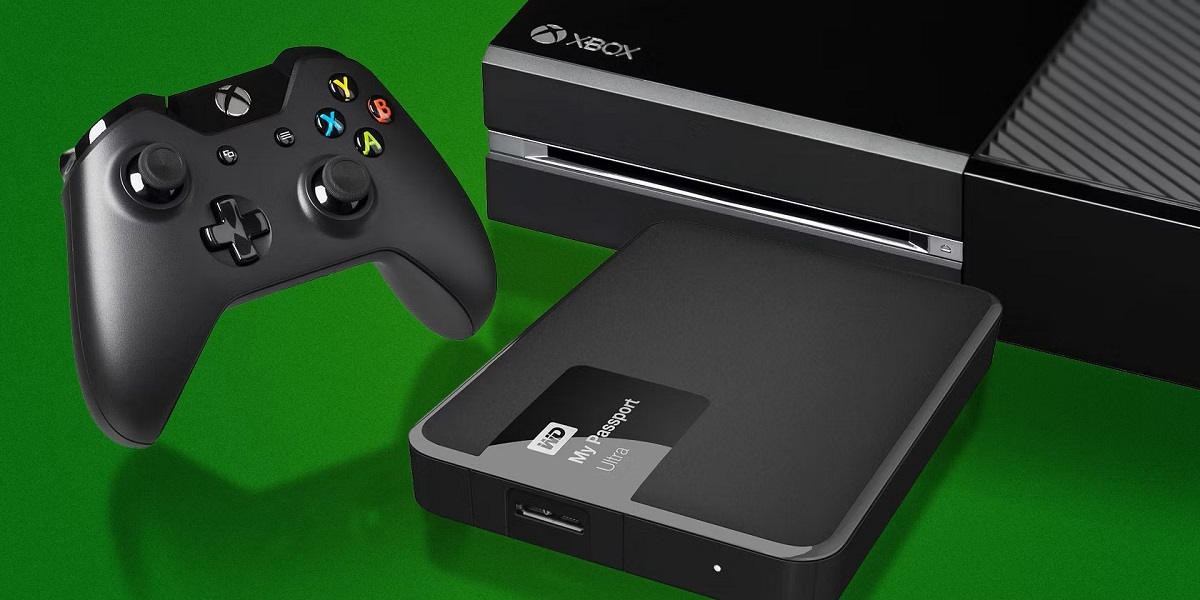
For Console Gamers:
- Connect the external hard drive to your console using the appropriate cable.
- Access the console’s settings menu and navigate to the storage or memory settings.
- Choose the internal storage option and select the game you want to transfer.
- Look for an option to move or transfer the game to an external storage device (the external hard drive).
- Confirm the transfer and wait for the console to complete the process.
- Repeat these steps for each game you want to transfer to the external hard drive.
Transferring games can take some time, depending on the size of the game and the transfer speed of your external hard drive. Ensure that you have enough free space on the external hard drive to accommodate the games. It’s also important to note that while most games can be transferred, certain games or DRM-protected files may have restrictions on moving or copying.
Once the transfer is complete, you can launch the games directly from the external hard drive. Enjoy the convenience of having your entire game library accessible from a single location, without worrying about limited internal storage space. Having games on an external hard drive also makes it easier to switch between different gaming devices or share games with friends.
Setting Up the Games on Your PC or Console
Once you have transferred your games to the external hard drive, the next step is to set them up on your PC or console to ensure smooth gameplay. Here is a guide on how to set up the games on both platforms.
For PC Gamers:
- Open the game distribution platform (e.g., Steam, Epic Games Store) and sign in to your account.
- Navigate to your game library and locate the transferred game on the external hard drive.
- Click on the game, and the platform will prompt you to install or verify the game files.
- Follow the on-screen instructions to install or verify the game files.
- Once the process is complete, you can launch the game directly from the game distribution platform.
- You may be prompted to select the game installation directory when launching the game for the first time. Choose the external hard drive as the installation directory.
- Repeat these steps for each game you transferred to the external hard drive.
For Console Gamers:
- Connect the external hard drive to your console using the appropriate cable.
- Access the console’s main menu and navigate to the external storage device section.
- Locate and select the transferred game from the external hard drive.
- Follow the on-screen prompts to install or set up the game on the console’s internal storage.
- Once the game is installed, access your console’s game library or main menu to launch the game.
- You may be required to keep the external hard drive connected while playing the game.
- Repeat these steps for each game you transferred to the external hard drive.
Setting up games on your PC or console may take some time, depending on the size of the game and the processing speed of your gaming device. Ensure that you have enough free space on the internal storage of your device to accommodate the game installation files. Additionally, make sure the external hard drive is connected and powered on during the game setup process.
Once the games are set up and ready to go, you can enjoy seamless gaming from the external hard drive. Benefit from the flexibility of moving games across different devices or sharing them with friends without the need for reinstallation. It’s time to dive into your favorite games with the convenience and expanded storage capacity offered by playing games from an external hard drive.
Managing Updates and Patching
Keeping your games up to date is crucial for optimal performance and access to the latest features and bug fixes. When playing games from an external hard drive, it’s important to understand how to manage updates and apply patches. Here are some guidelines for effectively managing updates on both PC and console gaming platforms.
For PC Gamers:
- Launch the game distribution platform (e.g., Steam, Epic Games Store) and sign in to your account.
- Navigate to your game library and locate the game that requires an update.
- Check if automatic updates are enabled in the settings. If not, manually initiate the update process.
- Wait for the game to download and install the update. This may take some time depending on the size of the update and your internet connection speed.
- Once the update is installed, you can launch the game and enjoy the latest version.
- Regularly check for updates within the game distribution platform to ensure you have the most recent patches and updates for all your games.
For Console Gamers:
- Access your console’s main menu and navigate to the system settings or game management section.
- Look for an option to check for system updates or game updates.
- Choose the option to scan for updates, and the console will check for any available updates for your games.
- If updates are found, follow the prompts to download and install them. This process will vary depending on the console’s interface.
- Once the updates are installed, launch the game to enjoy the latest version.
- It’s important to regularly check for updates on your console to ensure you have the latest patches and updates for your games.
Keeping your games updated helps ensure that you have the best possible gaming experience with improved performance, bug fixes, and new features. Make sure to check for updates regularly, especially for online multiplayer games, as developers often release updates to address issues or introduce new content.
Additionally, it’s crucial to keep your external hard drive connected and powered on during the update process to ensure the updates are properly applied. Some games may require updates to be installed on the internal storage of your PC or console, so be aware of any such requirements and follow the instructions accordingly.
By staying proactive in managing updates and patches, you can ensure that your games are always up to date, providing you with the best possible gaming experience. Enjoy the benefits of playing games from an external hard drive with the added convenience of easy updates and hassle-free patch management.
Troubleshooting Common Issues
While playing games from an external hard drive can enhance your gaming experience, you may encounter a few common issues along the way. Here are some troubleshooting tips for addressing these issues and ensuring smooth gameplay.
1. Slow Loading Times:
If you notice slow loading times when playing games from the external hard drive, it could be due to a slow USB connection or a fragmented hard drive. Ensure that you’re using a USB 3.0 or higher connection for faster data transfer speeds. If the issue persists, try defragmenting the external hard drive using a disk defragmentation tool to optimize performance.
2. Game Crashes or Freezes:
If a game crashes or freezes while playing from the external hard drive, it could be a compatibility issue or insufficient system resources. Check the game’s system requirements to ensure they are met by your gaming device. Additionally, make sure that your device’s drivers and firmware are up to date. Closing unnecessary background applications and freeing up system resources can also help mitigate crashes or freezes.
3. Error Messages:
If you encounter error messages while playing games from the external hard drive, take note of the specific error code or message and search online for possible solutions. Often, error messages are specific to certain games or system configurations, and finding a solution may involve updating drivers, reinstalling the game, or adjusting system settings.
4. Unresponsive External Hard Drive:
In some cases, the external hard drive may become unresponsive or not detected by your gaming device. First, check the cable connections to ensure they are secure. Try connecting the external hard drive to a different USB port or using a different cable if available. If the issue persists, test the external hard drive on another device to determine if it’s a hardware or software issue. In the case of a hardware issue, you may need to contact technical support or replace the drive.
5. Insufficient Storage Space:
If you run out of storage space on the external hard drive, you’ll need to manage your game library by deleting unused or unwanted games. Make sure to backup any important game saves or files before deleting the game. Alternatively, you can consider upgrading to a larger capacity external hard drive to accommodate your growing game collection.
For any gaming-related issues, consult the game’s support forums or contact the game’s developer or publisher for further assistance. They will likely have specific troubleshooting steps or solutions that can help resolve game-specific issues.
By troubleshooting common issues, you can overcome obstacles that may arise when playing games from an external hard drive. With some patience and determination, you’ll be back to enjoying a seamless gaming experience with the added benefits of expanded storage capacity and convenience.
Conclusion
Playing games from an external hard drive offers a convenient and efficient solution for gamers who face storage limitations on their devices. By selecting the right external hard drive, formatting it correctly, transferring games, and managing updates and patches, you can optimize your gaming experience and enjoy a vast library of games without worrying about limited storage space.
Choosing an external hard drive with ample storage capacity, the appropriate connectivity options, and durability ensures that you have a reliable and long-lasting gaming solution. Formatting the external hard drive prepares it for game installations and ensures compatibility with your gaming device.
Transferring games to the external hard drive allows you to free up space on your internal storage and conveniently access your game library. Setting up the games on your PC or console is a straightforward process that enables you to launch and enjoy your favorite games directly from the external hard drive.
Managing updates and patches ensures that your games are up to date, providing improved performance, bug fixes, and access to new features or content. Troubleshooting common issues such as slow loading times, game crashes or freezes, error messages, unresponsive drives, or insufficient storage space empowers you to overcome obstacles and maintain a smooth gaming experience.
Playing games from an external hard drive brings flexibility and convenience to your gaming setup. Whether you’re a PC gamer or a console enthusiast, this guide has provided you with the knowledge and steps needed to enhance your gaming experience and make the most of your storage capacity.
Now that you have the tools and understanding to play games from an external hard drive, it’s time to embark on your gaming adventures with confidence. Enjoy the freedom of an expanded game library, seamless gameplay, and the ability to take your games with you wherever you go. Embrace the possibilities and enhance your gaming experience today.