Introduction
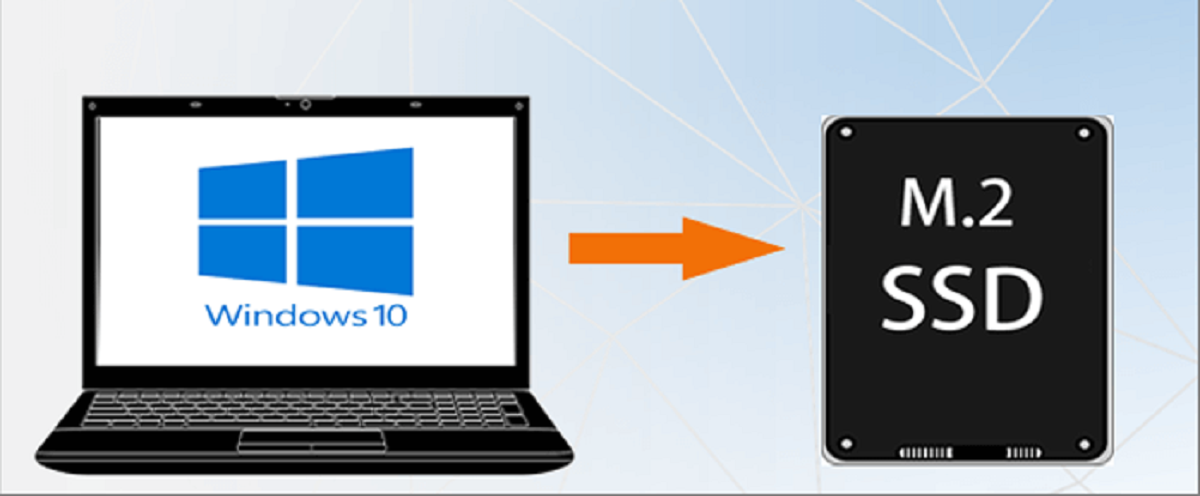
Welcome to our guide on how to transfer SSD to M.2! Solid State Drives (SSDs) and M.2 drives have become popular storage options due to their faster speeds and compact sizes. While SSDs are typically connected via SATA cables, M.2 drives utilize the M.2 slot on the motherboard. Many users are now looking to transfer their SSDs to M.2 drives to take advantage of the improved performance and space-saving benefits.
In this article, we will provide you with a step-by-step guide on how to successfully transfer your SSD to an M.2 drive. We’ll also discuss the reasons why you might want to make this switch and important compatibility considerations.
Whether you’re a tech enthusiast who wants the latest and greatest hardware or someone who needs more storage space, transferring your SSD to M.2 can be a worthwhile project. So, let’s dive in and learn how to safely and efficiently transfer your SSD to an M.2 drive!
What is an SSD?
A Solid State Drive (SSD) is a type of storage device that uses flash memory to store and retrieve data. Unlike traditional hard disk drives (HDDs) that use spinning disks and mechanical read/write heads, SSDs have no moving parts, making them faster, quieter, and more durable.
SSDs use a process called NAND flash memory, which stores data in cells that can be electrically erased and rewritten. This technology allows for much faster data transfer rates compared to HDDs, resulting in quicker boot times, faster application loading, and improved overall system performance.
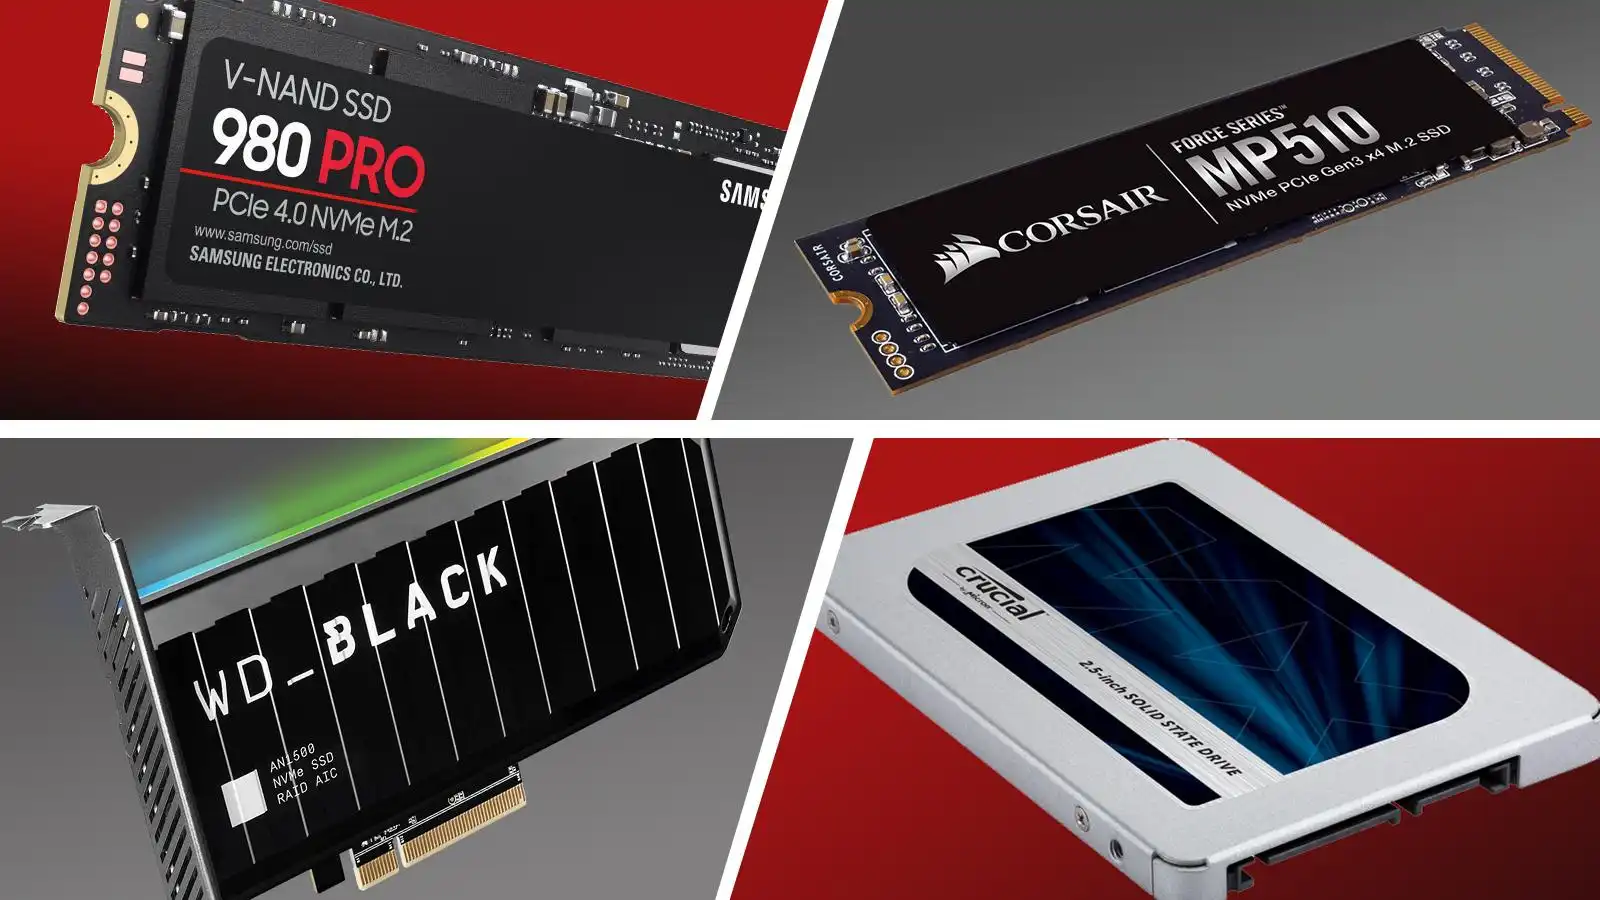
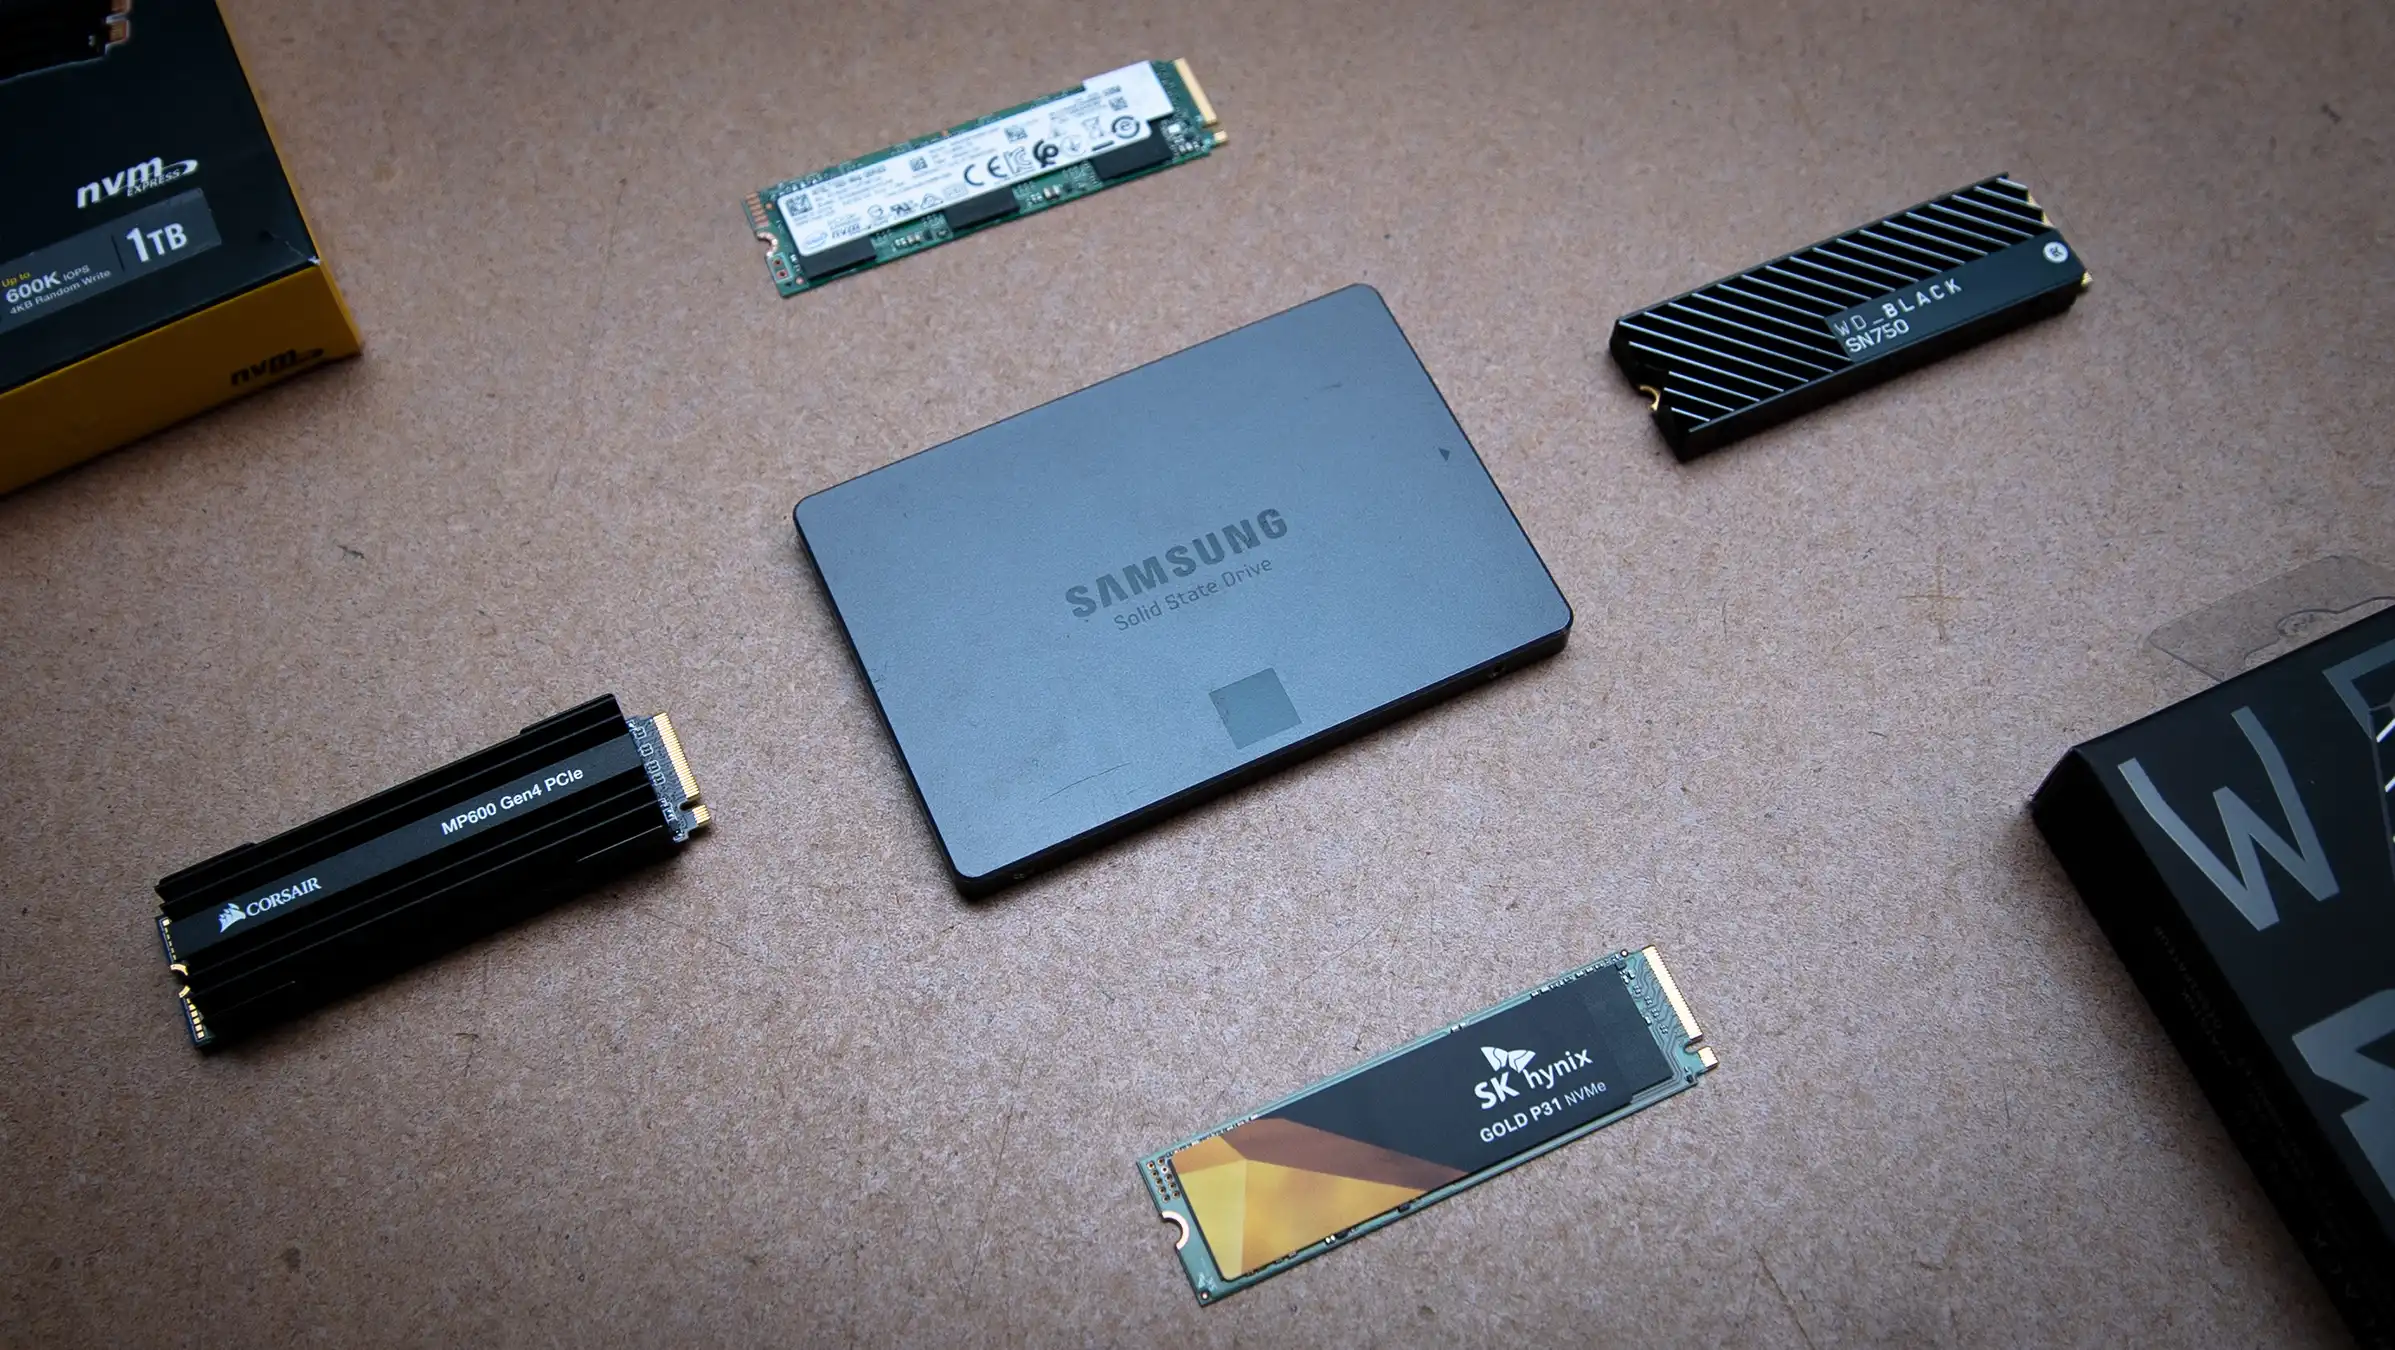
There are two main types of SSDs: 2.5-inch SATA SSDs and M.2 SSDs. The 2.5-inch SATA SSDs are similar in size and shape to traditional hard drives, making them suitable for installation in most desktops and laptops that have a SATA interface. On the other hand, M.2 SSDs are smaller, card-like devices that are directly inserted into the M.2 slot on the motherboard.
SSDs have revolutionized storage technology, bringing significant speed and reliability improvements to computer systems. With their widespread adoption, SSDs have become an essential component for those seeking faster performance and increased efficiency.
What is an M.2?
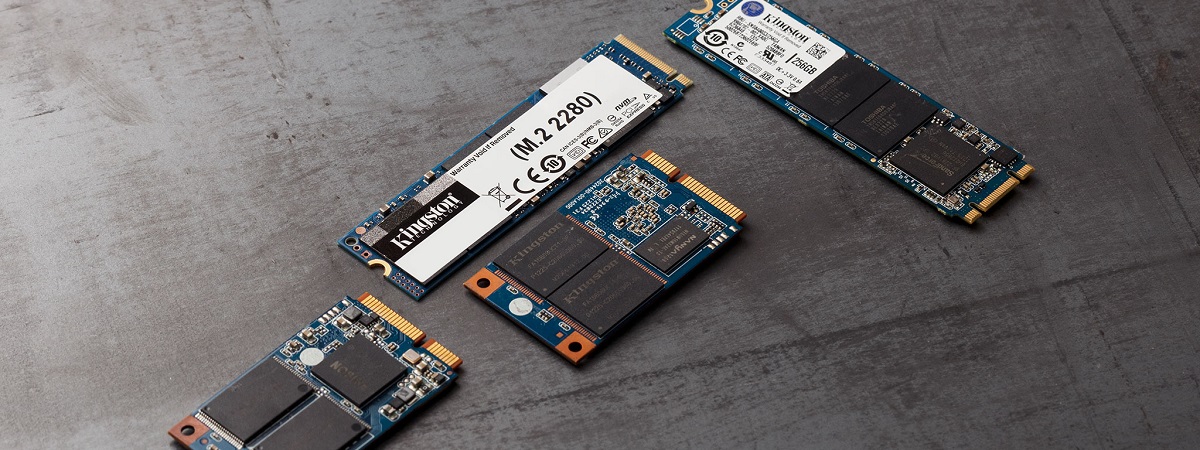
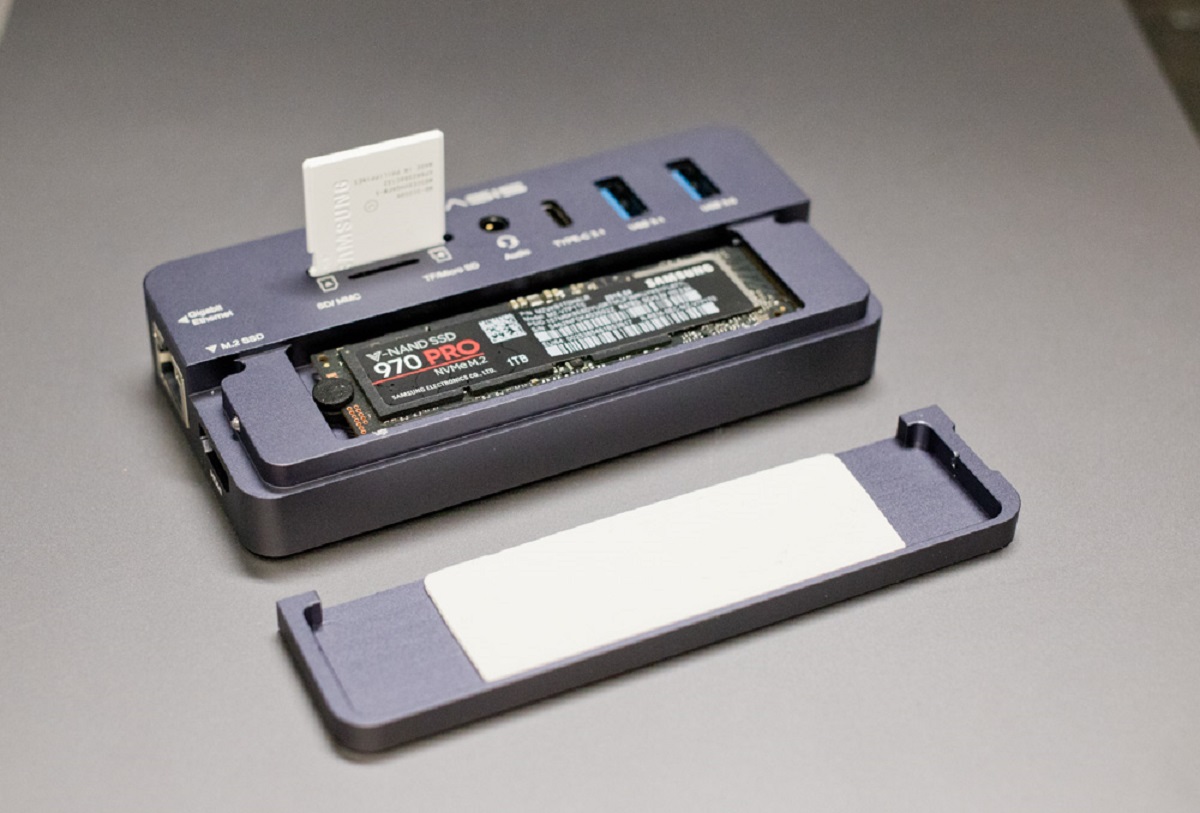
M.2 is a form factor for storage devices that has gained popularity in recent years. It is a small, rectangular-shaped device that connects directly to the motherboard of a computer. M.2 drives are known for their compact size, high performance, and versatility.
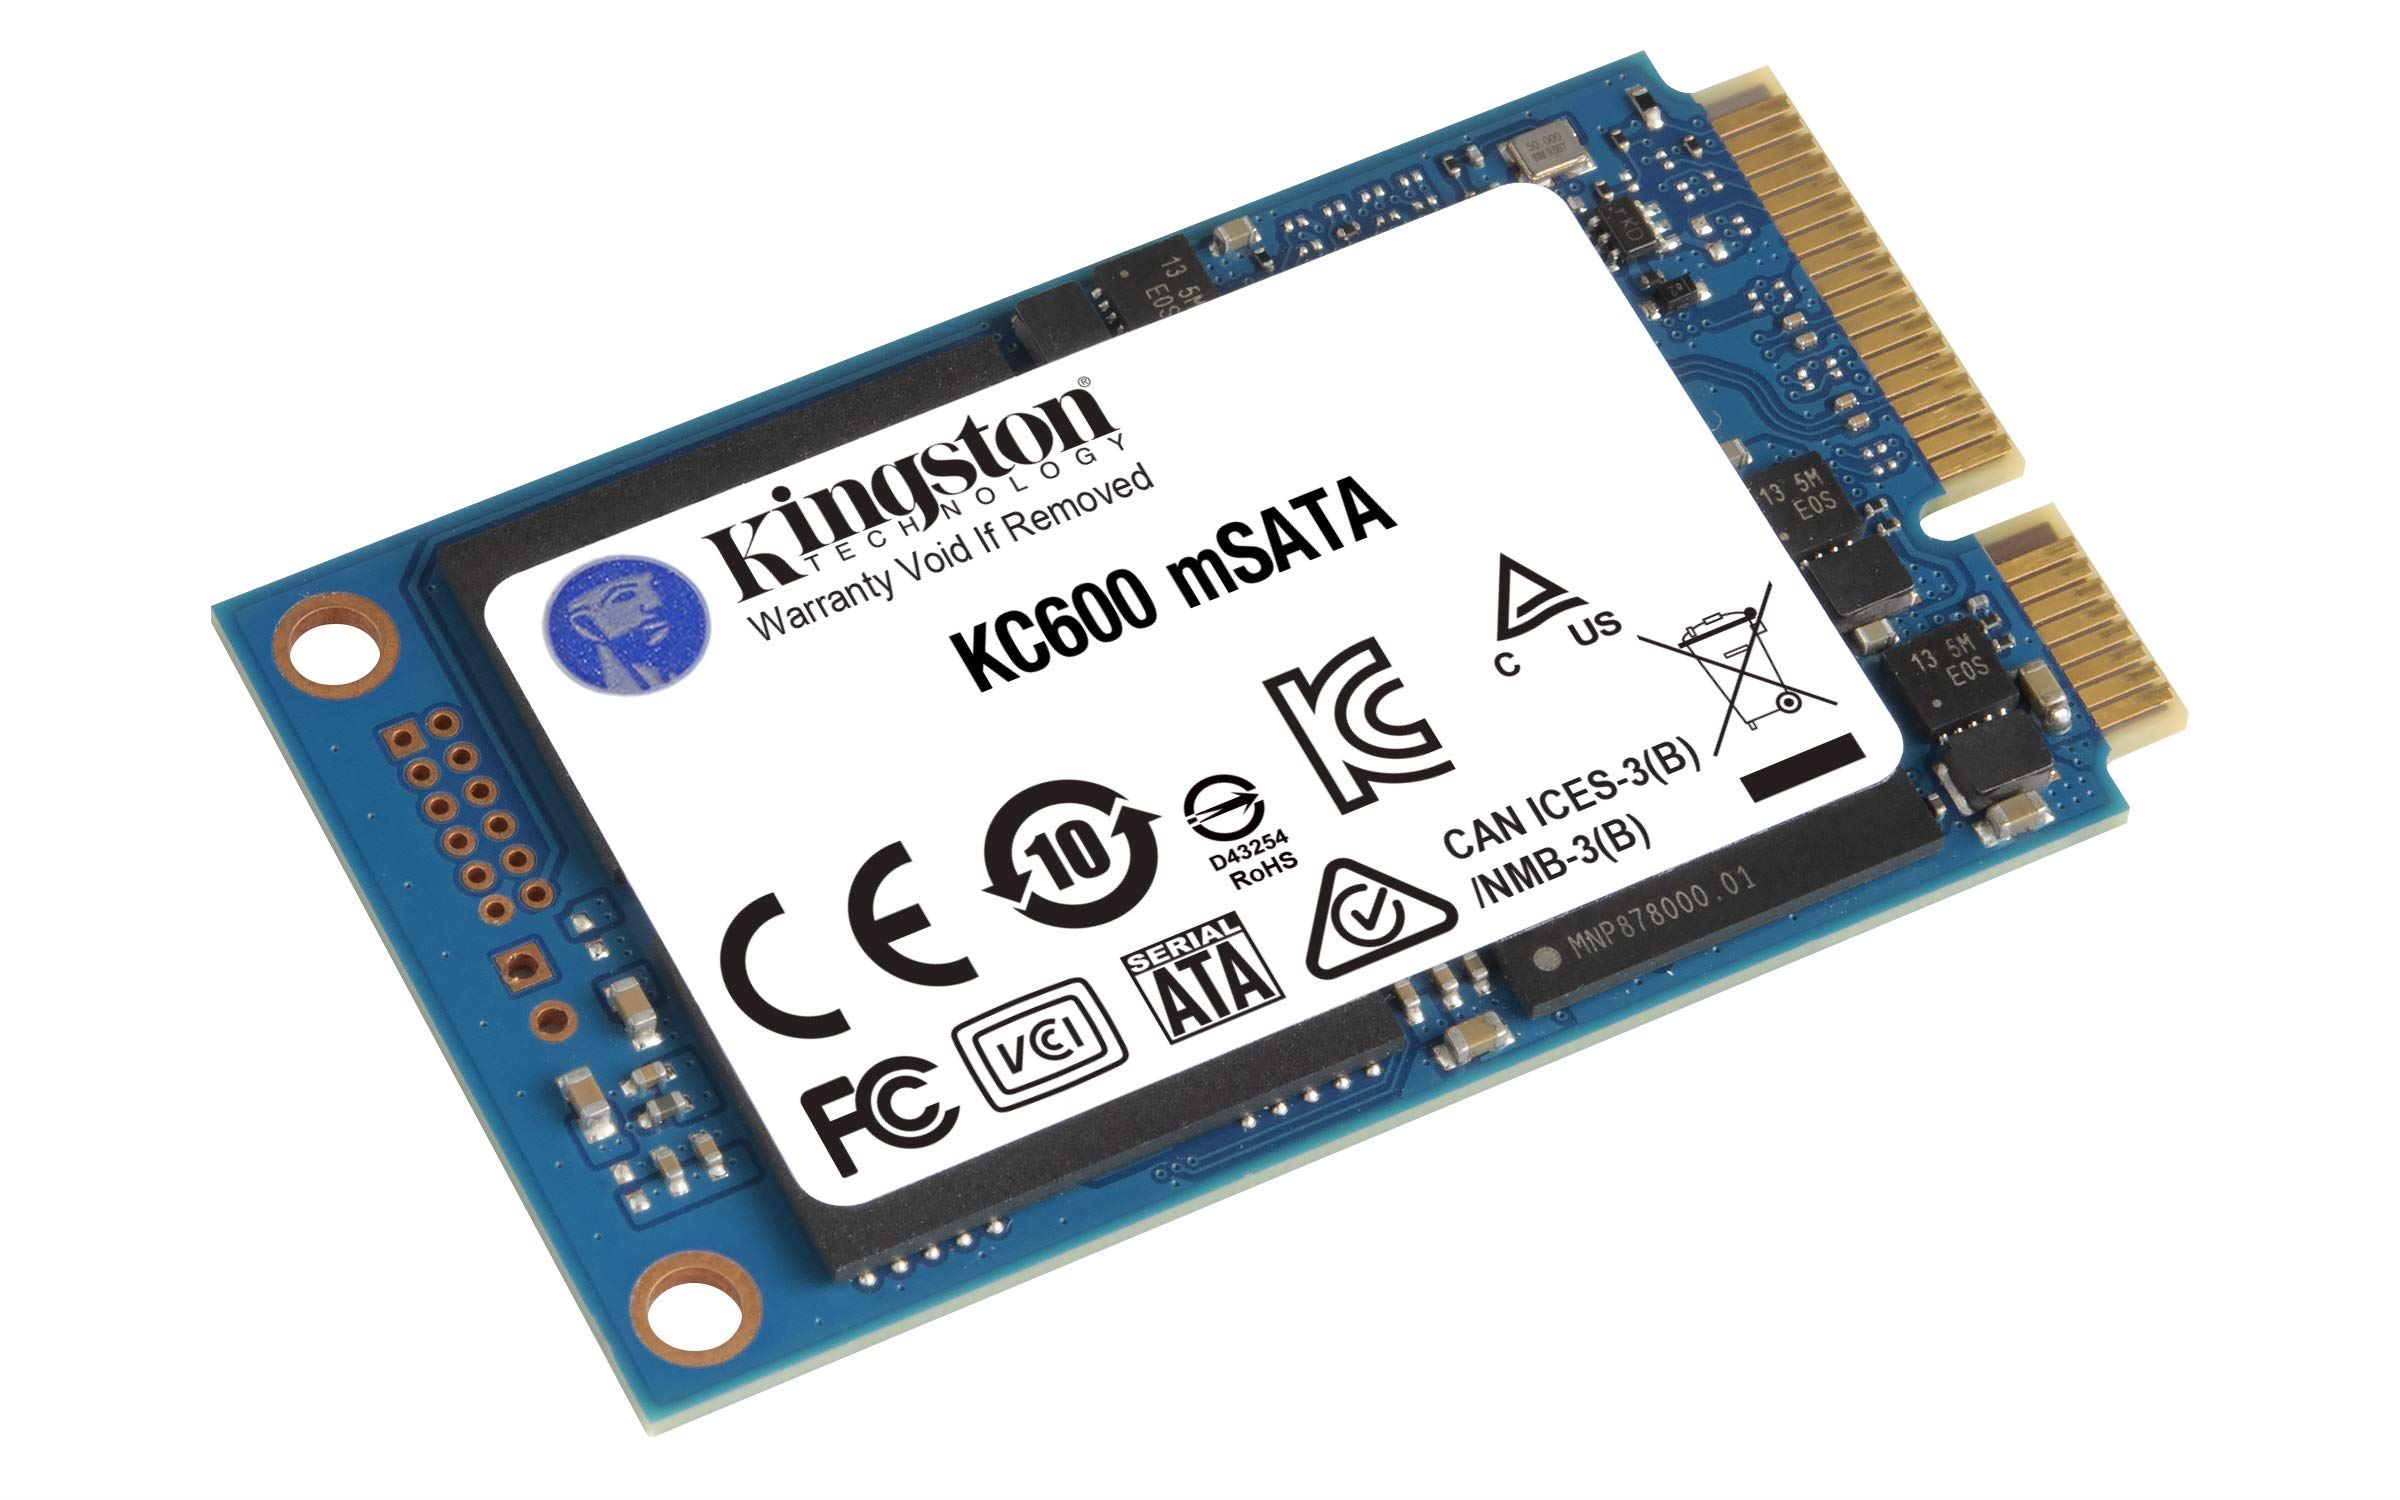
The M.2 form factor supports various storage interfaces, including SATA and PCIe (Peripheral Component Interconnect Express). This means that M.2 drives can be used to house both SATA-based SSDs and faster PCIe-based NVMe (Non-Volatile Memory Express) SSDs.
One of the key advantages of M.2 drives is their small footprint. They are significantly smaller than traditional 2.5-inch SSDs and do not require any cables for connection, making them perfect for slim laptops and compact desktop systems. Additionally, the M.2 form factor allows for better airflow and cooling, which can help maintain optimal drive temperatures.
M.2 drives come in different lengths, labeled as 2242, 2260, 2280, and 22110, where the numbers refer to the length of the drive in millimeters. The most common length is 2280, which measures 80mm in length. It is essential to check the M.2 slot on your motherboard to ensure compatibility with the desired length of the M.2 drive.
Another important factor to consider is the interface supported by the M.2 slot. Some M.2 slots only support SATA-based drives, while others offer support for PCIe NVMe SSDs, which provide faster read and write speeds. Understanding the capabilities of your M.2 slot is crucial when selecting an M.2 drive.
In summary, M.2 drives offer a combination of small size, high performance, and versatility. They provide an excellent option for those looking to upgrade their storage solution to a faster and more compact form factor. With their compatibility with both SATA and PCIe-based SSDs, M.2 drives offer flexibility for different storage needs.
Reasons to Transfer SSD to M.2
There are several compelling reasons why you might consider transferring your SSD to an M.2 drive. Here are some of the key benefits:
- Improved Performance: M.2 drives, especially those that utilize the PCIe interface, offer significantly faster data transfer speeds compared to traditional SATA SSDs. This means quicker file transfers, faster boot times, and reduced application load times.
- Space-saving Design: M.2 drives are much smaller in size compared to 2.5-inch SSDs. This makes them a great choice for compact laptops and slim desktop systems where space is limited. With an M.2 drive, you can free up valuable space within your system.
- Enhanced Aesthetics: With no cables required and their sleek, low-profile form factor, M.2 drives contribute to a cleaner and more organized appearance inside your computer case. This can be particularly appealing to enthusiasts who value a visually pleasing setup.
- Future-proofing: As technology advances, M.2 drives are becoming more widely adopted. By transferring your SSD to an M.2 drive, you ensure that your system is compatible with the latest storage technologies and can take advantage of future advancements.
- Flexibility: M.2 drives support both SATA and PCIe interfaces, offering flexibility in choosing the type of drive that best suits your needs. Whether you require a high-capacity SATA-based SSD or a top-of-the-line NVMe SSD for intense workloads, M.2 drives can accommodate your requirements.
Transferring your SSD to an M.2 drive can provide significant performance gains, save space, enhance the aesthetics of your system, future-proof your setup, and offer flexibility in terms of drive selection. Consider these advantages when deciding whether to make the switch.
Compatibility Considerations
Before transferring your SSD to an M.2 drive, it’s important to consider compatibility factors to ensure a successful migration. Here are some key considerations:
- Motherboard Compatibility: Check your motherboard specifications to ensure that it has an available M.2 slot. Additionally, verify the type of M.2 support it offers, such as SATA or PCIe, as this will determine the compatible M.2 drives.
- M.2 Length: Take note of the length of the M.2 slot on your motherboard. M.2 drives come in different lengths, typically 2242, 2260, 2280, and 22110. Ensure that the M.2 drive you choose matches the correct length supported by your motherboard’s M.2 slot.
- Interface Compatibility: Determine the interface your M.2 slot supports, whether it is SATA or PCIe NVMe. This will help you select the appropriate M.2 drive for compatibility and performance.
- BIOS/UEFI Support: Check if your motherboard’s BIOS/UEFI firmware supports booting from an M.2 drive. Some older systems may require a BIOS update to enable this functionality.
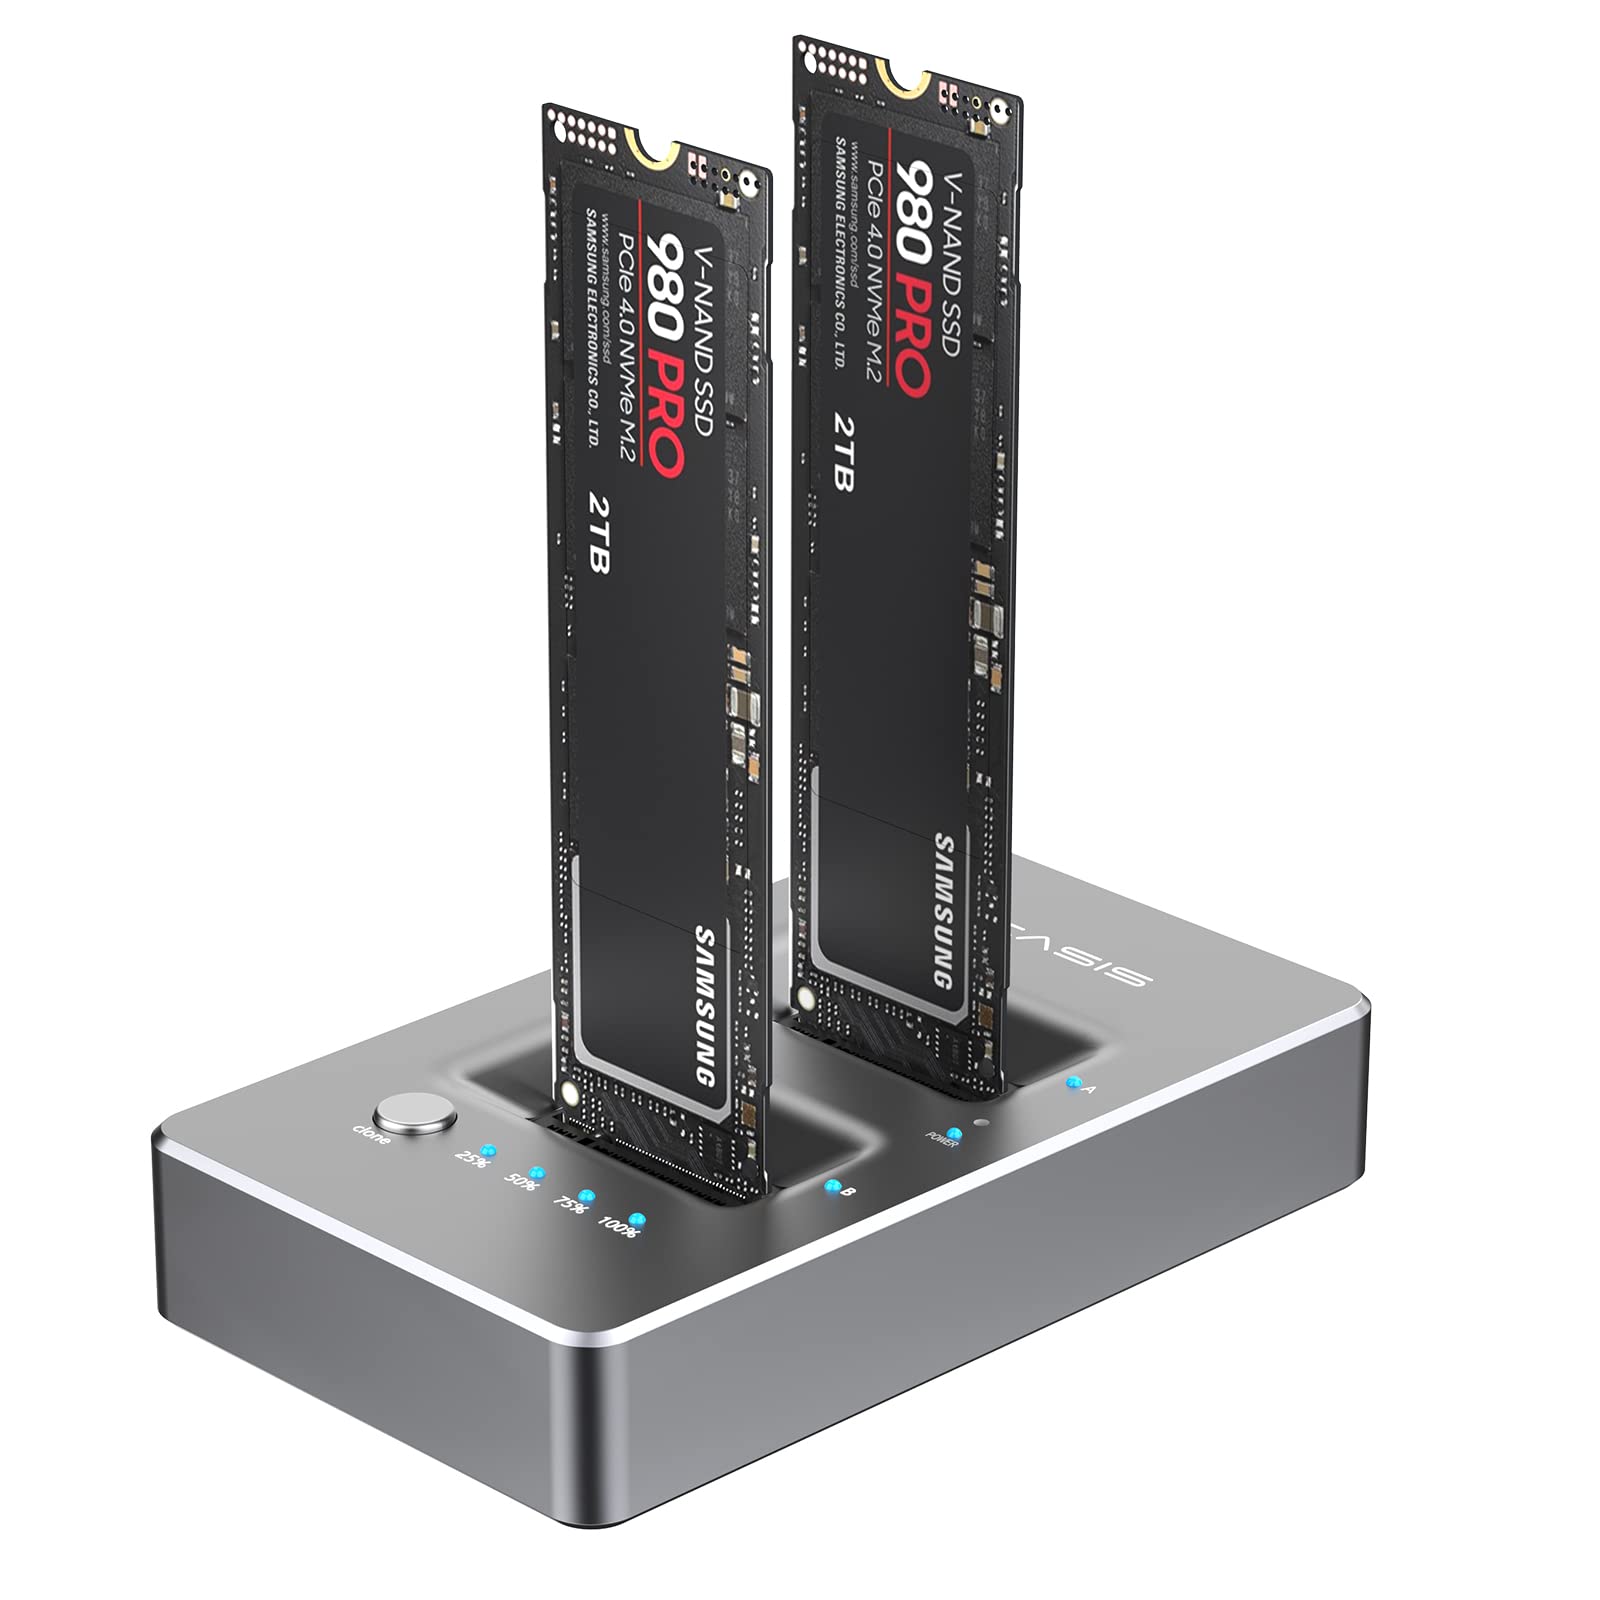
- Data Migration: If you are transferring your operating system and existing data from the SSD to the M.2 drive, you’ll need to clone the SSD onto the M.2 drive using software or employ other data migration techniques. Backup your data before proceeding to prevent any loss.
- Power and Cooling: Consider the power consumption and cooling requirements of the M.2 drive. While M.2 drives generally consume less power and generate less heat compared to traditional SSDs, it’s worth ensuring that your system’s power supply and cooling setup can sufficiently handle the new drive.
Ensuring compatibility between your motherboard, M.2 drive length, interface support, firmware, and data migration process is crucial for a successful transfer from SSD to M.2. Take the time to research and confirm these compatibility considerations to avoid any potential issues during the migration process.
Step-by-Step Guide to Transferring SSD to M.2
Now that you understand the benefits and considerations of transferring your SSD to an M.2 drive, let’s walk through the step-by-step process:
- Gather the necessary tools: Ensure you have the required tools such as a screwdriver, SATA cable (if needed), and an M.2 drive compatible with your system.
- Back up your data: Before proceeding with the migration, it’s critical to back up your data to prevent any loss. Make a complete backup of your SSD’s contents onto an external storage device or cloud storage.
- Shut down your computer: Power off your computer and unplug it from the power source. This will allow you to safely work on the hardware without any risk of electrical damage.
- Open your computer case: Depending on your computer model, remove the screws or release the clips that secure the case. Gently slide off or lift the case to access the internal components.
- Locate the SSD: Identify the current SSD in your system. It is typically connected via a SATA cable to the motherboard. Take note of its current location and the connections involved.
- Disconnect the SSD: Carefully unplug the SATA cable and power cable connected to the SSD. Keep track of the screws that secure it to the drive bay or mounting bracket.
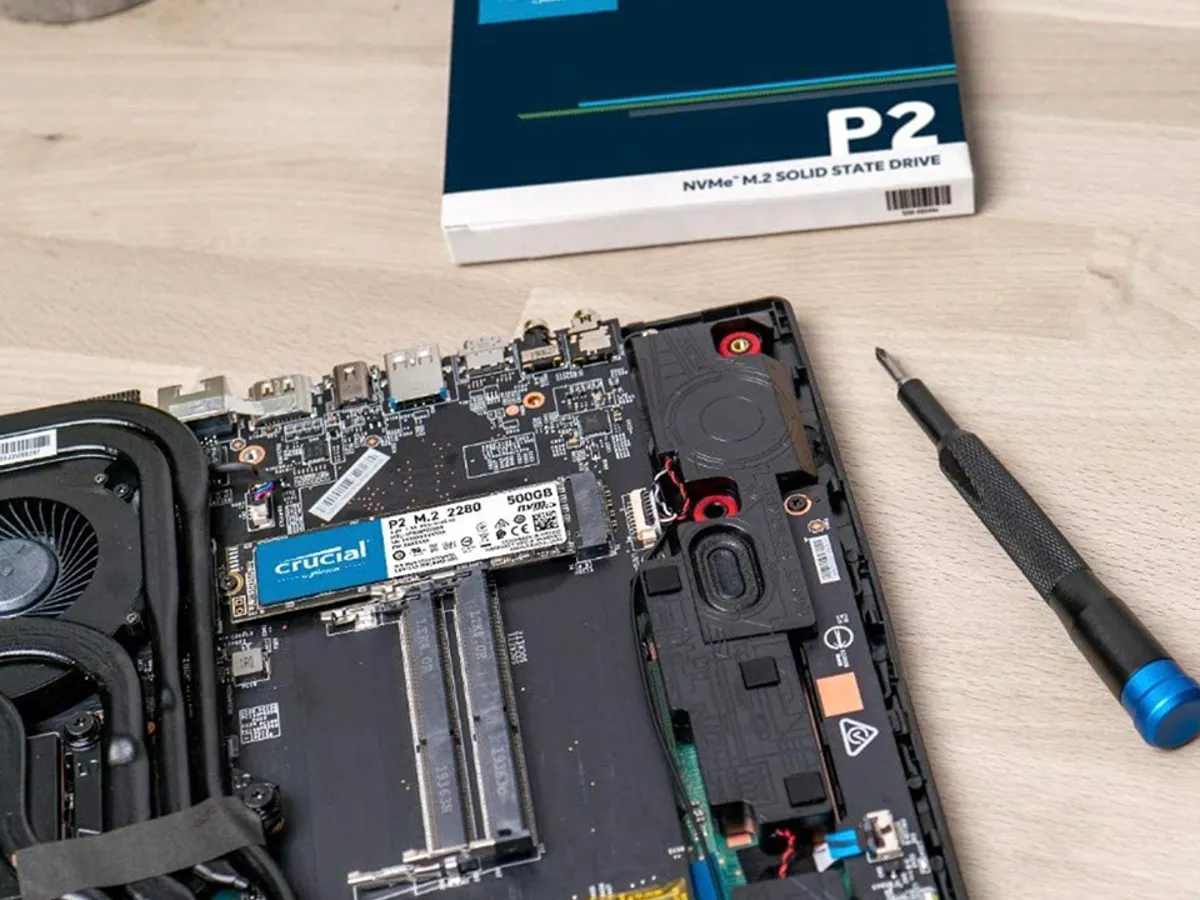
- Insert the M.2 drive: Locate the M.2 slot on your motherboard. Gently insert the M.2 drive into the slot at a slight angle, aligning the notches on the drive with the slot. Apply gentle pressure until it is firmly seated.
- Secure the M.2 drive: If your M.2 drive comes with a screw, use it to secure the drive in place on the motherboard. Otherwise, the drive should be held firmly in place without any additional screws.
- Connect the M.2 drive: If the M.2 drive supports SATA, no further connections are needed. However, if it is a PCIe NVMe drive, consult your motherboard’s manual to determine if there is a specific slot or adapter required for proper connection.
- Close the computer case: Once the M.2 drive is securely installed and connected, gently place the computer case back in its original position. Make sure it is aligned properly, and then reattach any screws or clips to secure the case.
- Power on and configure: Plug in your computer, power it on, and access the BIOS/UEFI settings. Ensure the system recognizes the new M.2 drive. If necessary, change the boot order to prioritize the M.2 drive as the primary boot device.
- Restore your data: If you have backed up your data, proceed to restore your files and operating system onto the M.2 drive using your preferred data migration method or software.
- Test and verify: Reboot your system and ensure it operates as expected with the new M.2 drive. Verify that your files and applications are accessible and that your system performance has improved.
By following these step-by-step instructions, you can successfully transfer your SSD to an M.2 drive and enjoy the benefits of improved performance and space savings.
Conclusion
Transferring your SSD to an M.2 drive can be a rewarding project that offers improved performance, space-saving benefits, and flexibility in storage options. By following the step-by-step guide we’ve provided and considering compatibility factors, you can successfully migrate your data to an M.2 drive and take advantage of its speed and compact form factor.
SSDs and M.2 drives have revolutionized the storage industry, offering faster data transfer speeds, enhanced reliability, and smaller footprints. With M.2 drives becoming increasingly popular, it’s no surprise that many users are considering making the switch from their traditional SSDs.
Remember to back up your data before proceeding with the transfer and ensure compatibility with your motherboard’s M.2 slot. Take note of the M.2 drive’s length, interface compatibility, and cooling requirements for optimal performance.
By transferring your SSD to an M.2 drive, you not only enjoy the performance benefits but also future-proof your system, as M.2 drives are becoming the standard for storage solutions. The space-saving design and aesthetic appeal of M.2 drives make them an excellent choice for both slim laptops and visually pleasing desktop setups.
As technology continues to advance, it’s essential to stay up-to-date with the latest storage options. Migrating to an M.2 drive allows you to take advantage of the advancements in storage technology and optimize the performance of your computer system.
In conclusion, transferring your SSD to an M.2 drive can be a worthwhile investment that boosts your system’s performance, saves space, and future-proofs your storage solution. With careful consideration and following the step-by-step guide provided, you can successfully make the transition and enjoy the benefits of an M.2 drive.


