Introduction
Transferring photos from an SD card to a Mac is a common task for photographers, professionals, and even casual users who want to back up their precious memories. With various methods available, it’s easy to import your photos quickly and efficiently.
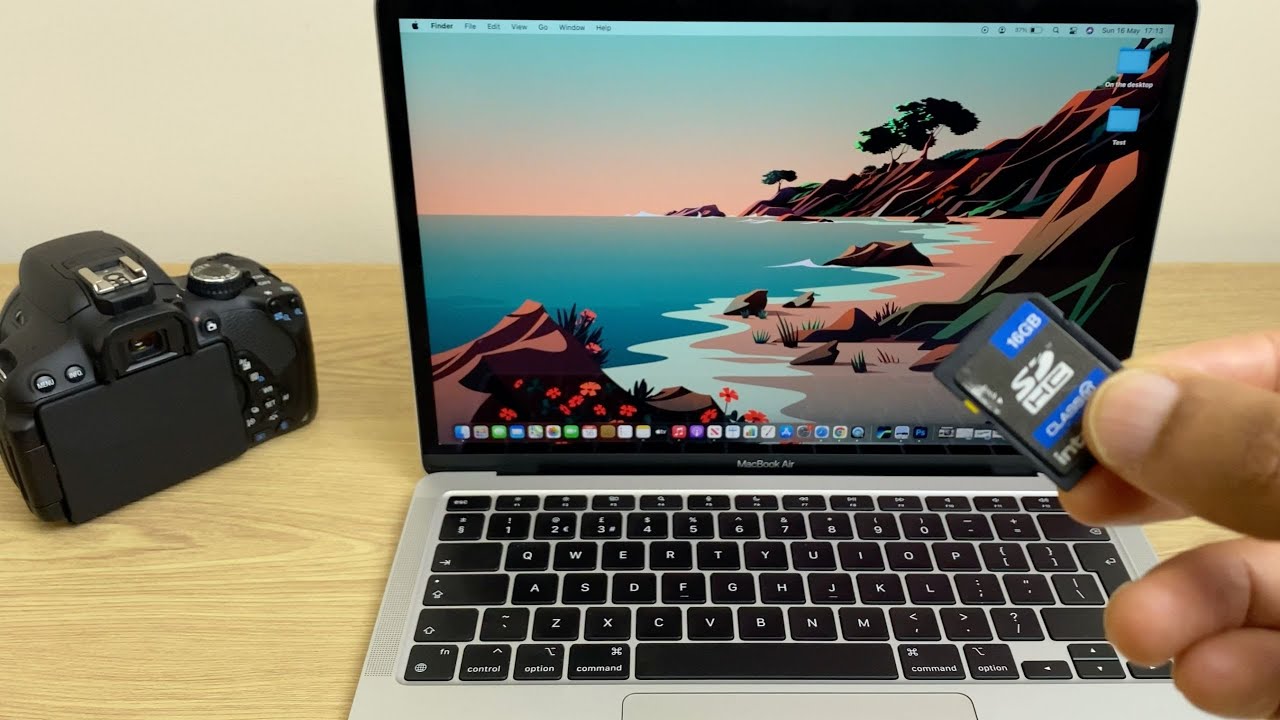
Whether you’re using a digital camera, a DSLR, or simply want to transfer pictures from your phone’s SD card, there are several options that can help simplify the process. In this article, we will explore four different methods to transfer photos from an SD card to a Mac.
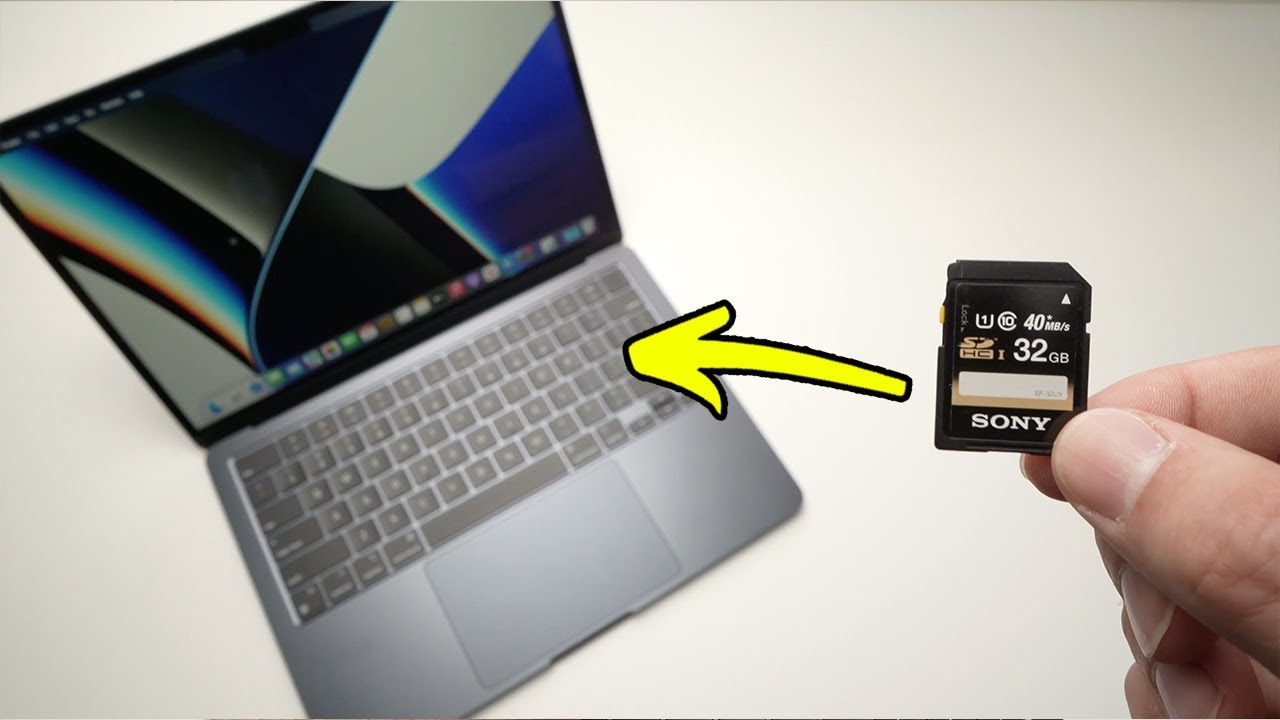
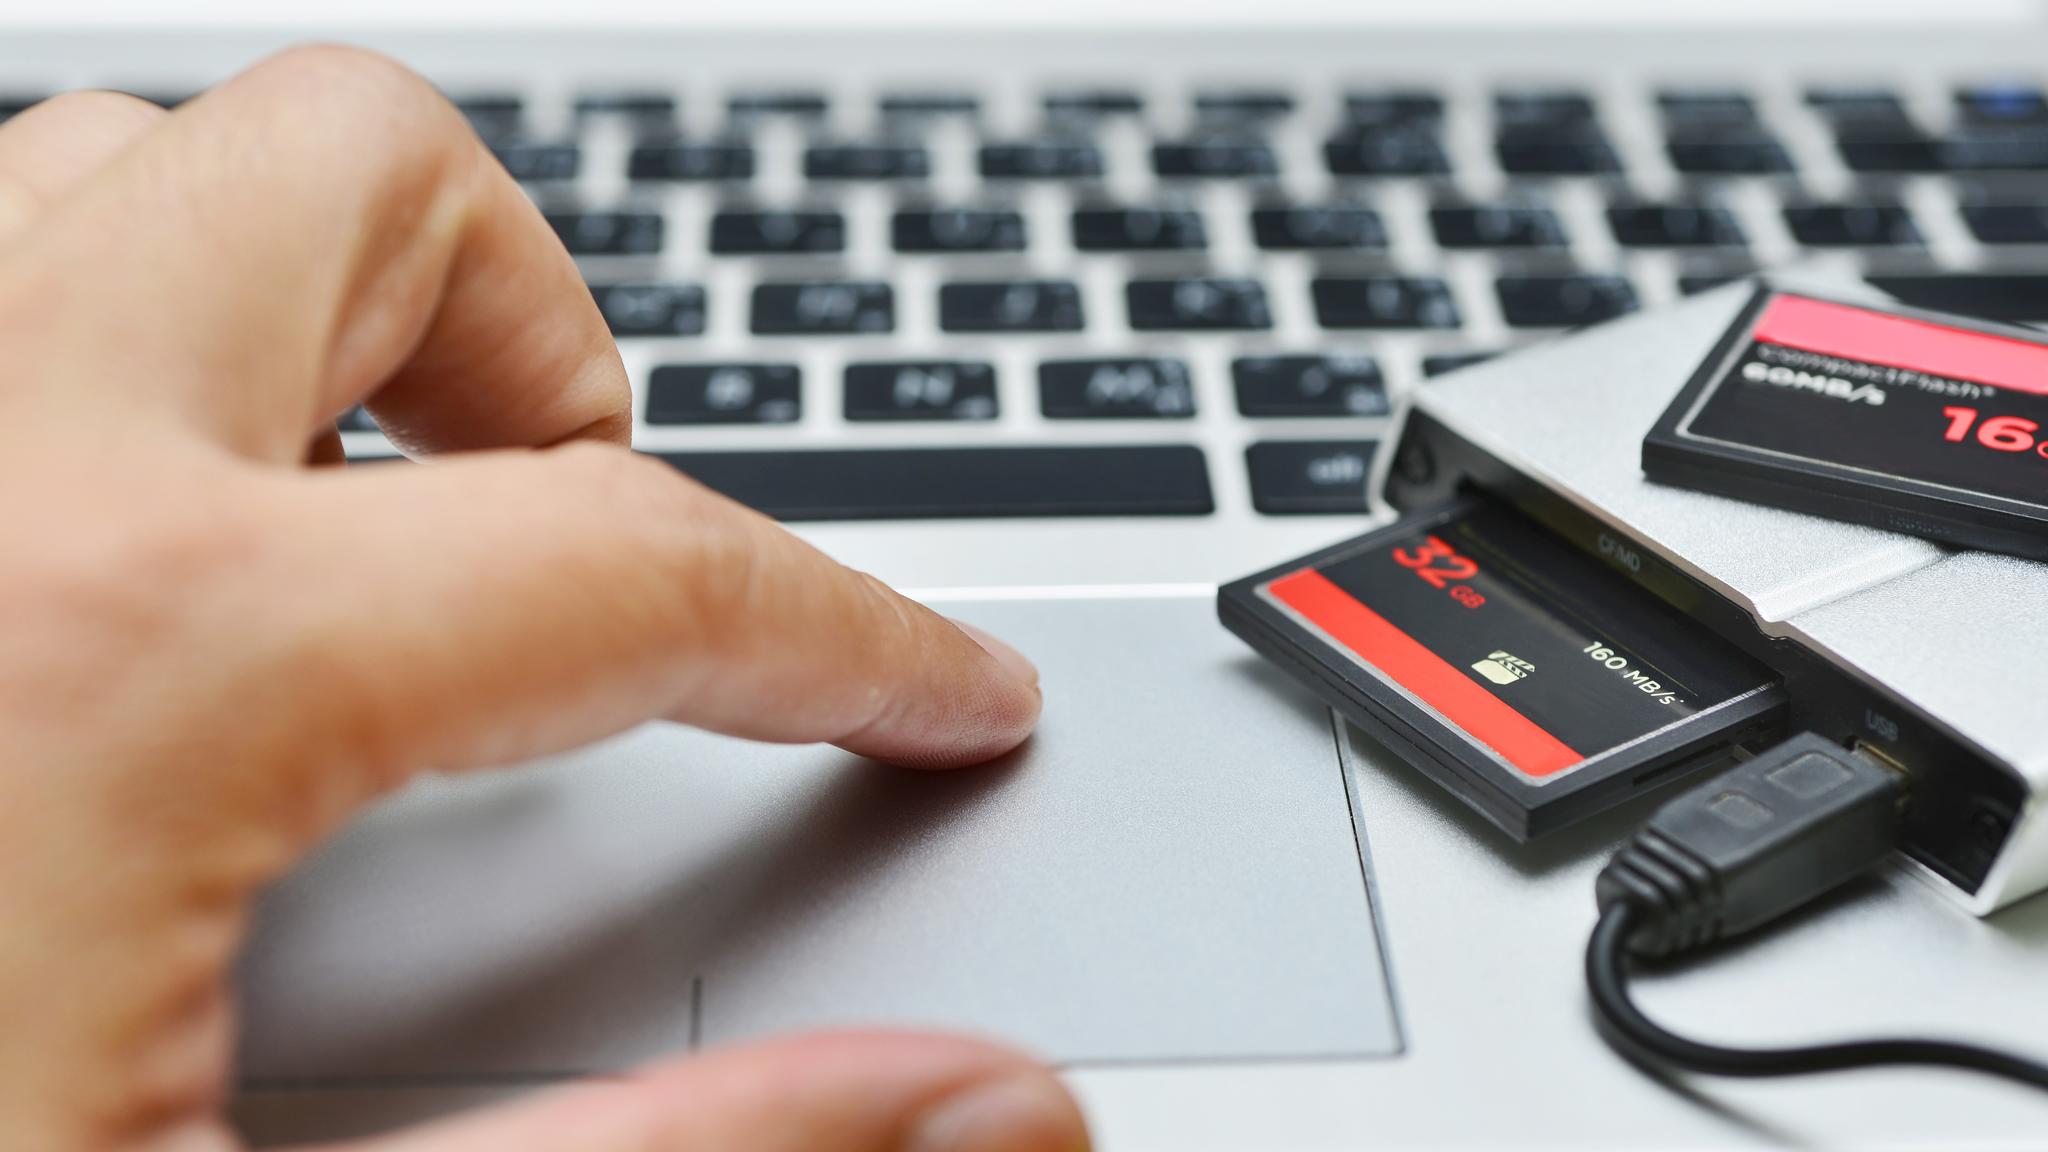
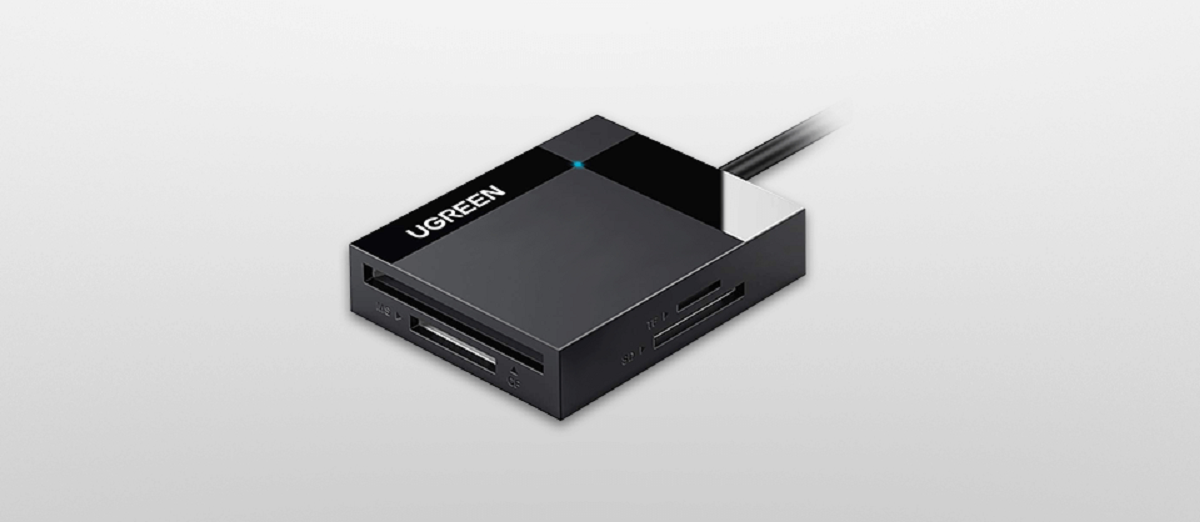
Before diving into the methods, it’s important to ensure that your SD card is inserted properly into your Mac. Most Macs come with built-in SD card readers, while others may require an external card reader. The SD card should be recognized by the Mac and appear as a removable storage device.
Now, let’s explore the various methods you can use to transfer your photos from an SD card to a Mac.
Option 1: Using the Finder
One of the easiest and most straightforward methods to transfer photos from an SD card to a Mac is by using the Finder. This method allows you to manually copy and paste the photos from the SD card to a folder on your Mac.
Here’s how you can transfer photos using the Finder:
1. Insert the SD card into the SD card slot or connect the SD card reader to your Mac.
2. Open a new Finder window by clicking on the Finder icon in the dock.
3. On the sidebar of the Finder window, under “Locations,” you should see the SD card listed. Click on it to open the SD card and view its contents.
4. Locate the photos you want to transfer and select them. You can either click and drag to select multiple photos or hold down the Command key while clicking on individual photos to select them.
5. Once the desired photos are selected, right-click and choose “Copy” from the dropdown menu.
6. Navigate to the destination folder on your Mac where you want to save the transferred photos.
7. Right-click on an empty space in the destination folder and choose “Paste” from the dropdown menu to copy the selected photos to your Mac.
The photos will now be transferred from the SD card to your Mac. The transfer speed may vary depending on the number and size of the photos. Once the transfer is complete, you can safely eject the SD card from your Mac.
Using the Finder method gives you more control over the transfer process, allowing you to selectively choose the photos you want to transfer and organize them in specific folders on your Mac.
This method is suitable for users who prefer a manual approach and want to have a hands-on experience when managing their photos.
Option 2: Using the Photos App
If you prefer a more streamlined and automated approach to transfer photos from an SD card to a Mac, using the Photos app is a convenient option. The Photos app is a built-in application on Macs that allows you to organize and manage your photo library.
Here’s how you can transfer photos using the Photos app:
1. Insert the SD card into the SD card slot or connect the SD card reader to your Mac.
2. The Photos app should automatically launch. If it doesn’t, you can manually open it from the Applications folder.
3. Once the Photos app is open, go to the “File” menu at the top and select “Import” from the dropdown menu. Alternatively, you can use the shortcut Command + Shift + I.
4. The Import screen will appear, showing thumbnails of the photos on your SD card. You can choose to import all the photos or select specific ones by clicking on them.
5. After selecting the photos, click on the “Import” button at the top right corner of the screen. You can choose to either “Import All New Items” or “Import Selected.” If you have already imported some of the photos before, selecting the “Import All New Items” option will only import the new photos.
6. Choose the location where you want to import the photos in the “Import to” dropdown menu. You can create a new album or import them into an existing album.
7. Click on the “Import” button to start the transfer process. The Photos app will automatically copy the selected photos from the SD card to your Mac’s photo library.
Once the transfer is complete, you can safely eject the SD card from your Mac. The imported photos will now be available in the Photos app, allowing you to organize, edit, and share them easily.
Using the Photos app simplifies the process of transferring photos, especially if you want to manage your photo library and take advantage of the app’s features, such as creating albums, editing tools, and iCloud synchronization.
Option 3: Using Image Capture
If you prefer a dedicated tool for transferring photos from an SD card to your Mac, Image Capture is a powerful utility that comes pre-installed on Macs. It allows you to import photos quickly and provides additional options for managing your files.
Here’s how you can transfer photos using Image Capture:
1. Connect your SD card to your Mac using an SD card reader or by inserting it into the SD card slot.
2. Open Image Capture by searching for it in Spotlight or locating it in the Applications folder.
3. The connected SD card should be detected automatically by Image Capture. If not, click on the “Import” button in the toolbar and select your SD card from the list of devices.
4. On the left side of the Image Capture window, you will see a thumbnail view of the photos on your SD card. You can select individual photos or use the Command key to select multiple photos.
5. Choose the desired destination folder for the imported photos from the “Import To” dropdown menu at the bottom of the window. You can create a new folder or select an existing one.
6. Optionally, you can adjust other settings such as file naming conventions, whether to delete the photos from the SD card after importing, and more.
7. Once you have selected the photos and specified the import settings, click on the “Import” button in the bottom right corner to begin the transfer.
Image Capture will copy the selected photos from the SD card to the specified destination folder on your Mac. You can monitor the progress bar at the top of the Image Capture window.
After the transfer is complete, you can safely eject the SD card from your Mac. The imported photos will be available in the destination folder you selected, ready for you to organize, edit, and share.
Using Image Capture gives you more flexibility in terms of file management and import settings, making it an excellent choice for users who want granular control over their photo transfer process.
Option 4: Using a Third-Party App
If you’re looking for alternative methods to transfer photos from an SD card to a Mac, there are various third-party apps available that can offer additional features and customization options for your photo transfer needs.
Here’s how you can transfer photos using a third-party app:
1. Begin by researching and selecting a reputable third-party app that suits your requirements. Some popular options include Adobe Bridge, PhotoSync, and ImageExpo.
2. Download and install the chosen app on your Mac. Ensure that it supports SD card transfers.
3. Connect your SD card to your Mac using an SD card reader or by inserting it into the SD card slot.
4. Launch the third-party app and follow its instructions to set it up for SD card transfers.
5. Depending on the app, you may need to navigate through its interface to locate the option for importing photos from the SD card. This can typically be found in a file transfer or import section.
6. Select the photos you want to transfer from the SD card. The specific steps may vary depending on the app you’re using.
7. Choose the destination folder on your Mac where you want to save the transferred photos. Some apps may allow you to create new folders or organize them within existing ones.
8. Initiate the transfer process by clicking on an import or transfer button within the app.
The third-party app will now transfer the selected photos from the SD card to your designated folder on your Mac. The speed and process may vary depending on the app and the size of the photos.
Once the transfer is complete, you can safely disconnect the SD card from your Mac. The transferred photos will be available in the destination folder, giving you the freedom to organize, edit, and share them as desired.
By using a third-party app, you can explore different options that may offer advanced features, such as batch processing, synchronization with cloud services, and more extensive file management capabilities.
Make sure to choose a reputable app from a trusted source to ensure the security and integrity of your photos during the transfer process.
Conclusion
Transferring photos from an SD card to a Mac is a straightforward process that can be accomplished through various methods. Whether you prefer a manual approach using the Finder, the convenience of the Photos app, the versatility of Image Capture, or the advanced features of third-party apps, there is a method that suits your specific needs.
Using the Finder allows for a hands-on experience, giving you control over selecting and organizing your transferred photos. The Photos app provides a seamless and integrated solution, especially for those who want to manage their photo library and take advantage of editing features. Image Capture offers additional flexibility and customization options, catering to users who want granular control over the import settings. Third-party apps provide unique features and extended functionality for those seeking a more specialized photo transfer experience.
Regardless of the method you choose, always ensure that your SD card is properly inserted into your Mac and recognized by the system. This will allow for a smooth and error-free transfer process.
Remember to backup your photos regularly to ensure their safety and longevity. It is also good practice to format your SD card after transferring the photos to keep it clean and ready for future use.
By following the methods outlined in this article, you can easily transfer photos from your SD card to your Mac, preserving your precious memories and making them accessible for editing, sharing, and organizing.
Now, armed with the knowledge of these different transfer methods, you can select the one that best suits your preferences and workflow, allowing you to effortlessly transfer your photos and continue creating beautiful memories.