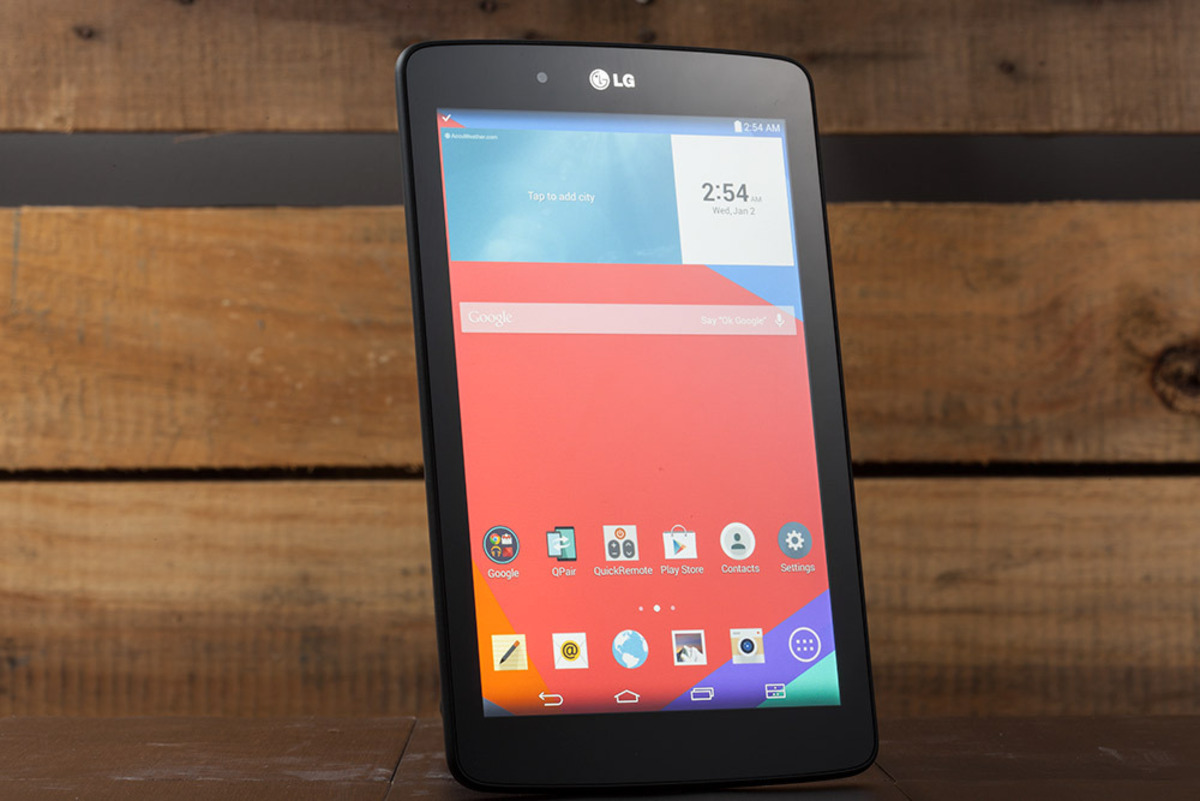
Introduction
Welcome to our guide on how to transfer photos from your LG tablet to your PC. LG tablets are popular devices for capturing and storing precious memories in the form of photos and videos. However, as the storage space on your tablet is limited, it’s essential to transfer these photos to your PC for safekeeping, editing, and organizing.
Transferring photos from your LG tablet to your PC is a straightforward process that can be done in several ways. In this guide, we will walk you through each step to ensure that you can easily transfer your photos without any hassle.
Whether you prefer using a USB cable, a cloud service, LG Bridge software, or a microSD card, we’ve got you covered. Each method has its advantages and may be more suitable depending on your preferences and requirements.
So, whether you want to free up space on your LG tablet or create backups of your photos, let’s dive into the various methods and learn how to transfer your precious memories to your PC.
Before we get started, make sure you have your LG tablet and PC ready. It’s also a good idea to have a USB cable, a microSD card (if applicable), and any necessary software or cloud service accounts prepared.
Now that we have everything set up, let’s explore the different methods to transfer photos from your LG tablet to your PC.
Step 1: Connect your LG Tablet to your PC
The first step in transferring photos from your LG tablet to your PC is to establish a connection between the two devices. This can be done using a USB cable.
Here is the step-by-step process:
- Start by powering on your LG tablet and ensuring that it is unlocked.
- Take the USB cable that came with your LG tablet and connect one end to the micro USB port on the tablet.
- Next, take the other end of the USB cable and insert it into an available USB port on your PC.
- Your LG tablet should now be recognized by your PC. A notification may appear on your tablet’s screen, asking you to select the USB connection mode.
- Tap on the notification and choose the “File Transfer” or “Media Transfer” option. This will enable your tablet to be recognized as a storage device on your PC.
- On your PC, open the File Explorer (Windows) or Finder (Mac), and you should see your LG tablet listed as a connected device.
- Click on your LG tablet’s name to access its storage folders.
Once you have successfully connected your LG tablet to your PC, you are now ready to proceed with transferring your photos. In the following steps, we will explore different methods to transfer your photos, depending on your preferred method of transfer.
Remember to keep your LG tablet connected to your PC throughout the transfer process to ensure a smooth and uninterrupted file transfer.
Step 2: Enable USB Debugging on your LG Tablet
In order to transfer photos from your LG tablet to your PC, you may need to enable USB debugging on your LG tablet. USB debugging is a feature that allows your PC to communicate with your tablet at a deeper level, granting access to the file system and enabling file transfer.
Here is how you can enable USB debugging on your LG tablet:
- On your LG tablet, go to the Settings menu by swiping down from the top of the screen and tapping on the gear icon or by finding the Settings app in the app drawer.
- In the Settings menu, scroll down and tap on the “About phone” or “About tablet” option.
- In the “About” section, look for the “Software info” or “Software information” option and tap on it.
- Find the “Build number” or “Build version” entry and tap on it several times (usually around 7 times) until you see a message saying “You are now a developer!”
- Go back to the main Settings menu and you should now see a new option called “Developer options” or “Developer settings.”
- Tap on “Developer options” to access the advanced settings.
- In the Developer options menu, scroll down and find the “USB debugging” option.
- Toggle the switch next to “USB debugging” to enable it. You may see a warning message confirming your decision; simply tap “OK” to proceed.
Once USB debugging is enabled on your LG tablet, your PC will have the necessary permissions to access and transfer files between the two devices.
It’s important to note that enabling USB debugging also allows other applications on your PC to access your tablet’s data. Therefore, be cautious when connecting your tablet to unknown or untrusted devices.
With USB debugging enabled on your LG tablet, you’re now ready to proceed with transferring your photos using various methods, which we’ll explore in the following steps.
Step 3: Transfer photos using USB cable
One of the most straightforward methods to transfer photos from your LG tablet to your PC is by using a USB cable. This method allows for a direct connection between the two devices, ensuring a fast and secure transfer.
To transfer photos using a USB cable, follow these steps:
- Make sure your LG tablet is connected to your PC via the USB cable. Refer to “Step 1: Connect your LG Tablet to your PC” section for detailed instructions.
- On your PC, open the File Explorer (Windows) or Finder (Mac).
- Navigate to your LG tablet’s storage folders, which should be listed as a connected device.
- Open the folder that contains the photos you want to transfer. Typically, photos are located in the “DCIM” or “Pictures” folder.
- Select the photos you wish to transfer by clicking on them. You can select multiple photos by holding down the Ctrl key (Windows) or Command key (Mac) while clicking on the photos.
- Once you have selected the photos, right-click and choose the “Copy” option from the context menu.
- Go to the desired location on your PC where you want to save the transferred photos.
- Right-click and choose the “Paste” option from the context menu to transfer the photos from your LG tablet to your PC.
The transfer process may take some time depending on the number and size of the photos. Once the transfer is complete, you can access and view your photos on your PC.
Remember to safely disconnect your LG tablet from your PC once the transfer is finished. You can do this by clicking on the “Safely Remove Hardware” icon on your taskbar (Windows) or by dragging the LG tablet’s icon to the trash (Mac).
Using a USB cable is a convenient way to transfer photos since it does not require an internet connection or third-party software. However, if you prefer a wireless method or if you encountered any issues with the USB cable method, don’t worry! In the following steps, we will explore alternative methods to transfer photos from your LG tablet to your PC.
Step 4: Transfer photos wirelessly using a cloud service
If you prefer a wireless method to transfer photos from your LG tablet to your PC, using a cloud service is a convenient option. Cloud services allow you to upload your photos to a remote server, making them accessible from any device with an internet connection.
Follow these steps to transfer photos wirelessly using a cloud service:
- Ensure that your LG tablet is connected to a stable Wi-Fi network.
- On your LG tablet, open the app store and search for a cloud service provider such as Google Drive, Dropbox, or OneDrive.
- Download and install the cloud service app of your choice on your LG tablet.
- Sign in to the cloud service app using your account credentials or create a new account if you don’t have one.
- Open the cloud service app and navigate to the folder where your photos are located.
- Select the photos you want to transfer by tapping on them. You can select multiple photos by tapping and holding on the first photo, then tapping on the others.
- Look for the “Upload” or “Save” option within the cloud service app and tap on it to start the upload process.
- Wait for the upload to complete. The time it takes will depend on the size of the photos and your internet connection speed.
Once the photos are uploaded to the cloud service, you can access them from your PC by following these steps:
- On your PC, open a web browser and visit the website of the cloud service provider you used on your LG tablet.
- Sign in to your account using your credentials.
- Navigate to the folder where you uploaded the photos on your LG tablet.
- Select the photos you want to transfer to your PC.
- Look for the “Download” or “Save” option within the cloud service interface and click on it to start the download process.
- Choose the destination folder on your PC where you want to save the downloaded photos.
- Wait for the download to complete. The time it takes will depend on the size of the photos and your internet connection speed.
Using a cloud service to transfer photos wirelessly is convenient because it allows you to access your photos from any device with an internet connection. Keep in mind that some cloud service providers offer limited free storage space, and you may need to upgrade to a paid plan if you have large photo libraries.
If you prefer not to use a cloud service or if you encountered any issues with wireless transfers, don’t worry! In the following steps, we will explore alternative methods to transfer photos from your LG tablet to your PC.
Step 5: Transfer photos using LG Bridge software
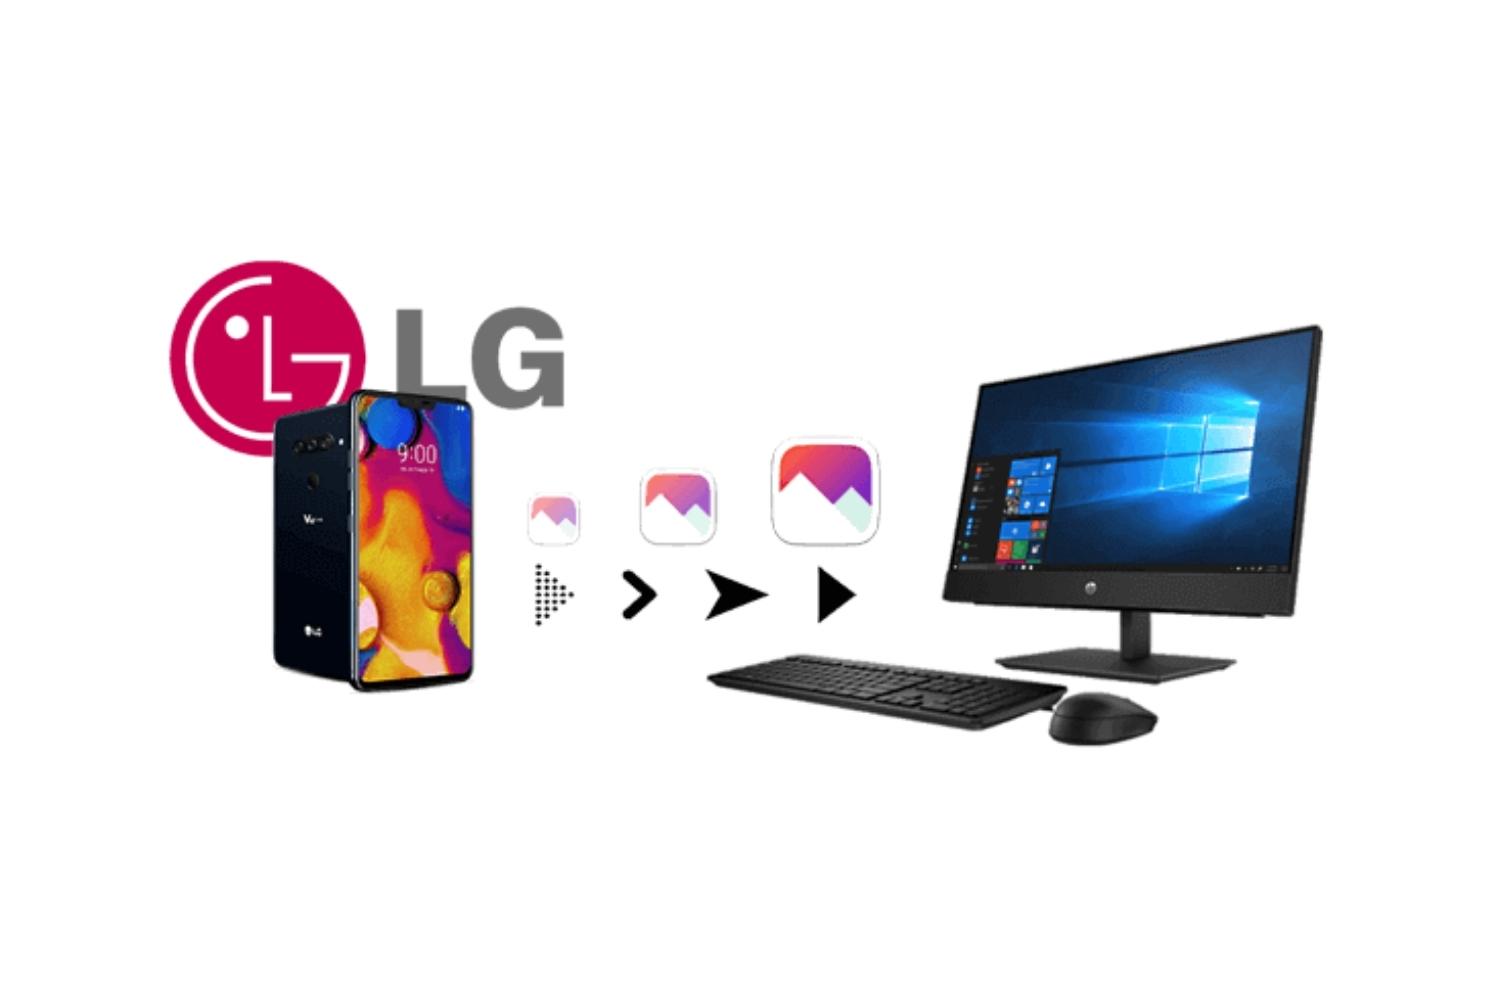
If you want a dedicated software solution to transfer photos from your LG tablet to your PC, LG Bridge can be a great option. LG Bridge is official software provided by LG that allows for seamless file transfer and device management between your LG tablet and PC.
Follow these steps to transfer photos using LG Bridge software:
- Start by downloading and installing LG Bridge software on your PC. You can find the software on the official LG website or through a quick internet search.
- Once installed, launch the LG Bridge software on your PC.
- Connect your LG tablet to your PC using a USB cable. Refer to “Step 1: Connect your LG Tablet to your PC” section for detailed instructions.
- On the LG Bridge software, you should see your LG tablet recognized and listed as a connected device.
- Click on the “Media” or “Photos” tab within LG Bridge to access the photos stored on your LG tablet.
- Select the photos you want to transfer by checking the boxes next to them. You can select multiple photos by holding down the Ctrl key (Windows) or Command key (Mac) while clicking on the photos.
- Click on the “Export” or “Transfer” button within LG Bridge to initiate the transfer process.
- Choose the destination folder on your PC where you want to save the transferred photos.
- Wait for the transfer to complete. The time it takes will depend on the number and size of the photos.
LG Bridge provides a user-friendly interface that simplifies the process of transferring photos. It also allows for additional features such as software updates, backup and restore, and device synchronization.
If you encounter any issues with LG Bridge or prefer an alternative method to transfer photos, don’t worry! In the following steps, we will explore another method to transfer photos from your LG tablet to your PC.
Step 6: Transfer photos using a microSD card
If your LG tablet has a microSD card slot, another convenient method to transfer photos to your PC is by using a microSD card. This method allows you to directly transfer photos from your tablet’s internal storage to the microSD card, which can then be easily inserted into your PC for file transfer.
Follow these steps to transfer photos using a microSD card:
- Insert a microSD card into the microSD card slot on your LG tablet. Make sure it is properly inserted and recognized by your tablet.
- On your LG tablet, go to the Photos app or the File Manager app to access your photos.
- Select the photos you want to transfer by tapping on them. You can select multiple photos by tapping and holding on the first photo, then tapping on the others.
- Look for the “Move” or “Copy” option within the app and tap on it.
- Navigate to the microSD card storage option and select it as the destination folder for the photos.
- Confirm the transfer process and wait for the photos to be moved or copied to the microSD card.
- Once the transfer is complete, remove the microSD card from your LG tablet.
- Insert the microSD card into the appropriate slot on your PC, either through a built-in card reader or using an external card reader.
- Open the File Explorer (Windows) or Finder (Mac) on your PC and navigate to the microSD card storage.
- Copy the transferred photos from the microSD card and paste them into the desired folder on your PC.
Transferring photos using a microSD card offers the advantage of simplicity and direct access to your photos. However, it requires a compatible microSD card and a microSD card slot on your LG tablet and PC.
With the photos successfully transferred to your PC, you can now organize, edit, and share your precious memories with ease.
Now that you have learned different methods to transfer photos from your LG tablet to your PC, you can choose the method that suits your preferences and needs best. Whether it’s using a USB cable, a cloud service, LG Bridge software, or a microSD card, you can now enjoy easy and efficient photo transfer.
Conclusion
Transferring photos from your LG tablet to your PC is a simple and essential task to ensure the safety, accessibility, and organization of your precious memories. In this guide, we explored several methods to transfer photos, including using a USB cable, a cloud service, LG Bridge software, and a microSD card.
Using a USB cable provides a direct and fast connection between your LG tablet and PC, allowing for easy file transfer. Wireless methods, such as using a cloud service, offer the convenience of accessing your photos from any device with an internet connection. LG Bridge software provides a dedicated solution for seamless device management and file transfer. Lastly, transferring photos using a microSD card offers a straightforward and direct approach.
Choose the method that best suits your preferences and needs. Consider factors such as convenience, speed, internet connectivity, and available hardware.
Remember to follow the step-by-step instructions for each method to ensure a smooth and successful transfer. Ensure that your LG tablet is connected properly, USB debugging is enabled if required, and you have the necessary software or accounts set up.
Once your photos are safely transferred to your PC, you can organize them, edit them, and share them with others. It’s also recommended to create backups of your photos to prevent any accidental loss or damage.
By following the methods outlined in this guide, you can easily transfer photos from your LG tablet to your PC and enjoy peace of mind knowing that your memories are securely stored and readily accessible.
Efficiently transferring photos allows you to free up storage space on your LG tablet, create backups, and have a centralized location for all your photos. Now, you can make the most of your LG tablet’s camera capabilities and store your cherished moments on your PC for years to come.


