Introduction
Having a stunning LG OLED TV to showcase your favorite photos can bring a whole new level of enjoyment to your viewing experience. Whether you want to display cherished memories, breathtaking landscapes, or professional photography, adding photos to your LG OLED TV is a breeze.
In this article, we will explore various methods on how to add photos to your LG OLED TV, allowing you to personalize your entertainment space and create a visually captivating atmosphere. From using a USB drive to streaming photos via Wi-Fi and utilizing DLNA servers, we will guide you through the step-by-step process to make the most of your LG OLED TV.
Before we dive into the different methods, it’s important to prepare your photos beforehand. Ensure that your photos are in a compatible file format, such as JPEG or PNG, and that they are saved to a location that can be easily accessed by the methods we will discuss. Additionally, consider organizing your photos into folders or albums to make navigation and selection more efficient.
Now, let’s explore the various methods you can use to add photos to your LG OLED TV.
Preparing the Photos
Before you can add photos to your LG OLED TV, it’s important to ensure that they are properly prepared. Here are some steps to follow:
- Select High-Quality Images: Choose photos that are clear, well-composed, and visually appealing. High-resolution images will look best on your LG OLED TV’s high-definition display.
- Organize Your Photos: If you have a large collection of photos, it’s a good idea to organize them into folders or albums based on themes, events, or locations. This will make it easier to navigate and find specific photos on your TV.
- Resize and Crop Images: Depending on the resolution of your LG OLED TV, you may need to resize or crop your photos to optimize their display. Most TVs have a recommended pixel resolution for displaying photos, so check your TV’s user manual or specifications for guidance.
- Convert File Formats: Ensure that your photos are saved in a compatible file format such as JPEG or PNG. If your photos are in a different format, you can use free online tools or image editing software to convert them.
- Backup Your Photos: It’s always a good idea to keep backup copies of your photos, especially if they hold sentimental or important value. Store them on a separate hard drive, cloud storage, or another secure location to prevent data loss.
By following these steps, you can ensure that your photos are well-prepared and ready to be added to your LG OLED TV. Once your photos are organized and formatted properly, you can proceed to the next step of adding them to your TV using one of the methods we will discuss.
Using a USB Drive
One of the easiest and most convenient ways to add photos to your LG OLED TV is by using a USB drive. Here’s how you can do it:
- Select Your Photos: Copy the desired photos onto a USB drive. Ensure that the photos are in a compatible file format, such as JPEG or PNG.
- Insert the USB Drive: Locate the USB port on your LG OLED TV and insert the USB drive.
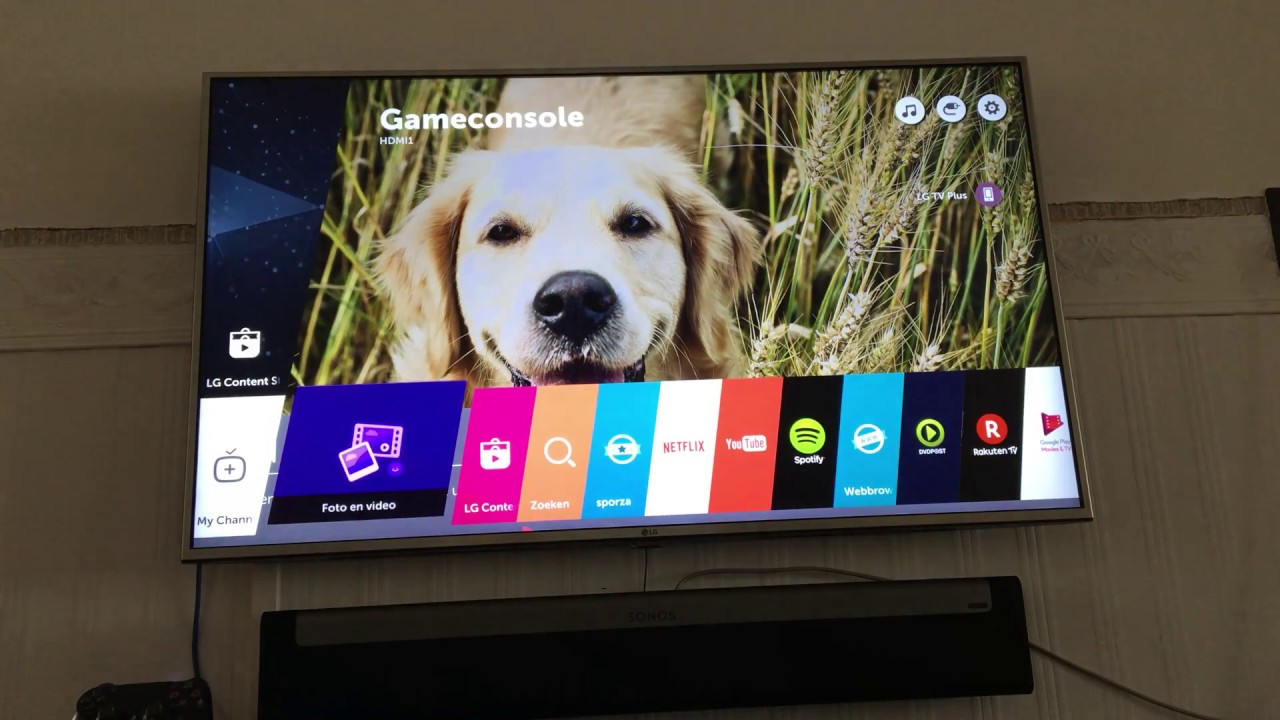
- Access the Photos: Use your TV’s remote control to navigate to the “Photos” or “Media” section of the TV’s interface. Select the USB drive as the source or device to access the photos.
- Browse and Enjoy: Once you have accessed the USB drive, you can browse through the folders or albums containing your photos. Select a photo to view it on the TV screen. Use the navigation buttons on your remote control to scroll through and enjoy your photos.
- Customize Slideshow: Many LG OLED TVs allow you to customize the display of your photos. You can set the duration of each photo, add transition effects, and even play background music to enhance the viewing experience. Refer to your TV’s user manual for instructions on how to access and customize the slideshow settings.
Using a USB drive offers a straightforward and convenient method to add your favorite photos to your LG OLED TV. It allows you to showcase your photography skills, reminisce about precious moments, or simply enjoy stunning visuals on the big screen.
Now that you know how to use a USB drive to add photos to your LG OLED TV, let’s explore another method: transferring photos from a phone or tablet.
Transferring Photos from a Phone or Tablet
If you have a collection of photos on your phone or tablet that you’d like to display on your LG OLED TV, you can easily transfer them using various methods:
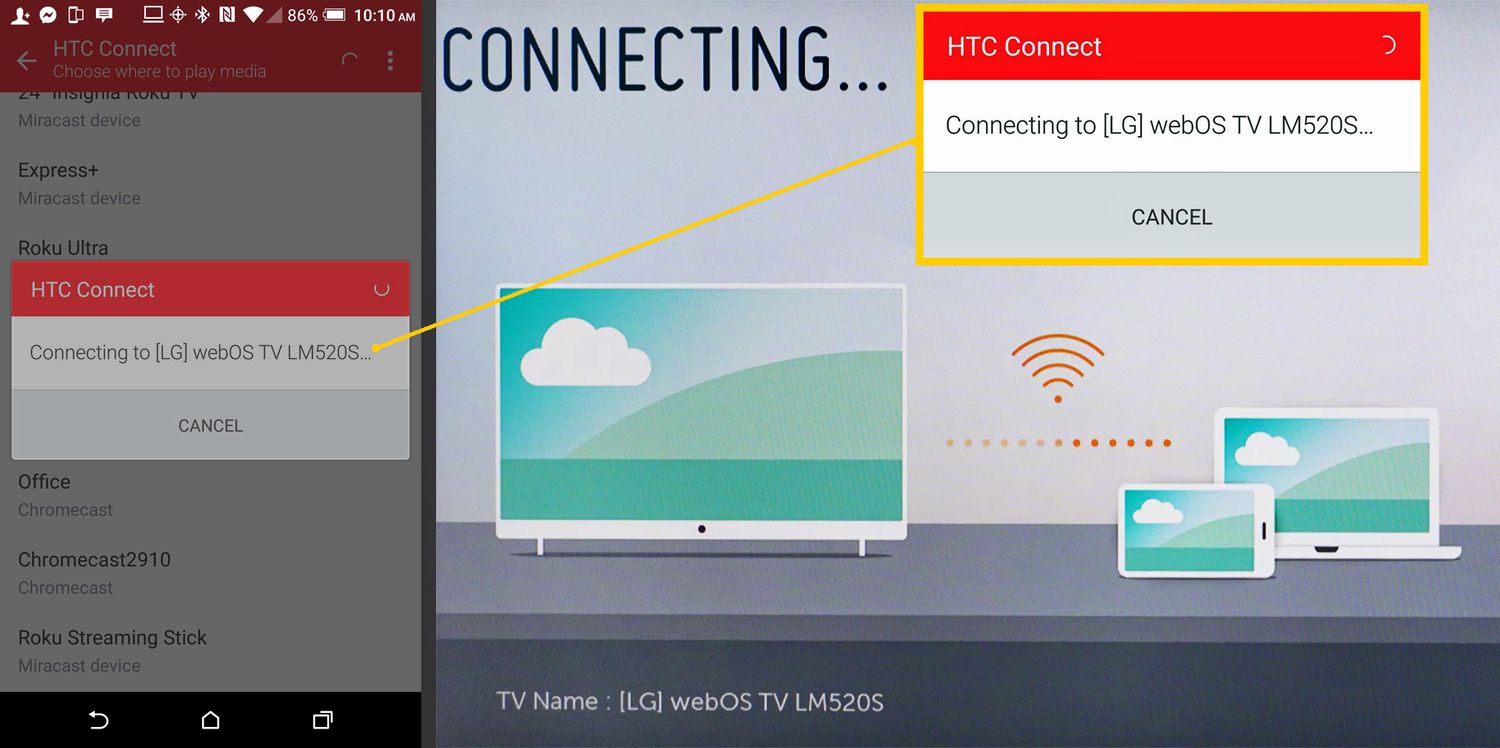
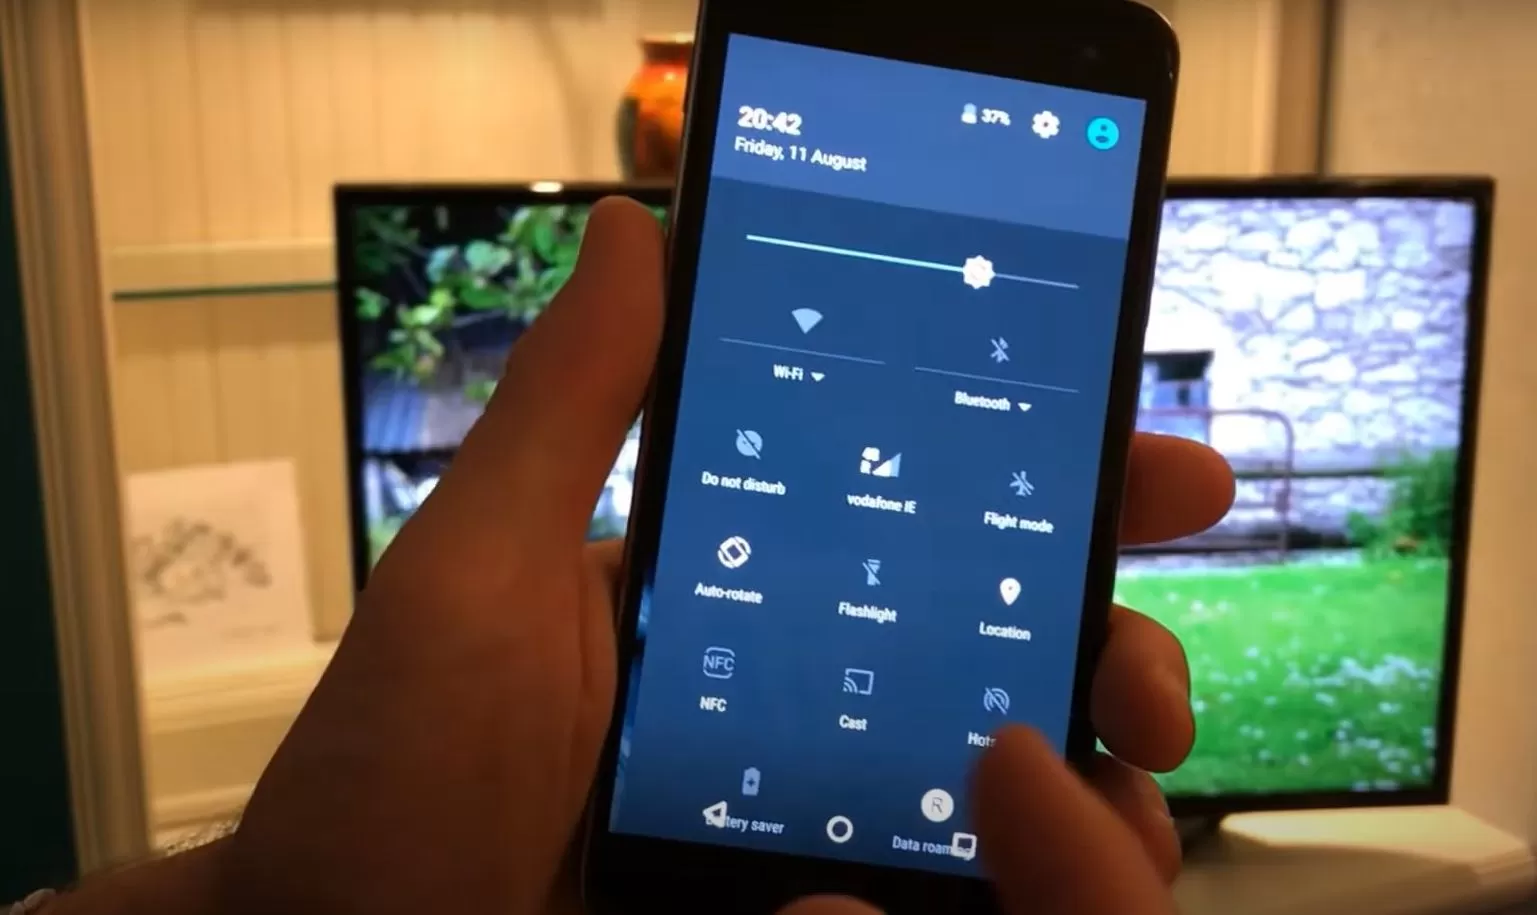
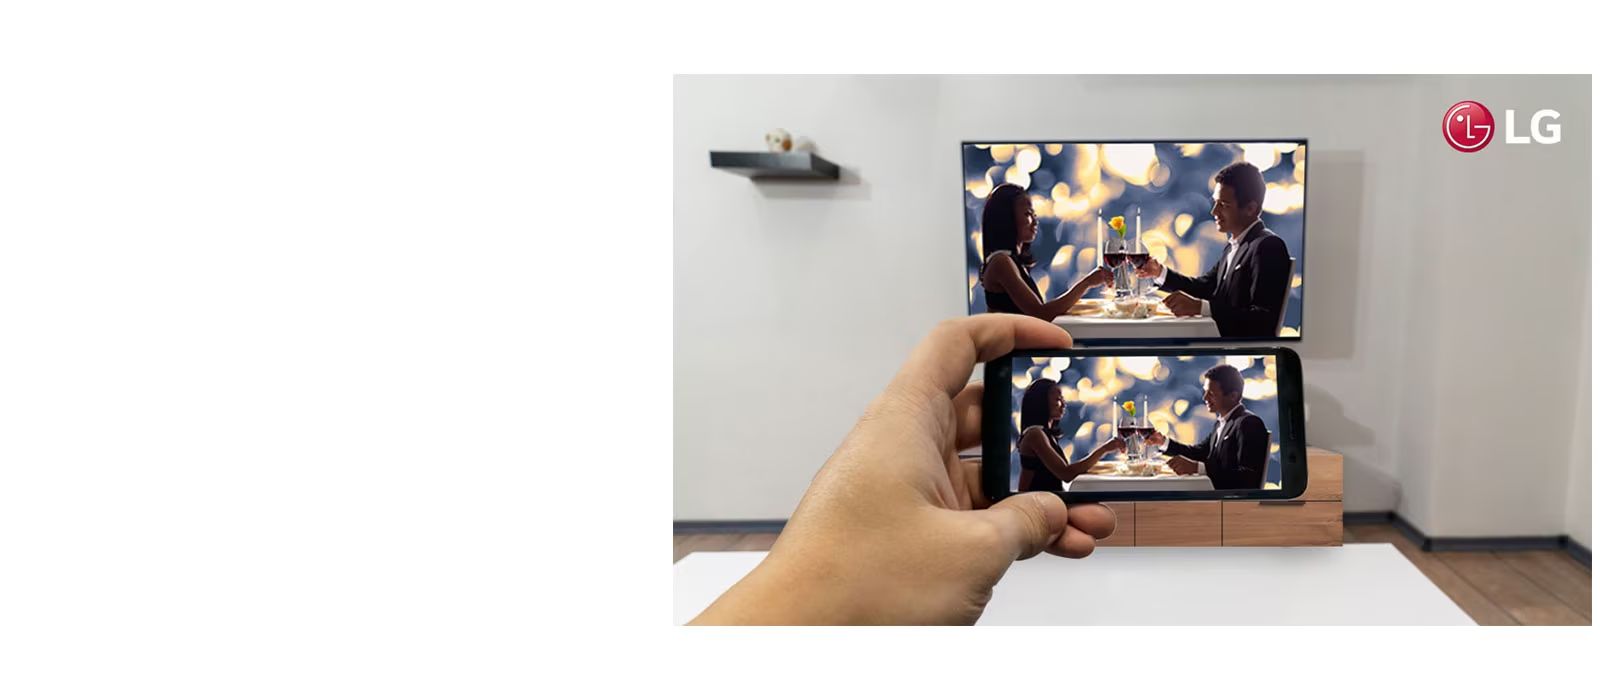
- Wireless Screen Mirroring: Many LG OLED TVs support screen mirroring technology, such as Miracast or AirPlay, which allows you to mirror your phone or tablet screen directly onto your TV. In this case, you can simply access your photos on your mobile device and mirror them to your LG OLED TV wirelessly.
- SmartShare App: LG TVs typically come with the SmartShare app, which enables seamless content sharing between your phone or tablet and your TV. Install the SmartShare app on your mobile device, connect both devices to the same Wi-Fi network, and follow the app instructions to transfer your photos to your LG OLED TV.
- Bluetooth Transfer: If your phone or tablet supports Bluetooth connectivity, you can transfer photos wirelessly to your LG OLED TV. Enable Bluetooth on both devices, pair them, and use the file transfer functionality to send your photos to the TV.
- USB Connection: Another option is to connect your phone or tablet to your LG OLED TV directly using a USB cable. Once connected, your TV should detect the device as a media source, allowing you to browse and access the photos on your mobile device.
- Cloud Storage: If your photos are stored in a cloud storage service like Google Drive or Dropbox, you can install the respective app on your LG OLED TV and sign in. This will give you access to your cloud-stored photos, enabling you to view and download them directly to your TV.
With these methods, you can effortlessly transfer and display your photos from your phone or tablet to your LG OLED TV. Choose the method that suits your preferences and equipment compatibility to enjoy your photos on the big screen.
Now, let’s explore another method: streaming photos via Wi-Fi.
Streaming Photos via Wi-Fi
If you have your photos stored on a computer or a network-connected device, you can easily stream them to your LG OLED TV over Wi-Fi. Here’s how:
- Ensure Network Connectivity: Make sure that your LG OLED TV and the device where your photos are stored are connected to the same Wi-Fi network.
- Enable Media Sharing: On your computer or network-connected device, enable media sharing to allow the TV to access and stream your photos. This can usually be done through the device’s settings or control panel.
- Access the Photos: On your LG OLED TV, navigate to the “Photos” or “Media” section of the interface. Look for the option to access media files from a network-connected device, usually labeled as “Plex”, “DLNA”, or “Media Server”. Select the appropriate option and wait for the TV to detect and display your available media sources.
- Select the Photos: Once your device is detected, browse through the available folders or media libraries to locate your photos. Select a folder or album, and the TV will display the photos it contains.
- Enjoy the Slideshow: Sit back and enjoy your photos as they are displayed in a slideshow format on your LG OLED TV. You may have options to customize the slideshow settings, such as transition effects, duration per photo, and background music.
Streaming photos via Wi-Fi provides a convenient way to access and display your entire photo collection stored on your computer or network-connected device. It eliminates the need for manual transfers or physical storage devices, allowing you to enjoy your photos seamlessly.
Next, let’s explore another method: using a DLNA server to add photos to your LG OLED TV.
Using a DLNA Server
If you have a DLNA server set up on your home network, you can easily access and stream your photos to your LG OLED TV. Follow these steps:
- Set Up the DLNA Server: Install and configure a DLNA server software on your computer, such as Plex, Windows Media Player, or Twonky, or use a dedicated DLNA server device. Make sure the server is connected to the same network as your LG OLED TV.
- Add Your Photos to the Server: Once the DLNA server is set up, add your photo collection to the server’s library. This can usually be done by specifying the folders or directories where your photos are stored.
- Access the DLNA Server: On your LG OLED TV, navigate to the “Photos” or “Media” section of the TV’s interface. Look for the option to access media files from a network-connected DLNA server. Select the DLNA server from the list of available media sources.
- Browse and Display the Photos: Once connected to the DLNA server, browse through the available folders or albums to find your desired photos. Select a photo to display it on the TV screen. You can use your TV’s remote control to navigate through the photos and customize the display settings.
- Manage DLNA Server Settings: Depending on the DLNA server software or device you are using, you may have additional settings that allow you to customize the organization, display, and streaming options for your photos. Refer to the documentation or user interface of your DLNA server for more information.
Using a DLNA server is a convenient method to access and stream your photo collection to your LG OLED TV. It offers flexibility in managing and organizing your photos while providing a seamless streaming experience.
By following these steps, you can easily add photos to your LG OLED TV using a DLNA server. Now, as we conclude this article, you have learned various methods to personalize your LG OLED TV by adding your favorite photos.
Conclusion
Adding photos to your LG OLED TV is a wonderful way to personalize your viewing experience and create a visually captivating atmosphere in your entertainment space. In this article, we explored several methods to add photos to your LG OLED TV, including using a USB drive, transferring photos from a phone or tablet, streaming photos via Wi-Fi, and utilizing a DLNA server.
By preparing your photos beforehand and ensuring they are in a compatible format, organized, and backed up, you can easily add them to your TV using a USB drive. If your photos are stored on a phone or tablet, you can transfer them wirelessly or via a USB connection. Streaming photos via Wi-Fi allows you to access and display your photos from a computer or network-connected device. Utilizing a DLNA server further enhances your ability to stream and manage your photo collection.
With these methods at your disposal, you can effortlessly showcase your cherished memories, stunning landscapes, and professional photography on your LG OLED TV, enhancing your visual experience and creating a personalized touch to your entertainment space.
Remember to explore the capabilities of your specific LG OLED TV model and refer to the user manual or online resources for detailed instructions tailored to your device.
So whether you’re hosting a family gathering, enjoying a quiet evening alone, or simply want to admire the beauty of your photo collection, follow the methods discussed in this article and transform your LG OLED TV into a captivating gallery of visuals that will delight your senses.