Introduction
Welcome to the comprehensive guide on how to transfer photos from Google Photos to OneDrive. If you’re looking to switch cloud storage providers or simply want to have a backup of your precious memories in multiple locations, this tutorial is for you.
Google Photos and OneDrive are both popular cloud storage platforms that offer convenient ways to store and access your photos from various devices. However, if you have a significant amount of photos stored in Google Photos and would like to migrate them to OneDrive, this process might seem daunting.
But don’t worry, we’ve got you covered. In this step-by-step guide, we will walk you through the entire process of transferring your photos from Google Photos to OneDrive, ensuring a seamless transition. Whether you have a few photos or a large collection, this tutorial will help you transfer them with ease.
Before we dive into the steps, it’s important to mention that you will need a computer with internet access to complete this process. Additionally, you should have an active Google account and a Microsoft account with OneDrive set up.
Now that we have the basics covered, let’s get started on transferring your photos from Google Photos to OneDrive!
Step 1: Sign in to Google Photos
The first step in transferring your photos from Google Photos to OneDrive is to sign in to your Google account and access Google Photos. Follow the steps below to proceed:
- Open your preferred web browser on your computer.
- Go to the Google Photos website by typing “photos.google.com” in the address bar.
- If you are not already signed in to your Google account, click on the “Sign in” button located at the top right corner of the page. Enter your Google account credentials (email address and password) and click “Next” to proceed.
- Once signed in, you will be taken to the Google Photos homepage, where you can view all your stored photos and albums.
It’s important to note that if you have enabled two-factor authentication for your Google account, you may be prompted to enter a verification code sent to your registered mobile device before accessing Google Photos. This is an additional security measure to protect your account.
Now that you have successfully signed in to Google Photos, you are ready to proceed to the next step and select the photos you want to transfer to OneDrive.
Step 2: Select the Photos You Want to Transfer
After signing in to Google Photos, the next step is to choose the specific photos that you want to transfer to OneDrive. Follow these steps to select the photos:
- Navigate to the Google Photos homepage where all your stored photos are displayed.
- Scroll through your library or use the search bar to locate specific photos.
- To select multiple photos, hold down the “Ctrl” key (Windows) or the “Command” key (Mac) on your keyboard while clicking on each photo you wish to transfer. Alternatively, you can click on the first photo, hold down the “Shift” key, and then click on the last photo to select a continuous range of photos.
- As you select photos, you will notice that they are highlighted or marked with a checkmark to indicate the selection.
- If you want to select all the photos in your library, you can click on the three vertical dots at the top right corner of the Google Photos page and choose “Select all” from the drop-down menu.
Keep in mind that you can also select entire albums or folders instead of individual photos. To do this, click on the album or folder and follow the same steps to select it. This can be useful if you want to transfer a group of photos organized in a specific album.
Once you have finished selecting the desired photos, you are ready to move on to the next step, which involves downloading the selected photos to your computer.
Step 3: Download the Photos to Your Computer
Now that you have selected the photos you want to transfer from Google Photos to OneDrive, the next step is to download those photos to your computer. Follow the steps below:
- In Google Photos, make sure that you have the selected photos displayed.
- Click on the three vertical dots at the top-right corner of the page to open the options menu.
- From the options menu, click on “Download” to initiate the download process.
- Your browser will prompt you to choose a location on your computer where you want to save the downloaded photos. Select a suitable folder or create a new one if necessary.
- Click on “Save” or “OK” to begin the download.
- Depending on the number of photos and their file sizes, the download process may take some time.
It’s important to note that if you have a large number of photos or if some of them have high-resolution or large file sizes, the download process may take longer. Make sure you have a stable internet connection and enough storage space on your computer to accommodate the downloaded photos.
Once the download is complete, you will have a copy of your selected photos stored on your computer. Now, let’s move on to the next step and learn how to upload these downloaded photos to OneDrive.
Step 4: Sign in to OneDrive
After downloading the selected photos from Google Photos to your computer, it’s time to sign in to your OneDrive account in order to upload these photos. Follow these steps to proceed:
- Open your preferred web browser and go to the OneDrive website by typing “onedrive.live.com” in the address bar.
- If you are not already signed in to your Microsoft account, click on the “Sign in” button located at the top right corner of the page. Enter your Microsoft account credentials (email address and password) and click “Sign in” to proceed.
- Once signed in, you will be taken to the OneDrive homepage, where you can view your files and folders stored in OneDrive.
If you don’t have a Microsoft account, you can create a new one by clicking on the “Create one!” link on the sign-in page. Follow the prompts to set up your account and then proceed with signing in to OneDrive.
It’s important to note that if you have enabled two-factor authentication for your Microsoft account, you may be prompted to enter a verification code sent to your registered mobile device before accessing OneDrive. This is an additional security measure to protect your account.
Now that you have successfully signed in to OneDrive, you are ready to proceed to the final step and upload the downloaded photos from Google Photos.
Step 5: Upload the Photos to OneDrive
Now that you have signed in to your OneDrive account, the final step is to upload the photos that you downloaded from Google Photos. Follow these steps to upload the photos to OneDrive:
- In your OneDrive account, navigate to the location where you want to upload the photos. You can choose an existing folder or create a new one.
- Click on the “Upload” button located at the top of the page. This will open a file selection dialog.
- Navigate to the folder on your computer where you downloaded the photos from Google Photos.
- Select all the photos you want to upload by either dragging and dropping them into the file selection dialog or by clicking on “Open” once you’ve selected the photos.
- The uploading process will begin, and you will see a progress indicator for each photo. The time it takes to upload will depend on the file sizes and your internet connection speed.
- Once the upload is complete, you will see the uploaded photos in your chosen location within OneDrive.
It’s important to note that if you have a large number of photos or if some of them have larger file sizes, the upload process may take time. It’s recommended to have a stable internet connection while uploading to ensure a smooth experience.
Once the photos are successfully uploaded to OneDrive, you can access them from any device with internet access. You can also organize them into folders, share them with others, or perform various actions offered by OneDrive’s features.
Congratulations! You have successfully transferred your photos from Google Photos to OneDrive. Now you can enjoy the convenience and flexibility of having your photos stored in multiple locations.
Conclusion
Transferring photos from Google Photos to OneDrive can seem like a daunting task, but with the step-by-step guide provided above, the process becomes much simpler. By following the outlined steps, you can effectively migrate your photos, ensuring that they are securely stored in your OneDrive account.
Throughout this tutorial, we covered the essential steps involved in transferring photos. From signing in to Google Photos and selecting the desired photos, to downloading them to your computer and signing in to OneDrive, and finally uploading the photos to your OneDrive account, each step was outlined in detail to ensure a smooth and successful transfer.
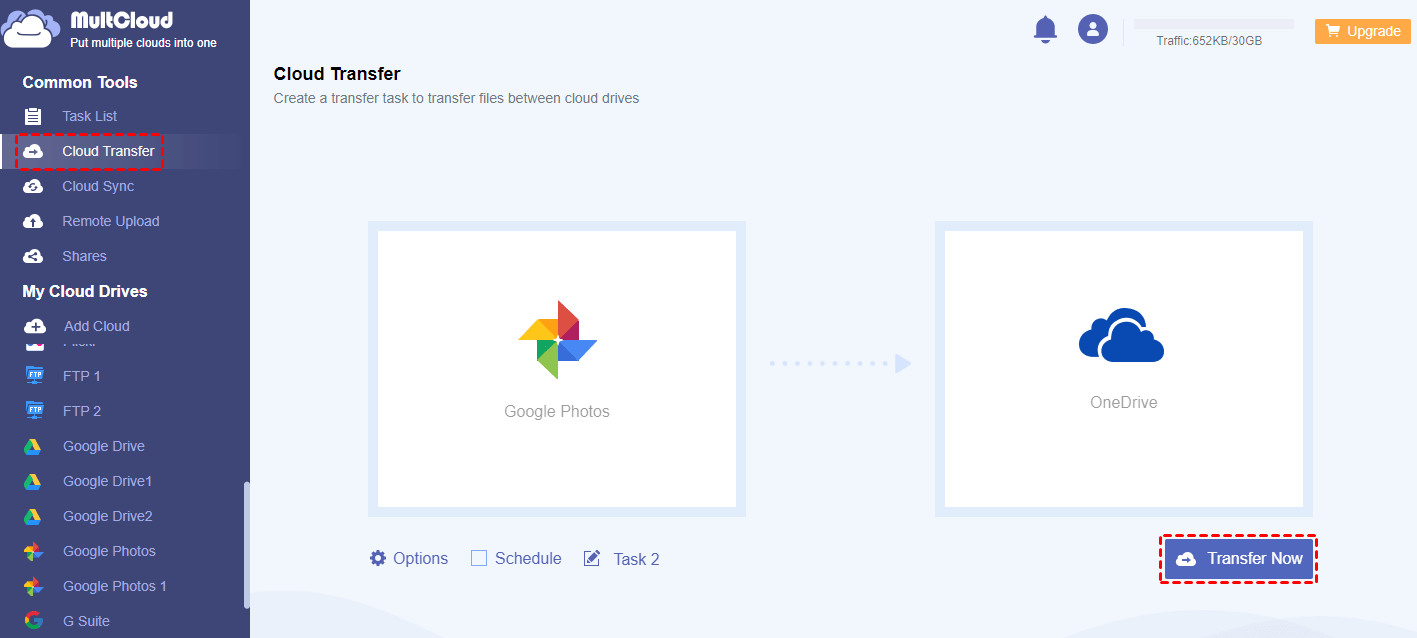
It’s important to note that this guide is applicable for individuals who prefer to manually transfer their photos. If you have a substantial amount of photos or are looking for an automated solution, there are third-party tools available that can assist you with this process.
Whether you are switching cloud storage providers, looking for a backup solution, or simply want to have your photos stored in multiple locations, transferring photos from Google Photos to OneDrive gives you added peace of mind and accessibility.
Now that you have the knowledge and tools to transfer your photos, don’t hesitate to take action and safeguard your precious memories. Start by signing in to Google Photos and follow the subsequent steps to complete the process.
Remember, your photos hold special moments and memories, and having them securely stored in multiple locations ensures their preservation and availability whenever you need them.
So, what are you waiting for? Begin the process of transferring your photos from Google Photos to OneDrive today and enjoy the convenience and peace of mind that it provides!


