Why Transfer Internal Storage to SD Card in Samsung
In today’s digital age, our smartphones have become more than just communication devices. They serve as our personal photo albums, music libraries, and even portable gaming consoles. As a result, the amount of data we store on our devices keeps growing, often surpassing the capacity of the internal storage.
Transferring your data from internal storage to an SD card can bring several advantages. Firstly, it frees up valuable space on your device, allowing it to run smoothly and efficiently. With more space available, you can install new apps, take additional photos, and download more files without constantly worrying about storage limitations.
Additionally, transferring your data to an SD card can protect your precious memories and important files. In the event that your device malfunctions or you need to perform a factory reset, your data stored on the SD card will remain safe and easily accessible.
Another benefit of using an SD card is the ability to seamlessly transfer your data across devices. If you decide to upgrade to a new Samsung smartphone, for example, you can simply insert the SD card into your new device and continue enjoying your apps, photos, and other files without any hassle.
Furthermore, using an SD card can contribute to better device performance. By offloading apps and data to the SD card, you can reduce the burden on your device’s internal storage, resulting in faster load times and smoother multitasking.
Lastly, for those who have limited internal storage on their Samsung devices, transferring data to an SD card provides an affordable solution. SD cards are available in a range of sizes and price points, making it a cost-effective option to expand your storage capacity.
In summary, transferring your internal storage to an SD card in your Samsung device offers several benefits. It frees up space, protects your data, facilitates easy data transfer between devices, enhances device performance, and provides an affordable storage solution. Now that you understand the advantages, let’s dive into the details of how you can transfer your data to an SD card.
Preparing Your SD Card for Transfer
Before you begin transferring your data from internal storage to an SD card on your Samsung device, there are a few essential steps you need to take to ensure a smooth and successful transfer:
- Choose a compatible SD card: Ensure that the SD card you are using is compatible with your Samsung device. Check the manufacturer’s guidelines or your device’s user manual for the recommended SD card specifications.
- Backup your data: It is always a good practice to back up your data before making any changes. Connect your device to a computer and transfer any important files, such as photos, videos, and documents, to your computer’s storage or cloud storage services like Google Drive or Dropbox.
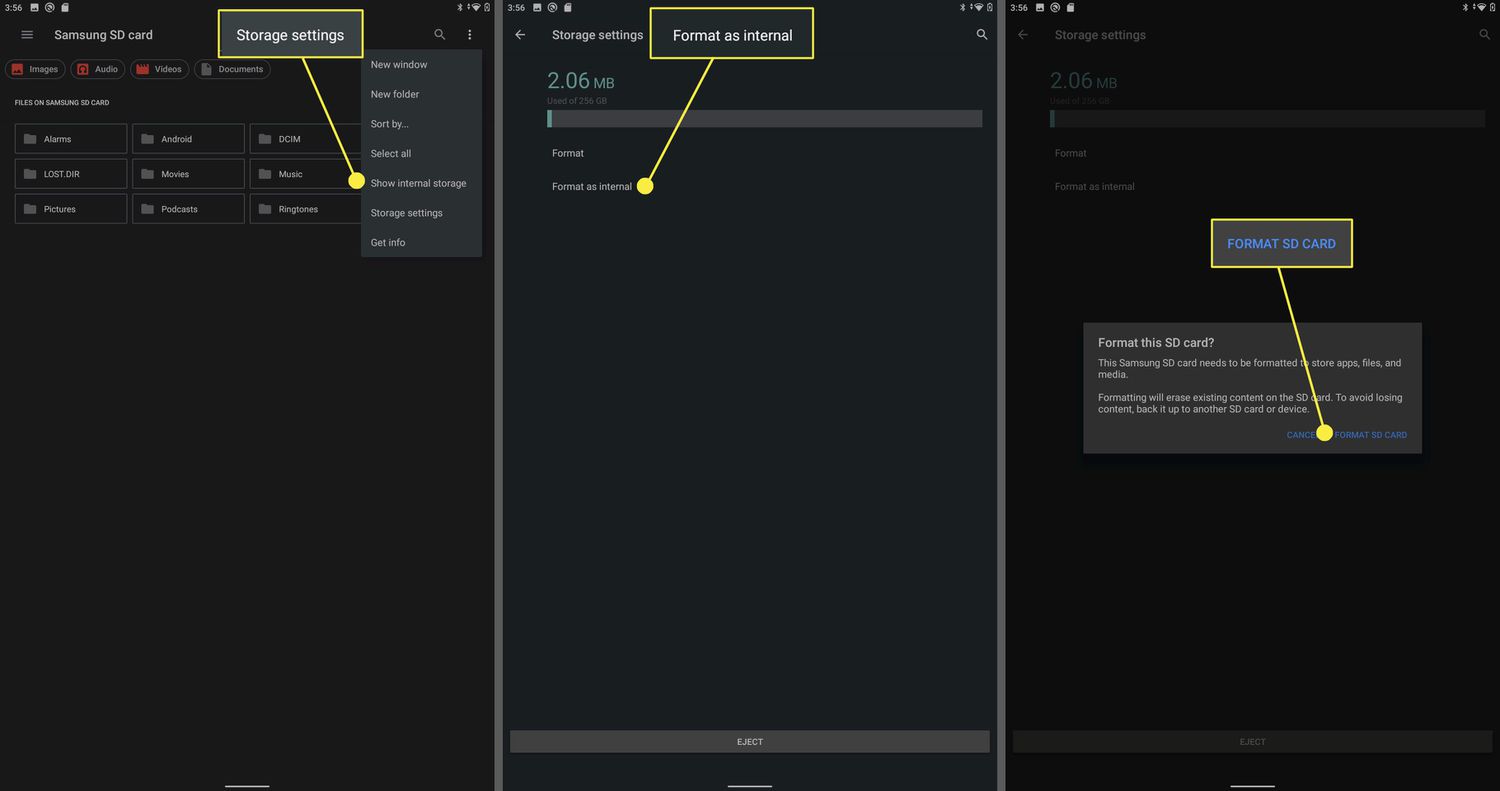
- Format the SD card: To prepare your SD card for data transfer, it is recommended to format it within your device. This will ensure optimal compatibility and avoid any potential errors during the transfer process. To format your SD card, go to the Settings app, select “Storage,” and then choose your SD card. From there, you can find the option to format the card.
- Check for software updates: To ensure compatibility and improve overall performance, make sure your Samsung device is running the latest software update. Software updates often include bug fixes and improvements that can enhance the data transfer process.
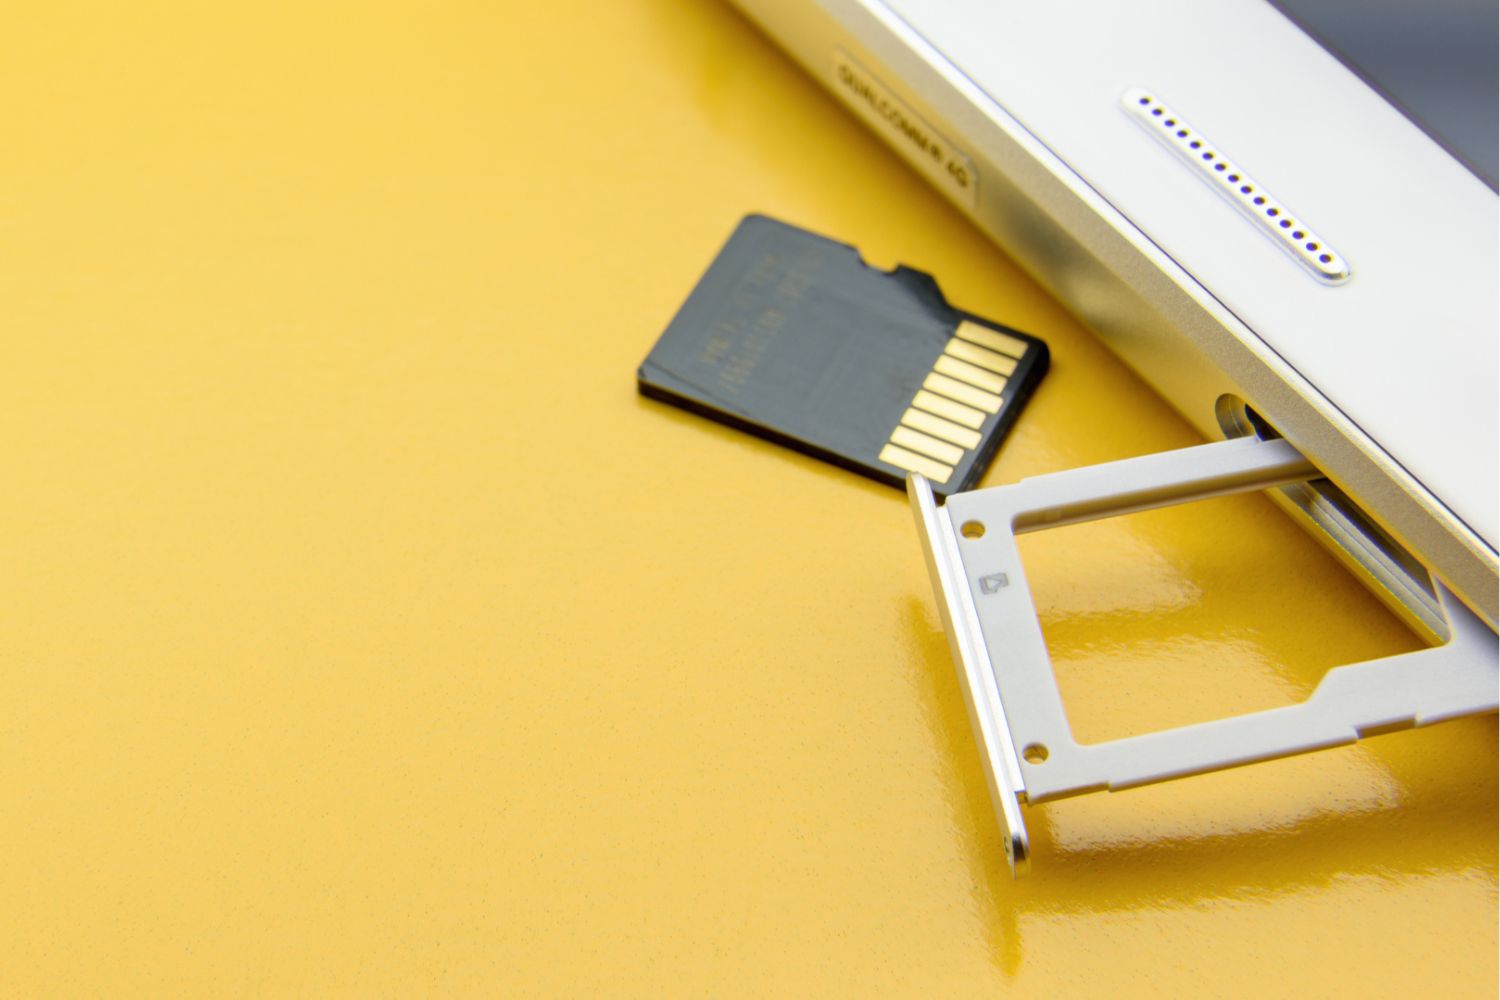
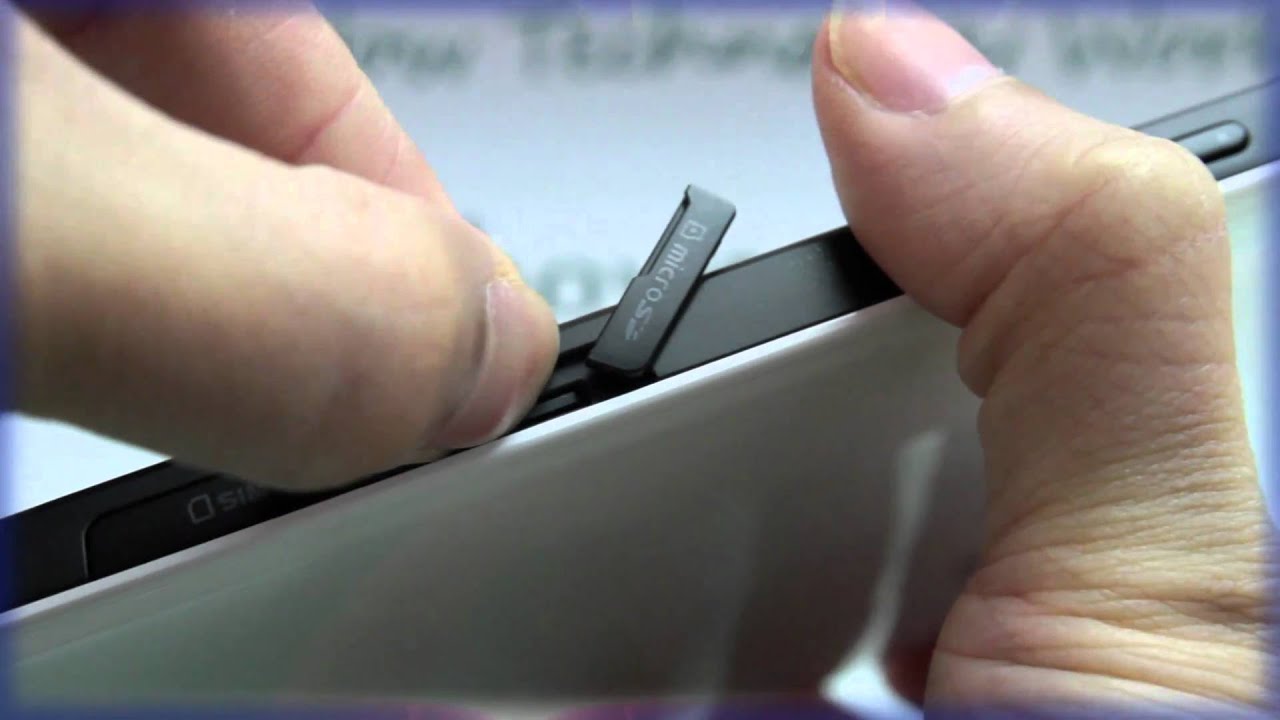
- Remove the SD card: If you have previously used the SD card on another device, it is recommended to remove it and insert it into your Samsung device. This will ensure a fresh start and minimize any potential compatibility issues.
By following these steps, you can prepare your SD card for the transfer process. With a compatible SD card, a backup of your important data, formatting, software updates, and a fresh start, you are now ready to begin transferring your apps, photos, and other files from internal storage to your SD card.
Checking Available Space on Your SD Card
Before you start transferring data to your SD card on your Samsung device, it’s essential to check the available space on the SD card. This will help you determine how much data you can transfer and ensure that you don’t exceed the card’s capacity.
To check the available space on your SD card, follow these simple steps:
- Open the Settings app on your Samsung device.
- Select “Storage” or “Device care,” depending on your device model.
- Look for the option that shows your SD card storage. It may be labeled as “SD card” or “External storage.”
- You will see the total storage capacity of the SD card and the amount of available space.
Once you have checked the available space on your SD card, you can proceed with transferring your data accordingly. Make sure to consider the size of the data you want to transfer and ensure that it will not exceed the available space on the SD card.
If you find that the available space on your SD card is insufficient, you may need to delete unnecessary files or consider upgrading to a larger capacity SD card. Remember to back up any important data before deleting files to avoid data loss.
Checking the available space on your SD card is a crucial step to ensure a successful transfer. By knowing the available storage capacity, you can efficiently manage your data and avoid running out of space on your SD card.
Moving Apps to Your SD Card
If you’re looking to free up space on your Samsung device’s internal storage, one effective method is to move apps to your SD card. This allows you to store the app data on the SD card instead of using up valuable space on your device. Here’s how you can do it:
- Go to the Settings app on your Samsung device.
- Select “Apps” or “Applications” from the menu.
- Find the app you want to move to the SD card from the list of installed apps.
- Tap on the app and select “Storage.”
- You will see the option to ‘Change’ or ‘Move’ the app to the SD card. Tap on it.
- Follow the on-screen prompts to complete the app transfer.
- Repeat this process for each app you want to move to the SD card.
Note that not all apps can be moved to the SD card. Some apps, especially system apps or apps that require constant access to the device’s internal storage, may not offer the option to move. However, many apps, including games, media apps, and certain productivity apps, can be easily moved to the SD card.
It’s important to keep in mind that while moving apps to the SD card can save space, it may affect the performance of the app slightly. The data transfer speed from the SD card may be slower than from the internal storage. However, the impact on performance is usually minimal, and the extra space gained usually outweighs any minor decrease in performance.
Additionally, bear in mind that if you remove the SD card from your device, the apps on the SD card will become unavailable until you reinsert the SD card. Therefore, it’s recommended to keep the SD card inserted in your device if you frequently use apps stored on it.
Moving apps to your SD card is an effective way to free up space on your Samsung device. By selectively transferring apps from internal storage to the SD card, you can enjoy more storage capacity for other purposes. Next, let’s explore how you can transfer your photos and videos to the SD card.
Transferring Photos and Videos to Your SD Card
If you are running out of space for your precious photos and videos on your Samsung device, transferring them to your SD card is a great solution. The process is simple and can help you free up space for more memories. Here’s how to transfer your photos and videos:
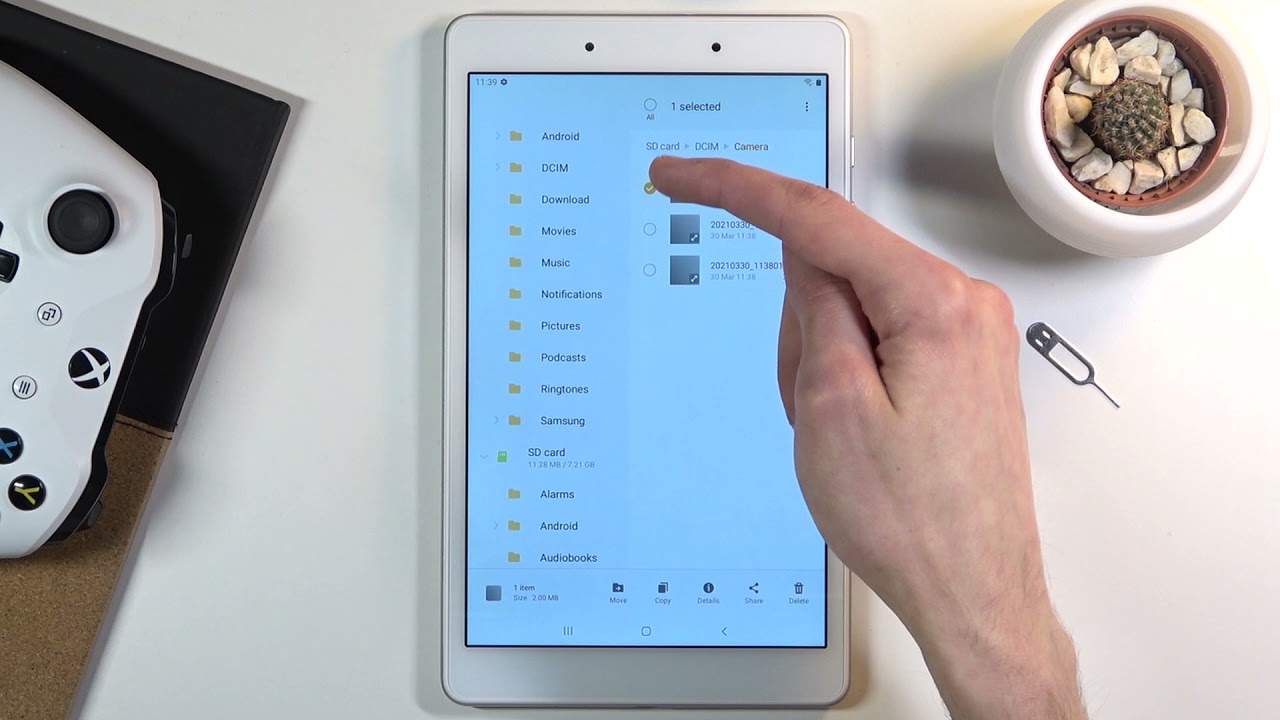
- Open your Gallery app on your Samsung device.
- Select the photos and videos you want to transfer to the SD card. You can either tap and hold to select multiple items or tap on each item individually.
- Once you have selected the desired media files, look for the “Share” or “More” option, usually represented by three dots or an arrow.
- Select the option to “Move” or “Transfer” the files.
- Choose the location as your SD card or “SD card storage.”
- Confirm the transfer and wait for the process to complete.
It’s worth noting that when transferring photos and videos to your SD card, they will be organized in the same folder structure as on your device’s internal storage. This ensures that you can easily locate and access them later.
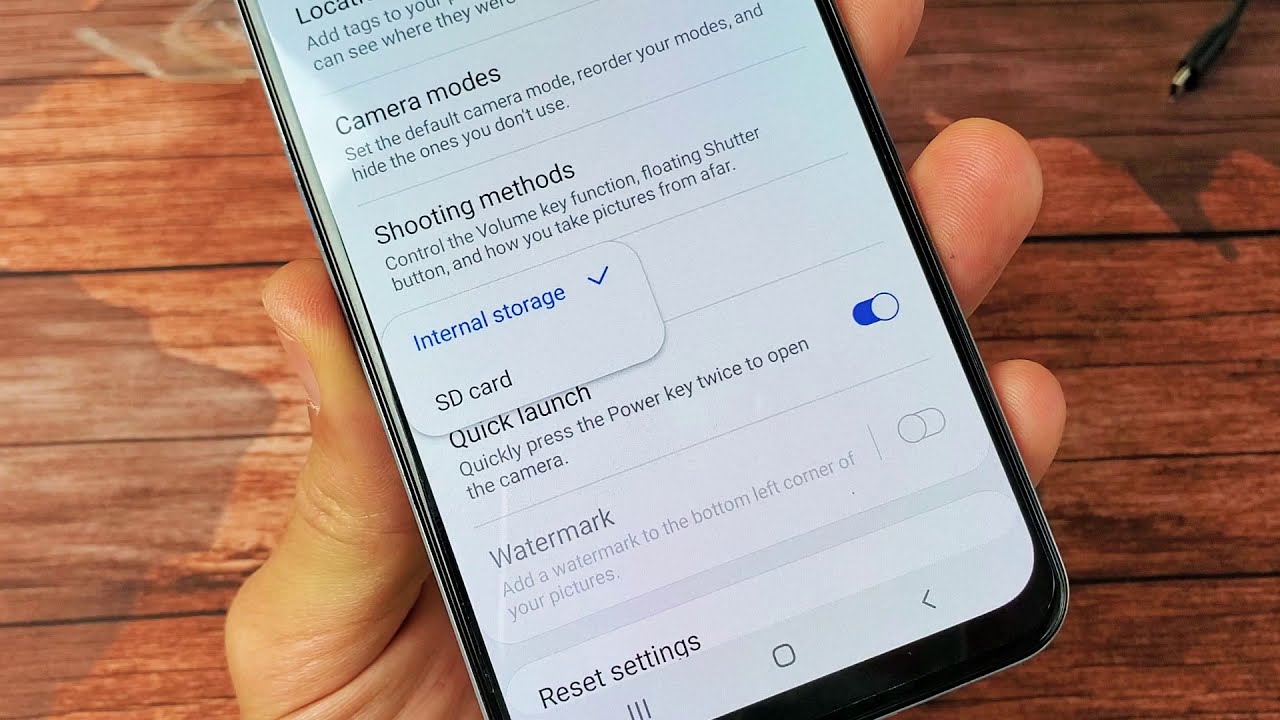
Remember to periodically move your newly captured photos and videos to the SD card to avoid filling up the internal storage. You can also set your camera app to automatically save captured media directly to the SD card, reducing the need for manual transfers.
Transferring your photos and videos to the SD card not only frees up internal storage but also allows you to easily share and access your media across devices. Whether you want to view them on a larger screen or transfer them to a computer, having your media stored on an SD card gives you the flexibility and convenience you need.
Now that you’ve learned how to transfer your photos and videos to your SD card, let’s move on to the next step: changing the default storage location for downloads.
Changing Default Storage Location for Downloads
When you download files, documents, or other data on your Samsung device, they are typically saved to the internal storage by default. However, if you have limited space on your internal storage and want to direct your downloads to the SD card instead, you can easily change the default storage location. Follow these steps to make the change:
- Open the Settings app on your Samsung device.
- Select “Storage” or “Device care” (depending on your device model).
- Look for the option labeled “Downloads” or “Default storage location.”
- Tap on the option and choose the SD card as the new default storage location for your downloads.
After changing the default storage location, all files you download, such as documents, images, and media, will be saved directly to the SD card. This helps to free up precious space on your device’s internal storage and ensures that your downloads can be easily accessed from the SD card.
It’s important to note that not all apps support changing the default storage location. Some apps have specific settings within their own menus that determine where downloads are stored. In such cases, you’ll need to change the settings within the respective apps to save downloads to the SD card.
By directing your downloads to the SD card, you can efficiently manage your storage space and ensure that your device’s internal storage is reserved for essential apps and files. It’s a convenient way to expand your storage capacity and avoid running out of space.
Now that you know how to change the default storage location for downloads, let’s explore how you can manage files on your SD card to keep everything organized and easily accessible.
Managing Files on Your SD Card
Once you have successfully transferred data to your SD card on your Samsung device, it’s important to manage those files effectively for easy accessibility and organization. Here are some tips for managing files on your SD card:
- Create folders: Organize your files into folders based on categories or themes. For example, create separate folders for photos, videos, music, documents, and so on. This will make it easier to locate specific files when needed.
- Rename files: Give your files meaningful and descriptive names. This can help you quickly identify specific files without having to open them. For example, instead of using default file names like “IMG_1234” for photos, rename them to more descriptive names like “Family_Vacation_2021.”
- Delete unnecessary files: Regularly review your files on the SD card and delete any unnecessary or redundant files. This will free up space and make it easier to find the files you need.
- Back up your SD card: It’s crucial to back up the files on your SD card regularly. This can be done by copying the files to your computer’s hard drive or using cloud storage services. In case your SD card gets corrupted or damaged, you won’t lose your important files.
- Use file manager apps: Install a reliable file manager app from the Google Play Store to easily navigate, copy, move, and delete files on your SD card. These apps provide a user-friendly interface and advanced features for managing and organizing your files effectively.
By following these file management practices, you can keep your SD card organized and ensure easy access to your files whenever you need them. It also helps you maximize the available storage space and maintain the performance of your Samsung device.
Remember, it’s important to handle your SD card with care. Avoid removing the card while it’s in use, as it can cause data corruption. Additionally, protect the SD card from physical damage, such as drops or exposure to water.
Now that you know how to manage files on your SD card, you’re equipped with the knowledge to make the most out of your expanded storage. In case you encounter any issues during the transfer process, let’s explore some troubleshooting tips in the next section.
Troubleshooting Common Issues
While transferring data to an SD card on your Samsung device is usually a straightforward process, you may encounter some common issues along the way. Here are a few troubleshooting tips to help you resolve them:
- SD card not detected: If your SD card is not being recognized by your Samsung device, try the following steps:
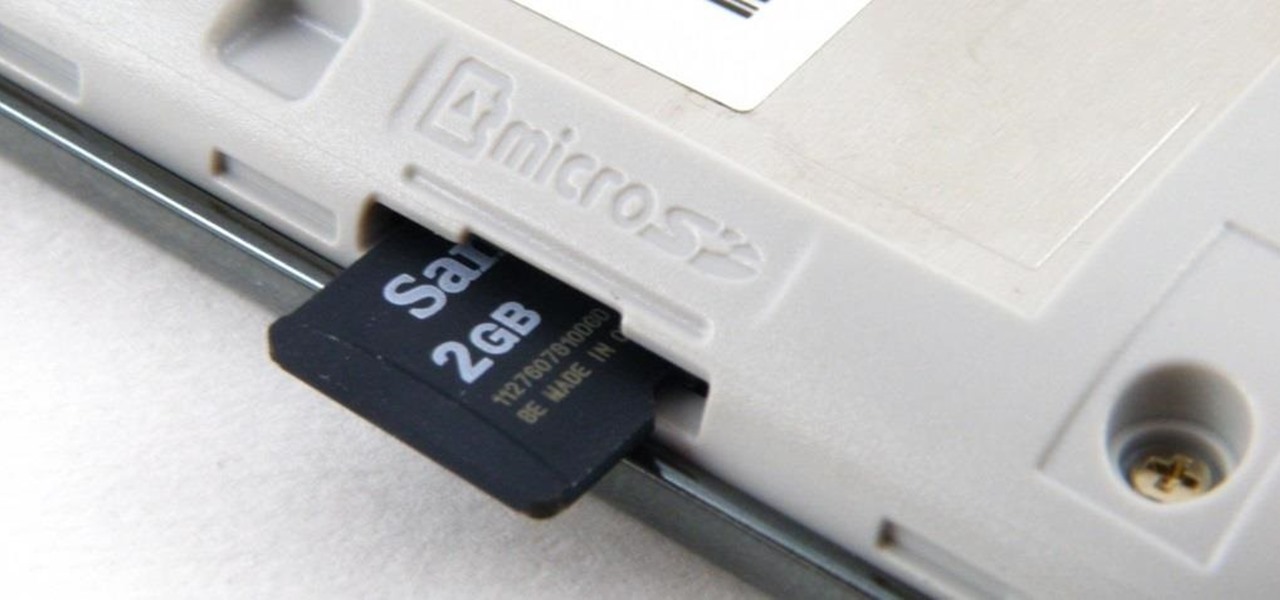
- Make sure the SD card is properly inserted into the device.
- Restart your device and check if the SD card is detected.
- Try using the SD card on a different device to determine if the card is functioning properly.
- If the SD card is still not detected, it may be incompatible with your device, and you may need to try a different SD card.
- App transfer issues: If you encounter issues while moving apps to the SD card, try these troubleshooting steps:
- Make sure the app you are trying to move is eligible for transfer. Some pre-installed or system apps cannot be moved.
- Check if your SD card has enough storage space to accommodate the app.
- Restart your device and try moving the app again.
- If the issue persists, try uninstalling and reinstalling the app, and then attempt to move it to the SD card.
- Inconsistent transfer speeds: If you notice inconsistent or slow transfer speeds when moving files to the SD card, consider these tips:
- Ensure that your SD card is a high-speed class card, such as Class 10 or above, for faster data transfer.
- Close any unnecessary apps running in the background that may be affecting system performance.
- Try transferring files in smaller batches rather than transferring a large number of files at once.
If you continue to experience issues with transferring data to your SD card, it’s recommended to seek assistance from Samsung support or consult the user manual of your device for specific troubleshooting steps.
Remember to always backup your data before making any changes or troubleshooting steps to ensure you don’t lose any important files.
Now that you are equipped with troubleshooting tips, you can resolve common issues and successfully transfer data to your SD card on your Samsung device. Let’s conclude this guide and summarize what we have learned.
Conclusion
Transferring your internal storage to an SD card in your Samsung device can bring numerous benefits. It frees up space, protects your data, facilitates easy data transfer between devices, enhances device performance, and provides an affordable storage solution.
By following the steps outlined in this guide, you can successfully transfer apps, photos, videos, and other files to your SD card. Preparing your SD card, checking the available space, moving apps, transferring media files, and changing the default storage location for downloads are all essential steps in optimizing your storage capacity.
Additionally, managing files on your SD card and troubleshooting common issues ensures that you have a seamless and efficient experience in using your expanded storage.
Remember to back up your data regularly, exercise caution when handling your SD card, and keep it protected from physical damage. Furthermore, staying informed about compatible SD card specifications and keeping an eye out for software updates will help ensure compatibility and optimal performance.
By taking advantage of the SD card capabilities on your Samsung device, you can enjoy the freedom of storing more apps, capturing more memories, and accessing your files with ease. Now it’s time to start maximizing your storage potential and unleashing the full potential of your Samsung device!