Introduction
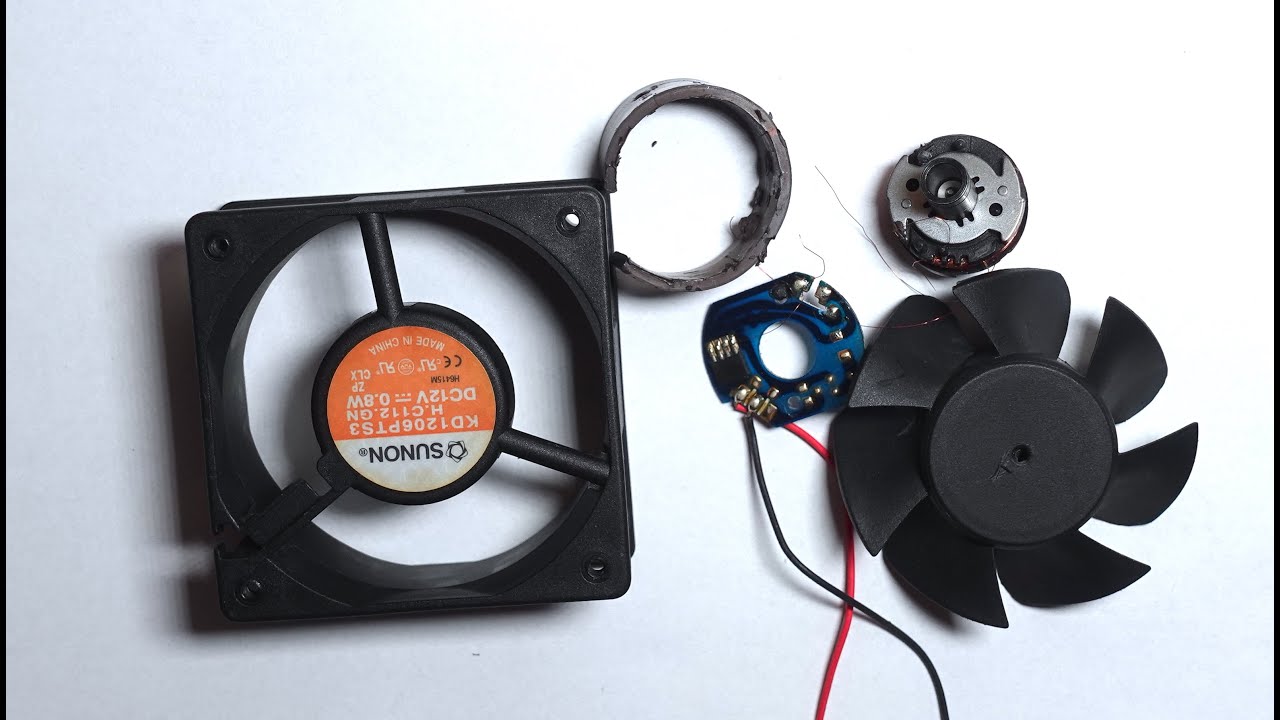
Welcome to our guide on how to take apart a case fan! If you’re experiencing issues with your computer’s cooling system or simply want to clean and maintain your case fan, this step-by-step tutorial is for you. Case fans play a critical role in keeping your computer’s components cool and preventing overheating, so it’s essential to ensure they are in good working condition.
Before we begin, it’s important to note that while taking apart a case fan is a relatively straightforward process, it does require caution and attention to detail. Following the correct procedure will help avoid any damage to the fan or your computer. It’s also worth mentioning that by disassembling the fan, you may void any existing warranty, so proceed at your own risk.
In this guide, we will walk you through the necessary tools and materials needed, as well as safety precautions, to ensure your well-being during the disassembly process. We will then provide a step-by-step guide on how to take apart a case fan, including cleaning the fan blades and frame, lubricating the fan bearings, and finally reassembling the fan. Don’t worry; we’ve got you covered in every step of the way!
Regular maintenance of your case fans can greatly prolong their lifespan and improve their overall performance. By removing dust and debris buildup, as well as lubricating the bearings if necessary, you can restore your case fan’s efficiency and ensure optimal cooling for your computer.
So, if you’re ready to dive into the world of case fan disassembly, let’s gather our tools, take the necessary precautions, and get started with this comprehensive guide on how to take apart a case fan.
Tools and Materials Needed
Before starting the process of taking apart a case fan, make sure you have the following tools and materials handy:
- Screwdriver: Both a Phillips and flathead screwdriver will be required to remove the screws holding the fan together.
- Cotton Swabs or Soft Brush: These will be used for cleaning the fan blades and frame.
- Isopropyl Alcohol: This will help in removing any stubborn dirt or grime during the cleaning process.
- Lubricant: A small tube of lubricant, such as silicone-based oil or machine oil, is essential for lubricating the fan bearings.
- Anti-Static Wrist Strap (optional): If you have one available, it’s recommended to wear an anti-static wrist strap to prevent any static electricity from damaging the sensitive electronic components of your computer.
- Clean Cloth: You’ll need a soft, lint-free cloth to wipe down the fan and remove any excess lubricant.
Ensure that you have all the necessary tools and materials ready before proceeding with the disassembly process. This will help you work efficiently and prevent any interruptions along the way.
It’s worth noting that the specific tools required may vary depending on the type and model of your case fan. However, for most standard case fans, the tools mentioned above should be sufficient.
Once you have gathered all the necessary tools and materials, you’re well-prepared to begin the process of taking apart your case fan. But before we jump into the disassembly, let’s go over some important precautions and safety measures to ensure a smooth and accident-free experience.
Precautions and Safety Measures
While taking apart a case fan is relatively safe, it’s important to follow some precautions to ensure your safety and prevent any potential damage to your computer or the fan itself. Here are some key precautions and safety measures to keep in mind:
- Power Off Your Computer: Before starting the disassembly process, make sure your computer is powered off and unplugged from the electrical outlet. This will prevent any accidental electric shocks or damage to your computer’s components.
- Wear an Anti-Static Wrist Strap (optional): If you have an anti-static wrist strap, it’s recommended to wear it during the disassembly process. This will help prevent any discharge of static electricity that could potentially harm sensitive electronic parts.
- Work in a Clean and Well-Lit Area: Find a clean and well-lit workspace to carry out the disassembly process. This will make it easier to see any small screws or parts and ensure a clean environment for delicate components.
- Handle Components with Care: Be gentle when handling the case fan and its parts. Avoid applying excessive force or pressure, as this can lead to damage or breakage.
- Keep Track of Screws and Small Parts: As you dismantle the case fan, keep track of the screws and small parts you remove. Consider using a small container or tray to organize them and prevent any loss or confusion during the reassembly process.
- Follow Manufacturer’s Guidelines: If you have access to the manufacturer’s instructions or documentation for your case fan, it’s recommended to consult them during the disassembly process. These guidelines may provide specific instructions or precautions for your particular model.
- Avoid Direct Contact with Fan Blades: When handling the fan blades, use caution and avoid direct contact. Fan blades are sharp and can cause injury if mishandled.
- Take Note of Fan Orientation: Before removing the case fan, take note of its orientation in the computer case. This will ensure you reinstall it correctly later on.
By adhering to these precautions and safety measures, you can minimize the risk of accidents and protect both yourself and your computer during the case fan disassembly process. Now that we’ve covered the necessary precautions, let’s move on to the step-by-step guide on how to take apart a case fan.
Step-by-Step Guide on How to Take Apart a Case Fan
Now that you have gathered the necessary tools and familiarized yourself with the precautions, let’s dive into the step-by-step process of taking apart a case fan:
- Power off your computer and unplug it from the electrical outlet for safety.
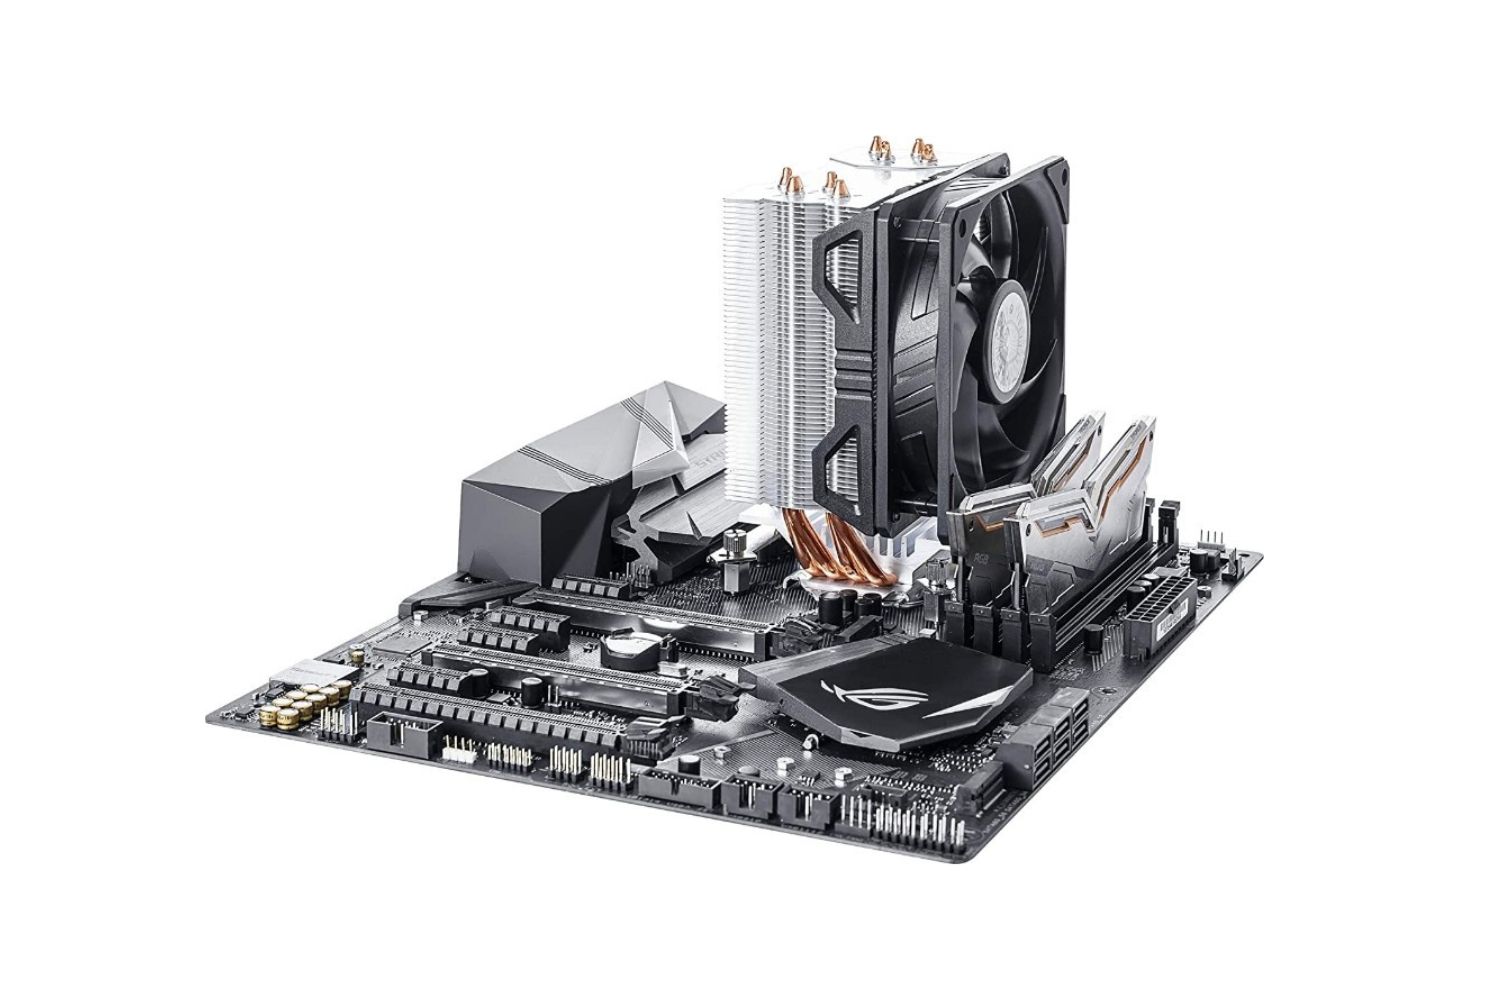
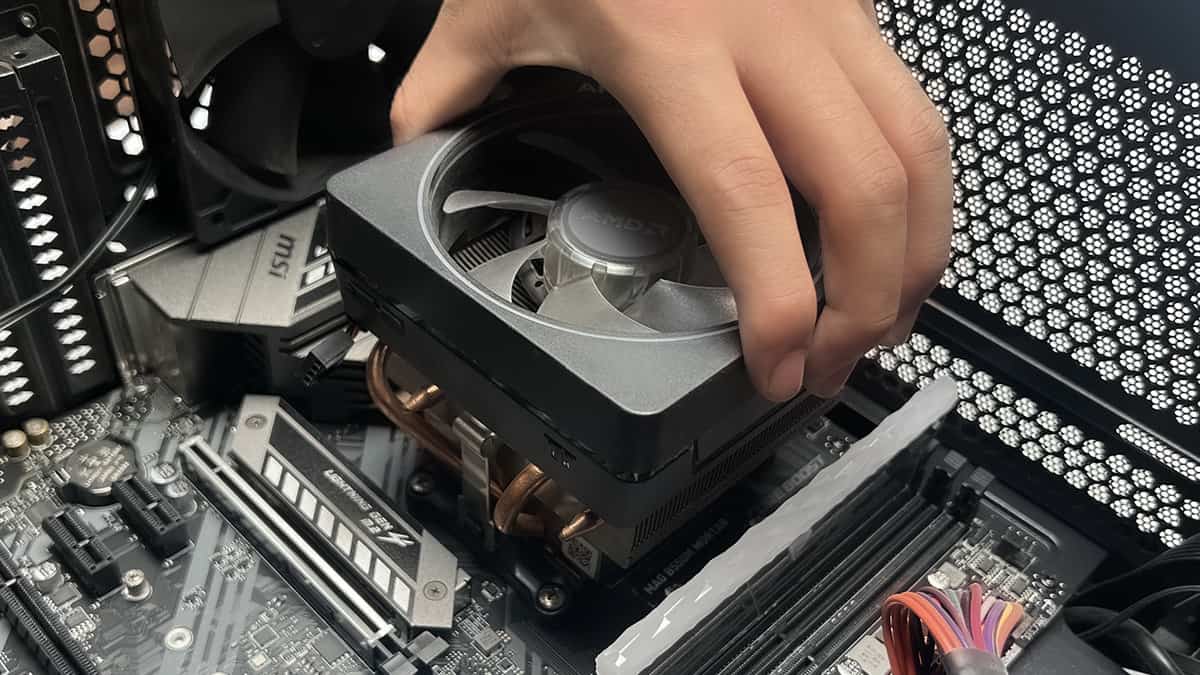
- Locate the case fan within your computer case. It is usually mounted on the front, side, or rear panel.
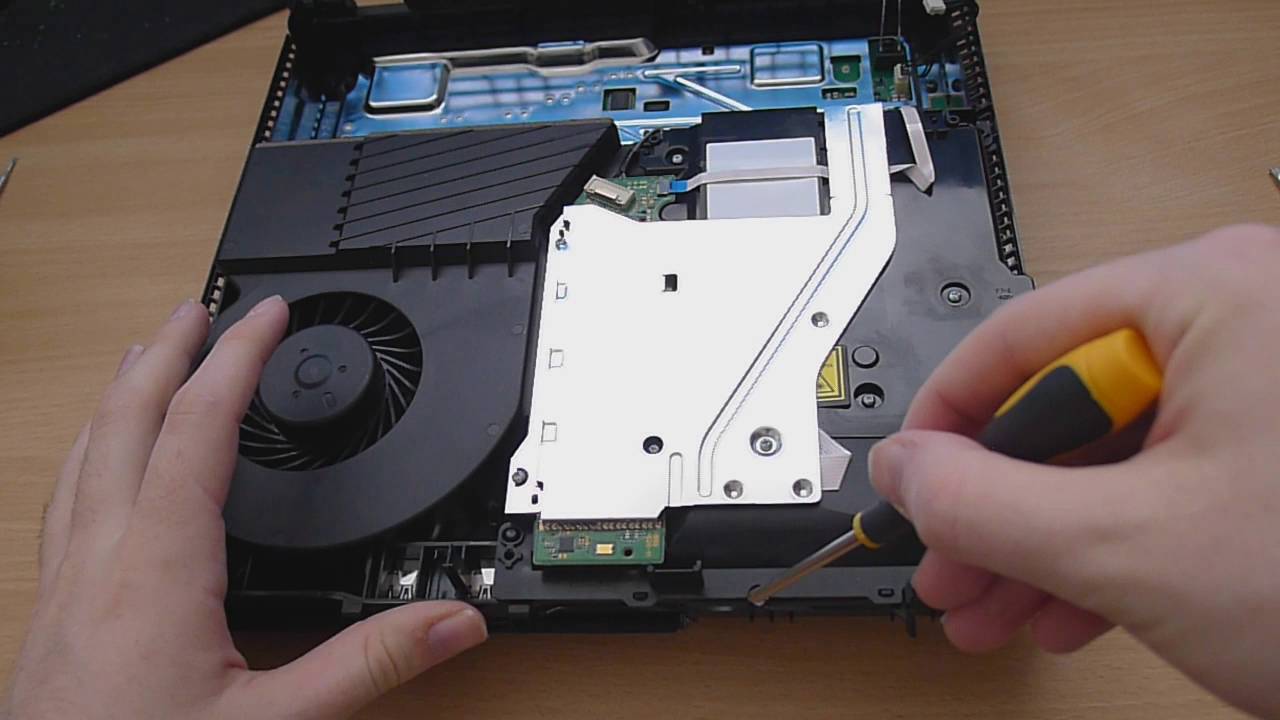
- Identify the screws holding the fan in place. Use a screwdriver to carefully remove these screws and set them aside in a safe place.
- Gently detach the case fan from the mounting position. Be mindful of any cables connected to the fan, such as power or LED cables. Disconnect these cables if necessary.
- Place the case fan on a clean and flat surface, ensuring that the fan blades and sensitive components are not in contact with any debris or dirt.
- Inspect the fan for any visible signs of dirt, dust, or debris. If present, use a soft brush or a cotton swab dipped in isopropyl alcohol to gently clean the fan blades and frame. Be careful not to use excessive force or apply liquid directly to the fan motor or bearings.
- Once the fan is clean, focus on the fan motor. Look for any access points or labels indicating the bearings. Apply a small amount of lubricant, such as silicone-based oil or machine oil, to the bearings. Use caution not to over-lubricate, as this may cause other issues.
- After lubricating the fan bearings, allow the lubricant to settle for a few minutes.
- Wipe off any excess lubricant from the fan blades, frame, and motor using a clean cloth.
- To reassemble the case fan, carefully align the fan back into its original mounting position in the computer case.
- Secure the fan in place by reinstalling the screws that were previously removed. Ensure that the fan is securely attached and does not wobble or move excessively.
- Reconnect any cables that were disconnected earlier, such as power or LED cables.
With the reassembly complete, you have successfully taken apart and cleaned your case fan. Now, it’s time to test the functionality of the fan and ensure that it’s running smoothly.
Power on your computer and observe the case fan’s operation. Listen for any unusual noises or vibrations. If everything appears to be working correctly, you have successfully maintained your case fan!
However, if you notice any issues or the fan is not functioning as expected, double-check the connections and ensure that the fan blades are clean and properly lubricated. If problems persist, it may be necessary to seek further assistance or consider replacing the case fan.
Now that you’re familiar with the step-by-step process of taking apart a case fan, as well as cleaning and lubricating it, you can confidently maintain and optimize your computer’s cooling system. Remember, regular maintenance of case fans is essential for optimal performance and longevity.
Cleaning the Fan Blades and Frame
One of the crucial steps in maintaining your case fan is cleaning the fan blades and frame. Over time, dust and debris can accumulate on the fan, reducing its efficiency and airflow. Follow these steps to effectively clean the fan blades and frame:
- Ensure that the case fan has been safely removed from the computer and placed on a clean and flat surface.
- Inspect the fan blades for any visible dust or dirt. If there is a significant buildup, use a soft brush or a cotton swab dipped in isopropyl alcohol to gently remove the dirt. Be meticulous in reaching all the nooks and crannies of the fan blades.
- If there are stubborn dirt or grime spots, dampen a cotton swab with isopropyl alcohol and carefully wipe the affected areas.
- Next, move on to the fan frame. Gently brush away any dust or debris using a soft brush or a cotton swab. Pay attention to the edges and corners of the frame where dust tends to accumulate.
- If there are stubborn dirt or grime spots on the frame, dampen a cotton swab with isopropyl alcohol and carefully clean those areas.
- Once the fan blades and frame are clean, allow them to air dry completely. This ensures that there is no remaining moisture before reassembling the fan.
While cleaning the fan blades and frame, it’s essential to be gentle and avoid applying excessive force. The fan blades are delicate and can be easily damaged if mishandled. Also, avoid spraying liquid directly onto the fan motor or bearings, as this can cause damage.
Cleaning the fan blades and frame regularly will help maintain the optimal airflow and cooling efficiency of your case fan. It is recommended to perform this cleaning process every few months, or more frequently if you notice a significant buildup of dust or dirt.
Now that we have cleaned the fan, let’s move on to the next step, which involves lubricating the fan bearings to ensure smooth and quiet operation.
Lubricating the Fan Bearings
Proper lubrication of the fan bearings is crucial to ensure smooth and quiet operation. Over time, the bearings can wear down, resulting in increased noise and reduced performance. Follow these steps to effectively lubricate the fan bearings:
- Locate the fan motor and identify the access points or labels indicating the bearings.
- Using a small tube of lubricant, such as silicone-based oil or machine oil, carefully apply a small amount of lubricant to the bearings. Be cautious not to over-lubricate, as excessive oil can lead to other issues.
- After applying the lubricant, allow it to settle for a few minutes to ensure it reaches all areas of the bearings.
- Wipe off any excess lubricant from the fan blades, frame, and motor using a clean cloth. This prevents any drips or spread of excess lubricant when the fan is in operation.
It’s important to note that not all case fans have accessible bearings that can be lubricated. Some fans have sealed bearings that do not require lubrication. If you’re unsure whether your fan’s bearings can be lubricated, refer to the manufacturer’s instructions or documentation.
Lubricating the fan bearings helps reduce friction and wear, allowing the fan to operate smoothly and quietly. Performing this maintenance task regularly can extend the lifespan of your case fan and ensure optimal performance.
Once the fan bearings have been lubricated, we can proceed to the next step, which involves reassembling the case fan.
Reassembling the Case Fan
After cleaning the fan blades, frame, and lubricating the bearings, it’s time to reassemble the case fan. Follow these steps to ensure a successful reassembly:
- Carefully align the case fan into its original mounting position within the computer case. Take note of the fan’s orientation to ensure proper airflow.
- Secure the fan in place by reinstalling the screws that were previously removed. Make sure the fan is securely attached and does not wobble or move excessively.
- If there were any cables disconnected earlier, such as power or LED cables, reconnect them to ensure the fan functions correctly.
As you reassemble the fan, it’s crucial to handle the components with care and avoid applying excessive force. Be mindful not to overtighten the screws as it may cause damage to the fan or the computer case.
With the fan securely reassembled, you have successfully completed the reassembly process. Now, it’s time to test the functionality of the fan and ensure that it’s running smoothly.
Power on your computer and observe the case fan’s operation. Listen for any unusual noises or vibrations. If everything appears to be working correctly, you have successfully reassembled your case fan!
However, if you notice any issues or the fan is not functioning as expected, double-check the connections, make sure the fan blades are clean, and the bearings are properly lubricated. If problems persist, it may be necessary to seek further assistance or consider replacing the case fan.
Now that you’ve completed the reassembly process, you can enjoy improved cooling performance and a well-maintained case fan for your computer.
Finally, let’s move on to the last section where we’ll cover the necessary steps to test the fan functionality.
Testing the Fan Functionality
After successfully reassembling the case fan, it’s important to test its functionality to ensure that it’s running smoothly and effectively cooling your computer. Follow these steps to test the fan:
- Power on your computer and allow it to start up.
- Observe the fan closely and listen for any unusual noises or vibrations. A properly functioning fan should operate quietly without any excessive noise or noticeable vibrations.
- Pay attention to the airflow generated by the fan. Place your hand near the fan’s output area to feel the airflow. It should be steady and consistent.
- If your case fan has adjustable speed settings, verify that the fan is operating at the desired speed. Check the fan settings in your computer’s BIOS or use any fan control software provided by the manufacturer.
- If you notice any issues or abnormalities during the testing phase, double-check the connections, ensure the fan blades are clean, and the bearings are properly lubricated. If problems persist, it may be necessary to seek further troubleshooting or consider replacing the case fan.
Regularly monitoring the functionality of the case fan is essential to ensure optimal cooling performance and prevent any potential overheating of your computer’s components.
If you’re satisfied with the fan’s performance during the testing phase, congratulations! You have successfully tested the functionality of your case fan.
Remember, proper maintenance and periodic cleaning of the case fan will help maintain its performance and extend its lifespan. Regularly check and clean your case fan to prevent dust and debris buildup, as this can negatively impact airflow and cooling efficiency.
By taking the time to test and maintain your case fan, you can ensure a cooler and more reliable computing experience. With your case fan now fully functional, you can enjoy the benefits of improved cooling and system performance.
Now that we’ve covered the testing process, let’s wrap up our comprehensive guide on how to take apart a case fan.
Conclusion
Congratulations on successfully completing the process of taking apart, cleaning, lubricating, reassembling, and testing your case fan! By following this step-by-step guide, you have learned how to maintain and optimize your computer’s cooling system.
Regular maintenance of your case fan is vital for optimal performance and longevity. Periodically cleaning the fan blades and frame helps remove dust and debris that can hinder airflow, while lubricating the fan bearings ensures smooth operation and reduces noise.
It’s important to note that while disassembling and cleaning your case fan can be a relatively simple process, it’s crucial to exercise caution and follow safety measures. Always power off your computer, handle components with care, and work in a clean and well-lit area.
Remember, depending on the type and model of your case fan, the disassembly process might differ slightly. It’s always a good idea to consult the manufacturer’s instructions or documentation if available.
By maintaining your case fan, you are not only prolonging its lifespan but also optimizing the overall cooling performance of your computer. This can help prevent overheating issues and ensure the stability and longevity of your system.
We hope this guide has provided you with the knowledge and confidence to successfully take apart, clean, lubricate, reassemble, and test your case fan. By incorporating these maintenance steps into your routine, you can keep your computer running at its best.
Thank you for joining us on this journey of case fan maintenance. Happy computing!


