Introduction
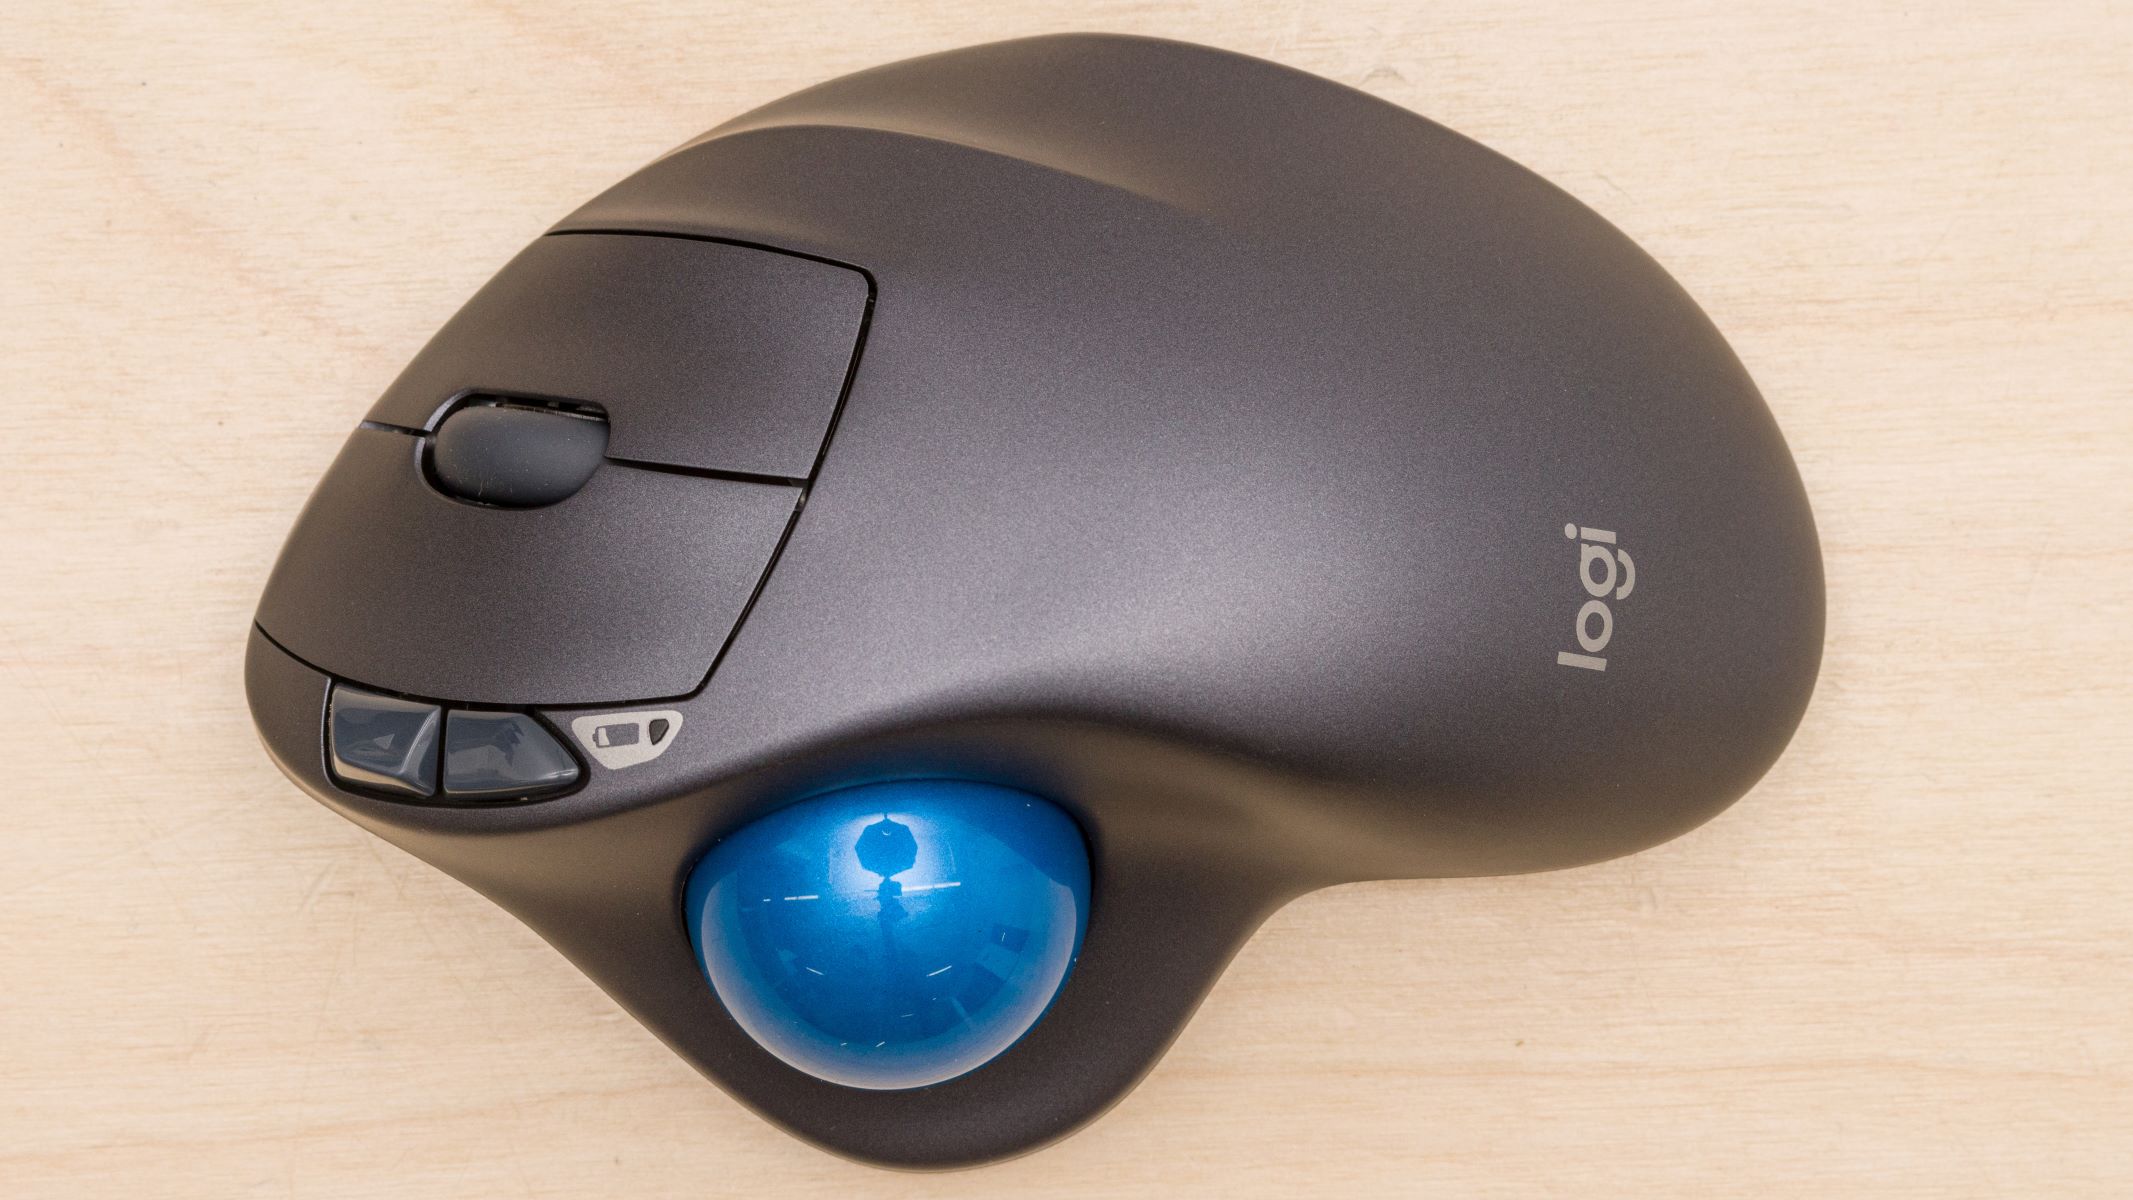
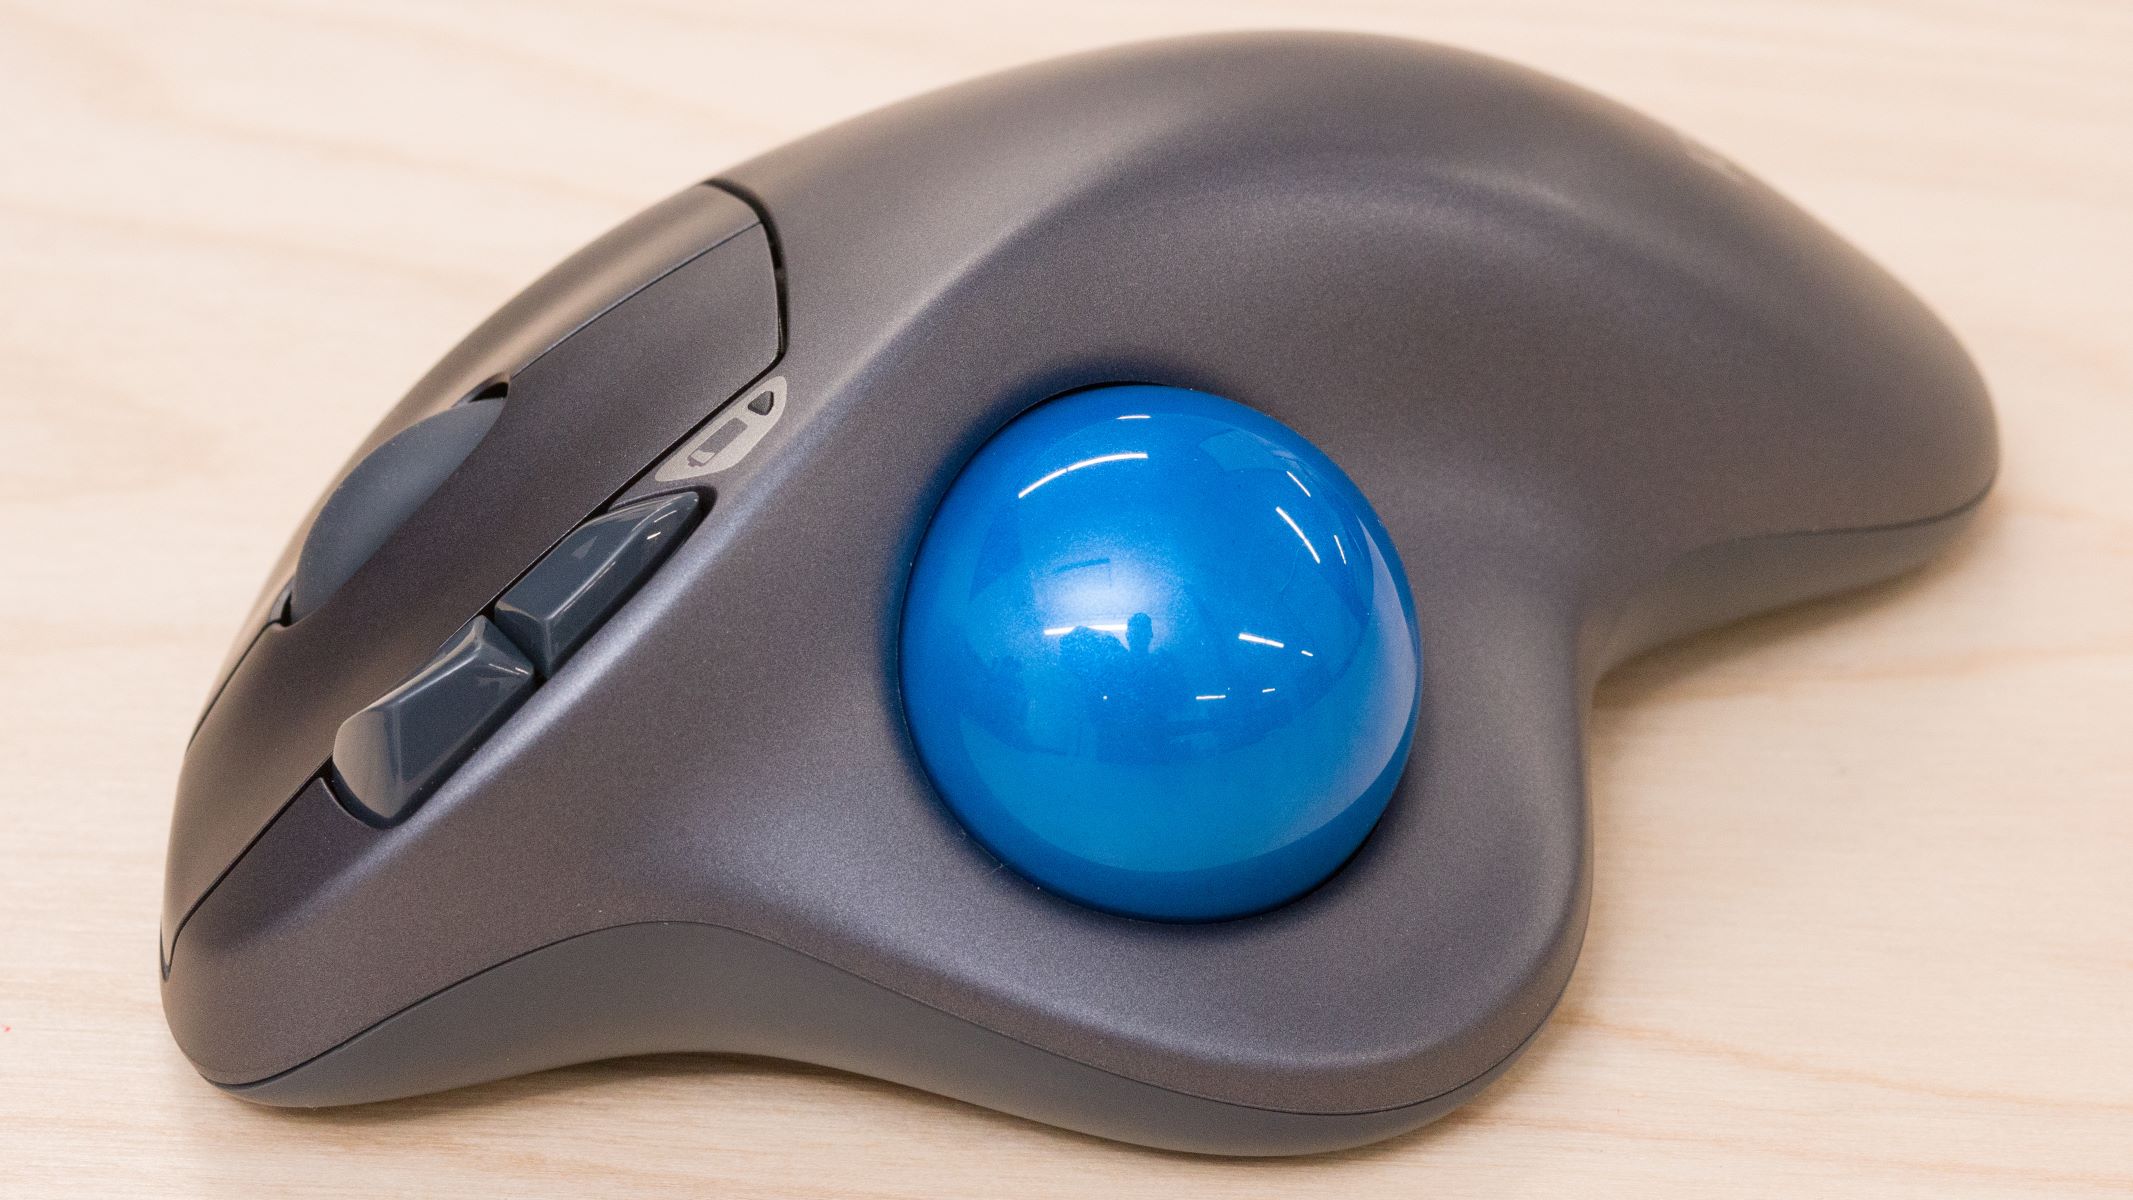
The Logitech M570 is a popular wireless trackball mouse known for its ergonomic design and precision tracking. Over time, you may find yourself needing to take apart your Logitech M570 mouse for various reasons, such as cleaning, repairing, or replacing certain components. While it may seem intimidating at first, with the right tools and knowledge, disassembling the M570 mouse can be a straightforward process.
In this guide, we will walk you through the step-by-step process of taking apart your Logitech M570 mouse. We will cover everything from removing the battery cover to detaching the buttons and cleaning the components. By following these instructions, you can effectively disassemble and reassemble your mouse without causing any damage.
Before we begin, it’s important to note that disassembling your Logitech M570 mouse may void the warranty. If your mouse is still under warranty and you’re experiencing issues, it’s recommended to contact Logitech support for assistance instead. However, if you’re comfortable proceeding, let’s gather the necessary tools and get started on disassembling your Logitech M570 mouse.
Tools Needed
Before you begin the process of disassembling your Logitech M570 mouse, it’s essential to have the following tools on hand:
- Small Phillips screwdriver: You’ll need this to remove the screws holding the mouse together.
- Flathead screwdriver: A flathead screwdriver will be useful for prying open the mouse’s casing.
- Plastic prying tool or guitar pick: Using a plastic prying tool or guitar pick will help avoid damaging the mouse’s delicate components while opening it.
- Cotton swabs and rubbing alcohol: These will be necessary for cleaning the mouse’s internal components.
- Lint-free cloth: A lint-free cloth is ideal for wiping down the exterior of the mouse.
Make sure to gather all the necessary tools before you begin, as it will save you time and make the process smoother. It’s also important to work in a well-lit and clean area to prevent losing small screws or other components during the disassembly process. Now that you have the required tools, let’s move on to the first step of disassembling your Logitech M570 mouse: removing the battery cover.
Step 1: Removing the Battery Cover
The first step in disassembling your Logitech M570 mouse is to remove the battery cover. Here’s how:
- Turn your mouse upside down and locate the battery cover.
- Using your thumb or a small tool, slide the battery cover in the direction indicated by the arrows.
- Once the battery cover is unlocked, gently lift it off the mouse to reveal the battery compartment.
- Remove the battery from the compartment and set it aside.
Be careful when removing the battery cover to avoid applying excessive force that could damage the mouse. If you’re having trouble removing the cover, double-check that you’re sliding it in the correct direction as indicated by the arrows.
Removing the battery cover allows you to access the internal components of the Logitech M570 mouse. With the battery compartment exposed, you can move on to the next step: removing the battery itself.
Step 2: Removing the Battery
Once you have successfully removed the battery cover, you can proceed to remove the battery from the Logitech M570 mouse. Here’s how:
- Locate the battery compartment where the battery was stored.
- Gently grasp the battery and lift it out of the compartment.
- Set the battery aside in a safe place.
It’s important to handle the battery with care to prevent damage. Avoid pulling on the battery too forcefully, as this may cause it to dislodge abruptly and potentially damage the connectors inside the compartment. If you encounter any resistance while removing the battery, double-check that you have a firm grip and gently wiggle it back and forth to release it.
By removing the battery, you ensure that the Logitech M570 mouse is completely powered off, which is essential before proceeding with any disassembly. Now that the battery has been safely removed, you can continue to the next step: removing the trackball.
Step 3: Removing the Trackball
Now that the battery has been removed, it’s time to remove the trackball from your Logitech M570 mouse. The trackball is the central component responsible for cursor movement. Follow these steps:
- Turn the mouse upright and locate the trackball.
- Gently press down on the trackball and twist it counterclockwise to unlock it from its housing.
- Once the trackball is unlocked, carefully lift it out of the mouse.
Be cautious while removing the trackball to avoid applying excessive force. It should come out easily once it’s unlocked and lifted. If you encounter resistance, double-check that you’ve twisted it counterclockwise to release it properly.
With the trackball removed, you have better access to the internal components of the mouse. This brings us to the next step: removing the top cover of the Logitech M570 mouse.
Step 4: Removing the Top Cover
Now that the trackball is out of the way, it’s time to remove the top cover of your Logitech M570 mouse. The top cover houses various buttons and the circuit board. Follow these steps to remove it:
- Flip the mouse upside down and locate the screws on the underside. There are typically two or more screws securing the top cover.
- Using a small Phillips screwdriver, carefully remove the screws. Set them aside in a safe place as you’ll need them later for reassembly.
- Once the screws are removed, gently pry open the top cover using a flathead screwdriver or a plastic prying tool. Start at one corner and work your way around, applying light pressure to release the top cover from the mouse assembly.
- Continue prying open the top cover until it comes off completely, revealing the inner components.
During this step, it’s important to exercise caution to prevent damaging the top cover or the mouse itself. Take your time and use gentle pressure while prying open the cover. If you encounter any resistance, double-check that you have removed all the screws securing the top cover.
With the top cover removed, you gain access to the circuit board and other internal components. This brings us to the next step: removing the circuit board from the Logitech M570 mouse.
Step 5: Removing the Circuit Board
With the top cover removed, you can now proceed to remove the circuit board from your Logitech M570 mouse. The circuit board houses the electronics and controls of the mouse. Follow these steps:
- Locate the circuit board inside the mouse. It is typically positioned beneath the buttons.
- Gently lift the circuit board from one side, starting with the edge nearest to the buttons.
- Continue lifting the circuit board, taking care not to dislodge or damage any of the components.
- Once the circuit board is free from its housing, set it aside in a safe place.
Take your time while removing the circuit board and ensure that you don’t apply excessive force. The goal is to lift it smoothly without causing any damage to the fragile electronic components. If you encounter any resistance, double-check that there are no screws or other fasteners securing the circuit board in place.
With the circuit board removed, you now have access to clean or inspect the buttons, as well as other components if necessary. Next, we will move on to step 6: detaching the buttons from the Logitech M570 mouse.
Step 6: Detaching the Buttons
To proceed with disassembling your Logitech M570 mouse, you’ll need to detach the buttons from the circuit board. This step allows for a more thorough cleaning or replacement of the buttons if needed. Follow these steps:
- Locate the buttons on the circuit board.
- Gently lift one edge of a button using a flathead screwdriver or a plastic prying tool.
- Carefully wiggle the button back and forth while pulling it upward to detach it from the circuit board.
- Repeat this process for each button present on the circuit board.
When removing the buttons, ensure that you have a firm grip and apply gentle pressure to avoid damaging them or the circuit board beneath. Take note of the button configuration or placement if you plan to reassemble the mouse with the same button positions.
Detaching the buttons allows for individual cleaning or replacement, if necessary. It’s also an opportunity to inspect the buttons for any signs of wear or damage that may be affecting their functionality. With the buttons detached, you’re now ready to move on to the next step: cleaning the various components of your Logitech M570 mouse.
Step 7: Cleaning the Components
Now that you have disassembled the important components of your Logitech M570 mouse, it’s time to give them a thorough cleaning. Cleaning the components not only helps to maintain optimal performance but also removes any dirt, debris, or buildup that may have accumulated over time. Follow these steps to clean the various parts:
- Use a lint-free cloth or cotton swabs to gently wipe down the exterior of the mouse, removing any dirt or smudges.
- For the trackball, gently roll it between your fingers while using a cotton swab moistened with rubbing alcohol to clean the surface. This helps remove any dirt or oils that may affect the trackball’s movement.
- Similarly, use a cotton swab moistened with rubbing alcohol to clean the buttons and their surrounding areas on the top cover. Pay close attention to any grime or residue that may have built up.
- To clean the circuit board and other internal components, use compressed air or a clean brush to gently remove any dust or debris.
- If needed, you can also use a cotton swab dipped in rubbing alcohol to clean the contacts or connectors on the circuit board, ensuring they are free from any dirt or corrosion.
- Allow all the components to dry completely before reassembling the mouse. This will help prevent any damage due to moisture.
Cleaning the various components of your Logitech M570 mouse ensures that it functions optimally and prolongs its lifespan. Always handle the components with care to avoid any unnecessary damage during the cleaning process.
With the components cleaned and dried, you’re now ready to move on to the final step: reassembling your Logitech M570 mouse.
Step 8: Reassembling the Mouse
After successfully cleaning the components of your Logitech M570 mouse, it’s time to reassemble it. Reassembling the mouse allows you to put all the parts back together and restore it to its original working condition. Follow these steps to reassemble your Logitech M570 mouse:
- Begin by placing the circuit board back into its housing, aligning it properly.
- Gently position the buttons back onto the circuit board, making sure they fit snugly and align with their respective openings on the top cover.
- Carefully place the top cover back onto the mouse, ensuring that all the buttons align with their corresponding openings.
- Once the top cover is in place, use your fingertips to press it down gently, securing it to the rest of the mouse.
- Flip the mouse over and reinsert the screws into their respective holes on the bottom of the mouse. Tighten the screws using a small Phillips screwdriver to ensure they are secure.
- After securing the screws, insert the trackball back into its housing by aligning it properly and pressing it down until it locks into place.
- Finally, insert the battery back into the compartment, making sure it is properly oriented according to the marked polarity. Slide the battery cover back into place until it clicks and locks.
Take your time aligning and fitting each component back into place to avoid any misalignment or damage. Ensure that all the buttons and the trackball move smoothly without any restrictions before considering the reassembly complete.
With the mouse reassembled, you’re now ready to enjoy your Logitech M570 in its renewed state. Remember to test the buttons, trackball, and overall functionality to ensure everything works as expected. If you encounter any issues, double-check the reassembly steps or consider seeking further assistance.
Congratulations on successfully disassembling, cleaning, and reassembling your Logitech M570 mouse! By following these steps, you can extend the lifespan of your mouse and maintain optimal performance. Regular cleaning and maintenance will help keep your Logitech M570 functioning smoothly for many more hours of productive use.
Conclusion
Disassembling and cleaning your Logitech M570 mouse is a practical way to keep it in optimal working condition. By following the steps outlined in this guide, you can successfully dismantle the mouse, clean its components, and reassemble it with ease. Regular maintenance and cleaning not only enhance the performance of your mouse but also prolong its lifespan.
Remember to exercise caution and handle the components gently to avoid any damage during the disassembly and reassembly process. Having the necessary tools on hand, such as a small Phillips screwdriver and a plastic prying tool, will make the task smoother.
By removing the battery cover, battery, trackball, top cover, circuit board, and buttons, you can thoroughly clean each component. Use a lint-free cloth, cotton swabs, and rubbing alcohol to remove dirt, grime, and residue. Ensure that all the components are dry before reassembling the mouse.
When reassembling the mouse, take your time to align the components properly and securely fasten the screws. Once the mouse is back together, test its functionality to ensure everything is in working order.
With proper care and maintenance, your Logitech M570 mouse will continue to provide accurate tracking and comfortable ergonomic support for your everyday computing needs.
So, go ahead and disassemble your Logitech M570 mouse to give it a thorough cleaning. Enjoy the smooth and precise movements that come with a refreshed and well-maintained mouse!