Introduction
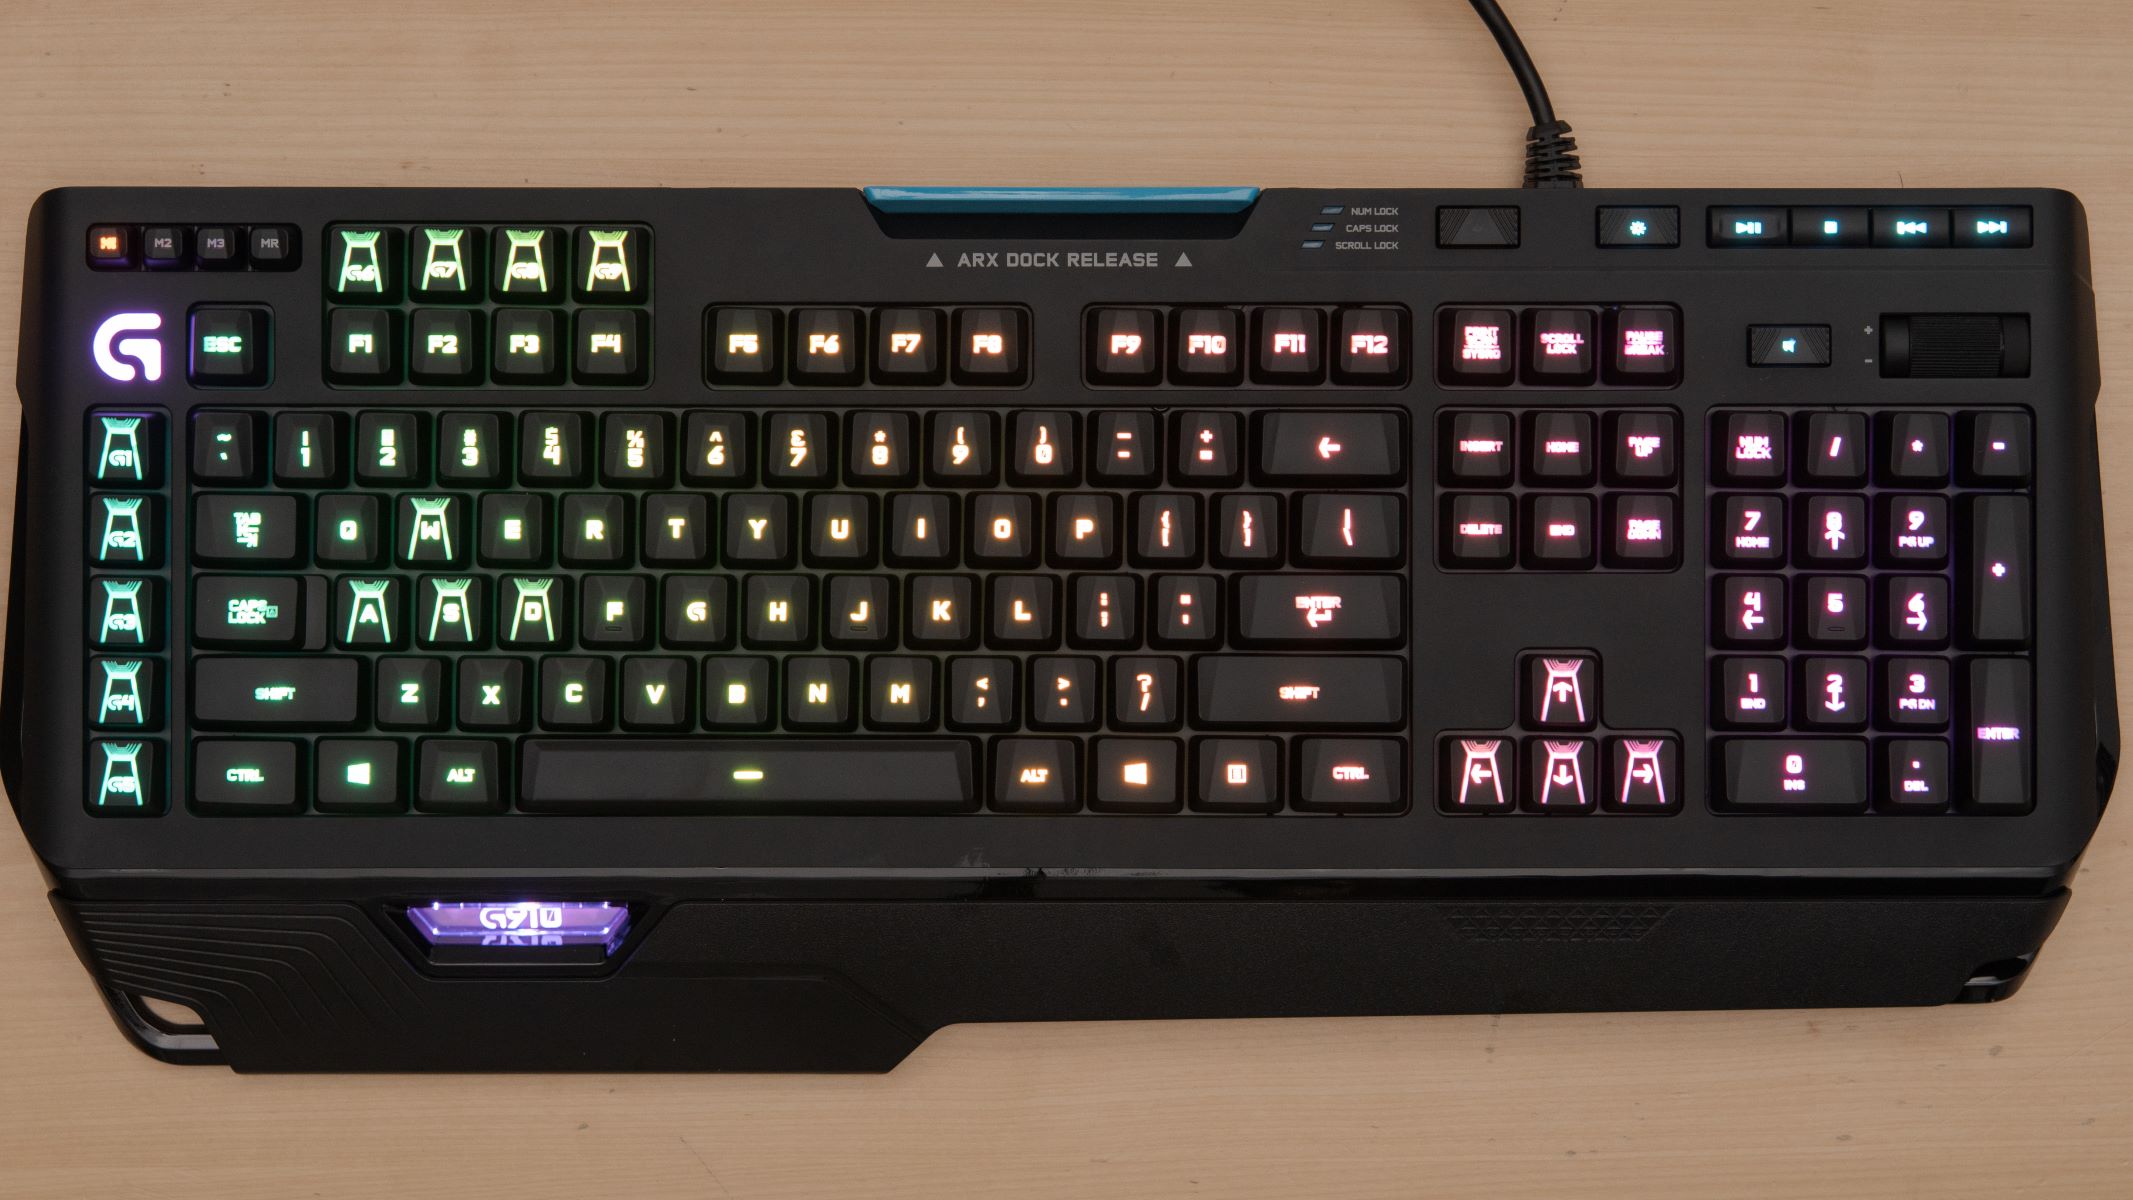
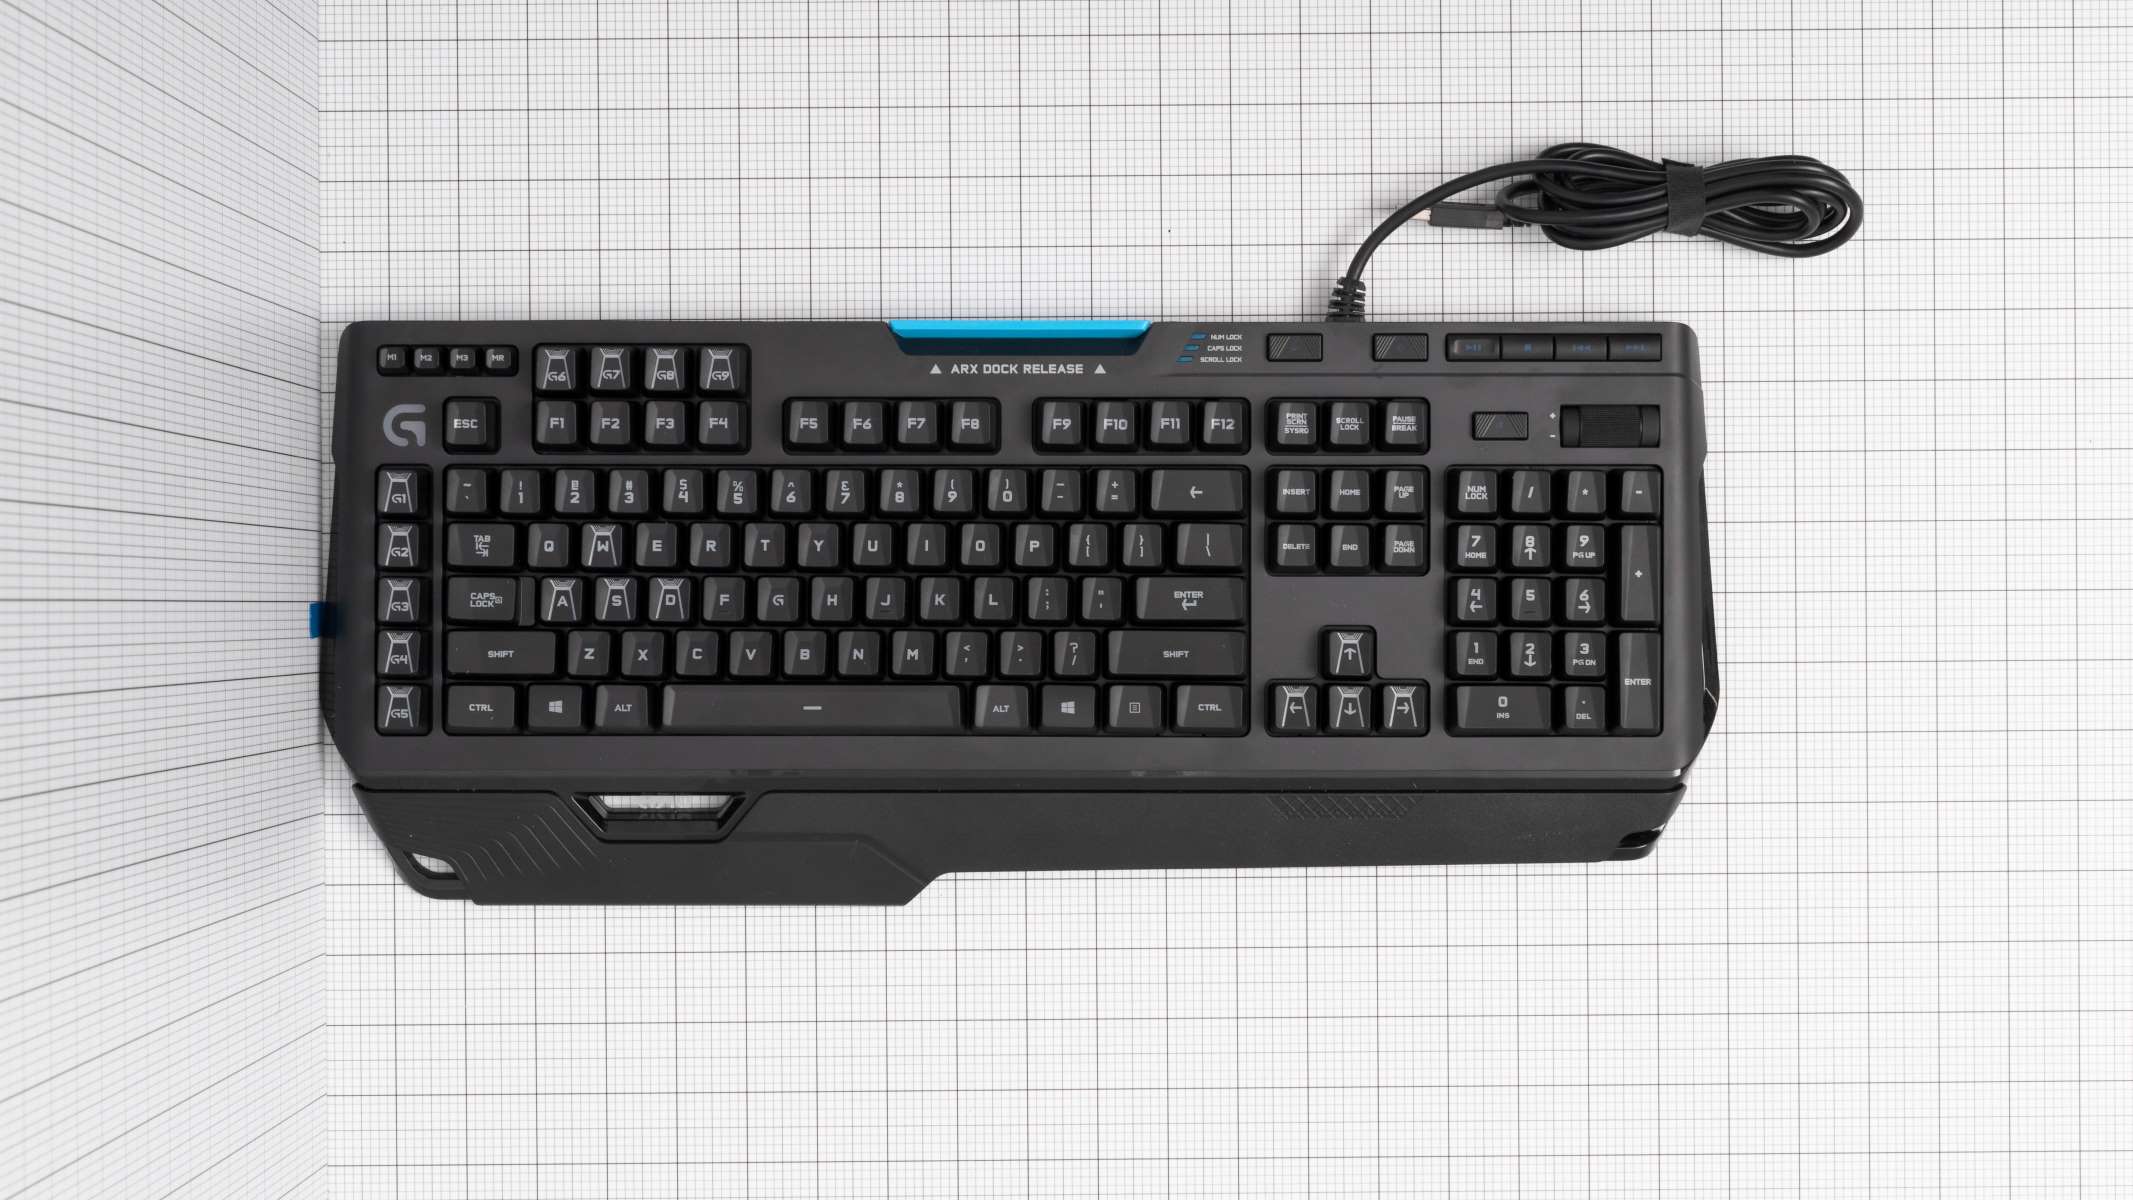
Logitech G910 is a popular gaming keyboard known for its durability, advanced features, and customizable lighting options. However, over time, keyboards can accumulate dust, grime, or experience malfunctioning switches, which may require disassembling the keyboard for cleaning or repair.
In this guide, we will walk you through the step-by-step process of taking apart a Logitech G910 keyboard to clean or replace the switches. While disassembling your keyboard may seem intimidating at first, with the right tools and careful execution, you can successfully maintain or repair your keyboard and restore it to its peak performance.
Before we dive into the disassembly process, it’s important to note that tinkering with your keyboard may void any existing warranty. Therefore, it is recommended to refer to the manufacturer’s warranty policy or seek professional assistance if your keyboard is still covered.
Now that we have the disclaimer out of the way, let’s gather the necessary tools before we begin dismantling your Logitech G910 keyboard.
Tools Needed
Before attempting to disassemble your Logitech G910 keyboard, make sure you have the following tools on hand:
- Screwdriver – A Phillips-head screwdriver is typically required to remove the screws from the bottom of the keyboard.
- Tweezers – Useful for handling small components and cables during the disassembly process.
- Isopropyl Alcohol – Used for cleaning the keyboard and removing any accumulated dirt or grime.
- Cotton Swabs – Ideal for applying isopropyl alcohol and cleaning hard-to-reach areas.
- Compressed Air – Helps blow away dust and debris from the keyboard’s internal components.
- Cleaning Cloth – Use a soft, lint-free cloth to wipe down the keyboard’s exterior and remove any smudges or fingerprints.
These tools are generally easily accessible and should cover the basic needs for dismantling and cleaning your Logitech G910 keyboard. However, depending on the specific issue or repair you are addressing, you may require additional tools or replacement parts, such as extra switches or keycaps.
Once you have gathered the necessary tools, we can move on to the step-by-step process of taking apart your Logitech G910 keyboard.
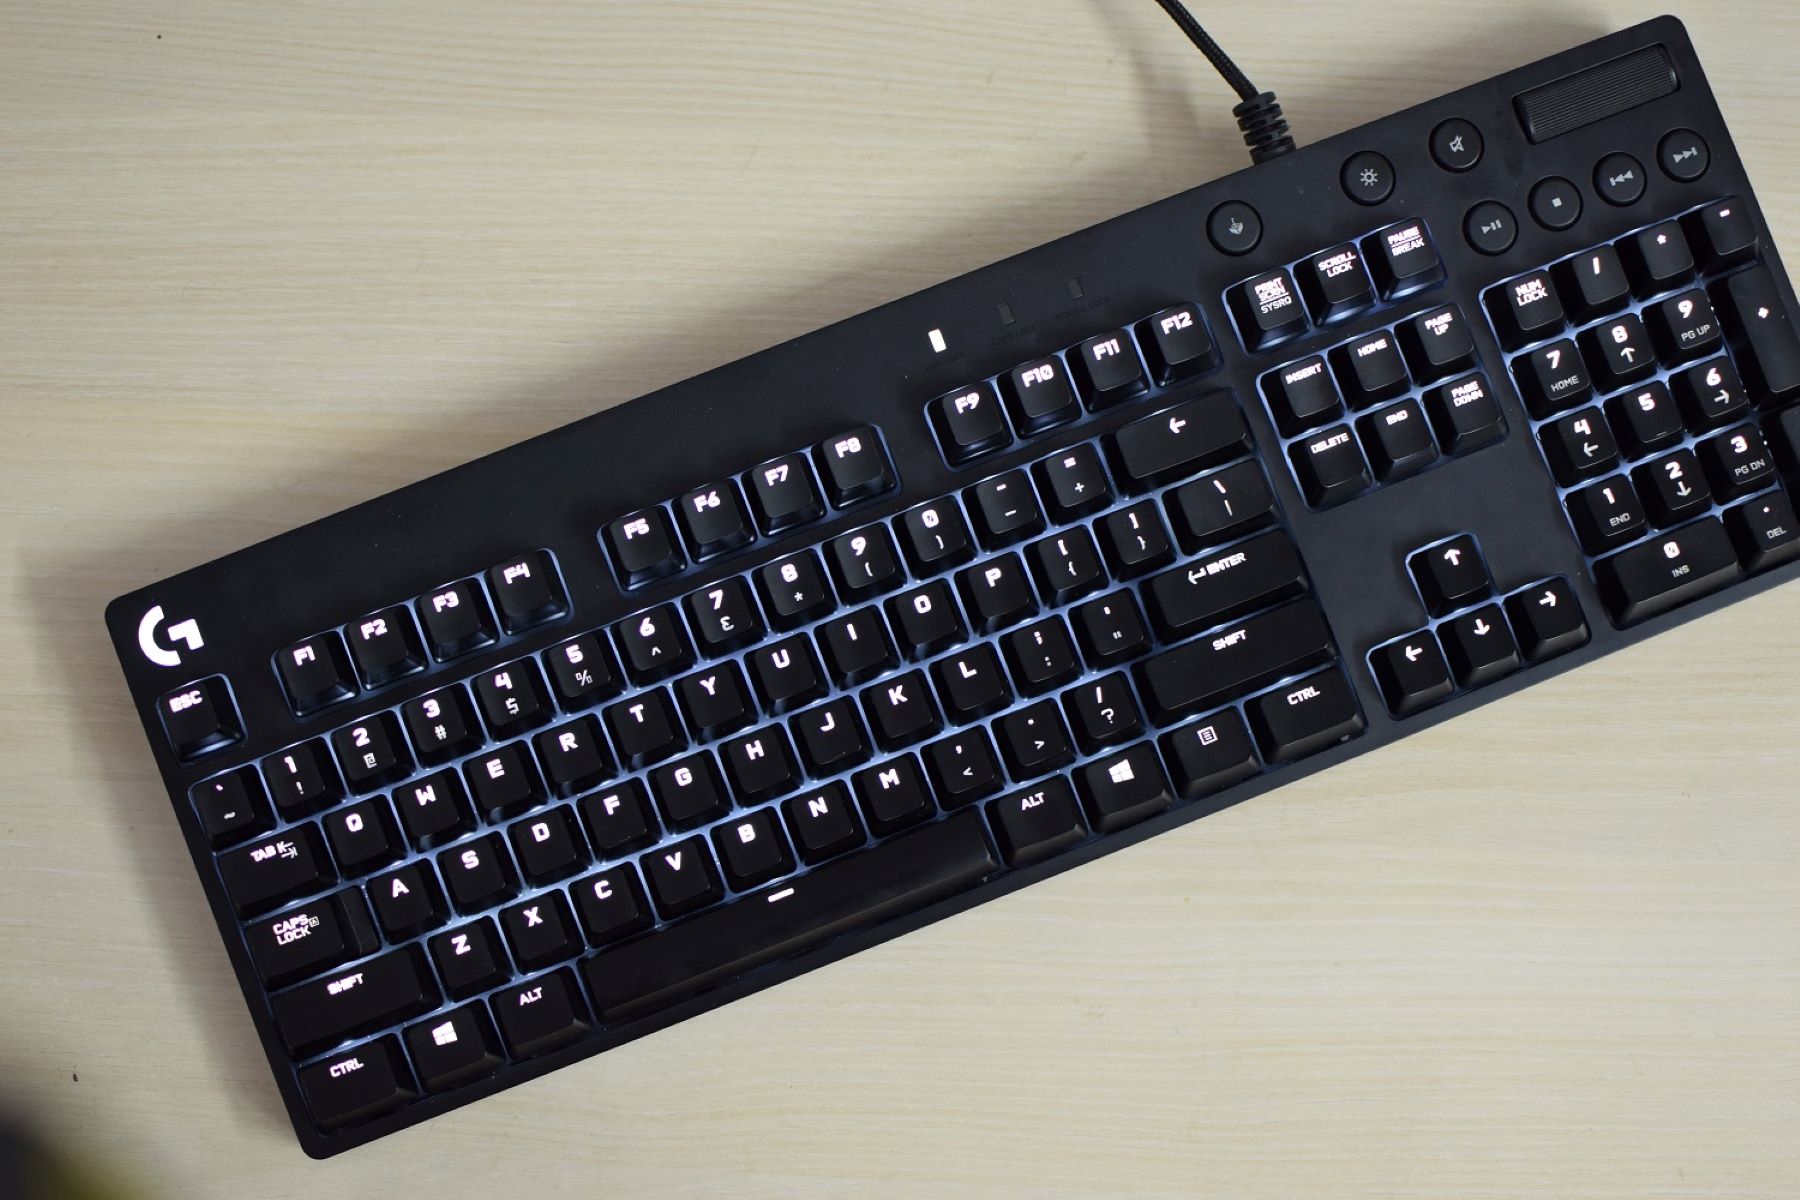
Step 1: Removing Keycaps
The first step in disassembling your Logitech G910 keyboard is to remove the keycaps. Removing the keycaps will provide access to the screws and other components underneath.
Here’s how you can remove the keycaps:
- Start by gently prying up one of the keycaps using your fingers or a keycap puller tool. Begin with a key located at the corner to make it easier to lift.
- Apply even pressure and carefully wiggle the keycap until it pops off the switch stem. Be cautious not to use excessive force to avoid damaging the keycap or switch.
- Continue removing the remaining keycaps using the same technique. You may find it helpful to create a system or take pictures to ensure you can easily reinstall the keycaps in their original positions.
Note: Some keycaps, such as larger keys like the spacebar or enter key, may require additional force or a different removal method. Refer to the manufacturer’s instructions or user manual for guidance on removing specific keycaps.
Once all the keycaps have been successfully removed, set them aside in a safe place to prevent loss or damage. With the keycaps removed, we can move on to the next step: removing the top plate of the keyboard.
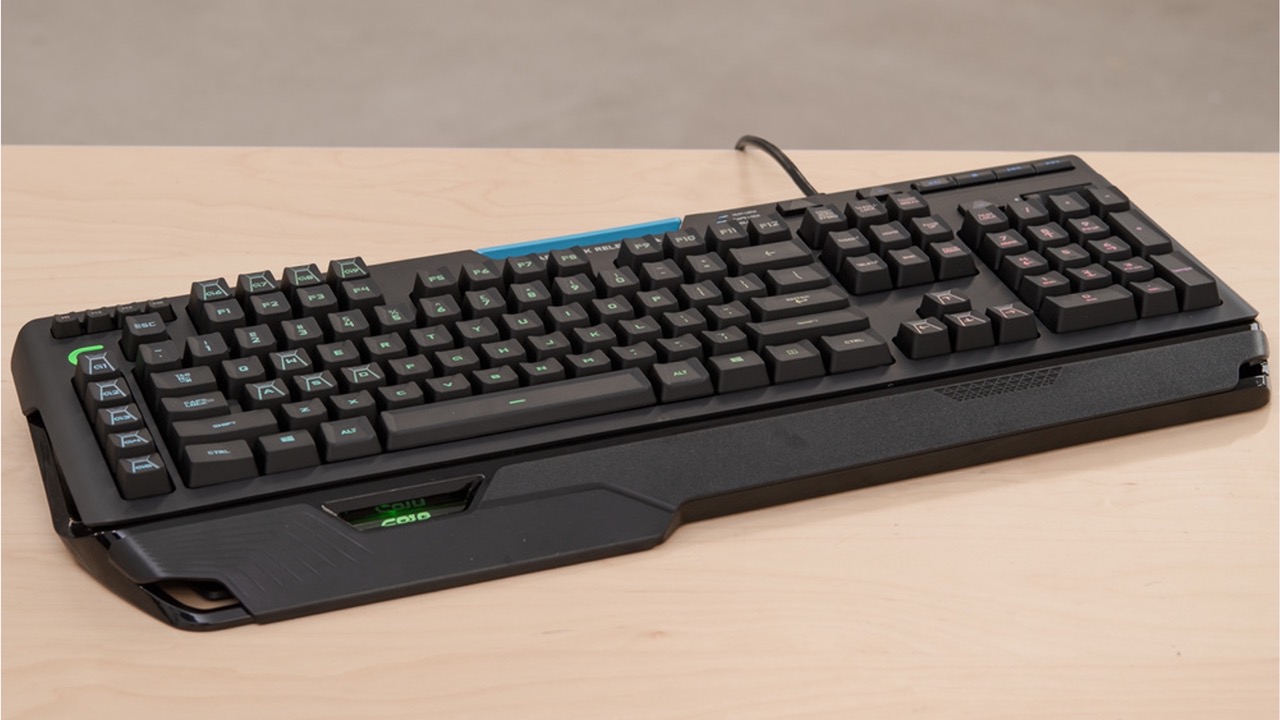
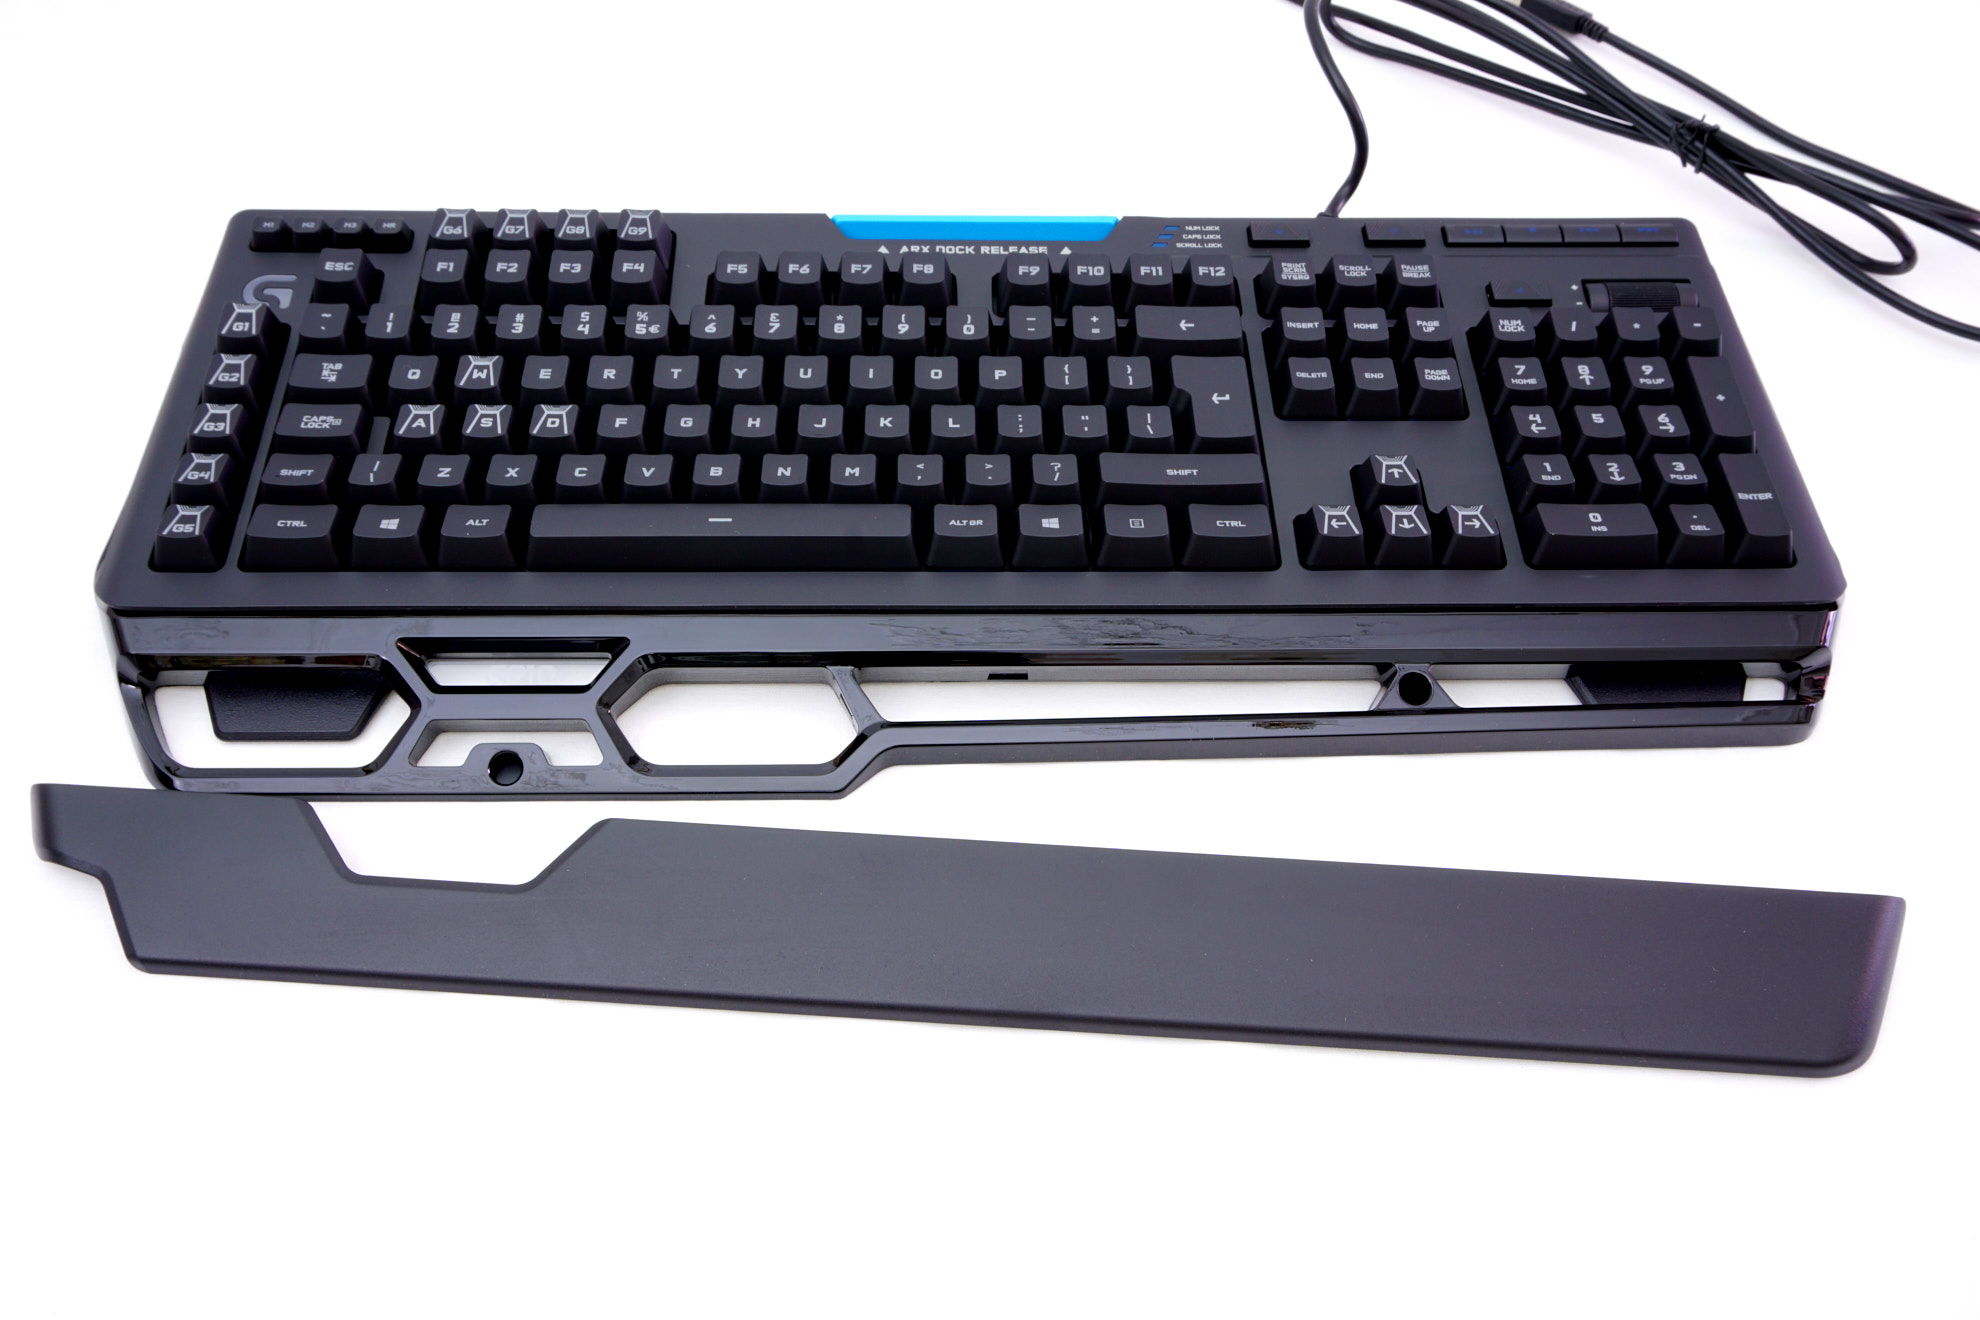
Step 2: Removing Top Plate
Now that we have removed the keycaps, we can proceed to remove the top plate of the Logitech G910 keyboard. The top plate covers the switches and other internal components.
Follow these steps to remove the top plate:
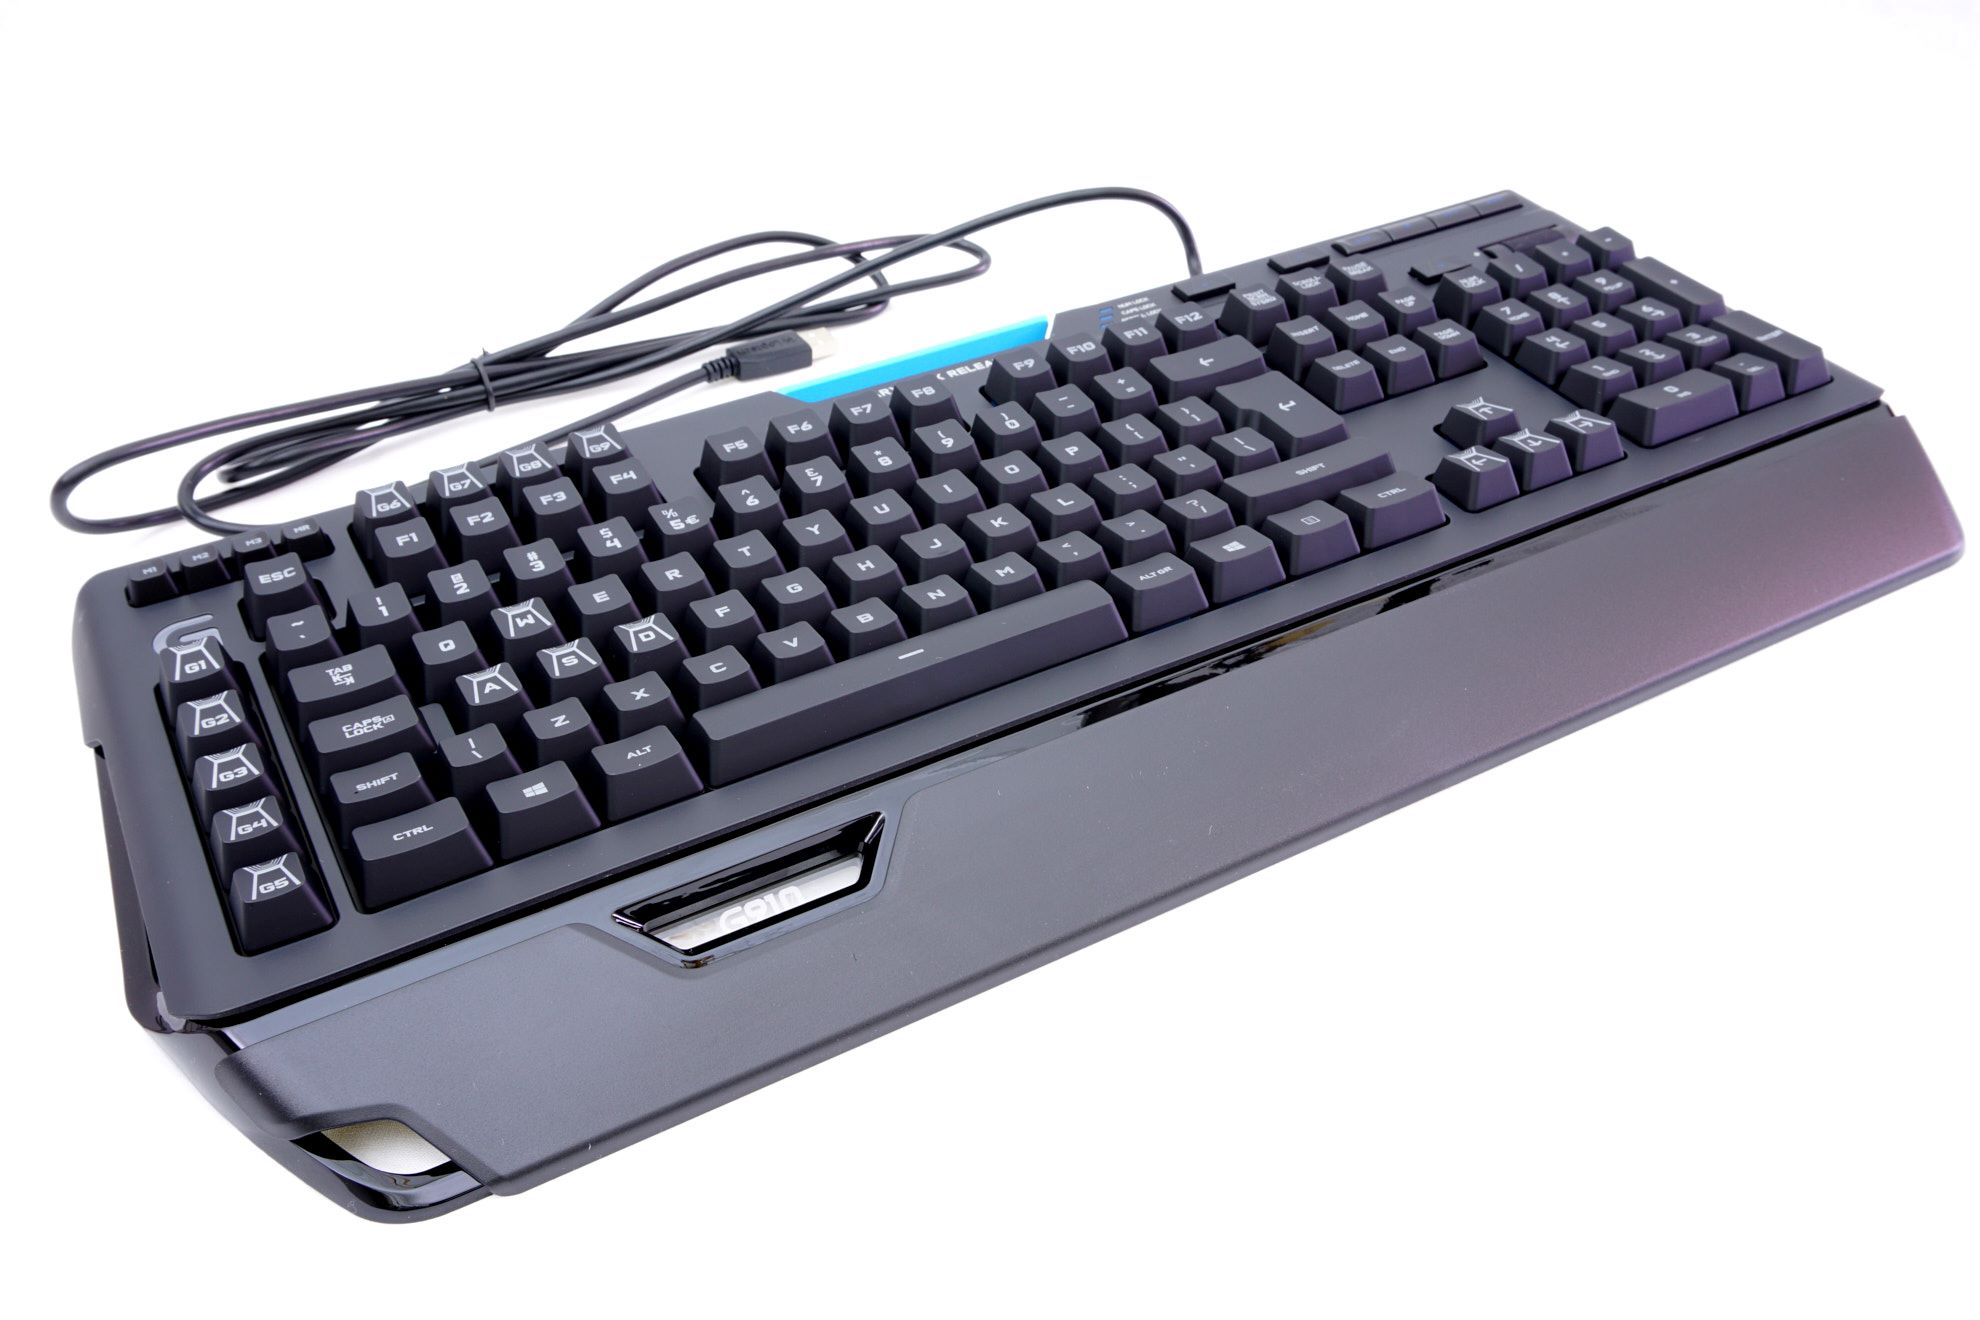
- Flip the keyboard over so that the bottom side is facing upward.
- Locate the screws on the bottom of the keyboard. There are usually several screws that secure the top plate to the base of the keyboard. They are typically Phillips-head screws, so use a screwdriver to carefully remove them.
- Keep the screws in a safe place to avoid misplacement.
- Once the screws are removed, gently lift the top plate from the base of the keyboard. Be cautious not to force it or damage any cables that are still connected.
- If you encounter resistance when lifting the top plate, double-check that you have removed all the screws and ensure there are no hidden or additional securing mechanisms.
After removing the top plate, you will have a clear view of the keyboard’s internal components. Take note of any ribbon cables or connectors that are still attached to the top plate or base, as we will need to disconnect them in the next step.
With the top plate removed, we are now ready to move on to the next step: disconnecting the ribbon cables.
Step 3: Disconnecting Ribbon Cables
Now that the top plate of your Logitech G910 keyboard is removed, it’s time to disconnect the ribbon cables. Ribbon cables are flat, flexible cables that connect various components of the keyboard together.
Follow these steps to safely disconnect the ribbon cables:
- Locate the ribbon cables on the keyboard’s PCB (printed circuit board).
- Identify the connectors that attach the ribbon cables to the PCB. They are typically rectangular with a bar or latch holding the cable in place.
- Using your fingers or a pair of tweezers, gently lift the latch or bar to release the ribbon cable. Be careful not to pull too hard or twist the cable excessively.
- Once the latch is lifted, carefully pull the ribbon cable straight out of the connector.
- Repeat this process for all the ribbon cables connected to the top plate.
Take your time and be patient when disconnecting the ribbon cables to minimize the risk of damaging any components or cables. It can be helpful to take pictures or make notes of the cable connections before disconnecting them to assist with reassembly later.
After disconnecting all the ribbon cables, set the top plate aside in a safe place. Now, we can move on to the next step: removing the switches from the keyboard.
Step 4: Removing Switches
With the ribbon cables disconnected, we can proceed to remove the switches from your Logitech G910 keyboard. Removing the switches allows us to access and clean or replace them as needed.
Follow these steps to remove the switches:
- Take a closer look at the switches on the keyboard. You will notice that each switch is secured to the PCB with two clips on either side.
- Using your fingers or a pair of tweezers, gently push the clips inward while simultaneously pulling up on the switch.
- The switch should release from the PCB. Repeat this process for each switch you wish to remove.
- Set the removed switches aside in a safe place. Keep track of their orientation if you plan to reinstall them later.
Take note of any switches that require extra force to remove, as they may be secured more tightly or have additional clips. Be cautious not to use excessive force that could damage the switches or the PCB.
Please note that by removing the switches, you may void any existing warranty on your keyboard. If your keyboard is still under warranty, consider contacting the manufacturer for assistance before proceeding further.
With the switches removed, we are now ready to move on to the next step: cleaning or replacing the switches.
Step 5: Cleaning or Replacing Switches
Now that the switches are removed, we have the opportunity to clean them or replace them if necessary. Cleaning the switches can help improve their performance by removing any dust or debris that may have accumulated over time.
Follow these steps to clean or replace the switches on your Logitech G910 keyboard:
- If you plan to clean the switches, inspect them for any visible debris or residue. Use compressed air or a small brush to gently remove any dust or dirt.
- If any of the switches are still not functioning properly after cleaning, it may be necessary to replace them. To do so, you will need to acquire compatible replacement switches.
- If you are replacing a switch, carefully insert the new switch into the PCB, ensuring that the pins align with the corresponding holes.
- Push down firmly on the switch until it clicks into place.
- Repeat this process for each switch you wish to clean or replace.
After cleaning or replacing the switches, it’s a good idea to test them before proceeding with reassembly. Connect the necessary ribbon cables and keycaps and check if the switches respond properly when pressed.
Remember to exercise caution when working with switches, as they are intricate components and can be delicate. Handle them with care to prevent any damage during the cleaning or replacement process.
Once you’ve cleaned or replaced the switches and tested their functionality, we can move on to the final step: reassembling the keyboard.
Step 6: Reassembling the Keyboard
After completing the necessary maintenance or repairs, it’s time to reassemble your Logitech G910 keyboard. Reassembling the keyboard requires reconnecting the ribbon cables, securing the top plate, and reinstalling the keycaps.
Follow these steps to reassemble your keyboard:
- Begin by reconnecting the ribbon cables. Align the cables with their respective connectors on the PCB and gently push them in until they are securely seated. Make sure the latches or bars are locked in place to prevent any accidental disconnections.
- With the ribbon cables connected, carefully place the top plate back onto the base of the keyboard. Ensure that all the screw holes align properly.
- Retrieve the screws that were removed earlier and use a screwdriver to secure the top plate to the base. Tighten the screws evenly, but avoid over-tightening.
- Once the top plate is securely fastened, it’s time to reinstall the keycaps. Take each keycap and align it with the corresponding switch stem. Apply gentle pressure until the keycap snaps into place. Repeat this process for all the keycaps.
Ensure that all the keycaps are installed correctly and in their original positions. Double-check for any loose or misaligned keycaps and make any necessary adjustments.
Finally, give your keyboard a thorough cleaning using a soft cloth and isopropyl alcohol. Wipe down the exterior to remove any fingerprints or smudges that may have accumulated during the disassembly and reassembly process.
Once the keyboard is reassembled and cleaned, it’s time to plug it back in and test its functionality. Check if all the keys are responding properly and if the switches are functioning as desired.
Congratulations! You have successfully disassembled, cleaned or replaced switches, and reassembled your Logitech G910 keyboard. Your keyboard should now be ready for hours of gaming or productive typing sessions.
Conclusion
Taking apart a Logitech G910 keyboard may seem like a daunting task, but with the right tools, careful execution, and proper guidance, it is possible to maintain or repair your keyboard. By following the step-by-step instructions provided in this guide, you can successfully disassemble the keyboard, clean or replace the switches, and reassemble the keyboard to restore its optimal performance.
Remember to exercise caution throughout the process to avoid causing any damage to the keyboard or its components. It is also advisable to refer to the manufacturer’s warranty policy or seek professional assistance if your keyboard is still covered under warranty.
Regular maintenance, such as cleaning the switches and keycaps, can help extend the lifespan of your Logitech G910 keyboard and ensure smooth and accurate keystrokes during your gaming or work sessions. If you encounter persistent issues with your keyboard even after following these steps, it may be necessary to consult a professional for further assistance.
We hope this guide has been helpful in guiding you through the process of disassembling and cleaning or replacing the switches in your Logitech G910 keyboard. With proper care and maintenance, you can continue enjoying your gaming or typing experience on a well-maintained and fully functional keyboard.