Introduction
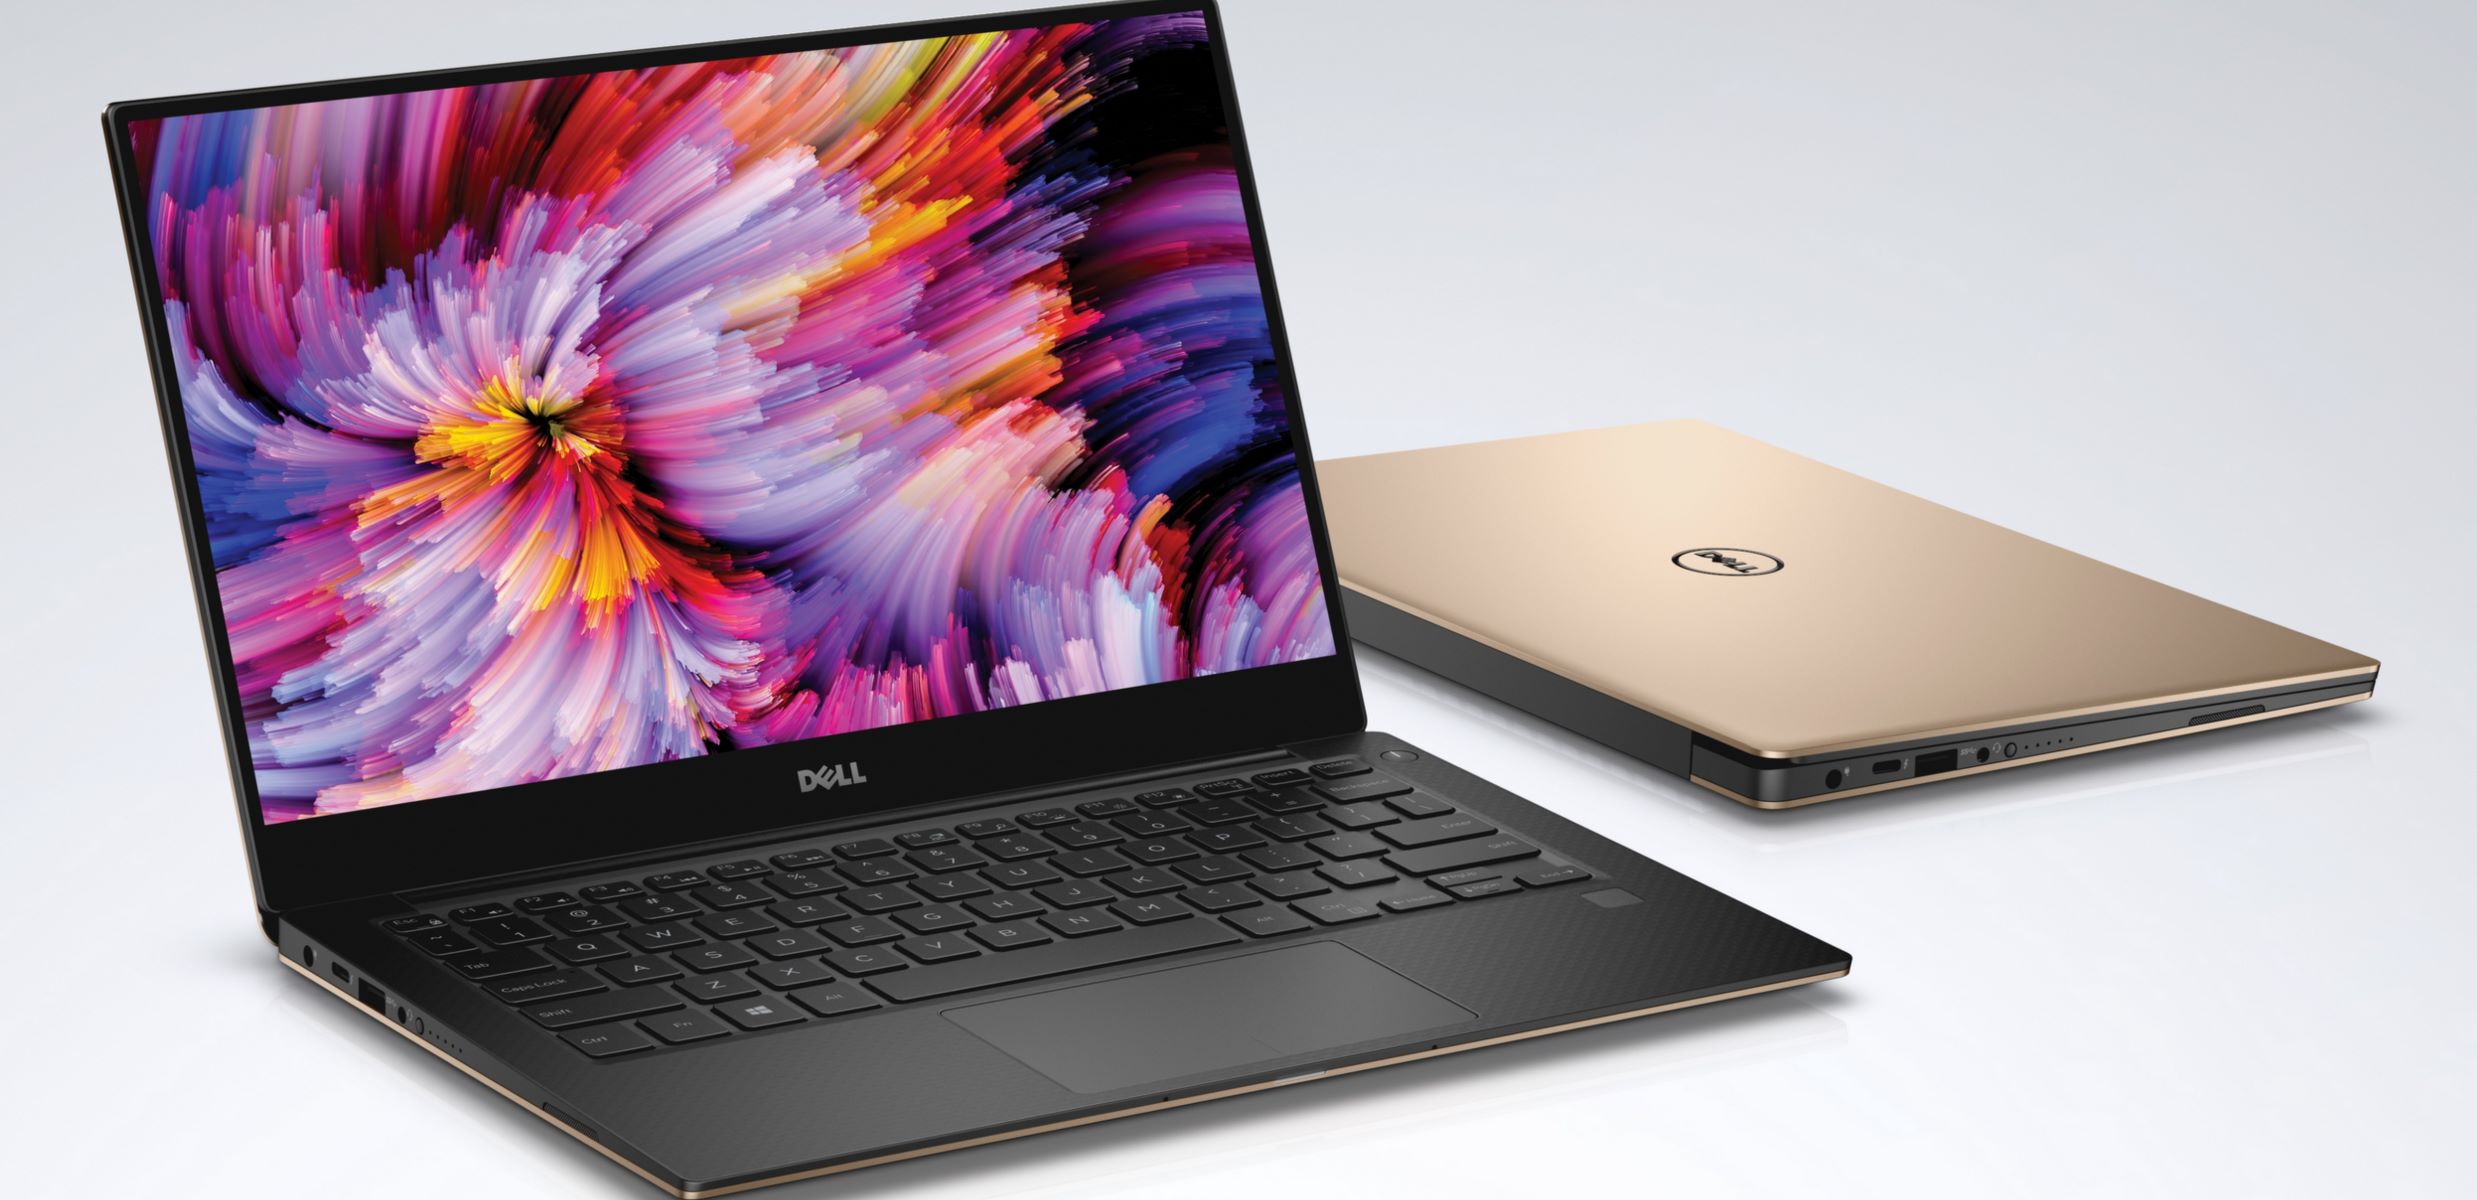
When using a Dell computer, you may often come across situations where you need to capture a snapshot of your screen. Whether it’s to document an error message, save an important image, or share a funny moment with friends, taking screenshots can be incredibly useful. Fortunately, Dell computers come equipped with several built-in methods to easily capture screenshots.
In this article, we will explore four different ways to take screenshots on a Dell computer. We’ll cover using the Print Screen key, utilizing the Snipping Tool, taking advantage of the Windows Game Bar, and using the Windows Key + Print Screen combination. Each method offers its own unique features and benefits, ensuring that you’ll be able to find the perfect option for your specific needs.
So, whether you’re a seasoned Dell user or have recently purchased a Dell computer, let’s dive in and discover the various ways you can take screenshots on your device. From capturing the entire screen to selecting specific areas and even recording gameplay, you’ll soon be a pro at capturing those important moments with ease.
Option 1: Using the Print Screen key
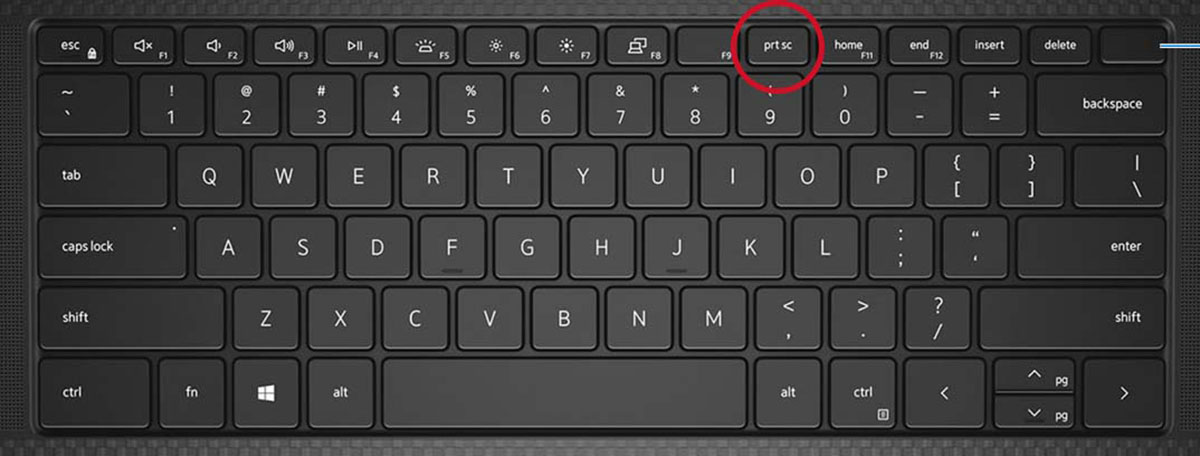
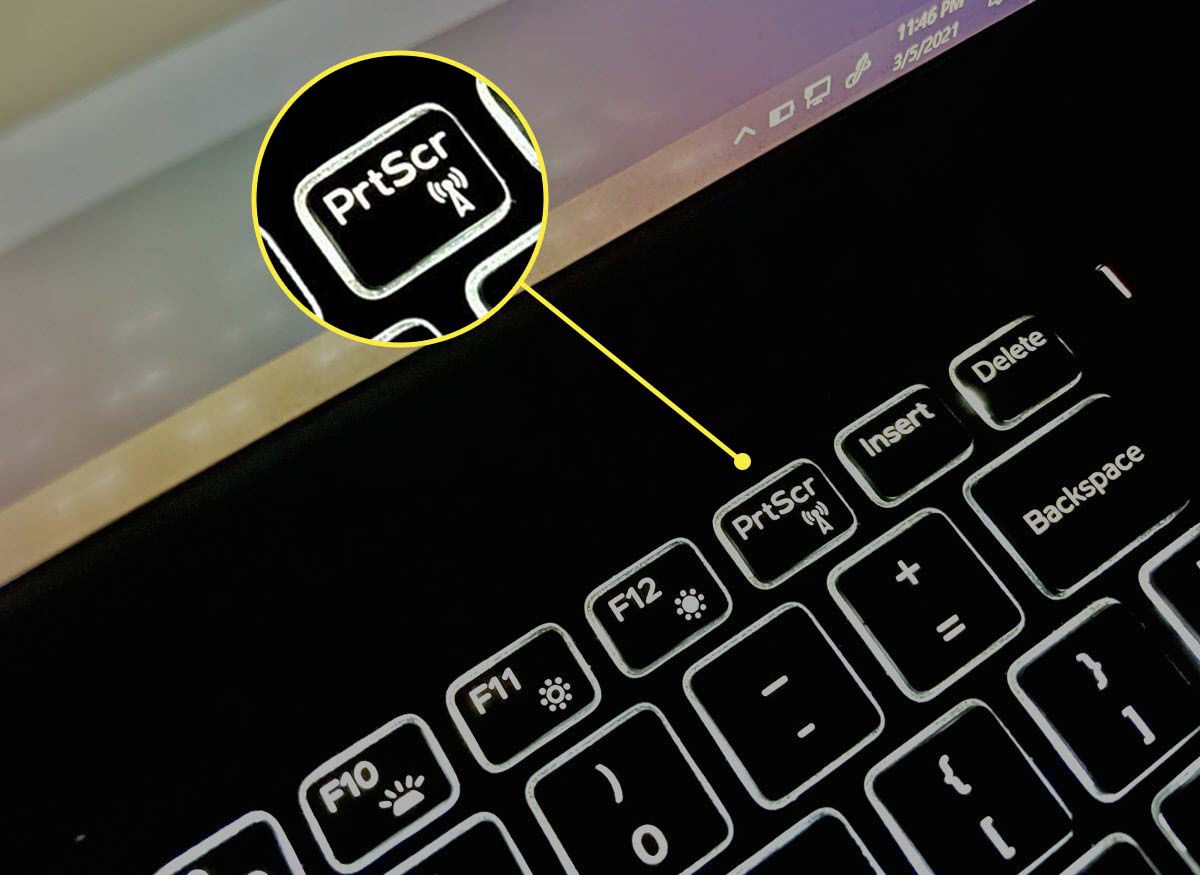
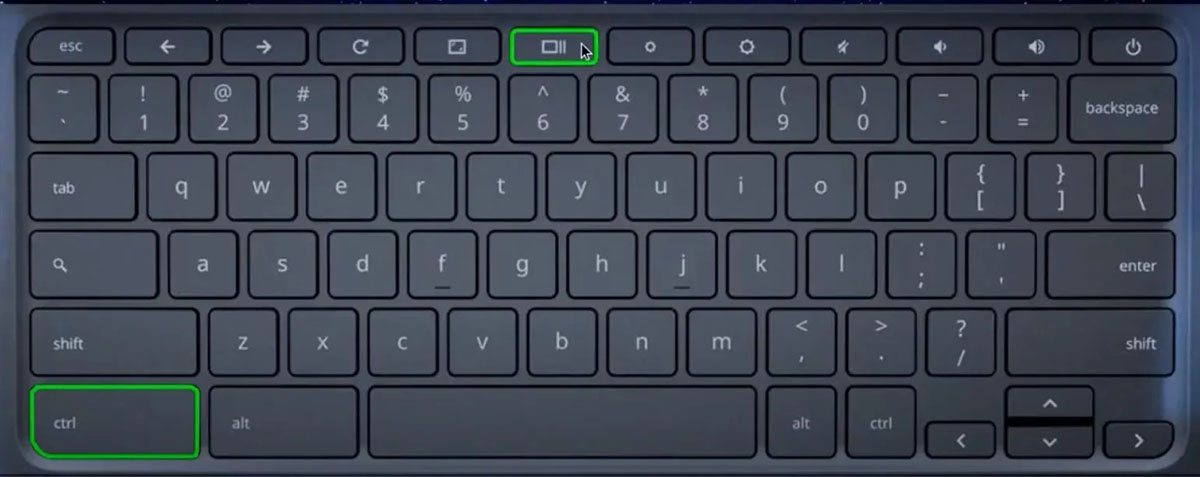
One of the most straightforward ways to take a screenshot on a Dell computer is by using the Print Screen key, often labeled as “PrtScn” or “PrtSc”. This key captures the entire screen and copies it to the clipboard, allowing you to paste it into an image editing program or any other application that accepts images.
To use this method, locate the Print Screen key on your Dell keyboard. Usually, you can find it in the upper-right corner or in a row with other function keys. Once you’ve located it, follow these steps:
- Make sure the content you want to capture is displayed on your screen.
- Press the Print Screen key. You won’t receive any visual feedback, but rest assured, the screenshot has been taken.
- Open an image editing program or any other application where you want to paste the screenshot.
- Press Ctrl + V on your keyboard or right-click and select Paste to insert the screenshot. The captured screen will appear as an image file.
- Save the screenshot to your desired location by selecting File and then Save in the image editing program.
Using the Print Screen key provides a quick and convenient way to capture your entire screen without the need for any additional tools. However, keep in mind that this method captures the entire screen, including multiple monitors if you have them connected. If you only need a portion of the screen or want more advanced editing options, consider using the other methods described later in this article.
Option 2: Using the Snipping Tool
If you’re looking for more control over your screenshots on your Dell computer, the Snipping Tool is an excellent built-in option. This tool allows you to capture a specific area of your screen, making it perfect for highlighting specific information, cropping images, or capturing complex shapes.
To use the Snipping Tool on your Dell computer, follow these steps:
- Open the Start menu by clicking the Windows icon in the bottom-left corner of your screen.
- Type “Snipping Tool” in the search bar and select the Snipping Tool app from the search results.
- Click on “New” in the Snipping Tool window.
- Your screen will grey out, and you’ll see a cursor that looks like a “+” sign.
- Click and drag the cursor to select the area you want to capture. You can capture a rectangular area, a specific window, or the entire screen.
- Release the mouse button to capture the selected area.
- The captured screenshot will open in the Snipping Tool editor.
- Use the various tools in the Snipping Tool editor to make annotations, highlights, or any modifications you desire.
- Click on the floppy disk icon or select File and then Save to save the screenshot.
- Choose your desired file format and location and click on Save.
Using the Snipping Tool provides you with more flexibility to capture specific areas of your screen and make quick edits. Additionally, the Snipping Tool editor allows you to add annotations and highlights, making it ideal for tasks that require visual explanations or documentation.
Note that the Snipping Tool is available on Windows 7 and Windows 10. However, on Windows 10, Microsoft has introduced a newer tool called Snip & Sketch, which offers even more powerful features. If you’re using Windows 10, you can access Snip & Sketch by pressing Windows + Shift + S or by searching for it in the Start menu.
Option 3: Using the Windows Game Bar
If you’re a gamer or frequently engage in activities that involve fullscreen applications or games on your Dell computer, the Windows Game Bar is an excellent option for capturing screenshots quickly and efficiently. Although its name suggests it’s specifically for gaming, the Windows Game Bar can be used for any application running in fullscreen mode.
To use the Windows Game Bar for taking screenshots, follow these steps:
- While in the application or game you want to capture, press the Windows + G keys to open the Game Bar.
- If prompted, confirm that “Yes, this is a game” checkbox.
- Click on the “Capture” button with a camera icon in the Game Bar overlay.
- The screenshot will be instantly saved to the default location, usually the “Videos” folder. You can access it by navigating to the “Videos” folder or using the File Explorer.
- To access additional capture options, click on the “Show all captures” button at the bottom of the Game Bar.
- In the Captures window, you can view, edit, and share your captured screenshots.
- If desired, you can change the capture settings by clicking on the gear icon in the Game Bar and navigating to the “Capture” tab.
The Windows Game Bar provides a convenient way to capture screenshots without interrupting your gaming or fullscreen experience. It eliminates the need for using external applications or keyboard shortcuts, making it a seamless and efficient option for capturing those critical moments in your games or fullscreen applications.
Note that the Windows Game Bar is available on Windows 10 and is enabled by default. However, if you have previously disabled it, you can enable it by going to Settings, selecting Gaming, and then turning on the “Record game clips, screenshots, and broadcast using Game Bar” toggle switch.
Option 4: Using the Windows Key + Print Screen combination
If you’re looking for a quick and efficient way to capture screenshots on your Dell computer without any additional steps or applications, the Windows Key + Print Screen combination is a handy shortcut you can utilize. This method allows you to capture the entire screen and automatically save it to a designated folder, making it effortless to access and organize your screenshots.
To use the Windows Key + Print Screen combination to take a screenshot, follow these steps:
- Ensure the desired content is displayed on your screen.
- Press the Windows key and the Print Screen key simultaneously on your keyboard.
- You may see the screen briefly dim or the cursor change momentarily, indicating that the screenshot has been captured.
- The screenshot will be automatically saved in the “Pictures” folder within a subfolder called “Screenshots.” You can access it by opening the File Explorer and navigating to the Pictures folder.
- Within the Screenshots folder, you can find all the screenshots you have taken using this method.
Using the Windows Key + Print Screen combination offers a quick and straightforward way to capture screenshots on your Dell computer. The automatic saving of screenshots eliminates the need to open an image editing program or any other application. This method is especially useful when you need to capture frequent screenshots and want to easily organize and access them at a later time.
Keep in mind that this method captures the entire screen and saves it as an image file. If you require more control over the area to capture or want additional editing features, consider exploring the other methods mentioned earlier in this article.
Conclusion
Capturing screenshots on your Dell computer is an essential skill that can come in handy for various purposes, whether you’re troubleshooting technical issues, documenting important information, or simply sharing moments with others. In this article, we explored four different methods to take screenshots on a Dell computer: using the Print Screen key, utilizing the Snipping Tool, leveraging the Windows Game Bar, and employing the Windows Key + Print Screen combination.
The Print Screen key provides a quick and straightforward way to capture the entire screen, while the Snipping Tool allows for more precise selections, annotations, and edits. The Windows Game Bar is a convenient option specifically designed for gamers or those working in fullscreen applications. Lastly, the Windows Key + Print Screen combination offers a seamless method to capture and save screenshots automatically.
Each method offers its own unique features and benefits, allowing you to choose the most suitable option based on your specific needs and preferences. Whether you’re looking for flexibility, speed, or advanced editing capabilities, Dell computers provide built-in tools that can meet your screenshot requirements.
Experiment with these methods and find your personal favorite for capturing screenshots on your Dell computer. Remember to consider the type of content you want to capture, the level of precision required, and any additional editing or annotation features you may need.
With the ability to capture and document important information at your fingertips, you can enhance your productivity, troubleshoot with ease, and share your screen moments effortlessly. So, start using these methods and unlock the power of screenshotting on your Dell computer today!