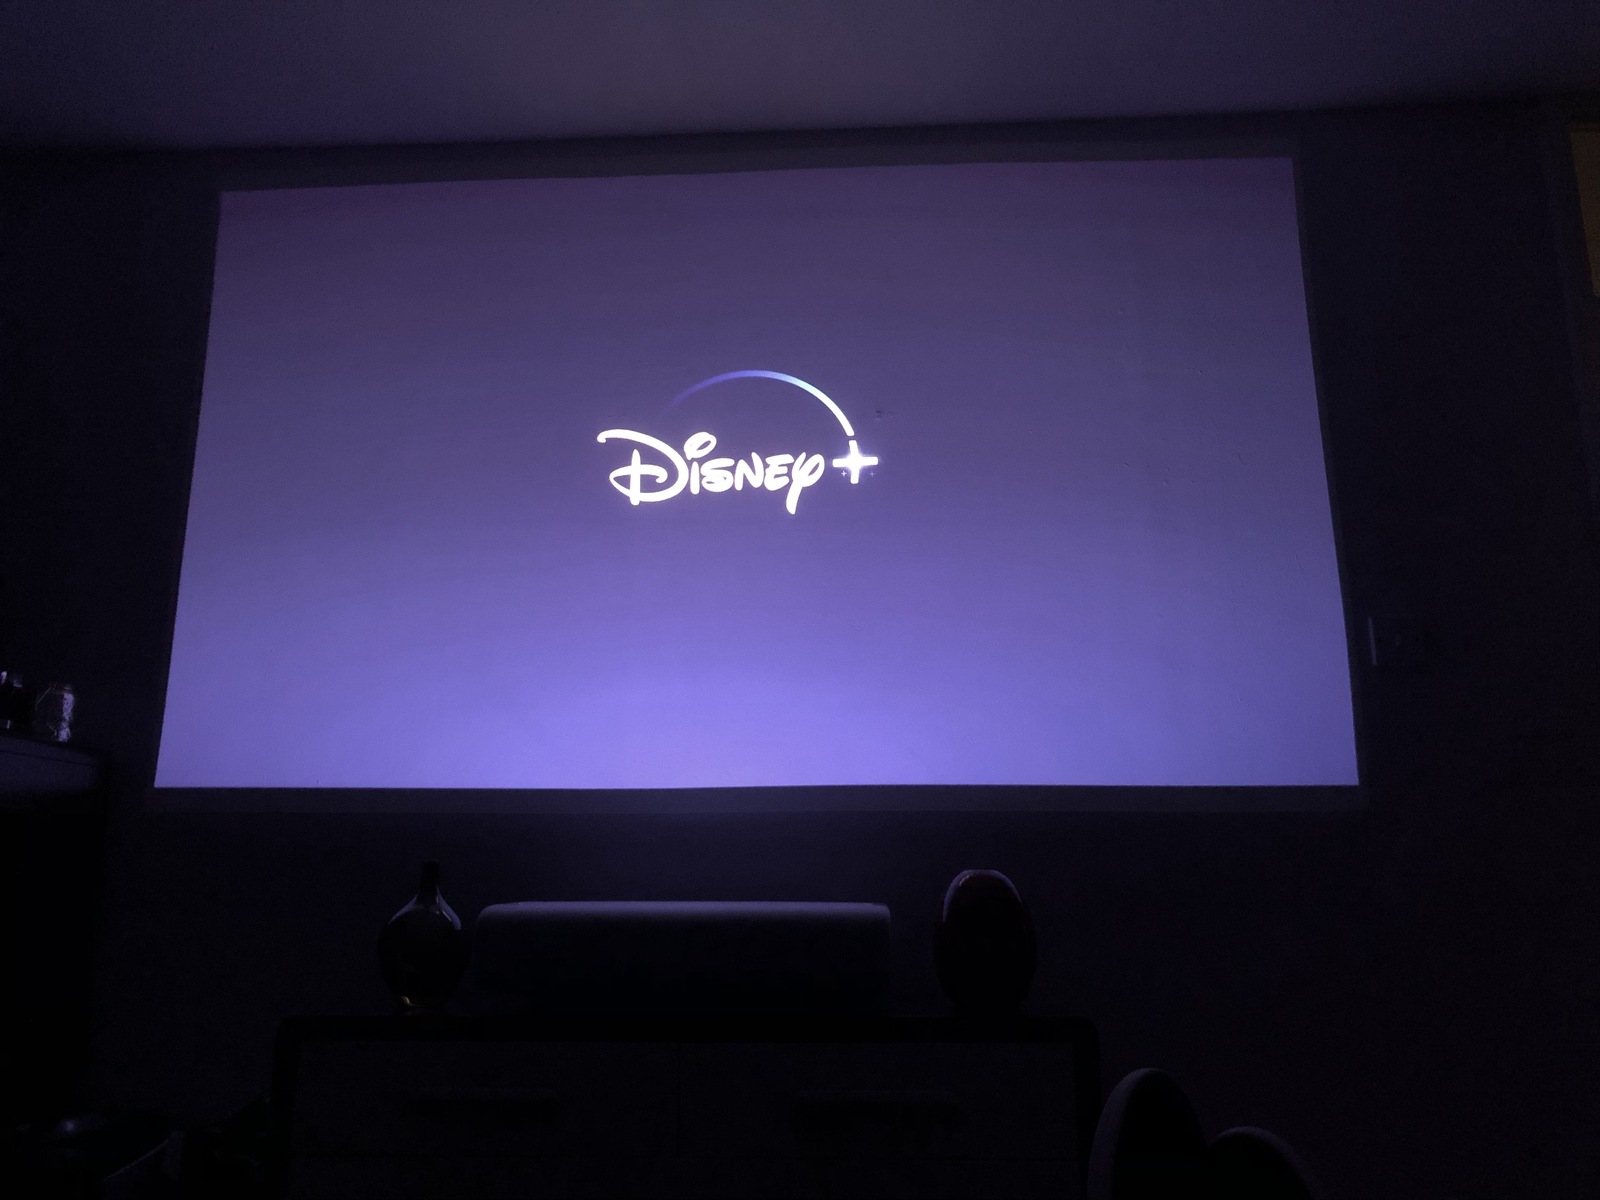
Introduction
Welcome to the world of streaming! Streaming devices have become increasingly popular, allowing us to watch our favorite movies, TV shows, and videos on-demand from the comfort of our own homes. However, if you want to enjoy your streaming content on a larger screen, such as a projector, you may be wondering how to make that happen. In this article, we will walk you through the steps to stream to a projector, so you can elevate your home entertainment experience.
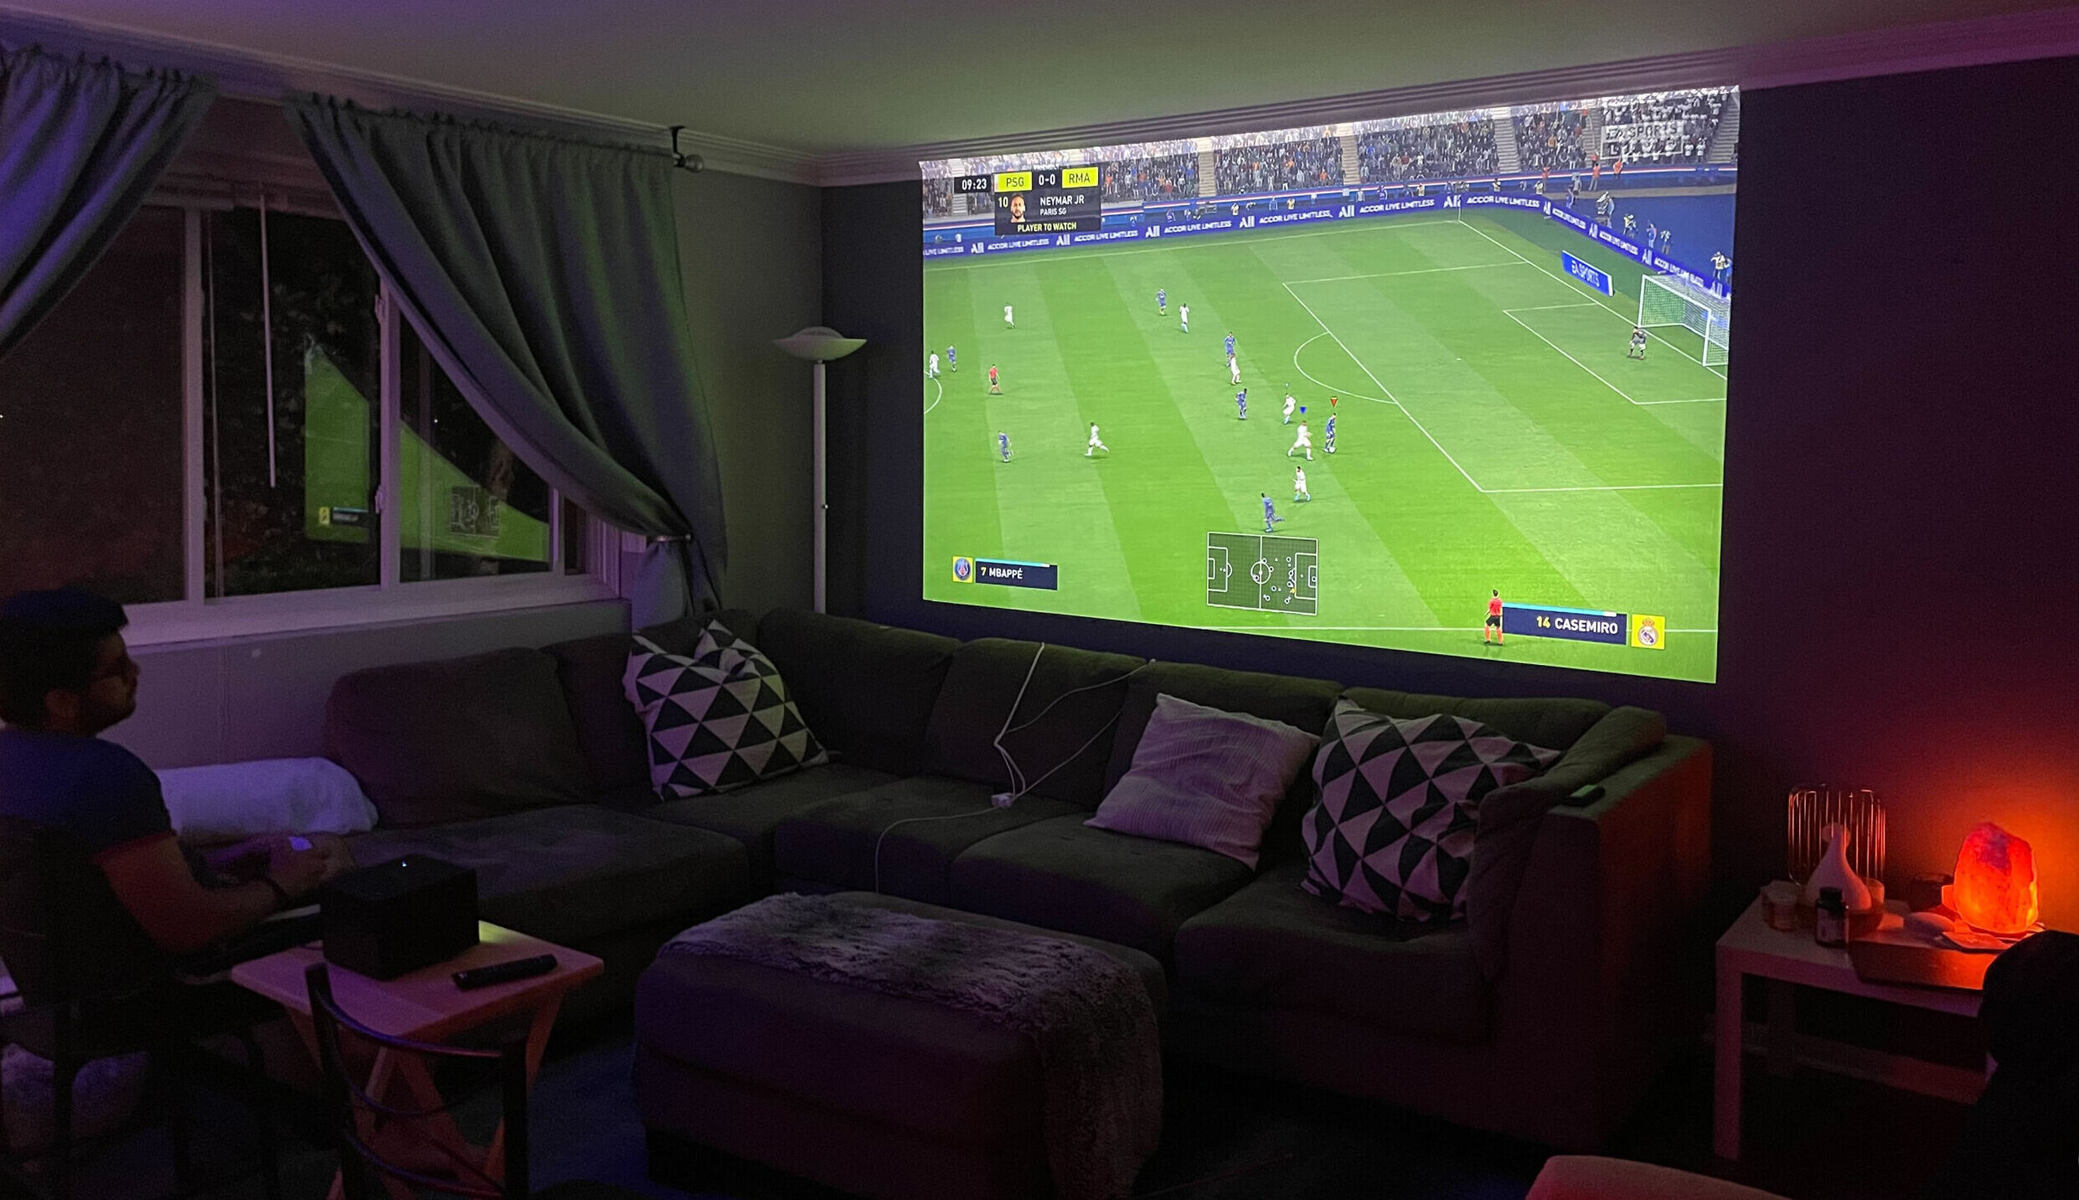
Streaming to a projector opens up a whole new world of possibilities for enjoying movies, sports events, gaming, and more. Whether you want to gather your friends for a movie night, host a gaming marathon, or showcase a presentation, streaming to a projector can bring your content to life on a big screen.
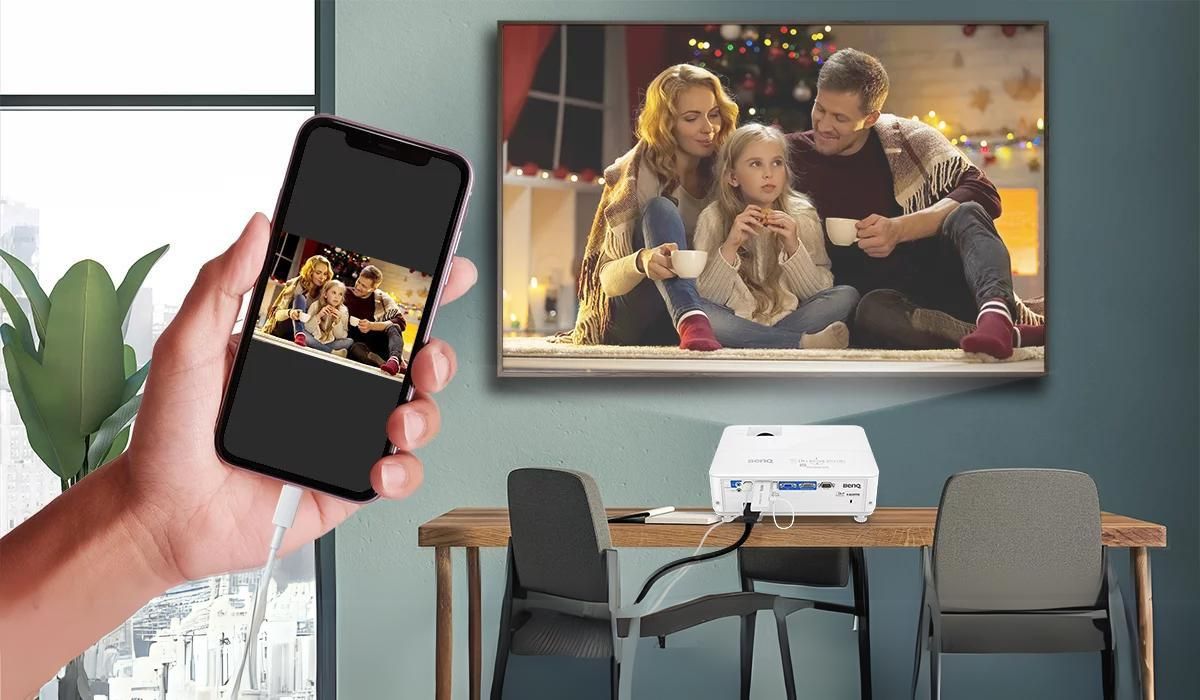
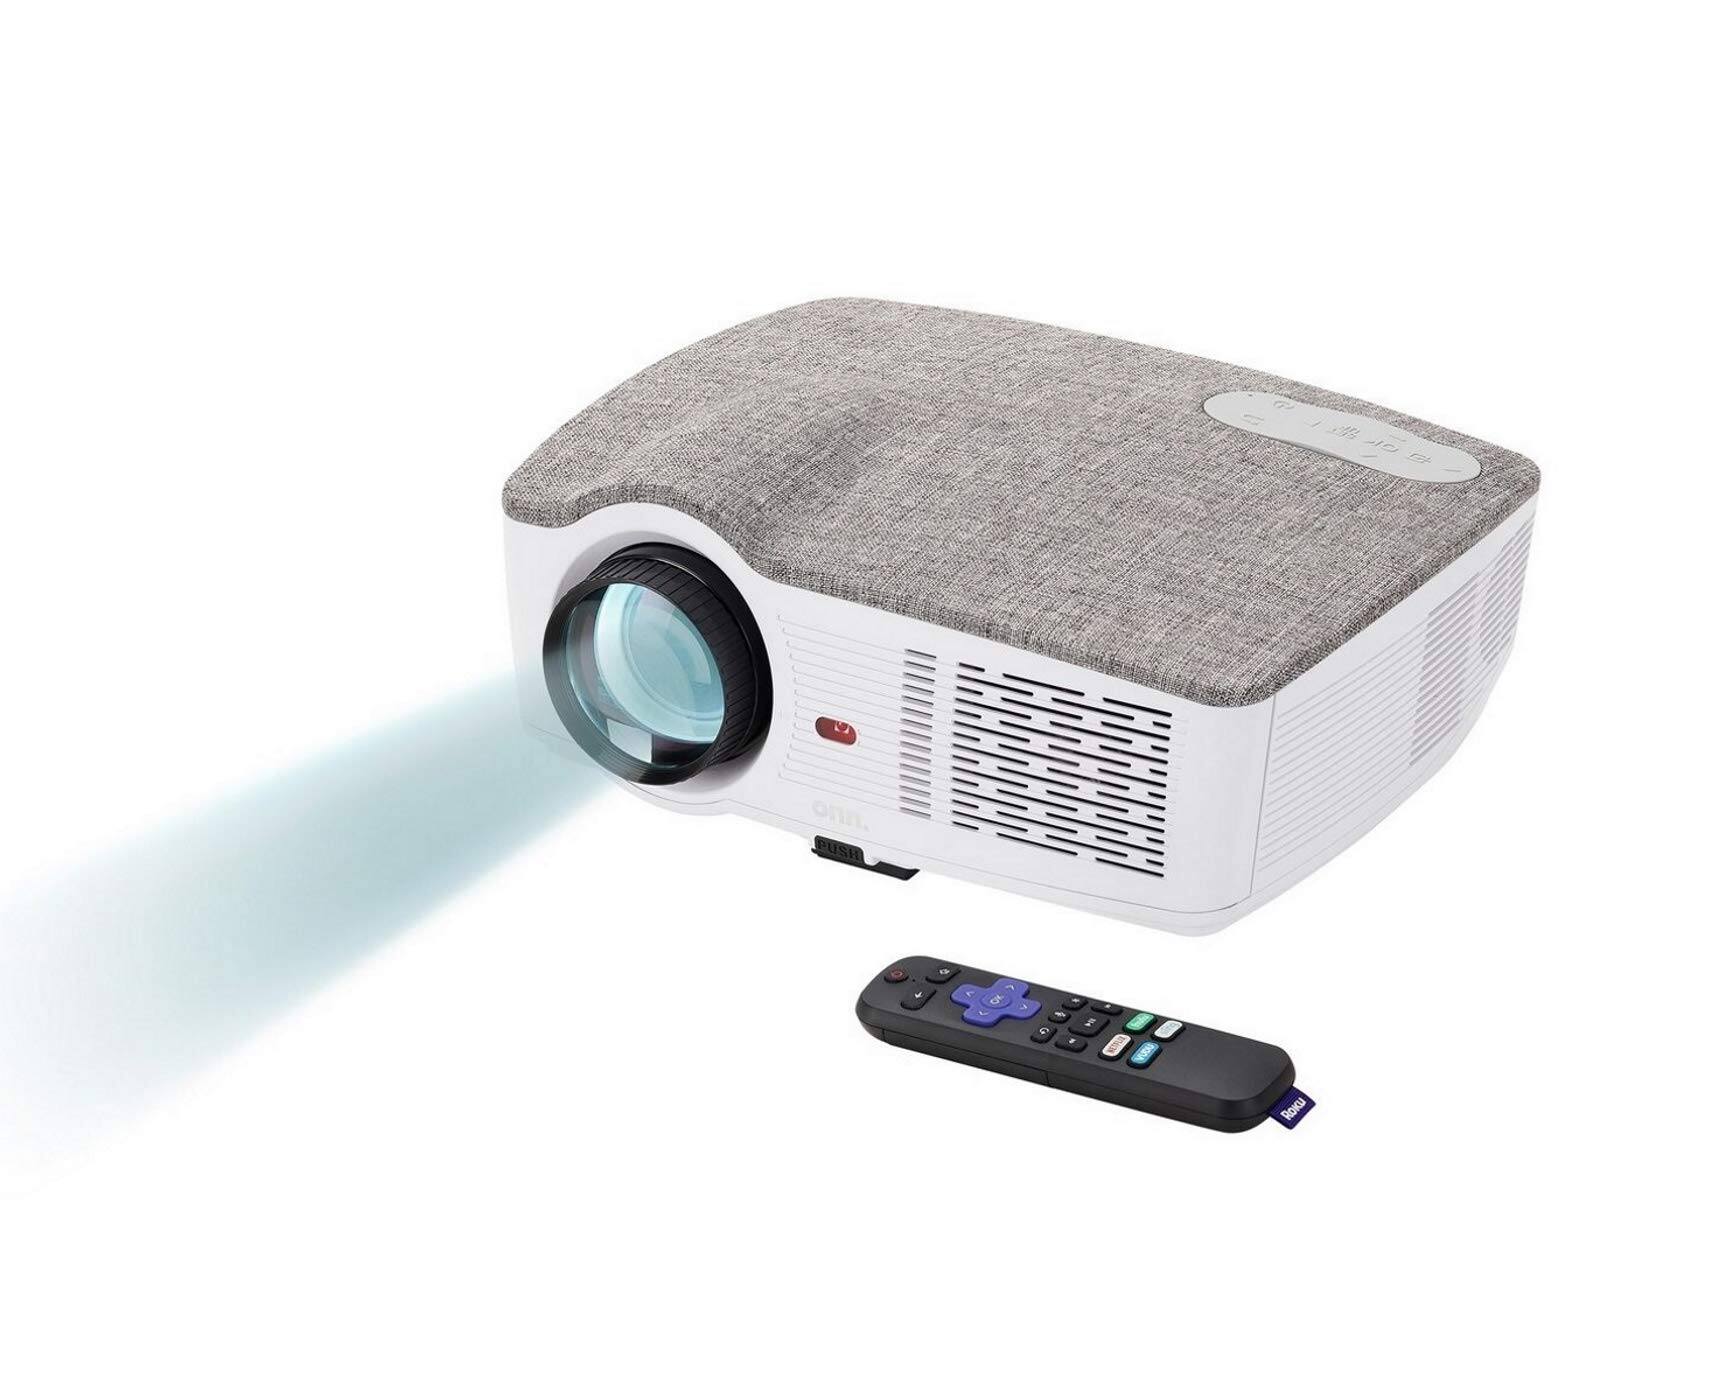
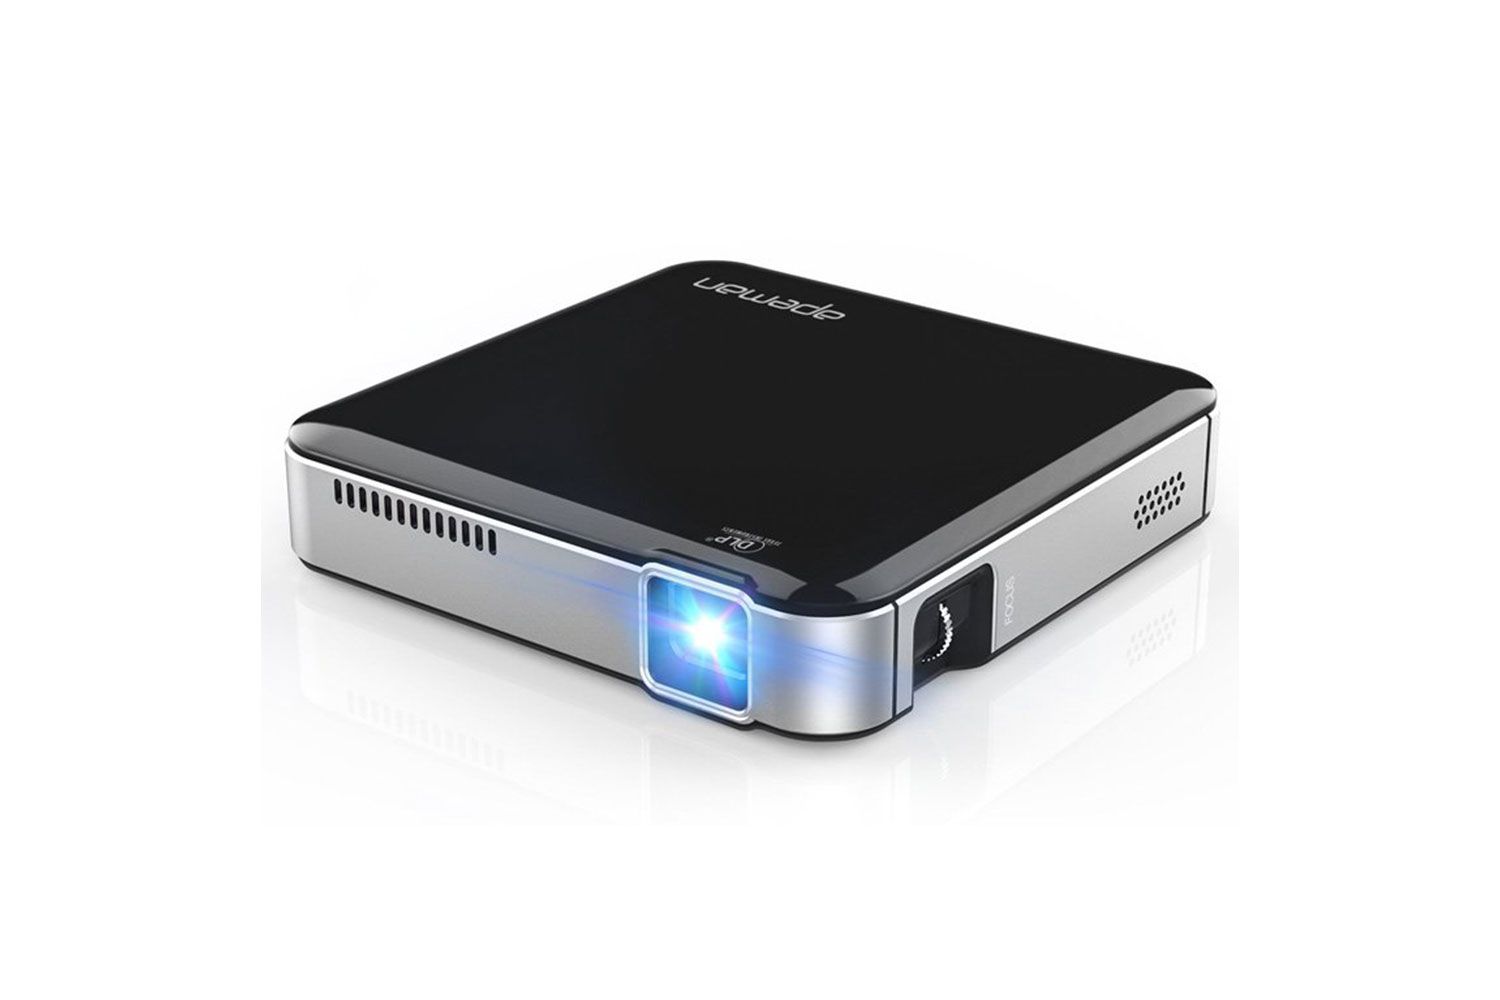
Before we dive into the process, it’s important to note that not all projectors support streaming directly. In most cases, you will need a streaming device, such as a streaming stick or a media player, to connect to your projector. These devices act as intermediaries between your streaming service and the projector, enabling you to access and stream content seamlessly.
Now that you understand the basics, let’s move on to the step-by-step guide on how to stream to a projector. We will cover everything from gathering the necessary equipment to troubleshooting common issues that may arise along the way. By the end of this article, you will be equipped with the knowledge and confidence to enjoy your favorite content on the big screen.
Step 1: Gathering the necessary equipment
Before you can start streaming to your projector, it’s important to have the right equipment in place. Here’s what you’ll need:
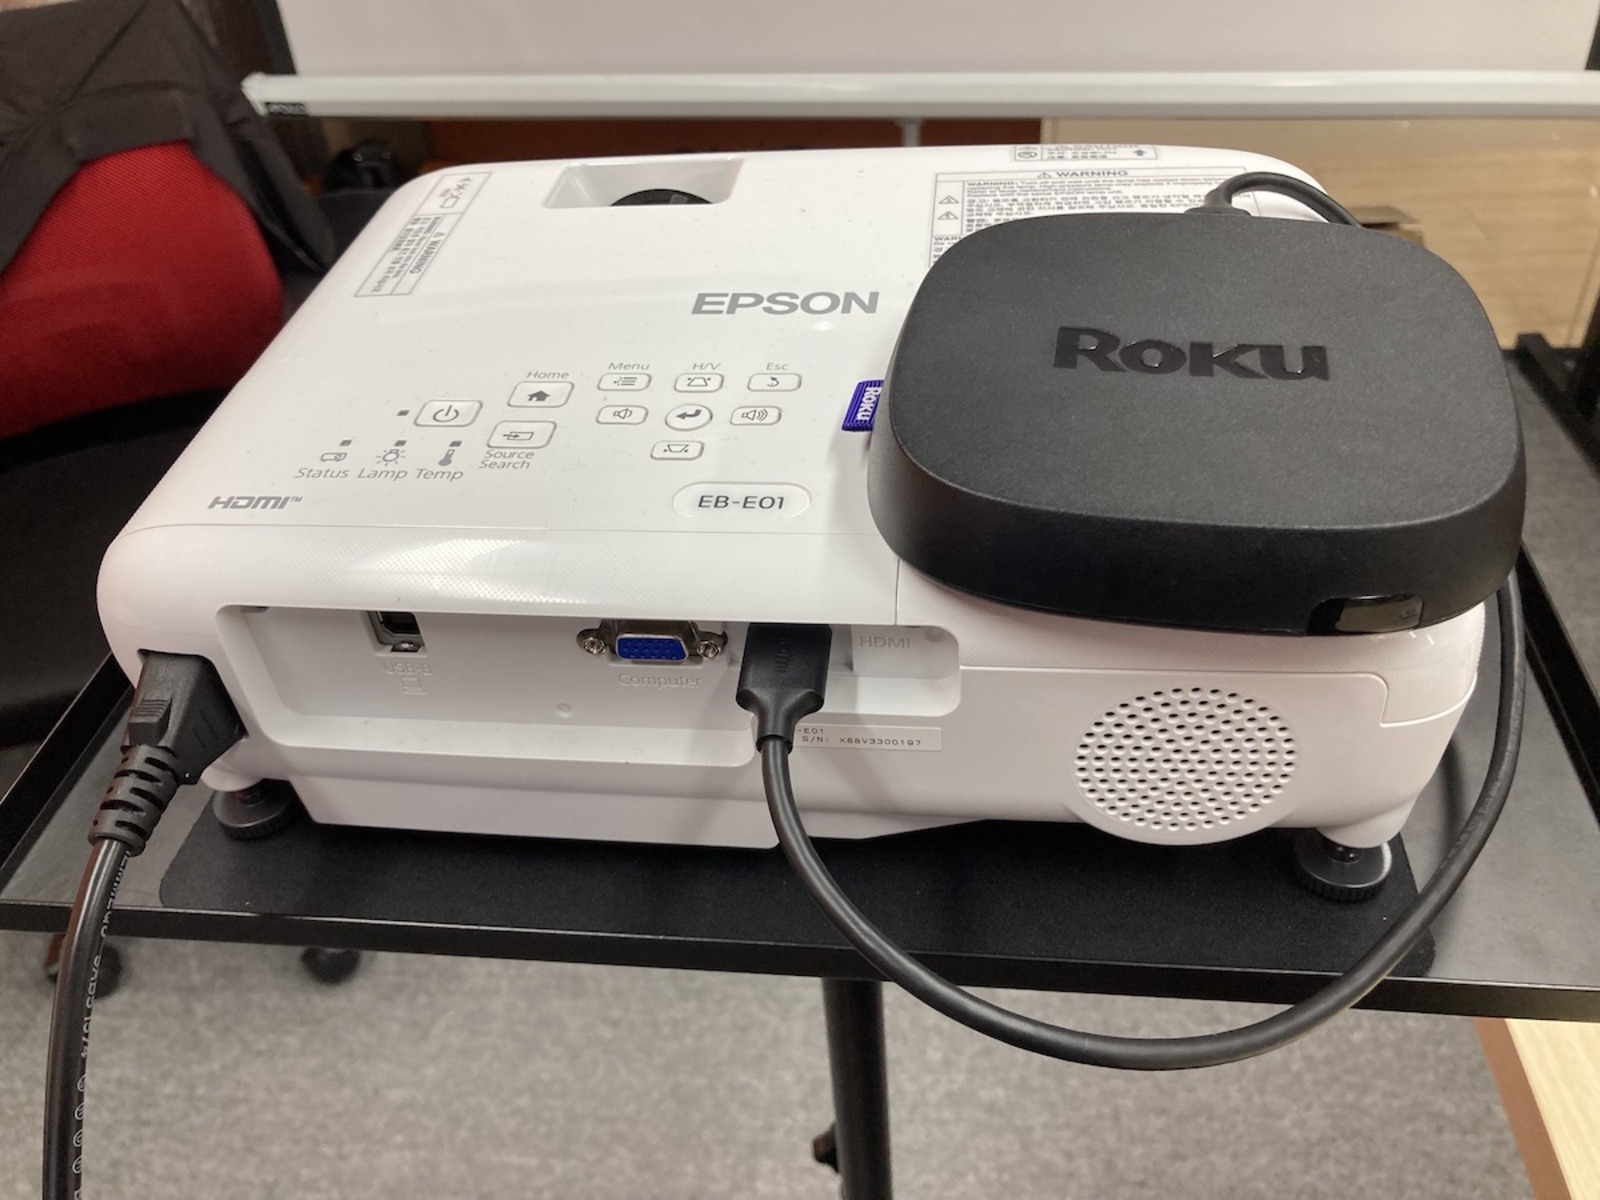
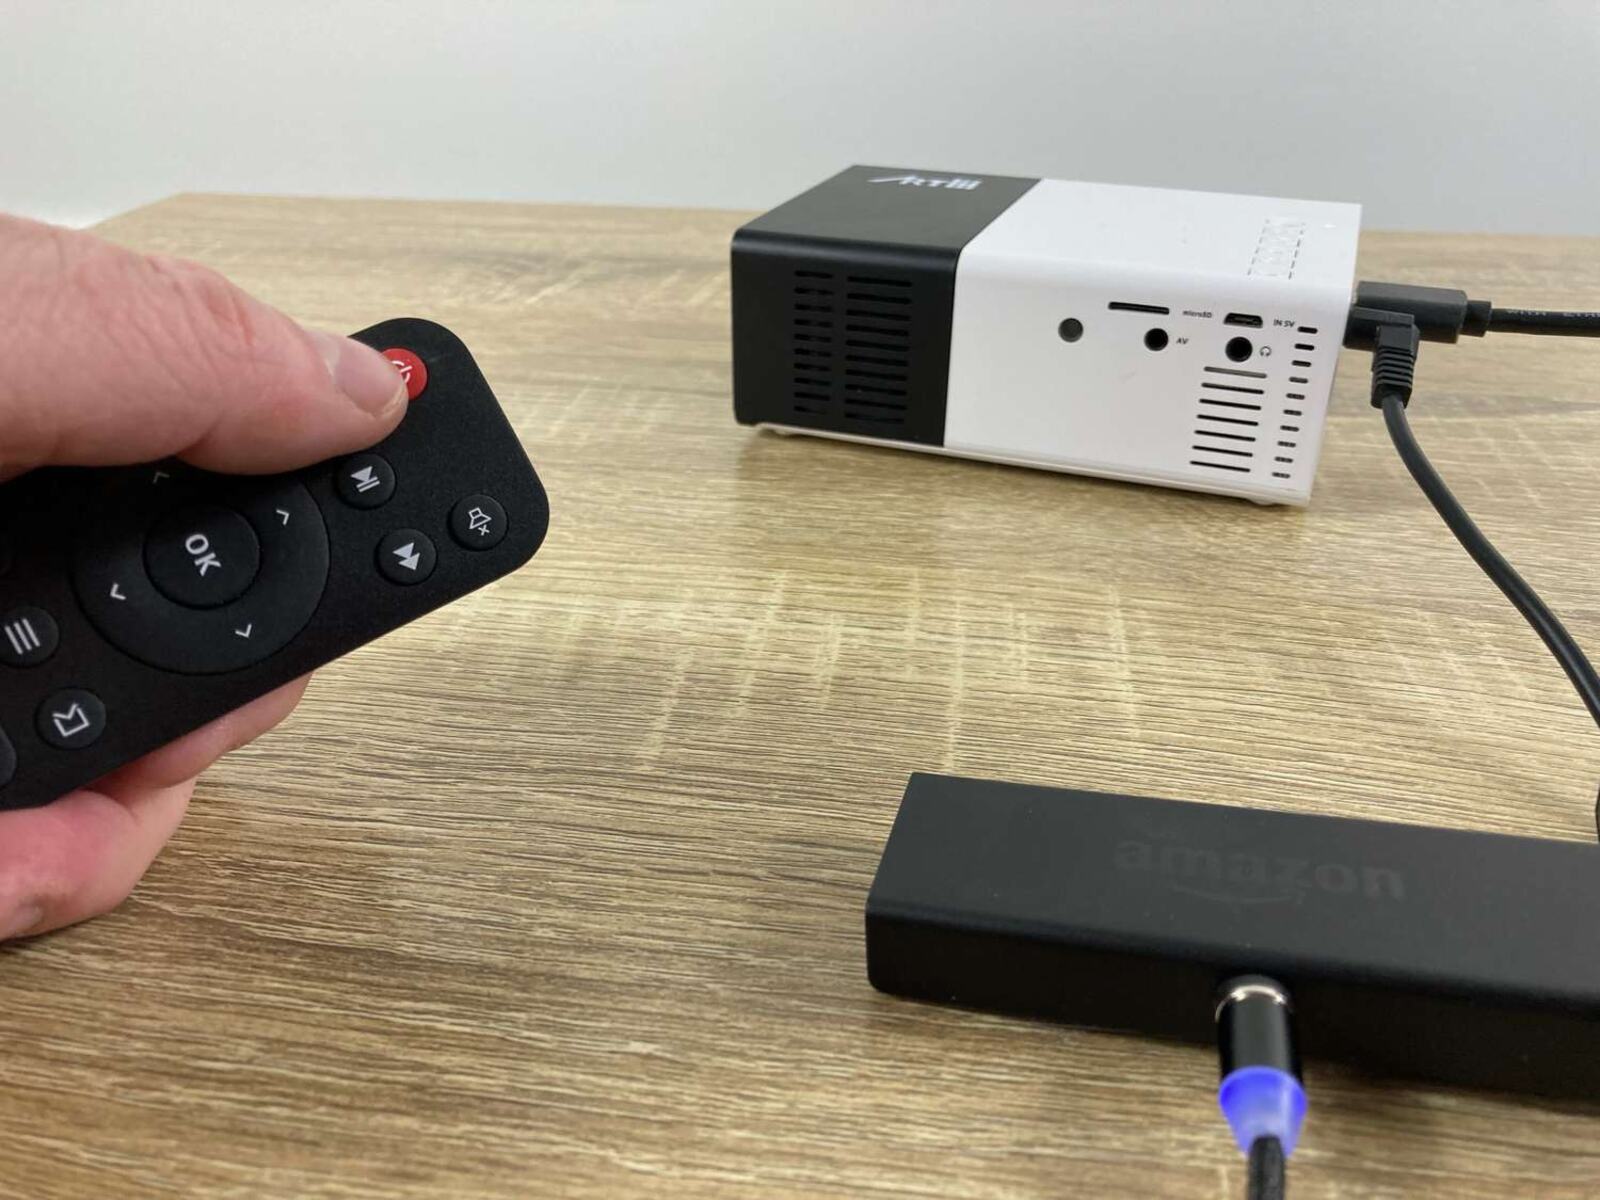
- A streaming device: As mentioned earlier, most projectors don’t have built-in streaming capabilities, so you’ll need a separate streaming device. Popular options include streaming sticks like the Amazon Fire Stick or Google Chromecast, or media players like the Roku or Apple TV. Choose a device that is compatible with your projector and offers the streaming apps and services you prefer.
- An HDMI cable: Since most streaming devices rely on HDMI connections, you’ll need an HDMI cable to connect the device to the projector. Make sure to choose a high-quality cable that supports the resolution and audio capabilities of both the streaming device and the projector.
- A Wi-Fi network: Streaming content to your projector requires an internet connection. Ensure that you have a stable Wi-Fi network available in the location where you’ll be using the projector. If your Wi-Fi signal is weak, consider using a Wi-Fi extender or Ethernet adapter for a more reliable connection.
- A projector screen or a blank wall: While not a mandatory requirement, having a dedicated projector screen or a blank wall to project your content onto can greatly enhance the viewing experience. The screen should be clean and free from any wrinkles or imperfections to ensure a crisp and clear image.
- An audio setup: While projectors typically have built-in speakers, they may not offer the best audio quality. Consider connecting external speakers or a soundbar to enhance the audio experience. Ensure that your streaming device and projector have compatible audio output options, such as HDMI ARC or optical audio.
Now that you have all the necessary equipment, you’re ready to move on to the next step: connecting the streaming device to the projector. This step will vary slightly depending on the type of streaming device and projector you have, but don’t worry, we’ll guide you through the process in the next section.
Step 2: Connecting the streaming device to the projector
Now that you have gathered all the necessary equipment, it’s time to connect your streaming device to the projector. Follow these steps to get everything set up:
- Locate the HDMI ports: Begin by identifying the HDMI ports on both your streaming device and the projector. Typically, projectors have at least one HDMI input, while streaming devices have an HDMI output.
- Connect the HDMI cable: Take one end of the HDMI cable and plug it into the HDMI output port of your streaming device. Then, connect the other end of the cable to the HDMI input port on your projector.
- Select the input source: Use the projector’s remote control or on-screen menu to select the appropriate HDMI input source that you connected the streaming device to. This may be labeled as “HDMI 1,” “HDMI 2,” or something similar.
- Power on the devices: Turn on both the streaming device and the projector. Give them a few moments to establish a connection and synchronize.
- Configure the display settings: Depending on your streaming device and projector, you may need to adjust the display settings. This can include selecting the correct screen resolution, adjusting aspect ratios, or enabling screen mirroring. Consult the user manuals or on-screen menus of the respective devices for guidance on how to make these adjustments.
- Test the connection: Play a sample video or open a streaming app on your device to ensure that the content is being displayed on the projector. If everything is working correctly, you should see the content on the big screen.
It’s important to note that the specific steps may vary depending on the make and model of your streaming device and projector. If you encounter any issues or have questions about the setup process, refer to the user manuals or online support resources provided by the manufacturers.
Now that the streaming device is successfully connected to the projector, it’s time to move on to the next step: configuring the streaming device settings. This will ensure that you have the best audio and video quality, as well as access to your favorite streaming apps and services. Keep reading to learn more!
Step 3: Configuring the streaming device settings
After connecting the streaming device to the projector, it’s important to configure the settings to optimize your streaming experience. Here’s what you need to do:
- Connect to Wi-Fi: Access the settings menu on your streaming device and connect it to your Wi-Fi network. Follow the prompts to enter your network’s SSID and password. A stable internet connection is essential for streaming content.
- Update the firmware: Check for any firmware updates available for your streaming device and install them if necessary. These updates often include performance improvements and bug fixes, ensuring a smoother streaming experience.
- Set up streaming apps: Depending on your streaming device, you may need to sign in or create accounts for streaming apps such as Netflix, Amazon Prime Video, Hulu, or Disney+. Follow the on-screen instructions to set up these apps and log in to your accounts.
- Adjust video settings: Navigate to the video settings menu on your streaming device and adjust the display resolution, video output format, and color settings to match the capabilities of your projector. This ensures the best possible video quality on the big screen.
- Configure audio output: If you have connected external speakers or a soundbar, access the audio settings on your streaming device and select the appropriate audio output option. This could be HDMI ARC, optical audio, or Bluetooth, depending on your setup.
- Enable subtitles and closed captioning: If you prefer watching content with subtitles or closed captioning, make sure to enable this feature in the streaming device’s settings. You can usually customize the font size, color, and language preferences to suit your needs.
- Customize app preferences: Many streaming apps offer customization options, such as autoplay settings, parental controls, and personalized recommendations. Take some time to explore the settings within each app and adjust them to your preferences.
By configuring these settings, you can ensure that you have the best audio and video quality, as well as a personalized streaming experience. Take advantage of the options available to you and tailor the settings to suit your preferences.
With the streaming device settings properly configured, you’re now ready to enjoy your favorite content on the big screen. However, it’s important to be aware of common issues that may arise during the streaming process. In the next step, we will discuss some troubleshooting tips that can help you overcome these challenges. Keep reading to find out more!
Step 4: Troubleshooting common issues
While streaming to a projector can be a wonderful experience, it’s not uncommon to encounter some common issues along the way. Here are a few troubleshooting tips to help you overcome these challenges:
- No signal or distorted image: If you’re not getting a signal or the image appears distorted on the projector, check the HDMI cable connection. Make sure it is securely plugged into both the streaming device and the projector. Try using a different HDMI cable or a different HDMI input on the projector if available.
- Poor internet connection: If you’re experiencing buffering or low-quality streaming, it may be due to a poor internet connection. Check the Wi-Fi signal strength and move closer to the router if needed. You can also try restarting both the streaming device and the router to reset the connection.
- No audio or audio syncing issues: If you’re not getting any sound or experiencing audio syncing issues, ensure that the audio settings on both the streaming device and the projector are correctly configured. Also, check the connections between the streaming device, projector, and external speakers, if used.
- Streaming app issues: If a specific streaming app is not working properly, try closing and reopening the app or reinstalling it if necessary. It’s also a good idea to check for any available app updates. If the problem persists, reach out to the app’s support team for further assistance.
- Device overheating: Extended use of a streaming device can sometimes cause it to overheat. If you notice your device getting too hot, turn it off and let it cool down before using it again. Ensure that the device has proper ventilation and is not obstructed by other objects.
If you continue to experience issues despite troubleshooting, consult the user manuals or online support resources provided by the manufacturers of your streaming device and projector. They may have specific solutions or suggestions tailored to your setup.
Remember, troubleshooting is a part of the streaming experience, and with a little patience and persistence, you can overcome these challenges and enjoy a seamless streaming experience on your projector.
Now that you have learned how to troubleshoot common issues, it’s time to wrap up our guide. Let’s summarize what we have covered so far in the next section.
Conclusion
Congratulations! You have successfully learned how to stream to a projector. By gathering the necessary equipment, connecting the streaming device to the projector, configuring the streaming device settings, and troubleshooting common issues, you are now ready to enjoy your favorite content on the big screen.
Streaming to a projector opens up a world of possibilities for movie nights, gaming sessions, presentations, and more. With the right streaming device, HDMI cable, Wi-Fi network, and audio setup, you can create a cinematic experience right in your own home.
Remember to follow the step-by-step instructions provided in this guide, but also feel free to consult the user manuals and online support resources specific to your streaming device and projector. Every setup is different, so it’s important to familiarize yourself with the capabilities and settings of your particular devices.
Should you encounter any issues along the way, don’t panic. Troubleshooting common problems, such as signal loss, internet connection issues, audio syncing problems, and streaming app glitches, can often be resolved with a few simple steps. By following the troubleshooting tips outlined in this guide, you will be well-equipped to overcome these challenges.
Now that you have the knowledge and resources to stream to a projector, it’s time to sit back, relax, and enjoy the immersive experience that a larger screen offers. Whether it’s binge-watching your favorite TV series, hosting a movie night with friends, or delivering a captivating presentation, streaming to a projector will elevate your entertainment and visual experience to new heights.
So, gather your equipment, connect your streaming device, configure the settings, troubleshoot any issues, and embark on an exciting journey of streaming content on the big screen. Happy streaming!


