Introduction
Welcome to the wonderful world of Disney Plus, the popular streaming service that brings the magic of Disney, Pixar, Marvel, Star Wars, and more right to your fingertips. With a vast library of movies and TV shows, Disney Plus has quickly become a favorite among entertainment enthusiasts of all ages.
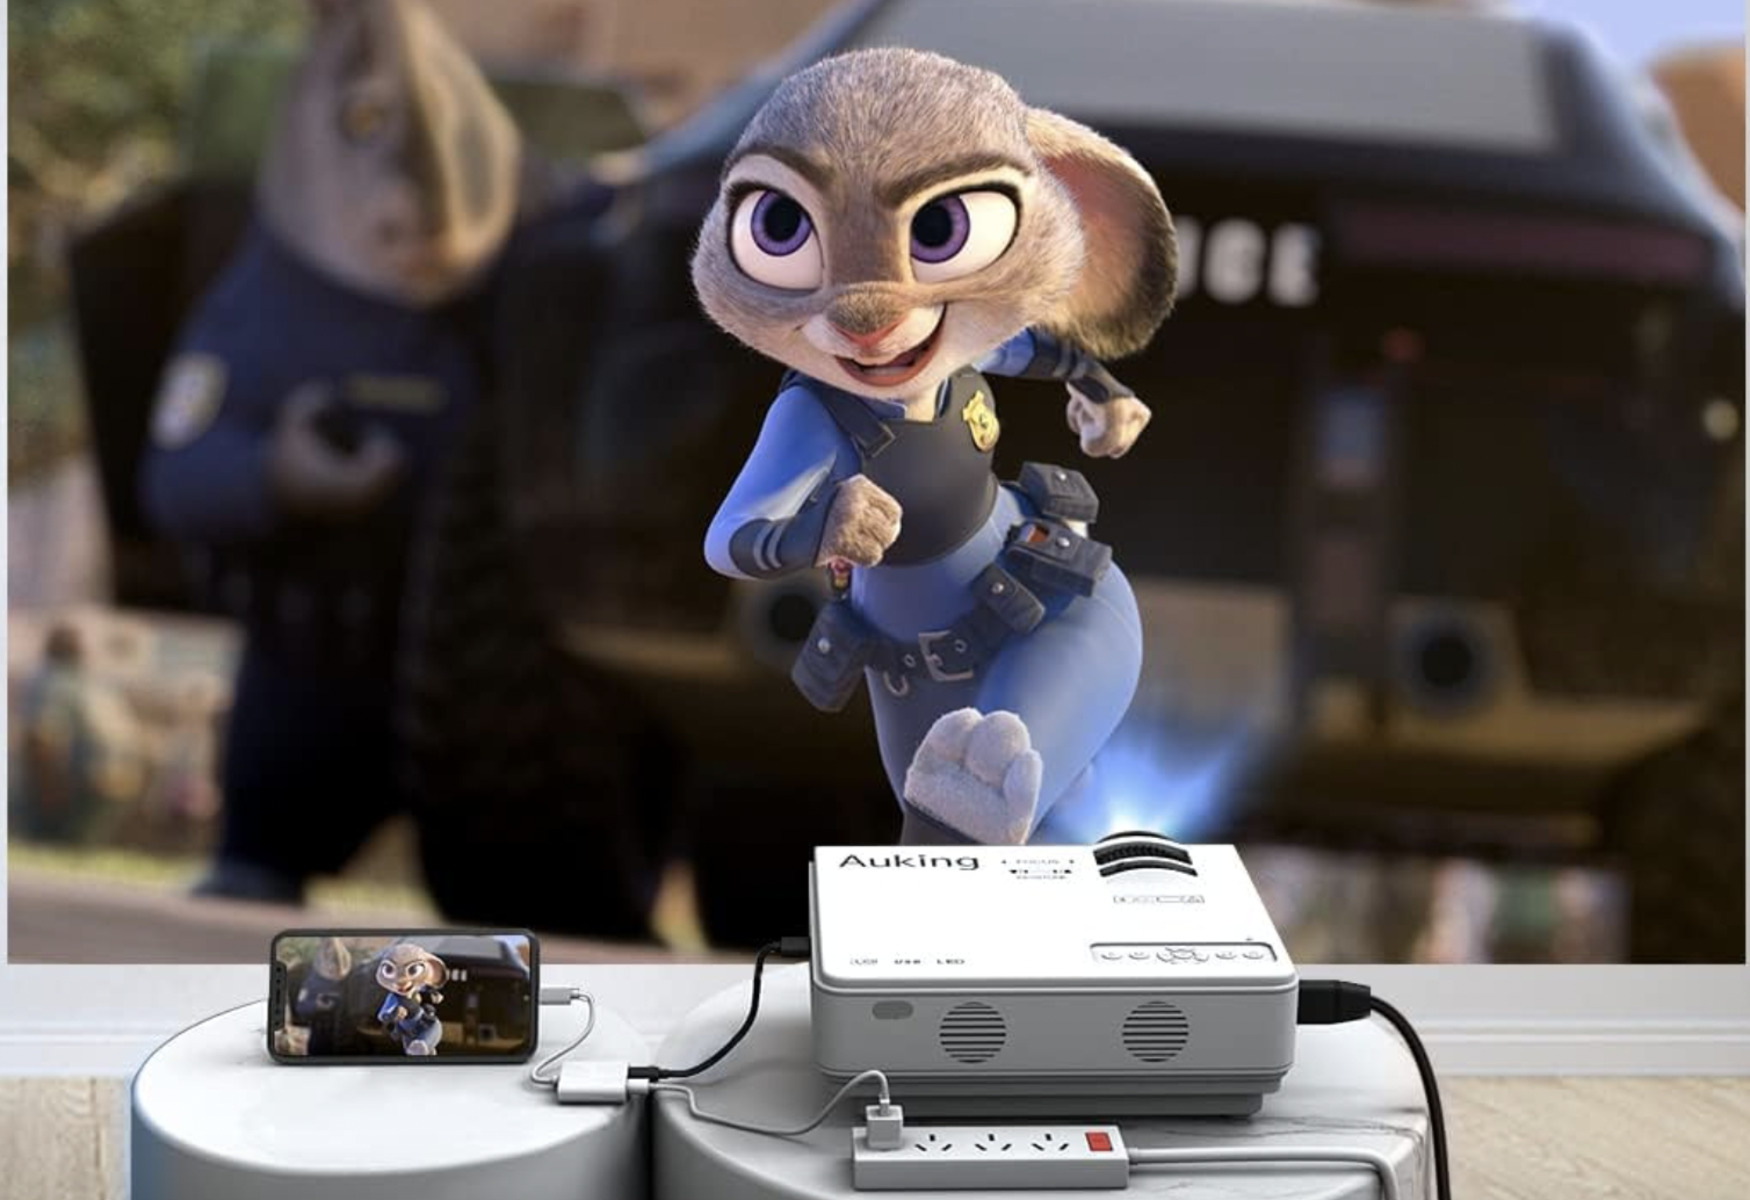
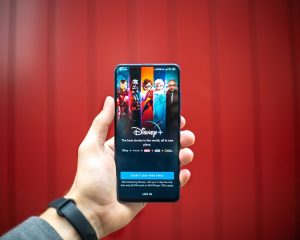
While streaming Disney Plus on smartphones and tablets provides a convenient and portable experience, there’s nothing quite like enjoying your favorite content on a larger screen. That’s where projectors come in. By projecting Disney Plus onto a dedicated screen or surface, you can transform your living room into a mini home theater and enjoy a cinematic experience from the comfort of your couch.
In this guide, we’ll explore how to project Disney Plus on a projector, from selecting the right projector to connecting it to your favorite streaming service. Whether you’re hosting a movie night with friends, enjoying a family viewing session, or simply seeking an immersive watching experience, you’ll find all the information you need to make the most of Disney Plus on a projector.
So, get ready to bring the magic of Disney to life on a bigger screen. Let’s dive into the world of projectors and discover how to elevate your Disney Plus experience.
What is Disney Plus?
Disney Plus, also known as Disney+, is a subscription-based streaming service launched by The Walt Disney Company in November 2019. With an extensive collection of content from Disney, Pixar, Marvel, Star Wars, and National Geographic, Disney Plus offers a diverse range of movies, TV shows, documentaries, and original series.
Disney Plus provides a one-stop destination for fans of all ages who crave the magical storytelling and iconic characters that Disney is known for. Subscribers can access beloved classics like “The Lion King” and “Cinderella,” as well as modern favorites such as the Marvel Cinematic Universe films and the “Star Wars” franchise.
The platform not only offers a vast library of existing content, but also releases new exclusive movies and series, making it a hub for unique and exciting Disney experiences. With original content like “The Mandalorian,” “WandaVision,” and “Hamilton,” Disney Plus continues to captivate audiences worldwide.
What sets Disney Plus apart is its emphasis on family-friendly entertainment. Parents can trust that the content on Disney Plus is suitable for children of all ages, providing a safe and enjoyable streaming experience. The platform also offers parental controls, allowing parents to set viewing restrictions and monitor their children’s content consumption.
In addition, Disney Plus offers a user-friendly interface that makes it easy to navigate and explore the vast catalog of content. Whether you’re searching for a specific movie, browsing by genre, or discovering recommendations based on your viewing history, Disney Plus provides a seamless and intuitive user experience.
Disney Plus is available on various devices, including smartphones, tablets, gaming consoles, smart TVs, and streaming devices. Subscribers can enjoy their favorite Disney content anytime, anywhere, with the ability to stream on multiple devices simultaneously.
Overall, Disney Plus is a streaming service that combines the nostalgia of beloved classics with the excitement of new and exclusive content, all in a family-friendly environment. It’s the perfect choice for Disney enthusiasts, film lovers, and anyone seeking high-quality entertainment for all ages.
Why project Disney Plus on a projector?
While streaming Disney Plus on a small screen like a smartphone or tablet is convenient, projecting it on a larger surface using a projector offers a whole new level of immersion and enjoyment. Here are a few reasons why you should consider projecting Disney Plus:
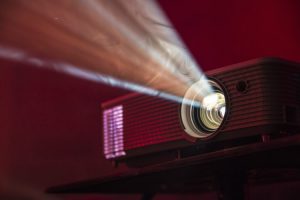
Cinematic Experience: Projecting Disney Plus on a projector screen allows you to recreate the experience of a movie theater in the comfort of your own home. The larger screen size and enhanced image quality provide a more immersive and cinematic viewing experience, making your favorite Disney movies come to life.
Shared Viewing: Sharing the Disney Plus experience with family and friends is even more fun when you can all gather around a big screen. Whether it’s a weekend movie night, a birthday celebration, or a simple get-together, projecting Disney Plus on a projector allows everyone to enjoy the content together, creating lasting memories.
Enhanced Visuals: Projectors offer superior image quality, with high resolutions and vibrant colors that make Disney’s magical animations and stunning visuals truly shine. You’ll be able to appreciate every detail and vibrant hue, bringing the Disney magic to life in a way that small screens simply can’t replicate.
Screen Size Options: Projectors provide flexibility in screen size, allowing you to choose the ideal dimensions for your viewing space. Whether you have a dedicated home theater or a multipurpose living room, projectors offer customizable screen sizes, ranging from 60 inches to well over 100 inches, giving you the freedom to create your own magical Disney viewing experience.
Outdoor Entertainment: Projecting Disney Plus on a projector opens up the opportunity for outdoor entertainment. Imagine watching your favorite Disney movie under the stars, with a cozy blanket and a bucket of popcorn. Whether it’s a backyard movie night or a camping trip, projecting Disney Plus outdoors creates a memorable and unique experience.
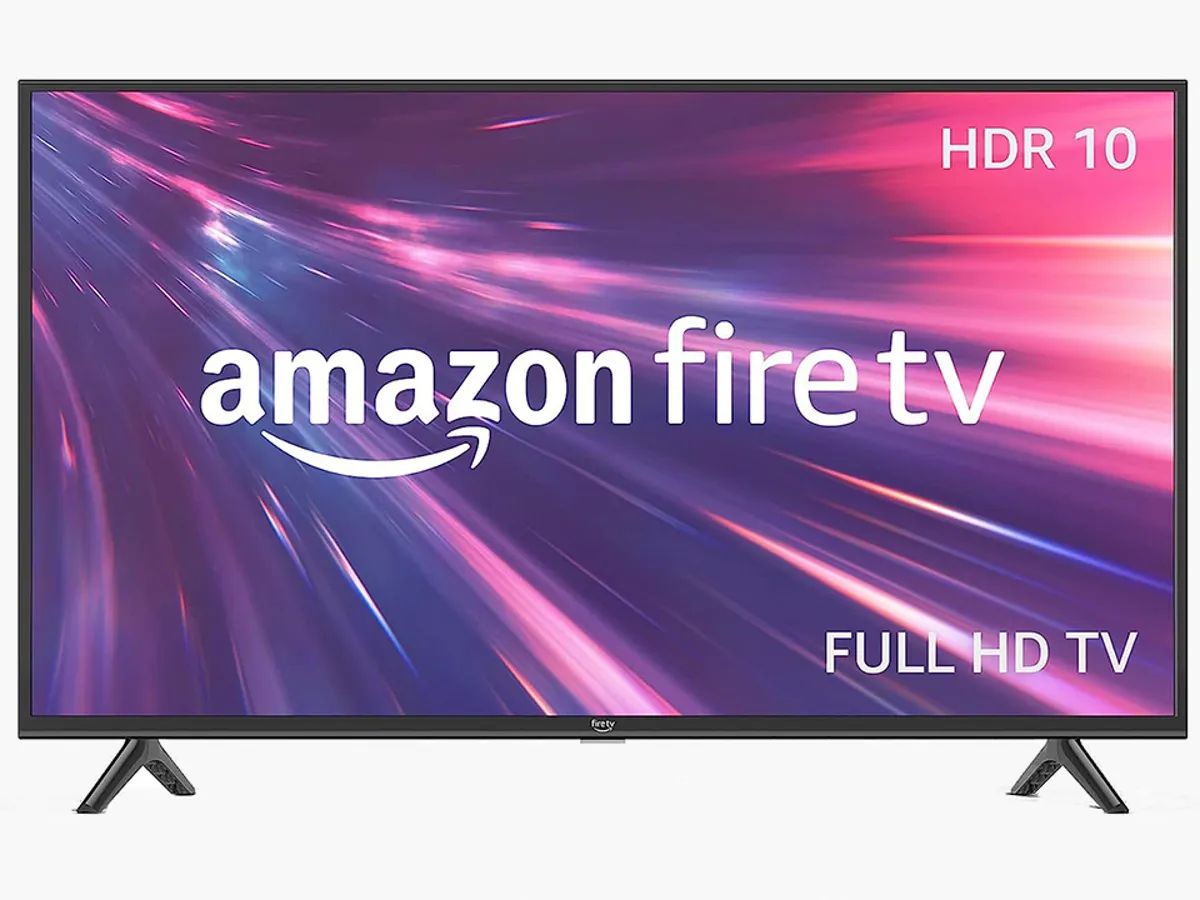
Smart Device Compatibility: Most modern projectors are equipped with HDMI inputs and are compatible with popular streaming devices like Chromecast, Fire TV Stick, or Apple TV. This means you can easily connect your smartphone, tablet, or streaming device to the projector and stream Disney Plus seamlessly.
By projecting Disney Plus on a projector, you can take your streaming experience to new heights and fully immerse yourself in the magical world of Disney.
Choosing the right projector for Disney Plus
When it comes to choosing the right projector for streaming Disney Plus, there are a few key factors to consider. Understanding these factors will help ensure that you select a projector that meets your specific needs and provides the best possible viewing experience. Here are some important things to keep in mind:
Resolution: One of the most critical factors is the projector’s resolution. Disney Plus offers content in various resolutions, including standard definition (SD), high definition (HD), and even 4K Ultra HD. To fully appreciate the visual quality that Disney Plus offers, it is advisable to choose a projector with at least 1080p HD resolution or higher. This will ensure clear, crisp images that bring the Disney magic to life.
Brightness: The projector’s brightness, measured in lumens, is crucial for creating a vibrant and dynamic viewing experience. If you plan to use the projector in a dimly lit or dark room, a projector with a lower brightness rating (around 1500-2000 lumens) should suffice. However, if you anticipate using the projector in a well-lit space or outdoors, consider a higher brightness rating (2000 lumens or more) to maintain image clarity and visibility.
Contrast Ratio: The contrast ratio is another essential specification to consider. A higher contrast ratio ensures more significant differentiation between light and dark areas, resulting in a more visually striking image. Look for projectors with a contrast ratio of 3000:1 or higher to fully appreciate the details and depth in Disney Plus content.
Connectivity Options: Ensure that the projector you choose has the necessary connectivity options to connect to your streaming devices. Most projectors have HDMI ports, but it’s also beneficial to have additional ports like USB or VGA for added versatility. Additionally, consider if the projector supports wireless connectivity, as this can provide more convenience and flexibility when streaming Disney Plus.
Throw Distance and Screen Size: Determine the available space in your room and consider the throw distance of the projector, which is the distance between the projector and the screen. This will help you choose a projector that can accommodate the desired screen size in your space. Consider the zoom and lens shift capabilities of the projector if you require more flexibility in adjusting the image size and placement.
Brand and Customer Reviews: It’s always a good idea to research and read customer reviews about different projector brands and models. Look for reputable brands with positive reviews, as this can give you an indication of the projector’s performance, reliability, and customer satisfaction.
By considering these factors, you can find the right projector that fits your budget and requirements, allowing you to create a magical Disney Plus viewing experience.
Setting up the projector for Disney Plus
Once you have chosen the perfect projector for streaming Disney Plus, it’s time to set it up for optimal viewing. Here is a step-by-step guide on how to set up your projector:
1. Choose the projector location: Select a suitable location for your projector, considering factors such as screen size, throw distance, and room lighting. Make sure there is enough space for the projector, and position it on a stable surface or mount it securely to the ceiling.
2. Connect the projector to a power source: Plug the power cord of the projector into a power outlet. Ensure that the power source is easily accessible and can support the power requirements of the projector.
3. Connect the video source: Connect the video source, such as a streaming device or laptop, to the projector using an HDMI or VGA cable. Ensure that the cable is securely plugged into both the video source and the projector.
4. Adjust the projector settings: Use the projector’s on-screen menu to access the settings and configure them according to your preferences. Adjust settings such as brightness, contrast, aspect ratio, and color temperature to optimize the image quality for Disney Plus content.
5. Focus and image adjustments: Use the focus ring on the projector lens to adjust the sharpness of the projected image. Depending on the projector model, you may also have options to adjust keystone correction and lens shift to correct any distortion and align the image properly.
6. Set up the screen: If you’re using a dedicated projection screen, set it up in the desired location and ensure it is properly tensioned and positioned. If you’re projecting onto a blank wall, make sure the surface is clean, smooth, and free from any imperfections that could affect the image quality.
7. Test the projection: Turn on the projector and ensure that it is projecting the content from your video source properly onto the screen. Make any necessary adjustments to achieve the desired screen size, sharpness, and alignment.
8. Audio setup: Connect external speakers or use the projector’s built-in speakers for audio output. Ensure that the audio is synced properly with the projected image for an immersive viewing experience.
9. Test Disney Plus: Launch the Disney Plus app on your streaming device and start playing your favorite movie or TV show. Check for any issues with streaming, audio, or image quality. Make further adjustments to the projector settings if necessary.
By following these steps, you can properly set up your projector for streaming Disney Plus and create a captivating viewing experience that will immerse you in the magical world of Disney.
Connecting Disney Plus to the projector
Now that your projector is set up, it’s time to connect Disney Plus and start enjoying your favorite movies and shows. Here are the steps to connect Disney Plus to your projector:
1. Connect the streaming device: If you’re using a streaming device like a Chromecast, Fire TV Stick, or Apple TV, connect it to the projector using an HDMI cable. Plug one end of the HDMI cable into the streaming device and the other end into an available HDMI port on the projector.
2. Power on the streaming device: Turn on the streaming device and ensure that it is properly connected to the projector. Make sure the projector is set to the correct input source to display the content from the streaming device.
3. Set up the streaming device: Follow the on-screen instructions on the streaming device to set it up, including connecting to your Wi-Fi network and signing in with your Disney Plus account credentials.
4. Open the Disney Plus app: Once the streaming device is set up, navigate to the app store on the device and download the Disney Plus app. Launch the app and wait for it to load.
5. Sign in to Disney Plus: Enter your Disney Plus account credentials (username and password) to sign in to your account. If you don’t have a Disney Plus account yet, you can sign up for one through the app.
6. Select a movie or show: Browse or search for the movie or show you want to watch on Disney Plus. Once you’ve found it, select it to start playing the content on your projector.
7. Adjust the audio: Ensure that the audio from the streaming device is properly routed to the projector’s speakers or external speakers, if connected. Adjust the volume settings on both the streaming device and the projector to achieve the desired audio level.
8. Enjoy Disney Plus: Sit back, relax, and enjoy the magic of Disney Plus on the big screen. Use the projector’s remote control to control playback, adjust settings, and pause or rewind the content as desired.
Remember to keep your streaming device and the Disney Plus app updated to access the latest features and content offerings. With Disney Plus connected to your projector, you can immerse yourself in a captivating cinematic experience that brings your favorite Disney movies and shows to life.
Adjusting display settings for optimal viewing
Once you’ve connected Disney Plus to your projector, it’s important to adjust the display settings to ensure the best possible viewing experience. Here are some tips for optimizing the display settings:
Brightness: Adjust the brightness setting on the projector to achieve a balanced level of brightness that works well with the ambient lighting in your viewing area. If the room is dark, increasing the brightness can help enhance image clarity. In a well-lit room, decreasing the brightness can prevent the image from appearing washed out.
Contrast: The contrast setting controls the difference between the darkest and brightest parts of the image. Increase the contrast to enhance the depth and richness of colors, making the Disney Plus content more visually appealing. However, be careful not to set the contrast too high, as it can result in loss of detail in bright or dark areas.
Color temperature: This setting adjusts the warmth or coolness of the image. Opt for a color temperature that suits your preference and makes the Disney Plus content look natural and pleasing to the eye. Some projectors may offer presets like “Warm,” “Neutral,” or “Cool,” but manual adjustments may also be available for more precise control.
Aspect ratio: The aspect ratio determines the width and height proportion of the projected image. Select the appropriate aspect ratio that matches the content you are watching on Disney Plus. For most movies and TV shows, the standard aspect ratio is 16:9, but some Disney classics may have a different aspect ratio, requiring adjustment to avoid image distortion.
Sharpness: Adjust the sharpness setting to ensure that the edges and details of the image are well defined. Increase the sharpness slightly to enhance the clarity of the Disney Plus content, but be cautious not to over-sharpen, as it may create unnatural-looking artifacts.
Color calibration: Some projectors offer color calibration settings that allow you to fine-tune the color accuracy. Explore the projector’s advanced settings, such as color temperature, color saturation, and individual color controls, to achieve the most accurate and vibrant colors for Disney Plus content.
Gamma: Adjusting the gamma setting can improve the overall brightness and contrast of the image. Experiment with different gamma settings to find the one that provides the best balance between bright and dark areas, enhancing the overall visual experience of Disney Plus.
Zoom and positioning: If your projector offers zoom and lens shift features, use them to adjust the image size and position to fit your screen or viewing area. This ensures that the Disney Plus content is displayed within the desired boundaries and provides an immersive viewing experience.
Test and tweak: Once you’ve adjusted the display settings, take the time to test different scenes and content on Disney Plus to ensure that the changes you made have the desired effect. Fine-tune the settings further if necessary to achieve the optimal visual quality for your projector and viewing environment.
By adjusting the display settings on your projector, you can optimize the viewing experience and fully enjoy the magical world of Disney on the big screen.
Enhancing the Disney Plus experience on a projector
While projecting Disney Plus on a projector offers a captivating viewing experience in itself, there are additional ways to enhance the magic and make the most out of your Disney Plus sessions. Here are some tips to enhance your Disney Plus experience on a projector:
Create a cozy viewing area: Set up a comfortable seating area with plush cushions, blankets, and dim lighting to create a cozy and immersive atmosphere. Consider adding some Disney-themed decorations or props to truly embrace the magical ambiance.
Optimize your audio setup: Invest in a quality sound system or connect external speakers to your projector for a more immersive audio experience. Enhanced sound quality can bring out the emotions and nuances in the Disney Plus content, making the viewing experience even more impactful.
Utilize surround sound: If you have a surround sound system, take advantage of the full audio capabilities by setting up speakers strategically around the viewing area. This creates a more enveloping soundstage, making you feel like you’re part of the Disney adventure.
Adjust ambient lighting: Create a cinematic atmosphere by dimming the lights in the room. Avoid bright, distracting lights that can wash out the projected image. Consider using ambient lighting options, such as LED strip lights or a soft lamp, to enhance the mood and immerse yourself further into the Disney Plus experience.
Set up a snack bar: Create a DIY snack bar with a variety of Disney-inspired treats, like popcorn, cotton candy, or themed snacks. This adds to the festive spirit and makes the viewing experience feel like a special event.
Host themed movie nights: Take your Disney Plus projector sessions to the next level by hosting themed movie nights. Choose a specific theme, like a princess marathon, Marvel marathon, or a Star Wars marathon, and decorate the viewing area accordingly. Encourage guests to dress up and provide themed activities and games during intermissions.
Make it an outdoor event: Take advantage of pleasant weather by hosting a Disney Plus outdoor movie night. Set up a portable projector screen or project the content onto a blank wall in your backyard. Add cozy seating, blankets, and mosquito repellents for a magical movie experience under the stars.
Explore different genres: While Disney is known for its animated movies, venture into different genres available on Disney Plus. Explore documentaries, live-action films, or Marvel and Star Wars series to get a taste of the diverse offerings the streaming service has to offer.
Engage in post-movie discussions: After watching your favorite Disney movies or series, engage in discussions with family and friends about the film’s themes, characters, or favorite moments. Sharing your thoughts and connecting with others who appreciate Disney can enhance the overall experience and create lasting memories.
Discover hidden gems: Dive deeper into the Disney Plus library and discover lesser-known movies or series that you may have missed. Explore the recommendations, top picks, or curated collections on the platform to find hidden gems that can surprise and delight you.
By incorporating these tips, you can elevate your Disney Plus experience on a projector and create unforgettable moments filled with the enchantment and magic that Disney brings.
Conclusion
Projecting Disney Plus on a projector is an excellent way to bring the magic of Disney into your home, allowing you to enjoy your favorite movies and shows on a larger screen with enhanced visuals. By choosing the right projector, setting it up properly, and adjusting the display settings, you can create a truly immersive and cinematic Disney Plus experience.
With the right audio setup, cozy viewing area, and additional enhancements like themed movie nights or outdoor screenings, you can elevate your Disney Plus sessions to a whole new level of enjoyment. The flexibility of projectors also allows for shared viewing experiences with family and friends, creating lasting memories and fostering a deeper connection with the Disney universe.
Remember to take the time to explore the vast library of Disney Plus content, from timeless classics to new and exclusive releases across various genres. And don’t forget to engage in discussions and discover hidden gems that may surprise and delight you.
So, whether you’re reliving childhood memories, introducing Disney magic to new generations, or indulging in the latest cinematic adventures, projecting Disney Plus on a projector opens up a world of possibilities and transports you into the enchanting realm of Disney like never before.
Get ready to immerse yourself in the imaginative storytelling, captivating characters, and unforgettable music that only Disney can deliver – all on the big screen in the comfort of your own home.