Introduction
Discord has become a popular platform for gamers and communities to connect and communicate. It provides various features, including voice and video chats, text channels, and screen sharing. One of the lesser-known features of Discord is the ability to stream your gameplay or any application directly to a voice channel. This feature, known as “stream switch,” allows you to share your screen with your friends or community members, creating a more interactive and engaging experience. Whether you want to stream your favorite games, tutorials, or simply share your screen for collaborative purposes, Discord’s stream switch feature can be a valuable tool.
In this guide, we will walk you through the steps to stream switch on Discord, enabling you to share your screen effortlessly. Whether you are new to Discord or an experienced user, this step-by-step tutorial will help you make the most of this feature and start streaming in no time.
Before we dive into the process, make sure you have the latest version of Discord installed on your device. Additionally, it’s important to note that the stream switch feature is currently available only on the desktop version of Discord, so make sure you are using Discord on your computer.
Now, let’s get started and learn how to stream switch on Discord!
Step 1: Setting Up Your Account
Before you can start using the stream switch feature on Discord, make sure you have a Discord account. If you don’t have one, head over to the Discord website and sign up for an account. It’s free and only takes a few minutes to complete.
Once you have created your account, download and install the Discord application on your computer. Discord is available for Windows, macOS, and Linux, so choose the version that is compatible with your operating system.
After the installation is complete, open Discord and log in with your credentials. You will be welcomed with the Discord interface, where you can see your servers, friends list, and chat channels. Take a few moments to familiarize yourself with the interface if you are new to Discord.
Now that you have set up your account and installed Discord, let’s move on to the next step and learn how to join a voice channel on Discord.
Step 2: Joining a Voice Channel
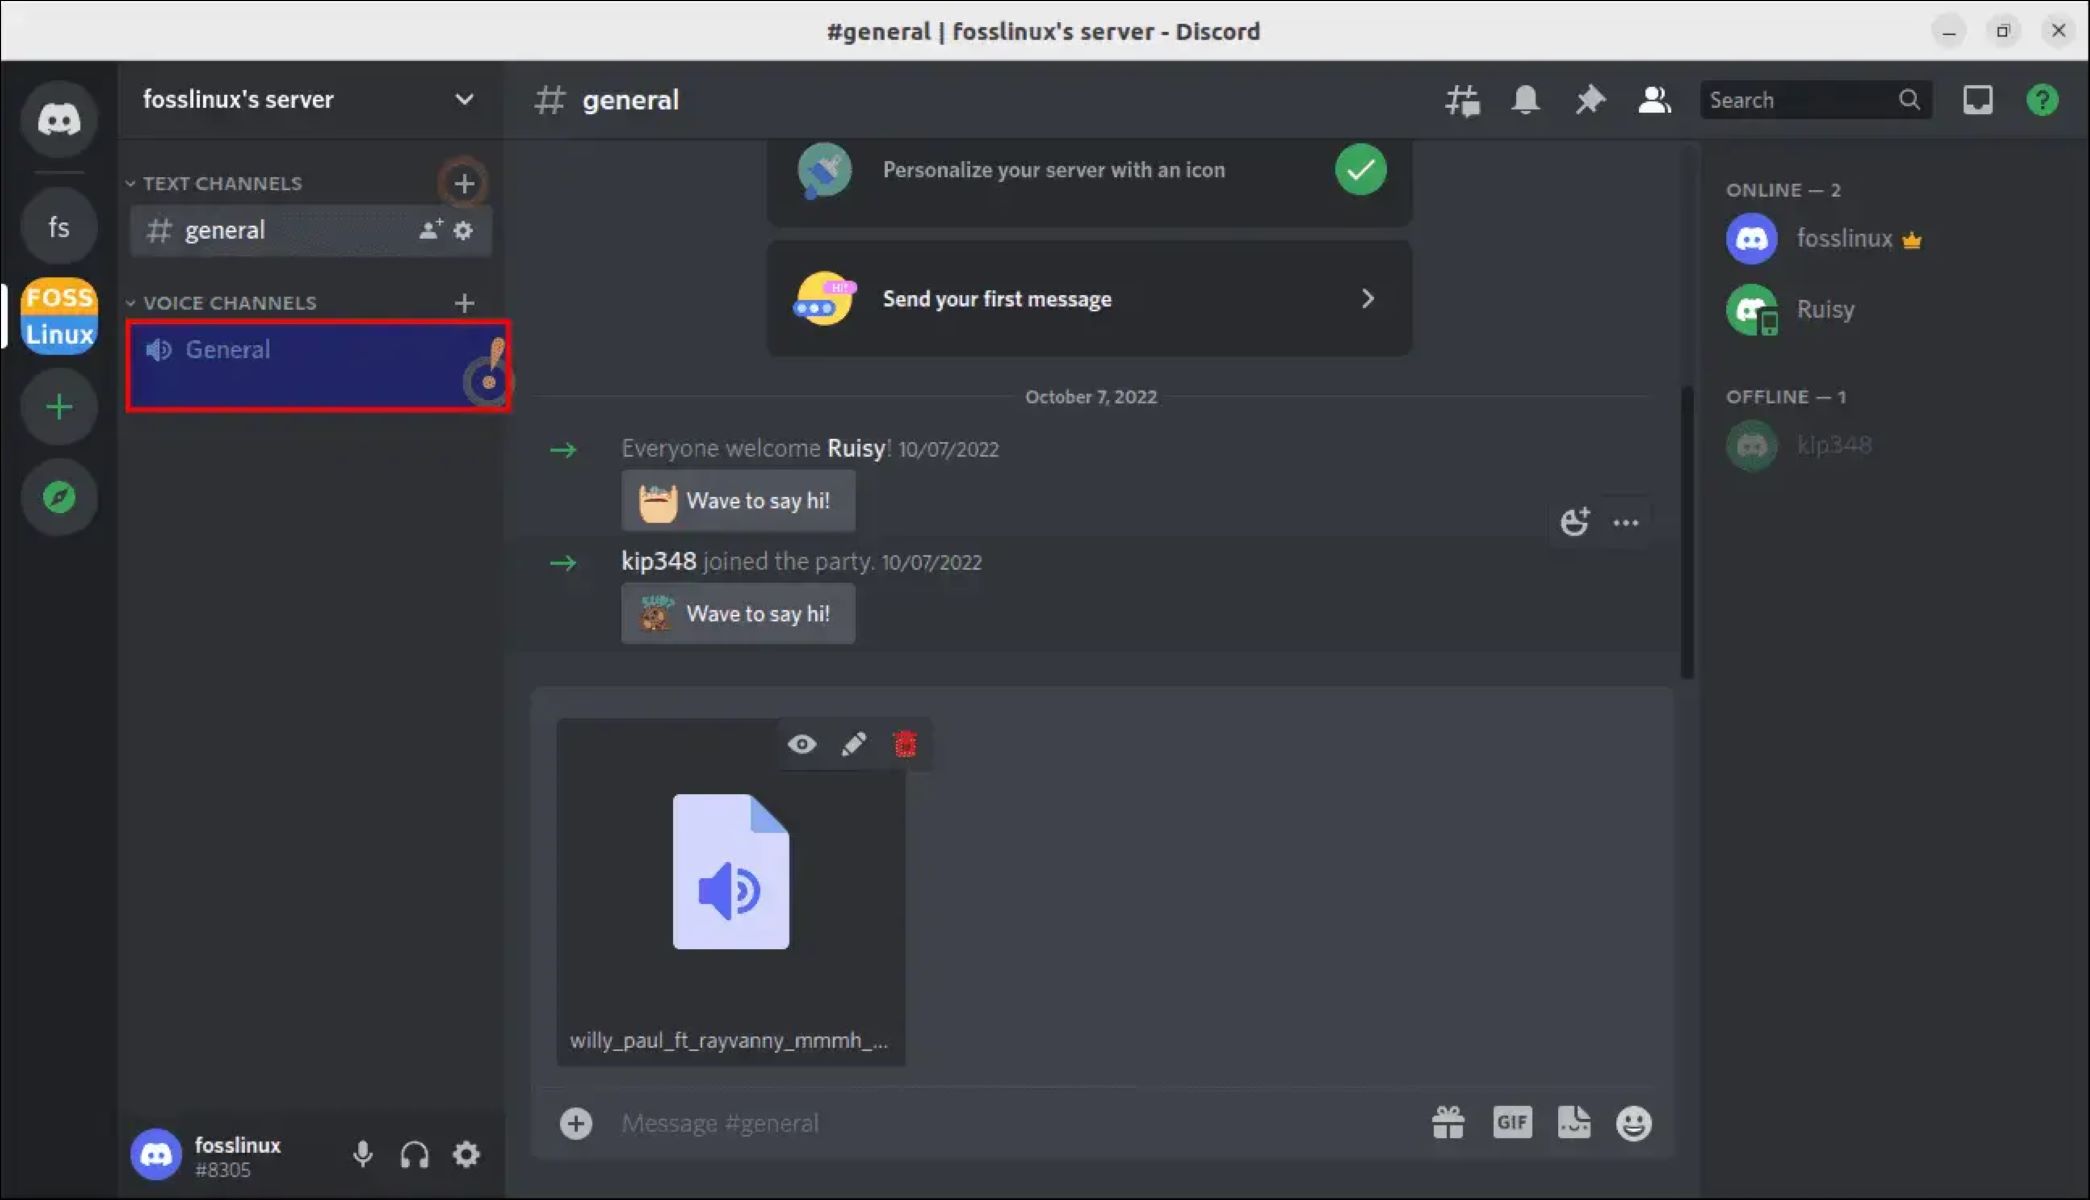
In order to use the stream switch feature on Discord, you need to join a voice channel. Voice channels are where you can communicate with others using audio. If you’re not already in a voice channel, follow these steps to join one:
- On the left-hand side of the Discord interface, you will see a list of servers you are a part of. Click on the server where you want to join a voice channel.
- In the server, look for the “Voice Channels” section. It is usually located below the text channels.
- Click on the voice channel you want to join. If the voice channel is locked or requires a specific role, make sure you have the necessary permissions to join.
- Once you click on the voice channel, you will join it automatically. You will see your username appear in the list of members in that voice channel.
- Now that you have joined a voice channel, you are ready to enable stream mode and start sharing your screen with others.
Note: If you can’t find a suitable voice channel to join or you want to create your own voice channel, you can do so by clicking on the “+” button under the voice channels section. Give your new voice channel a name, customize the permissions if needed, and click “Create” to create the channel.
Now that you have successfully joined a voice channel, let’s move on to the next step and learn how to grant the necessary permissions for stream switching.
Step 3: Granting Permissions
In order to use the stream switch feature on Discord, you need to ensure that you have the necessary permissions to share your screen in the voice channel you have joined. By default, stream switching is disabled for all users, so you will need to grant yourself the required permissions.
Follow these steps to grant permissions for stream switching:
- In the voice channel you have joined, locate the user settings by clicking on your profile picture or name at the bottom left corner of the screen.
- A settings menu will appear. Look for the “Roles” section and click on it.
- In the roles menu, you will see a list of roles that are available in the server.
- Depending on your server’s setup, you may either need to create a new role specifically for stream switching or modify an existing role.
- To create a new role, click on the “+” button and give it a name (e.g., Streamer). Customize the permissions for the role and make sure to enable the “Screen” permission.
- If you’re modifying an existing role, locate the role in the list and click on the “Edit” button. Enable the “Screen” permission for that role.
- Once you have created or modified the role, assign that role to yourself. Toggle the switch next to the role name to enable it for your account.
Now that you have granted yourself the necessary permissions, you are ready to enable stream mode and start sharing your screen in the voice channel.
Please note that the process of granting permissions may vary depending on the server configuration and your role within the server. If you encounter any difficulties in granting permissions, reach out to the server administrator or a moderator for assistance.
Next, we will learn how to enable stream mode and select the source for your stream.
Step 4: Enabling Stream Mode
Once you have joined a voice channel and granted yourself the necessary permissions, it’s time to enable stream mode on Discord. Stream mode allows you to share your screen in the voice channel, making it easier for others to see what you are doing.
Follow these steps to enable stream mode:
- In the voice channel, locate the voice settings by clicking on the “Settings” icon next to your name or profile picture.
- A settings menu will appear. Look for the “Voice & Video” section and click on it.
- In the “Voice & Video” menu, scroll down until you find the “Advanced” section.
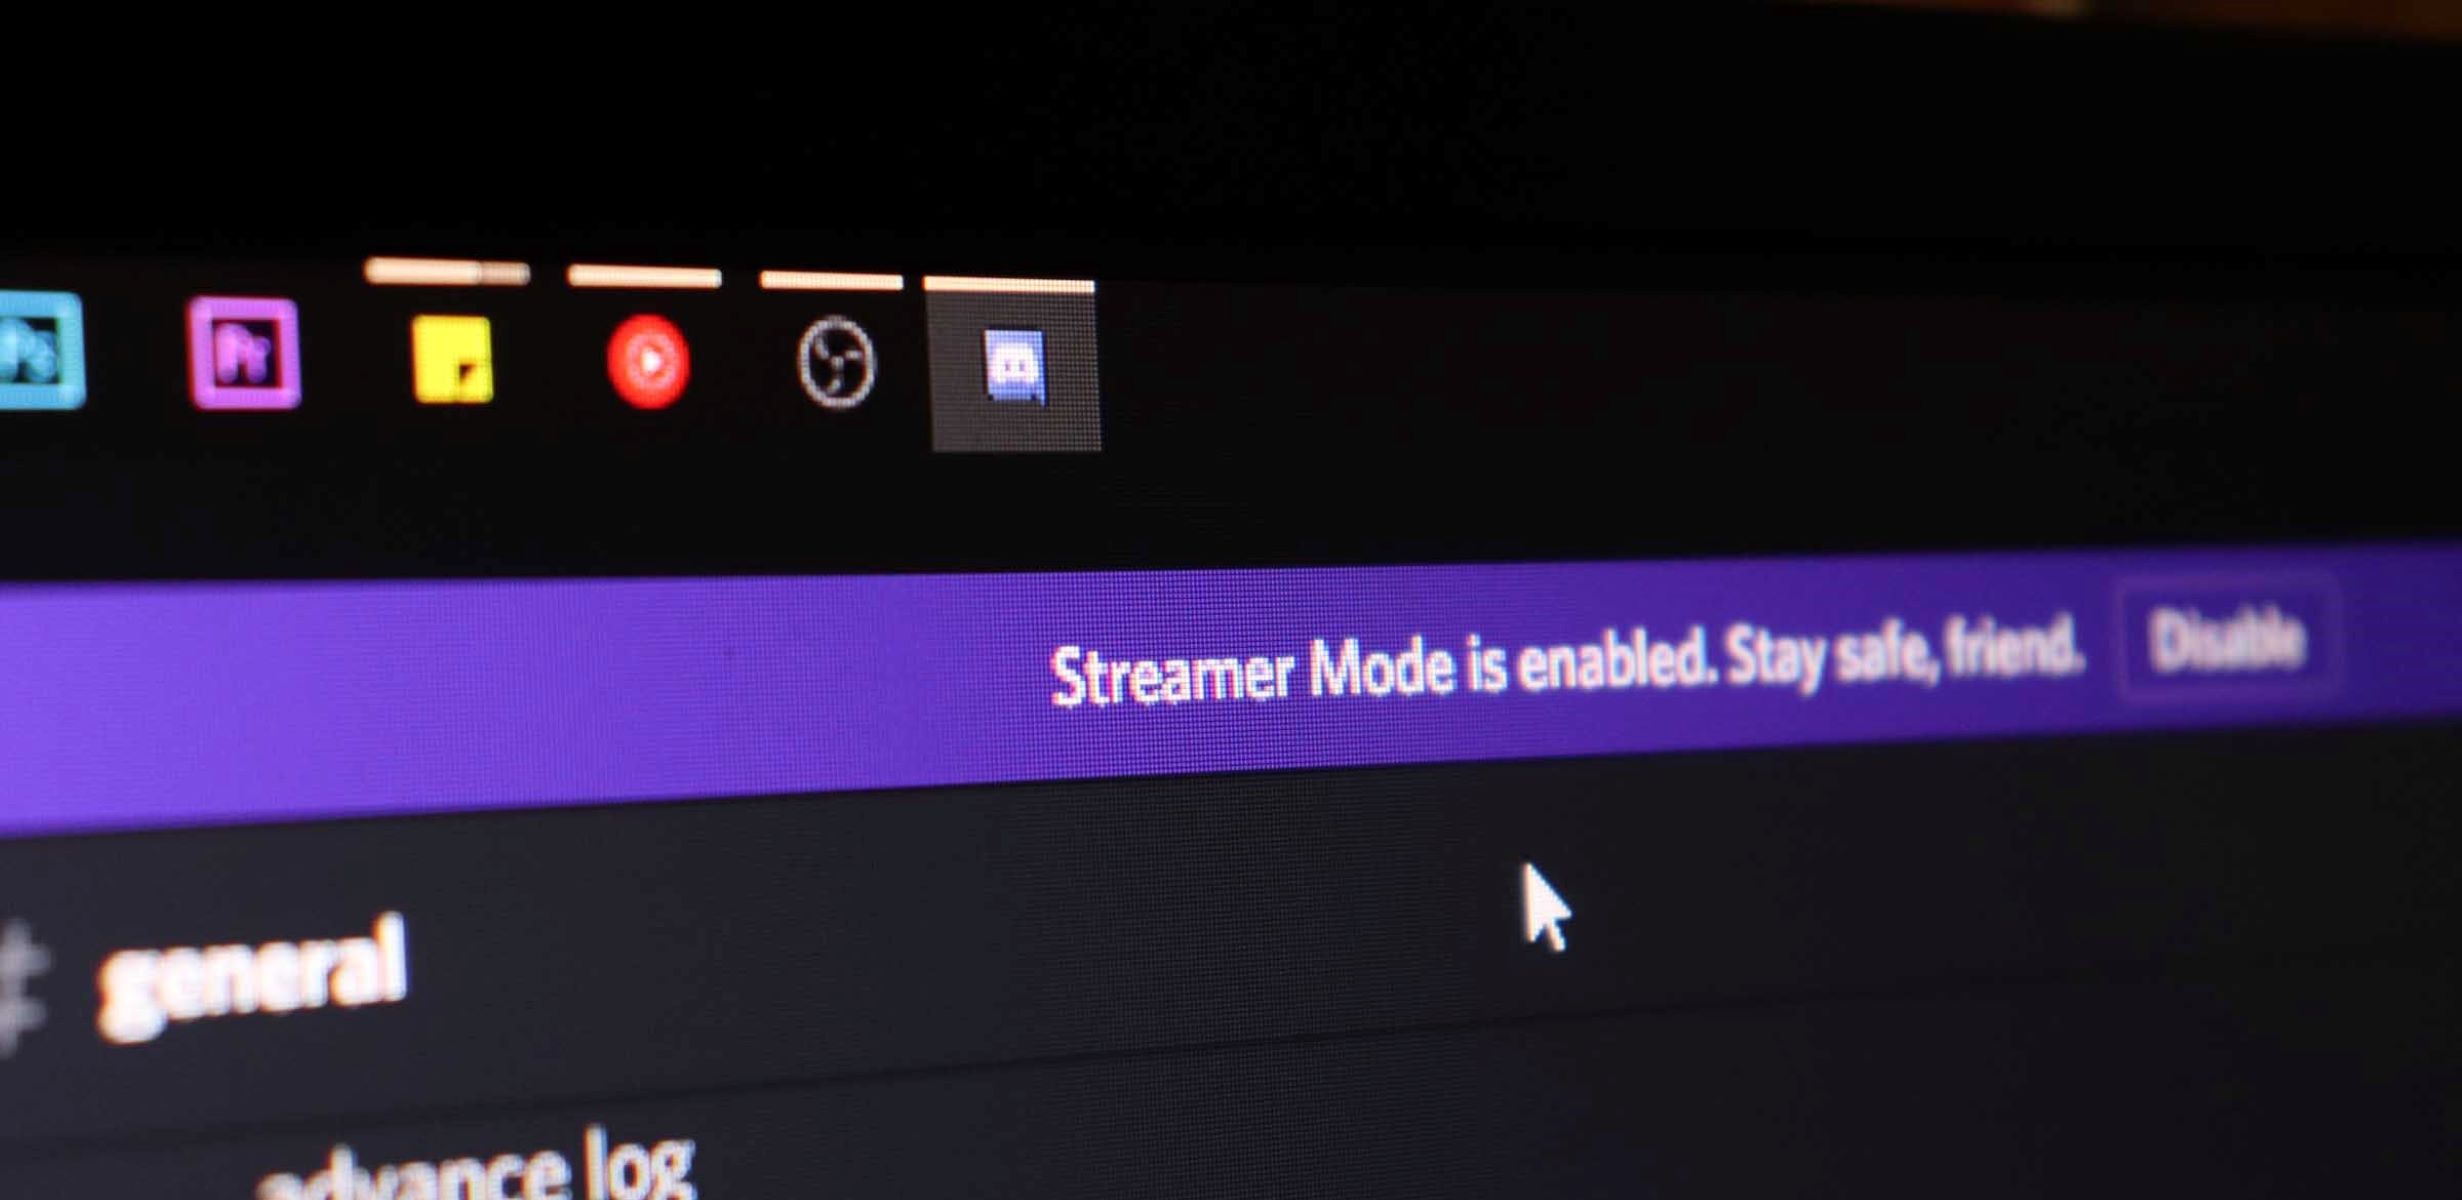
- Toggle the switch next to “Enable Streamer Mode” to enable it. You will see a notification confirming that streamer mode is now enabled.
With stream mode enabled, Discord will automatically adjust your settings to optimize the stream quality. It will temporarily mute desktop notifications, prevent Discord from broadcasting your game status, and hide personal information that may appear on your screen.
Now that you have successfully enabled stream mode, let’s move on to the next step and learn how to select the source for your stream.
Step 5: Selecting Your Source
After enabling stream mode, the next step is to select the source that you want to stream on Discord. The source can be any application or window that is currently open on your computer.
Follow these steps to select your source:
- Make sure the application or window that you want to stream is open and visible on your screen.
- Go back to the voice settings menu by clicking on the “Settings” icon next to your name or profile picture.
- In the settings menu, click on the “Voice & Video” section.
- Scroll down to the “Streamer Mode” section and locate the “Application” dropdown menu.
- Click on the dropdown menu and select the application or window that you want to stream. If you want to stream your entire screen, you can select the “Screen” option.
By selecting a specific application or window as the source, you can control what others see during your stream. This is particularly useful if you have multiple monitors or if you only want to share a specific application rather than your entire screen.
Now that you have selected your source, you are one step closer to going live and sharing your screen with others on Discord. In the next step, we will explore how to customize your stream settings to enhance the viewing experience.
Step 6: Customizing Your Stream
Once you have selected your source for streaming, you have the option to customize various settings to enhance your streaming experience on Discord. These settings allow you to control the audio, video quality, and other aspects of your stream.
Follow these steps to customize your stream:
- Go back to the voice settings menu by clicking on the “Settings” icon next to your name or profile picture.
- In the settings menu, click on the “Voice & Video” section.
- Scroll down to the “Streamer Mode” section.
- In this section, you will find several options to customize your stream:
- Video Quality: Choose the video quality for your stream. Higher quality may result in a smoother stream but requires a better internet connection.
- Audio Quality: Select the audio quality for your stream. You can choose between standard, high, and low.
- Push to Mute: Enable push to mute to temporarily mute your microphone while streaming.
- Push to Talk: Enable push to talk if you prefer to manually activate your microphone while streaming.
- Adjust these settings according to your preferences.
Customizing your stream settings allows you to optimize the quality and control how you interact with your viewers while streaming on Discord. Take some time to experiment with these settings and find the configuration that suits your needs.
Now that you have customized your stream settings, it’s time for the final step: going live and sharing your screen with others on Discord!
Step 7: Going Live
After setting up your account, joining a voice channel, granting permissions, enabling stream mode, selecting your source, and customizing your stream settings, you are now ready to go live and share your screen on Discord!
Follow these steps to start your stream:
- Ensure that you have completed all the previous steps and have your desired source selected for streaming.
- Return to the voice settings menu by clicking on the “Settings” icon next to your name or profile picture.
- In the settings menu, click on the “Voice & Video” section.
- Scroll down to the “Streamer Mode” section.
- Toggle the switch next to “Stream” to enable it.
- Once you enable the stream switch, a preview window will appear, showing you what will be streamed to the voice channel.
- Verify that the preview displays the correct application or source you want to share.
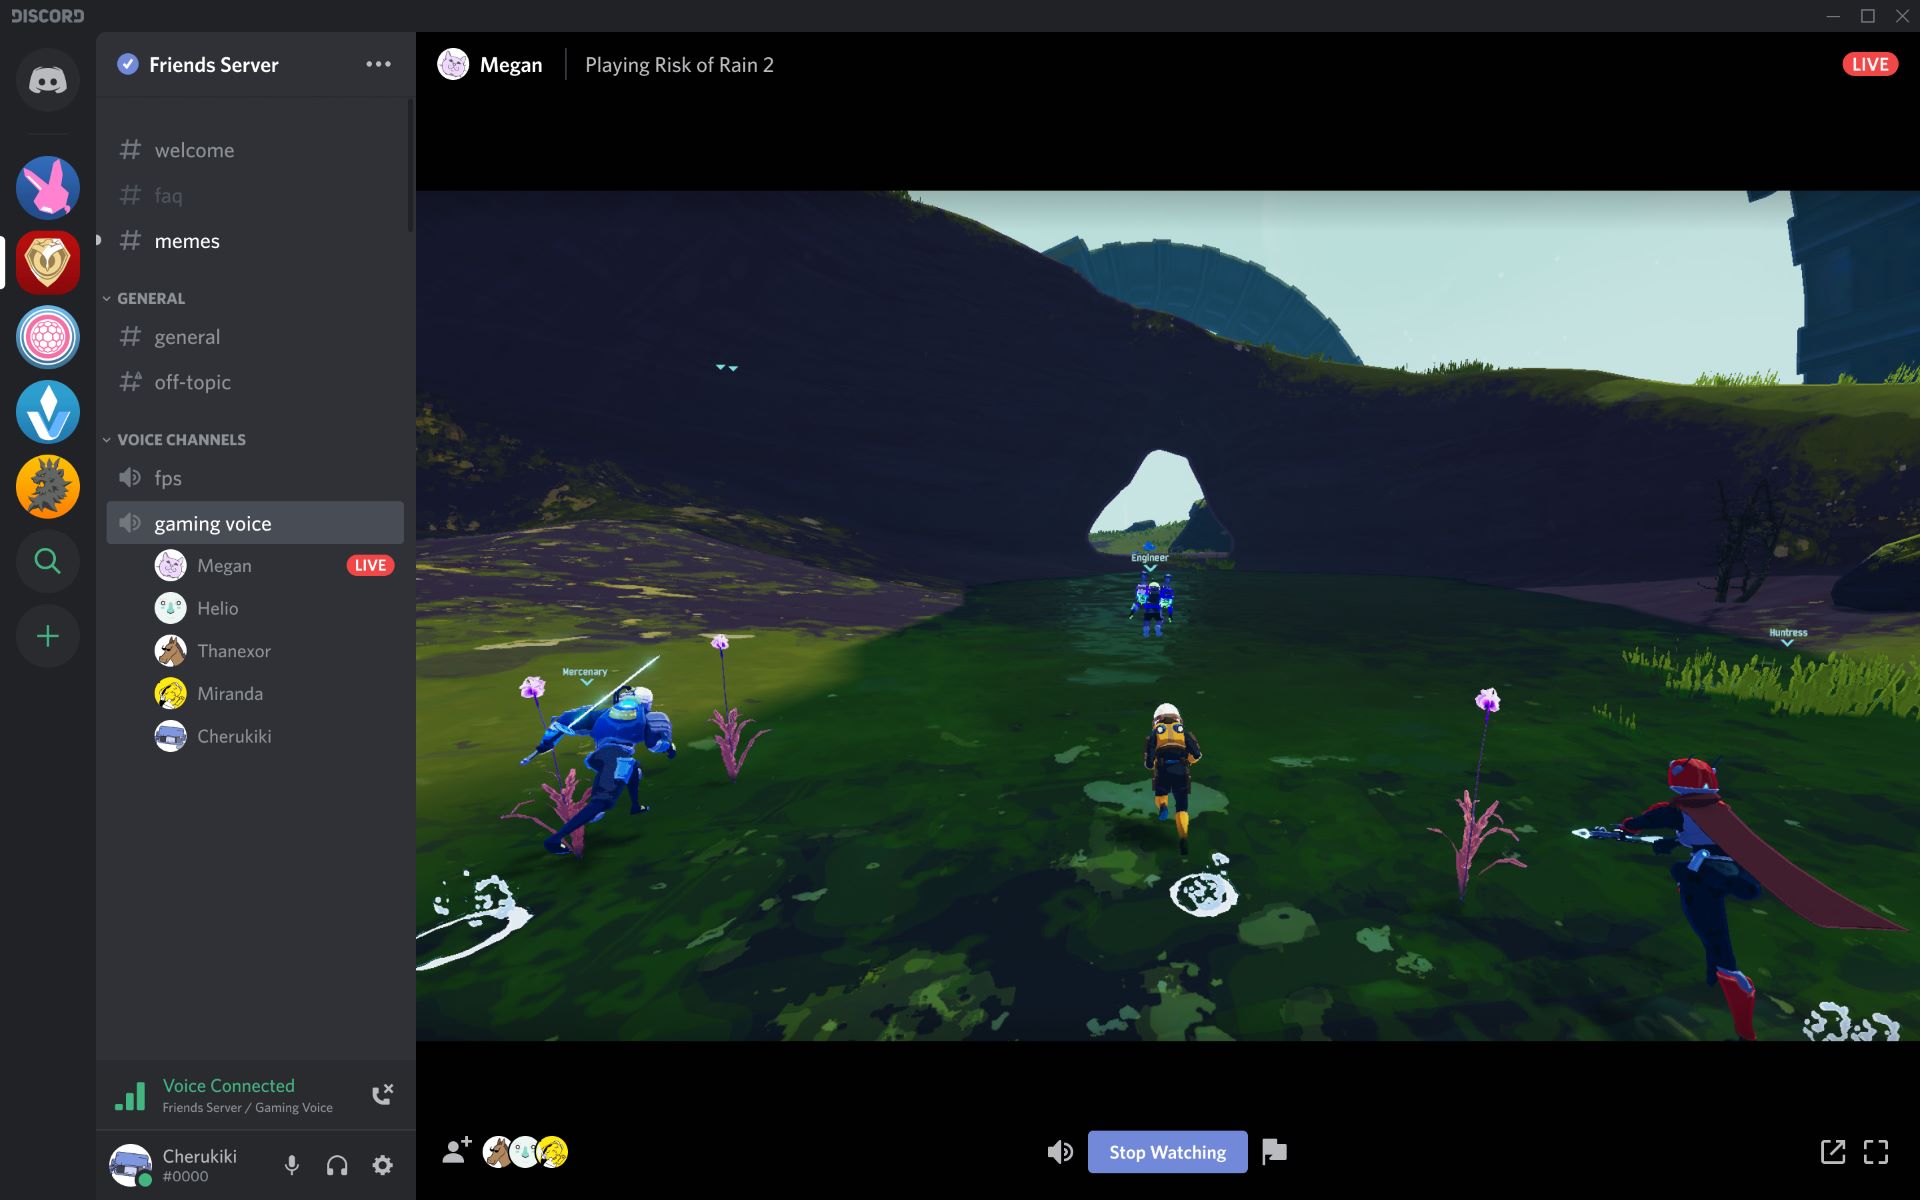
- Click on the “Go Live” button to start streaming.
- You are now live and sharing your screen with others in the voice channel.
During the stream, other members in the voice channel will be able to see your stream in real-time. They can interact with you through chat or by joining the voice channel to communicate with you.
Remember to communicate with your viewers and monitor the chat to engage with them. You can share your gaming experiences, provide commentary, or answer questions that viewers may have.
When you are ready to end your stream, simply click on the “Stop Streaming” button to stop sharing your screen.
Congratulations! You have successfully gone live and shared your screen on Discord. Enjoy streaming and connecting with your friends, community, or viewers!
Conclusion
Discord’s stream switch feature allows you to effortlessly share your screen with others in a voice channel, creating a more interactive and engaging experience. By following the steps outlined in this guide, you can easily set up your account, join a voice channel, grant permissions, enable stream mode, select your source, customize your stream, and go live.
Whether you want to stream your favorite games, provide tutorials, collaborate on projects, or simply share your screen with friends, Discord’s stream switch feature offers a user-friendly solution. It allows you to connect with your audience or community members, fostering collaboration, entertainment, or educational opportunities.
Remember to ensure you have the latest version of Discord installed on your computer and that you are using the desktop version, as the stream switch feature is currently unavailable on mobile or browser versions.
Additionally, feel free to experiment with the various settings and options available in Discord to optimize your streaming experience. Customize your video and audio quality, enable push to mute or push to talk, and adjust other settings to fit your preferences.
Now that you have learned how to stream switch on Discord, it’s time to unleash your creativity, engage with your viewers, and share your screen with confidence. Enjoy the process, embrace the possibilities, and make the most of this powerful feature for a truly immersive and interactive streaming experience.