Introduction
Welcome to the world of split screen projection! If you’ve ever wanted to display multiple content sources simultaneously on a projector, split screen functionality is the answer you’ve been looking for. Whether you’re giving a presentation, hosting a collaborative meeting, or simply want to make the most of your projector’s capabilities, split screen technology can enhance your experience and take your visual presentations to the next level.
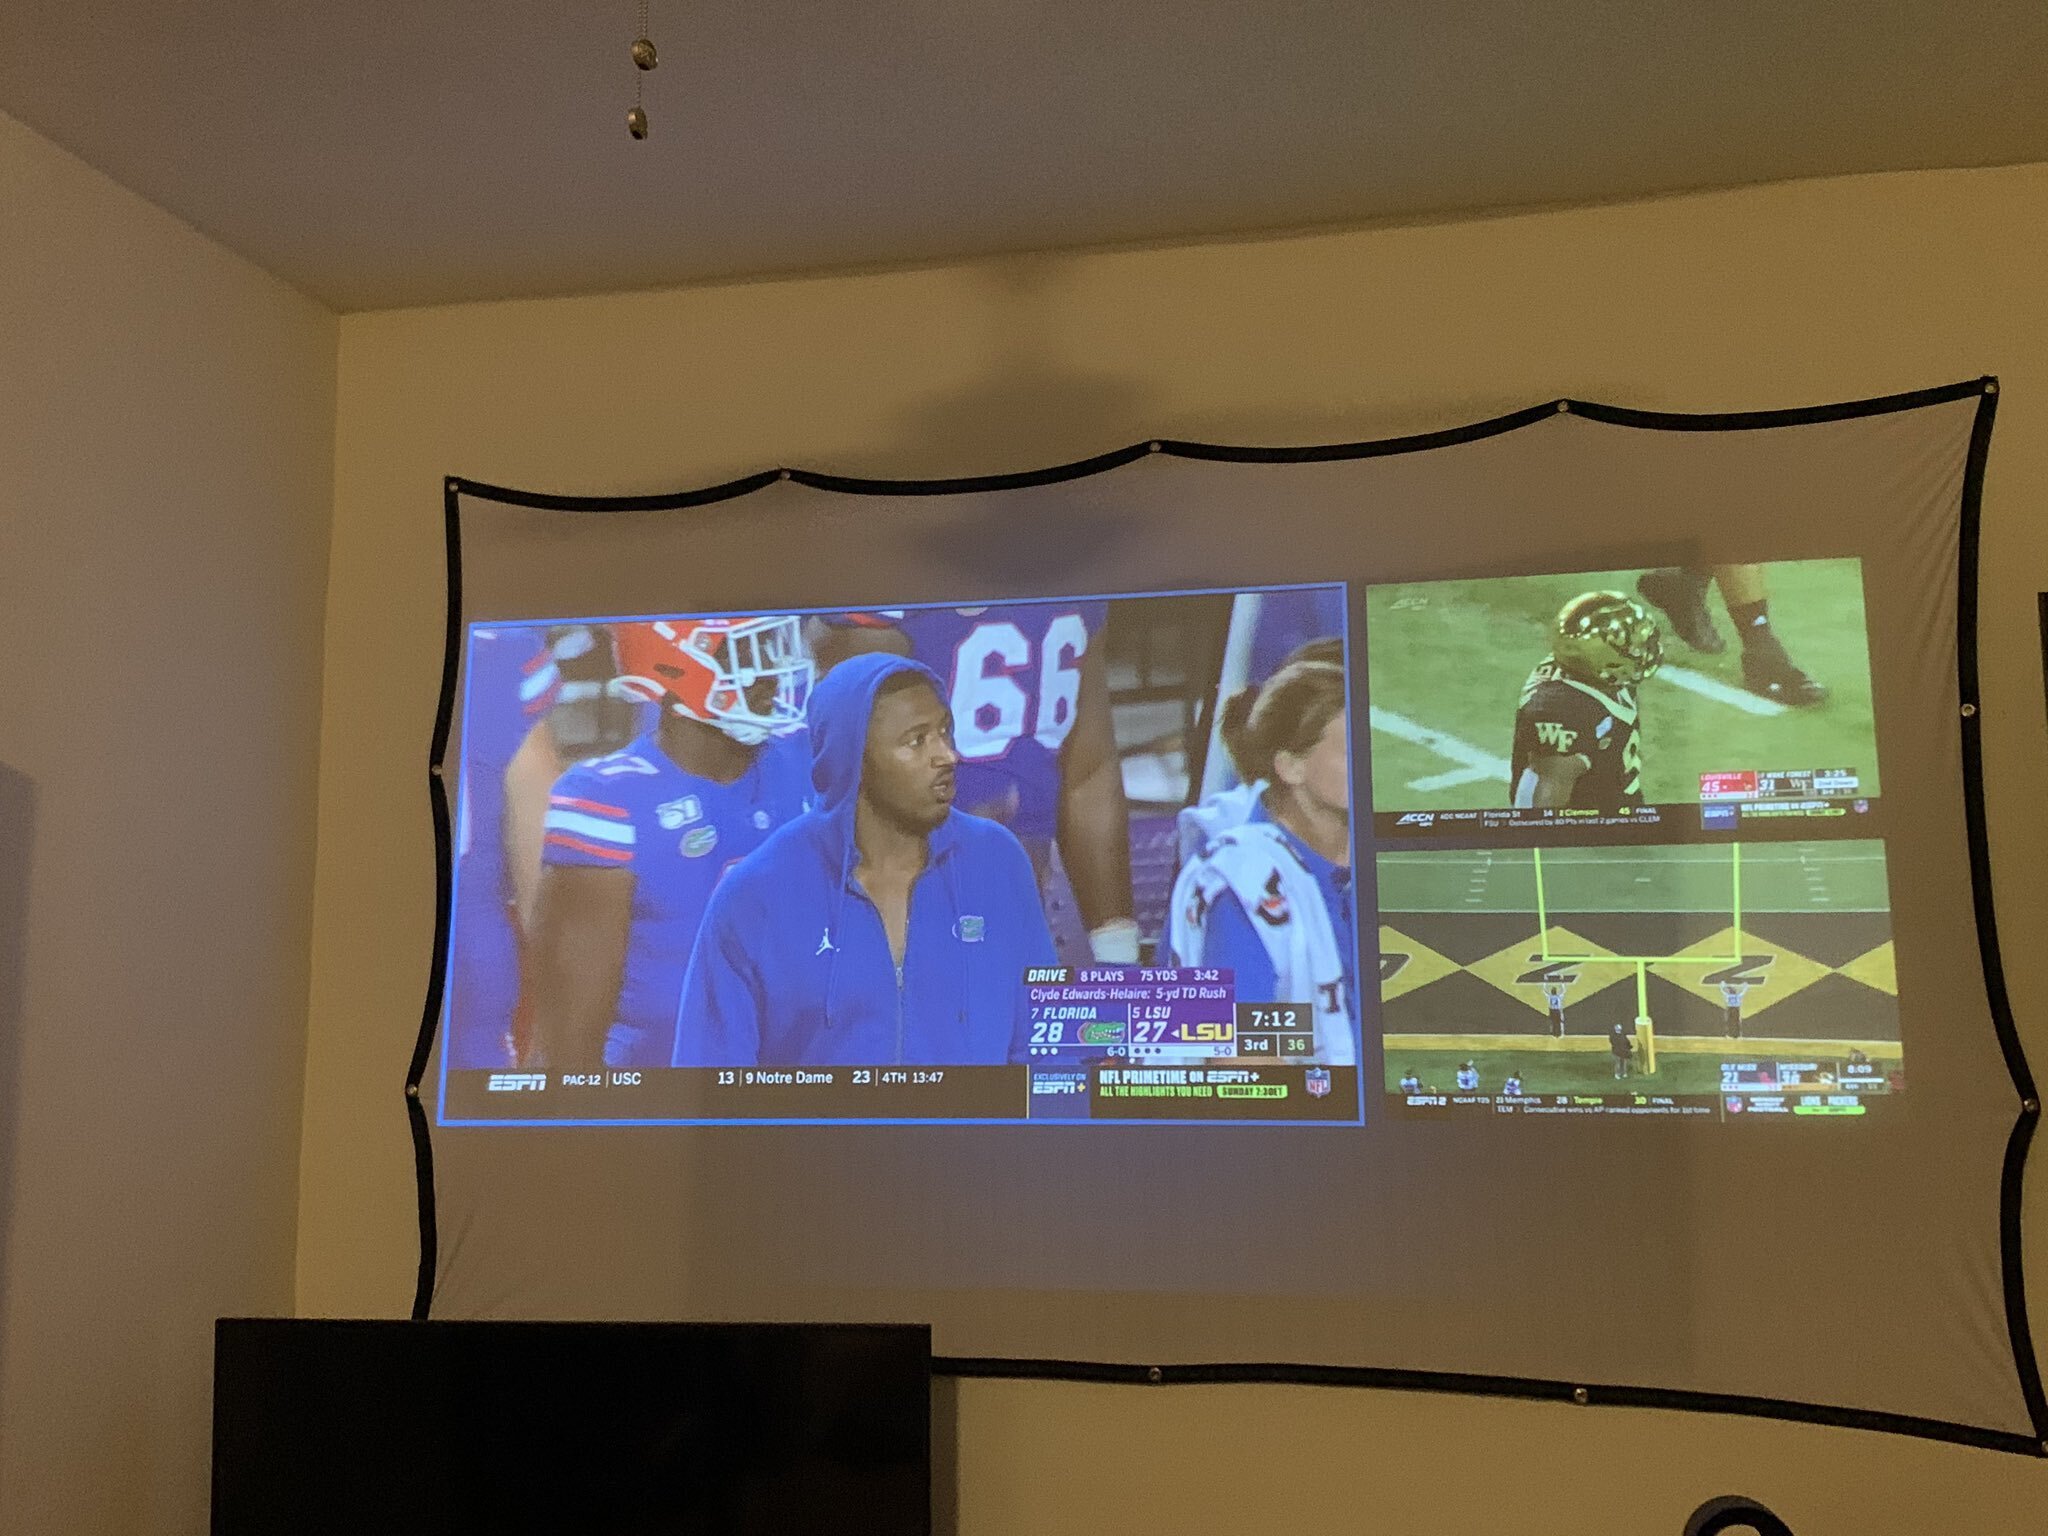
Split screen projection allows you to divide the projector screen into two or more sections, each displaying a different source or content. This means you can have a PowerPoint presentation on one side while displaying a live video feed, a document, or a webpage on the other. The possibilities are endless, and the benefits of using split screen on a projector are vast.
With split screen projection, you can effortlessly compare and contrast different sources of information, showcase multiple visuals simultaneously, and engage your audience in a dynamic and interactive way. Whether you’re a teacher, business professional, or event organizer, split screen projection can revolutionize the way you deliver your content.
Not only does it provide a more immersive viewing experience, but it also saves you time and effort by eliminating the need for multiple projectors or switching between different sources. With split screen technology, you can seamlessly switch between content sources without any interruptions or delays, ensuring a smooth and uninterrupted presentation flow.
In this article, we will explore the benefits of using split screen on a projector, the requirements for enabling split screen functionality, and a step-by-step guide on how you can easily set up and use split screen projection. So, let’s dive in and discover how split screen functionality can take your projection experience to new heights!
Benefits of Using Split Screen on a Projector
Split screen projection on a projector offers a wide range of advantages that can significantly enhance your presentations and overall viewing experience. Let’s explore some of the key benefits:
- Increased Efficiency and Productivity: By utilizing split screen functionality, you can display multiple content sources at the same time, which eliminates the need for switching between different sources. This can save you valuable time during presentations, meetings, or educational sessions, allowing you to accomplish more in a shorter amount of time.
- Enhanced Collaboration: Split screen projection is especially beneficial for collaborative environments. With the ability to display multiple content sources simultaneously, it becomes easier to compare and contrast information, collaborate on projects, and engage in productive discussions. This fosters a more interactive and collaborative atmosphere, leading to better decision-making and problem-solving.
- Improved Visual Impact: Split screen projection creates a visually stunning experience that captivates your audience. It allows you to present different types of content side by side, such as graphs, charts, images, videos, and text. This visually appealing format grabs attention and keeps viewers engaged throughout your presentation.
- Flexibility in Presentation Format: Split screen projection provides tremendous flexibility when it comes to structuring your presentation. You have the freedom to customize the layout according to your needs, whether you prefer a 50-50 split, a larger window for one source, or different screen divisions for multiple sources. This flexibility empowers you to tailor your presentation to suit the content you want to showcase.
- Seamless Multitasking: With split screen projection, you can easily multitask and manage different content sources simultaneously. For example, you can have a slideshow running on one side while conducting a live demonstration or displaying additional reference materials on the other. This ability to seamlessly multitask enhances your efficiency and allows for a more engaging and dynamic presentation.
- Improved Comprehension and Retention: Split screen projection enhances information comprehension and retention among viewers by providing visual reinforcement and context. When multiple content sources are displayed side by side, it becomes easier for the audience to understand complex concepts and make connections between different pieces of information. This leads to a higher level of comprehension and better retention of the presented material.
- Cost and Space Optimization: Utilizing split screen projection eliminates the need for additional projectors or displays. This not only saves you the cost of purchasing and maintaining multiple devices but also minimizes the physical space required for your presentation setup. Whether you’re in a classroom, boardroom, or any other venue, split screen projection allows you to make the most of your resources without cluttering the space.
These benefits make split screen projection on a projector a game-changer for any individual or organization looking to make their presentations more engaging, efficient, and visually impactful. Now that we understand the advantages of using split screen projection, let’s explore the requirements and steps to enable this functionality on your projector.
Requirements for Split Screen on a Projector
In order to utilize split screen functionality on a projector, there are a few requirements that need to be met. Here are the key elements you’ll need:
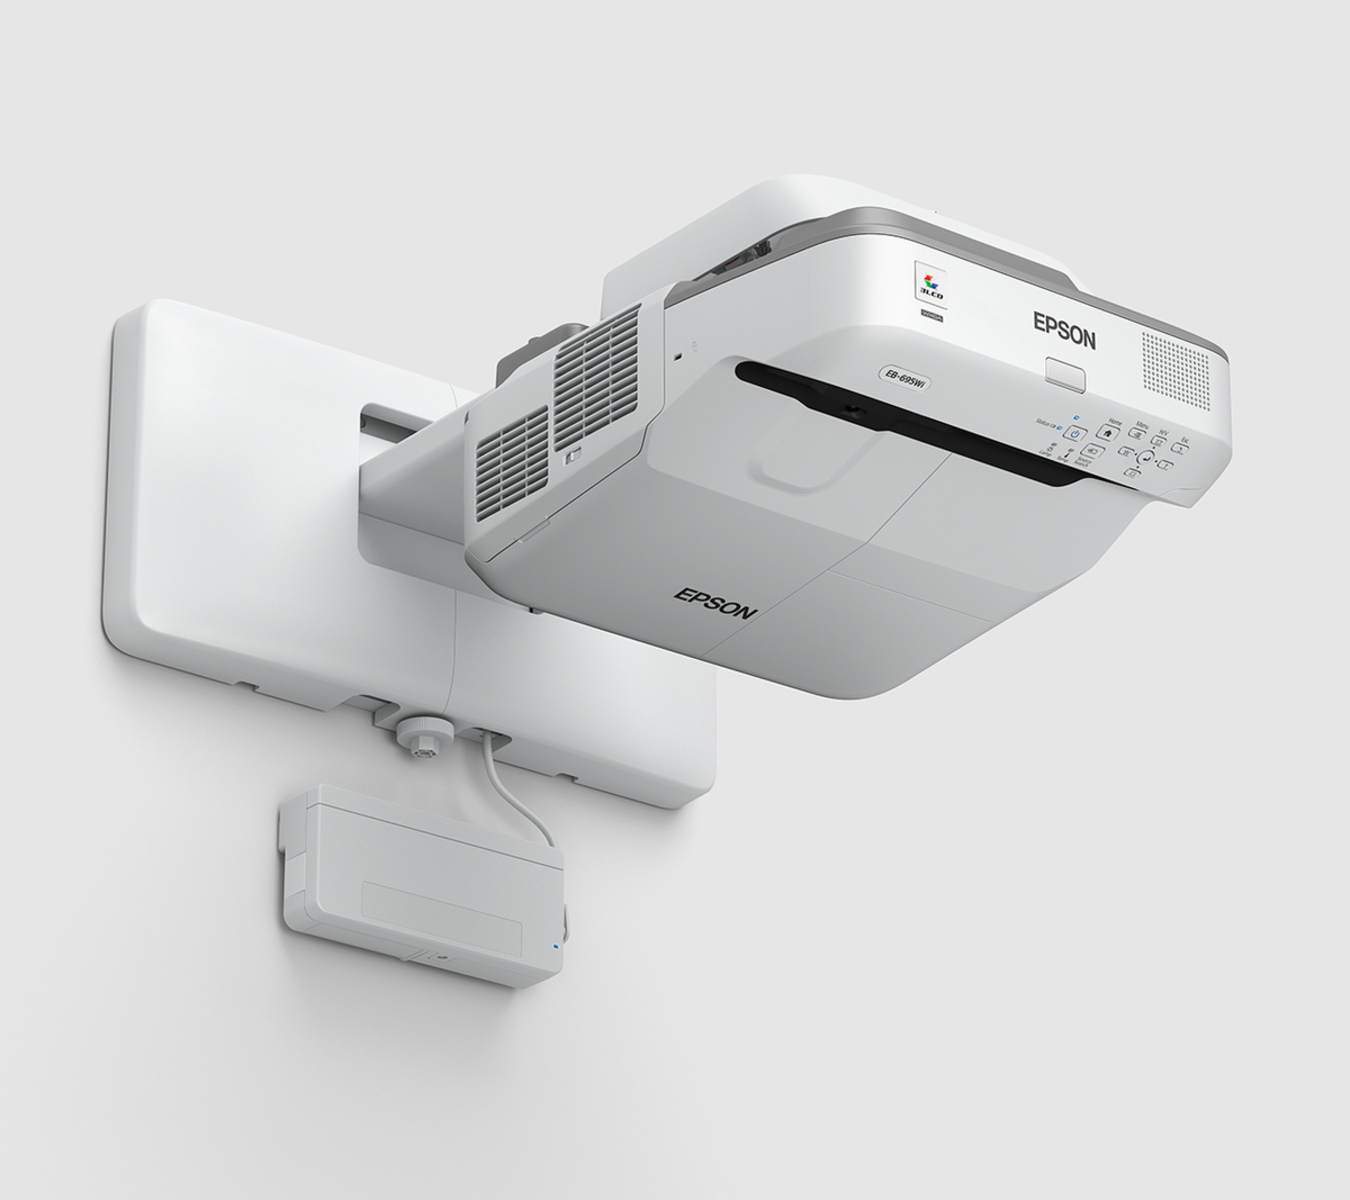
- A Projector with Split Screen Capability: The first requirement is a projector that supports split screen functionality. Not all projectors have this feature, so it’s important to check the specifications of your projector or consult the manufacturer’s documentation to ensure it has split screen capability.
- Multiple Input Sources: You’ll need multiple input sources to connect to the projector. This can include devices such as laptops, computers, Blu-ray players, or any other media device that can output video. Make sure that these sources are compatible with your projector and have the necessary video output connectors.
- Compatible Cables and Adapters: To connect the input sources to the projector, you’ll need the appropriate cables and adapters. Common video cables include HDMI, VGA, or DisplayPort, depending on the connectors available on both the projector and the input sources. Ensure that you have the correct cables and adapters to establish the connections.
- Understanding of Projector Controls: Familiarize yourself with the projector’s controls and menu system. Split screen functionality is typically accessed through the projector’s settings or menu options. Learn how to navigate the projector’s interface and access the split screen settings to enable and customize the layout.
- Sufficient Processing Power: Split screen projection requires the projector to have sufficient processing power to handle multiple content sources simultaneously. Ensure that your projector has the necessary processing capabilities to support the desired split screen layout without experiencing lag or performance issues.
By fulfilling these requirements, you’ll be well on your way to enjoying the benefits of split screen on your projector. Let’s continue our exploration by examining a step-by-step guide on how to set up and use split screen projection effectively.
Step-by-Step Guide to Split Screen on a Projector
Setting up and using split screen projection on a projector may vary slightly depending on the specific model and manufacturer. However, the following steps will provide a general guide to enable split screen functionality:
- Connect the Input Sources: Begin by connecting your input sources to the projector using the appropriate cables and adapters. Ensure that each source is securely connected to the correct input ports on the projector.
- Turn on the Projector: Power on the projector and wait for it to start up fully.
- Access the Projector Menu: Using the projector’s remote control or control panel, access the menu system. Look for the settings or options related to display or split screen functionality.
- Enable Split Screen: Within the projector menu, navigate to the split screen settings. Enable the split screen functionality, if it’s not already enabled by default.
- Adjust Split Screen Layout: Once split screen is enabled, you can adjust the layout to suit your preferences. Some projectors provide predefined layouts (e.g., 50-50 split or different ratios), while others allow you to customize the screen divisions. Use the projector controls to modify the screen layout according to your needs.
- Select Input Sources for Each Screen: After adjusting the layout, assign the input sources to each screen. Choose the desired content source for each split screen section. This can be done through the projector menu, which usually lists the available input sources. Select the appropriate source for each split screen section to display the desired content.
- Adjust Display Settings (if needed): Depending on your preferences, you may need to make additional display adjustments, such as brightness, contrast, or aspect ratio, for each split screen section. Use the projector’s display settings to fine-tune the visuals for optimal viewing experience.
- Start Split Screen Projection: Once the input sources and display settings are configured, you can start the split screen projection. Sit back and enjoy the dynamic display of multiple content sources simultaneously on your projector.
Remember, the specific steps and options may differ based on your projector model, so always refer to the user manual or manufacturer’s instructions for detailed guidance. With these steps, you can easily set up and utilize split screen functionality on your projector to deliver impactful presentations and engage your audience.
Troubleshooting Split Screen Issues
While split screen projection on a projector offers many benefits, there may be situations where you encounter issues or difficulties in setting up or using this functionality. Here are some troubleshooting tips to help you resolve common split screen issues:
- No Split Screen Option: If you don’t see the split screen option in the projector menu or settings, ensure that your projector model supports this feature. Review the specifications or user manual to confirm the availability of split screen functionality.
- Incompatible Input Sources: If you’re unable to assign input sources to separate split screen sections, double-check the compatibility of the input sources with the projector. Ensure that the sources are connected properly and that the cables and adapters are functioning correctly.
- Incorrect Layout: If the split screen layout appears distorted or doesn’t match the desired configuration, verify that you’ve followed the correct steps to adjust the layout in the projector settings. Make sure you’re selecting the appropriate layout option or adjusting the screen divisions accurately.
- Partial Display: If one of the split screen sections is not displaying any content or appears blank, check if the input source connected to that section is functioning properly. Confirm that the cables are securely connected and that the source device is outputting the expected video signal.
- Resolution Mismatch: In some cases, you may encounter resolution mismatches between the projector and the input sources. This can result in distorted or incorrect display of content in the split screen sections. Ensure that the resolutions of the input sources are compatible with the projector’s display capabilities.
- Performance Issues: If you experience lag, stuttering, or other performance issues during split screen projection, verify that your projector has sufficient processing power to handle multiple content sources simultaneously. If not, consider reducing the resolution or complexity of the content or upgrading to a more powerful projector.
- Consult the User Manual: If you’re unable to resolve the issues on your own, consult the user manual or the manufacturer’s support documentation for specific troubleshooting steps and guidance tailored to your projector model.
Remember that troubleshooting steps may vary based on your specific projector model and the nature of the issues you encounter. It’s always recommended to refer to the user manual or seek assistance from the manufacturer’s support team for detailed troubleshooting and resolution of any split screen problems you may face.
Conclusion
Split screen projection on a projector is a powerful feature that can revolutionize your presentations, meetings, and educational sessions. With the ability to display multiple content sources simultaneously, split screen functionality enhances efficiency, collaboration, and visual impact. By comparing and contrasting information side by side and engaging your audience in a dynamic way, split screen projection takes your presentations to new heights.
In this article, we explored the benefits of using split screen on a projector, including increased productivity, enhanced collaboration, improved visual impact, flexibility in presentation format, seamless multitasking, improved comprehension and retention, and cost and space optimization.
We also discussed the requirements for enabling split screen functionality on a projector, such as having a projector with split screen capability, multiple compatible input sources, the necessary cables and adapters, and understanding the projector controls and menu system.
Additionally, we provided a step-by-step guide to setting up and using split screen projection effectively. By connecting input sources, accessing the projector menu, enabling split screen, adjusting the layout, selecting input sources for each screen, and making display adjustments, you can easily leverage the power of split screen on your projector.
If you encounter any issues during the setup or use of split screen projection, we also offered troubleshooting tips, including checking for the split screen option, ensuring compatibility of input sources, adjusting the layout accurately, verifying the display of each split screen section, resolving resolution mismatches, addressing performance issues, and consulting the user manual or manufacturer’s support.
With the knowledge gained from this article, you can confidently harness the benefits of split screen projection on your projector, optimize your presentations, and elevate your audience engagement. So, go ahead, embrace the power of split screen on your projector, and unlock new possibilities for your visual presentations.


