Introduction
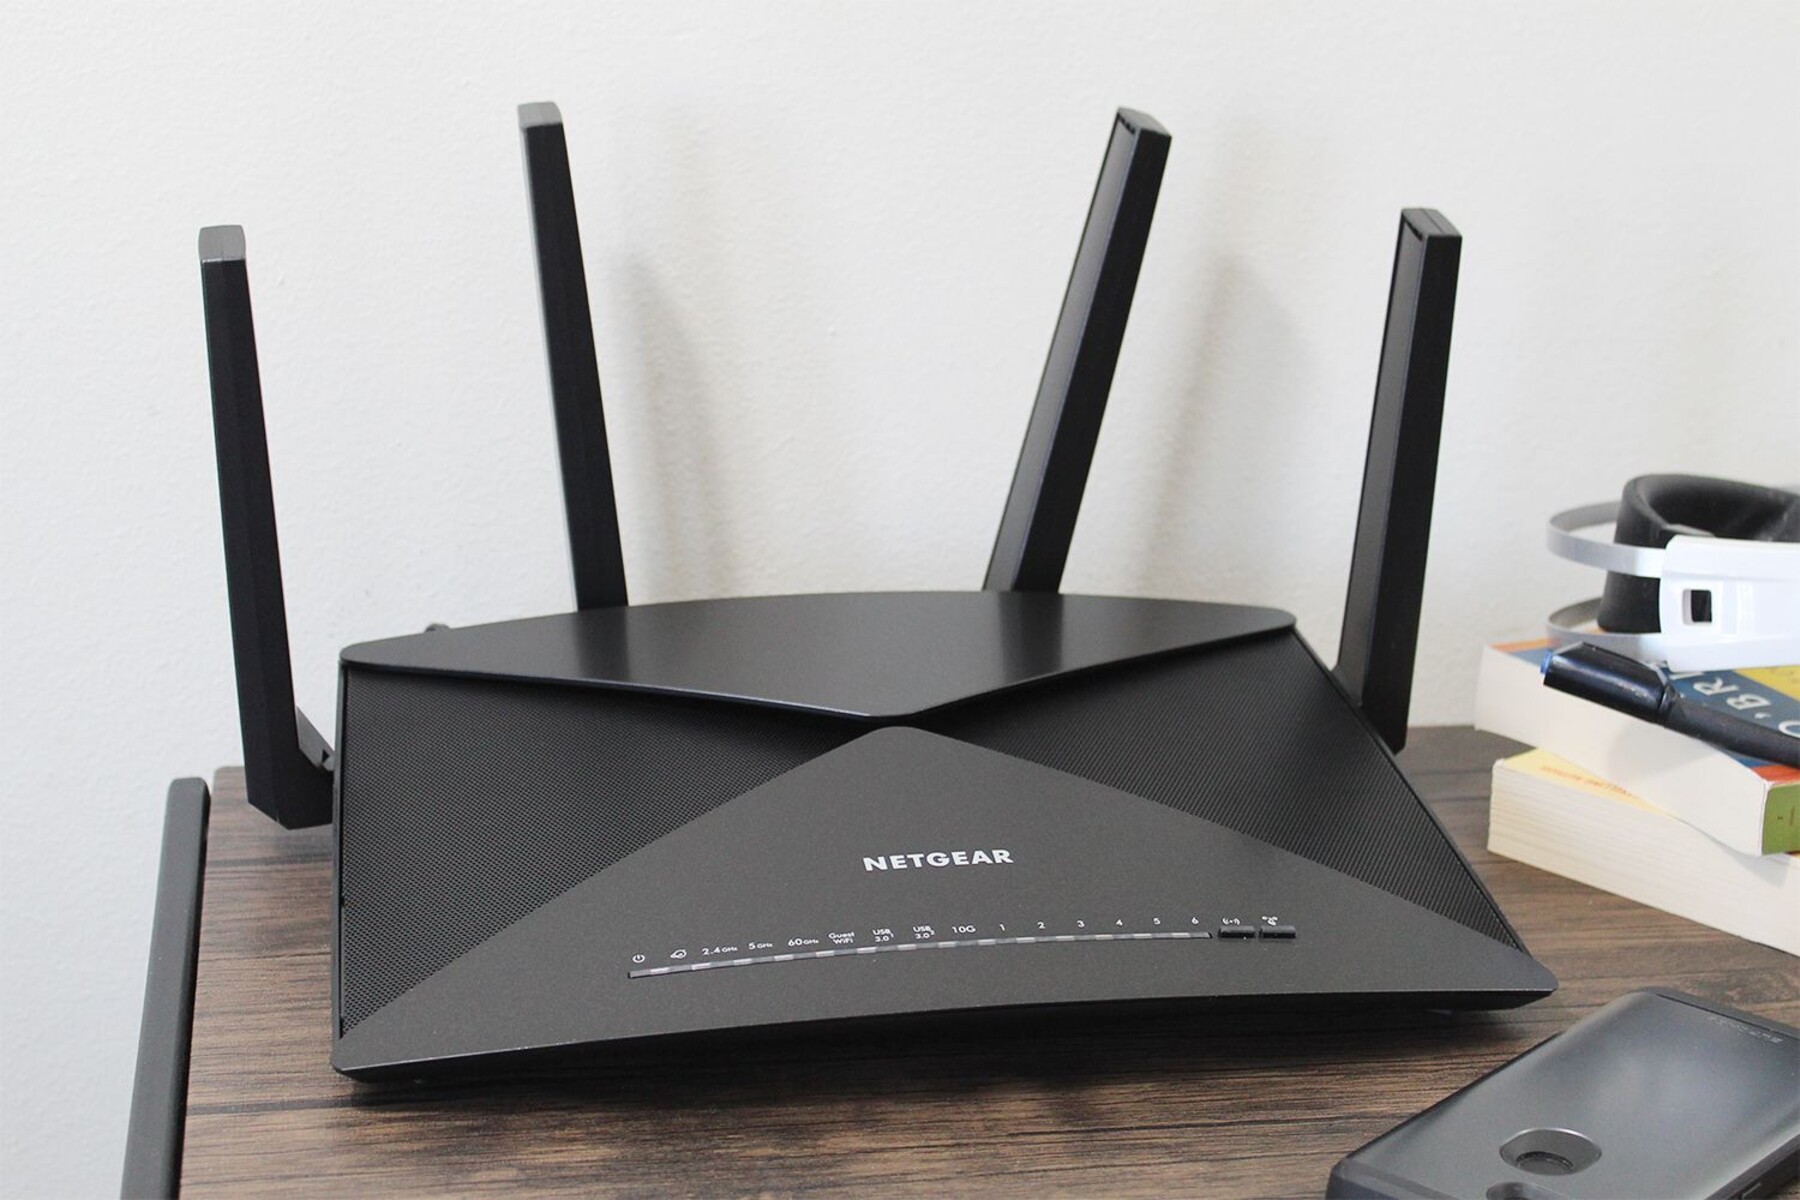
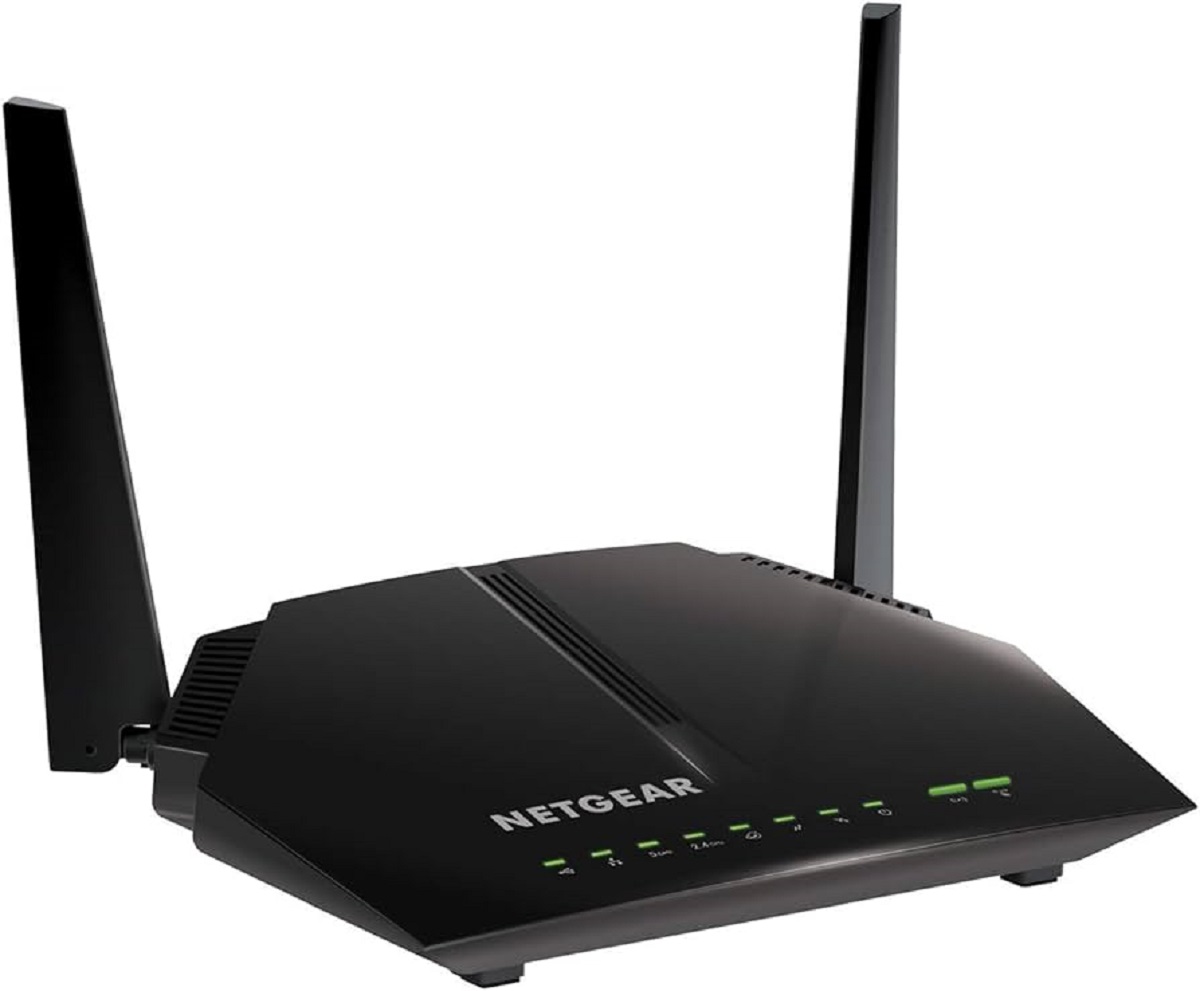
Welcome to this step-by-step guide on how to set up your Netgear wireless router. If you’re looking to create a wireless network in your home or office, Netgear routers provide a reliable and convenient solution. By following the instructions outlined here, you’ll be able to get your wireless network up and running in no time.
Setting up a Netgear wireless router may seem daunting at first, but fear not – it’s actually a straightforward process that can be completed by anyone, regardless of their technical expertise. Whether you’re a tech-savvy individual or just starting out with networking, this guide will walk you through each step, ensuring a smooth setup experience.
Before we dive into the setup process, let’s take a moment to understand the benefits of having a wireless network. With a Netgear router, you’ll be able to connect multiple devices to the internet without the need for messy cables or wires. This means you can enjoy internet access on your smartphones, tablets, laptops, and other wireless devices from anywhere within the router’s range.
Additionally, a Netgear router offers advanced features that allow you to customize your network settings. You can set up a unique network name or SSID (Service Set Identifier), enable password protection to secure your network, and even manage parental controls to restrict access to certain websites or devices. These features ensure that you have full control and customization options for your wireless network.
Now that we’ve covered the benefits of a Netgear wireless router let’s get started with the setup process. In the following sections, we’ll walk you through each step, from unpacking and connecting the router to configuring your wireless network and troubleshooting any potential issues. So, grab your router, follow along, and let’s get started!
Step 1: Unpack and connect your Netgear wireless router
Before you can set up your Netgear wireless router, you’ll need to unpack it and make the necessary connections. Here’s a step-by-step guide to help you get started:
- Start by locating the power adapter that comes with your Netgear router. Plug one end of the power adapter into the router’s power input port and the other end into a power outlet.
- Next, find the Ethernet cable included in the package. Connect one end of the Ethernet cable to the Ethernet port on the back of your modem.
- Now, take the other end of the Ethernet cable and connect it to the yellow Internet port on the back of your Netgear router.
- Once the connections are made, turn on your modem and wait for it to initialize. This usually takes a few minutes.
- After the modem has initialized, turn on your Netgear router by pressing the power button, usually located on the back or side of the router.
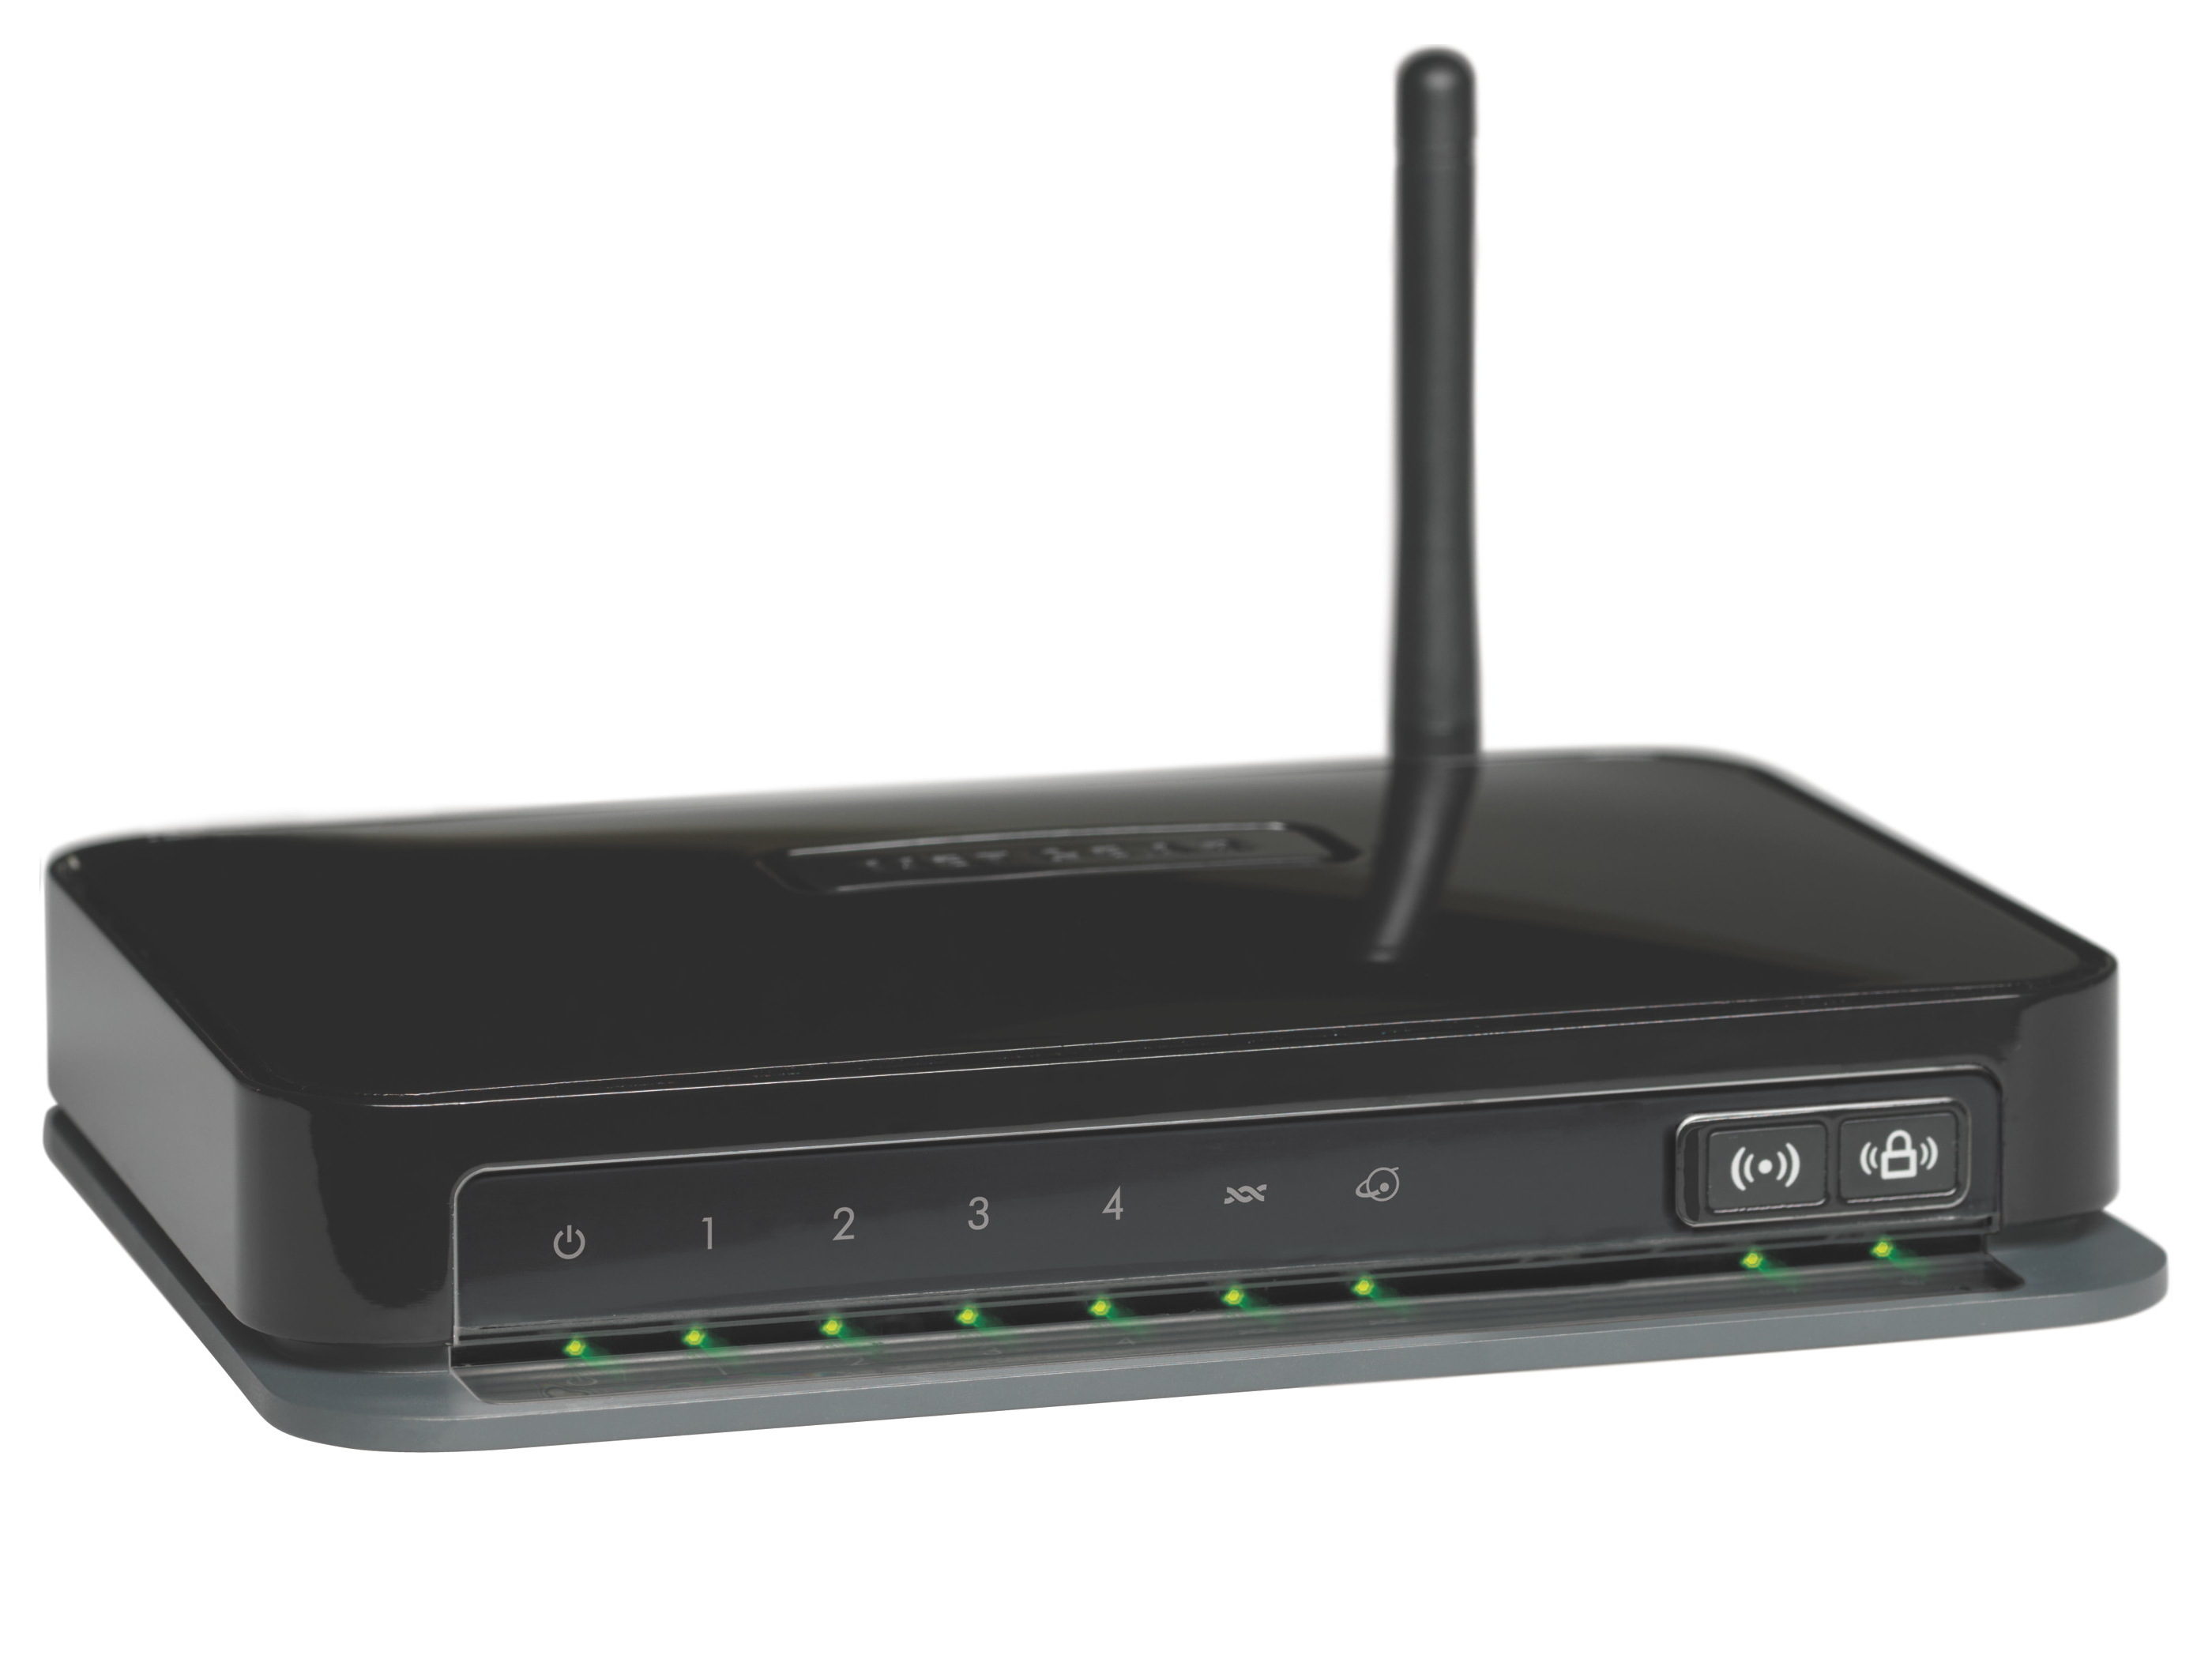
- Wait for the router’s power light to turn solid green, indicating that the router is ready for the next steps.
At this point, you’ve successfully unpacked and connected your Netgear wireless router. The next step is to access the router’s configuration page, where you’ll be able to customize your wireless network settings. Remember to refer to your router’s user manual for any specific instructions related to your model.
Step 2: Access the router’s configuration page
Once you have connected your Netgear wireless router, the next step is to access its configuration page. This page allows you to customize various settings for your router and wireless network. Here’s how you can do it:
- Make sure that your computer or device is connected to the Netgear router either through a wired connection or via Wi-Fi. If using a wired connection, connect one end of an Ethernet cable to any of the available LAN ports on the router and the other end to your computer.
- Open a web browser on your computer and type the default IP address of your Netgear router in the address bar. The default IP address is typically “192.168.1.1” or “192.168.0.1”, but it may vary depending on your router model. Press Enter to access the router’s login page.
- On the login page, enter the default username and password for your Netgear router. The default username is usually “admin”, and the default password is either “password” or “1234”. If you have changed these credentials in the past and cannot remember them, you may need to perform a factory reset on your router.
- Once you have entered the correct login credentials, click on the “Login” or “Submit” button to proceed.
After successfully logging in to the router’s configuration page, you will have access to a wide range of settings that you can modify to suit your needs. These settings may include wireless network name (SSID), wireless password, network security options, parental controls, firmware updates, and more.
It’s important to note that making changes to the router’s settings should be done with caution. If you’re unsure about a particular setting, it’s recommended to consult the router’s user manual or seek assistance from Netgear support to ensure proper configuration.
Now that you have accessed the router’s configuration page, you can proceed to the next step: setting up your wireless network.
Step 3: Set up your wireless network
With your Netgear router connected and the configuration page accessed, it’s time to set up your wireless network. Follow these steps to create a secure and reliable wireless network:
- On the router’s configuration page, locate the wireless settings section, usually labeled as “Wireless” or “Wi-Fi Settings”.
- Enter a unique name for your wireless network in the field labeled “Network Name” or “SSID”. This is the name that will be visible to devices when they scan for available Wi-Fi networks.
- Select the appropriate security option from the available choices. It is highly recommended to choose “WPA2-PSK (AES)” as it provides the highest level of security for your network.
- Create a strong and unique password for your wireless network. Choose a combination of uppercase and lowercase letters, numbers, and special characters. Make sure to note down the password somewhere safe or use a password manager for future reference.
- Save the settings and apply the changes. Your Netgear router will now restart and your wireless network will be created.
Once the router has restarted, you will be able to see your wireless network in the list of available Wi-Fi networks on your devices. Connect to the network using the password you set in the previous step.
Remember to connect your devices to the 5GHz band if your Netgear router supports dual bands (2.4GHz and 5GHz). The 5GHz band offers faster speeds and less interference, especially if you’re in a densely populated area with many Wi-Fi networks.
It’s also a good practice to change the default login credentials for accessing the router’s configuration page. This adds an extra layer of security to your network, preventing unauthorized access to your router settings. Look for the “Administration” or “Advanced Settings” section on the configuration page to change the login username and password.
By following these steps, you have successfully set up your Netgear wireless network. Now you can connect devices to enjoy the benefits of wireless internet access throughout your home or office.
Step 4: Secure your wireless network
Securing your wireless network is crucial to protect your data and prevent unauthorized access. Follow these steps to enhance the security of your Netgear wireless network:
- Access the router’s configuration page by entering the IP address in your web browser and logging in with the admin credentials.
- Navigate to the wireless security settings section, which is usually found under the “Wireless” or “Wi-Fi Settings” tab.
- Select the highest possible security option, such as “WPA2-PSK (AES)”. This encryption method provides a strong level of security for your network.
- Change the default password for accessing the router’s configuration page. Use a unique and strong password that combines letters, numbers, and special characters.
- Disable the remote management feature, which prevents unauthorized users from accessing your router’s settings remotely.
- Enable the router’s built-in firewall to add an extra layer of protection against external threats.
- Consider enabling MAC address filtering. This feature allows only devices with specified MAC addresses to connect to your network.
- Regularly update your router’s firmware to ensure you have the latest security patches and performance improvements. Check Netgear’s website for firmware updates.
- Periodically change your wireless network password to prevent unauthorized access. Set a reminder to update it every few months.
- Disable Wi-Fi Protected Setup (WPS) if you’re not using it. While convenient for quick setup, it can be vulnerable to hacking attempts.
By implementing these security measures, you can significantly reduce the risk of unauthorized access to your wireless network. However, it’s important to remember that no security measure is foolproof, and it’s always a good idea to stay vigilant and keep your firmware and security settings up to date.
Now that your wireless network is properly secured, you can proceed to the next step: connecting devices to your Netgear wireless router.
Step 5: Connect devices to your Netgear wireless router
Now that you have set up and secured your Netgear wireless network, it’s time to connect your devices. Whether it’s a smartphone, tablet, laptop, or smart TV, connecting devices to your Netgear router is a simple process. Follow these steps to get started:
- On the device you want to connect, open the Wi-Fi settings or network settings menu.
- Scan for available Wi-Fi networks and look for the network name (SSID) that you set up during the configuration process. Note: The network name should be displayed in the list of available networks.
- Select your Netgear network from the list and enter the password that you set up during the configuration process. Ensure that you enter the password correctly to establish a successful connection.
- Once you have entered the password, the device will attempt to connect to the Netgear network. Wait for a few seconds, and you should see a confirmation message indicating a successful connection.
- Repeat this process for each device you want to connect to your Netgear wireless router.
It’s important to note that the number of devices you can connect to your Netgear router may vary depending on the model and specifications. However, most routers can support multiple devices simultaneously, allowing you to connect smartphones, tablets, laptops, gaming consoles, and more.
If you encounter any issues while connecting a device, double-check that you entered the correct network name and password. Additionally, ensure that you are within the range of your Netgear router, as distance can affect the strength and stability of the wireless signal.
Once your devices are successfully connected to your Netgear wireless router, you can enjoy seamless internet access, streaming, and online activities from anywhere within the router’s range.
Now that you’ve connected your devices, let’s move on to the final step: troubleshooting tips.
Step 6: Troubleshooting tips
While setting up and using your Netgear wireless router, you may encounter some common issues. Here are a few troubleshooting tips to help you resolve them:
- No internet connection: If you’re unable to connect to the internet through your Netgear router, ensure that your modem is properly connected and functioning. Restart both your modem and router, and check if the issue is resolved.
- Weak Wi-Fi signal: If you’re experiencing weak or intermittent Wi-Fi signals, try relocating your Netgear router to a central location in your home or office. Avoid placing it near walls or objects that can interfere with the signal, and consider using Wi-Fi range extenders for larger spaces.
- Forgotten password: If you forget the password for your Netgear router, you may need to perform a factory reset. Use a paperclip or a similar object to press and hold the reset button on the back of the router for 10 seconds. This will reset all settings, including the password, to the default values.
- Device connection issues: If a specific device is having trouble connecting to your Netgear network, try restarting the device and ensure that the Wi-Fi feature is enabled. You can also try forgetting the network on the device and reconnecting from scratch.
- Slow internet speed: If you’re experiencing slow internet speeds, run a speed test to check your internet connection. If the speed is significantly lower than expected, contact your internet service provider (ISP) for assistance.
- Router firmware update: Regularly check for firmware updates for your Netgear router. Updated firmware can improve performance, security, and stability. Visit the Netgear website, enter your router model, and download the latest firmware for your specific model.
- Netgear support: If you’ve followed the troubleshooting tips and are still facing issues with your Netgear router, consider contacting Netgear support. They have a dedicated team that can assist you with technical problems and provide further guidance.
By troubleshooting these common issues, you can ensure a smooth and hassle-free experience with your Netgear wireless router. Remember to refer to the router’s user manual, online forums, or the Netgear support website for additional troubleshooting steps specific to your router model.
Congratulations! You have successfully completed the setup of your Netgear wireless router and learned how to troubleshoot common issues. Enjoy a reliable and secure wireless network for all your internet needs!
Conclusion
Congratulations! You have successfully set up your Netgear wireless router and configured a secure and robust wireless network. By following the step-by-step process outlined in this guide, you are now able to enjoy the benefits of wireless internet access throughout your home or office.
Throughout the setup process, you learned how to unpack and connect your Netgear router, access the router’s configuration page to customize settings, set up your wireless network, secure it with encryption and strong passwords, connect devices to the network, and troubleshoot common issues that may arise along the way.
A properly set up and secured wireless network allows you to connect multiple devices and enjoy seamless internet access, streaming, gaming, and other online activities. You can now experience the convenience and freedom of wireless connectivity without the need for messy cables and wires.
Remember to regularly update your router’s firmware to ensure optimal performance, security, and compatibility with new devices and technologies. Additionally, periodically review your wireless network’s security settings and change passwords to maintain a secure environment.
If you encounter any difficulties beyond what was covered in this guide, Netgear provides excellent customer support and resources to assist you. Whether you seek troubleshooting tips, firmware updates, or more in-depth technical assistance, Netgear support can help resolve any issues you may face.
Thank you for choosing Netgear and taking the time to follow this guide. We hope it has been informative and helpful in setting up your wireless network. Enjoy the convenience and freedom of wireless connectivity with your Netgear router!


