Introduction
Welcome to the world of live webcams, where you can share your experiences, connect with others, and broadcast your activities to a wide audience. Whether you’re a vlogger, gamer, educator, or just someone who wants to share their daily life, setting up a live webcam can open up a whole new world of possibilities.
In this guide, we will walk you through the process of setting up a live webcam from start to finish. We’ll cover everything from choosing the right webcam to configuring the necessary software and getting your live stream up and running.
Having a live webcam can be a powerful tool for personal or professional use. It allows you to interact with your audience in real-time, providing an immersive experience that goes beyond traditional recorded videos. Whether you want to showcase your talent, engage with your fans, or to hold live Q&A sessions, a webcam enables you to connect with your viewers in a more authentic and immediate way.
Before we delve into the technical aspects, it’s important to note that setting up a live webcam requires a robust internet connection and a computer or laptop capable of handling the streaming process. It’s essential to have a reliable and stable network connection to ensure a smooth and uninterrupted live stream.
Choosing the Right Webcam
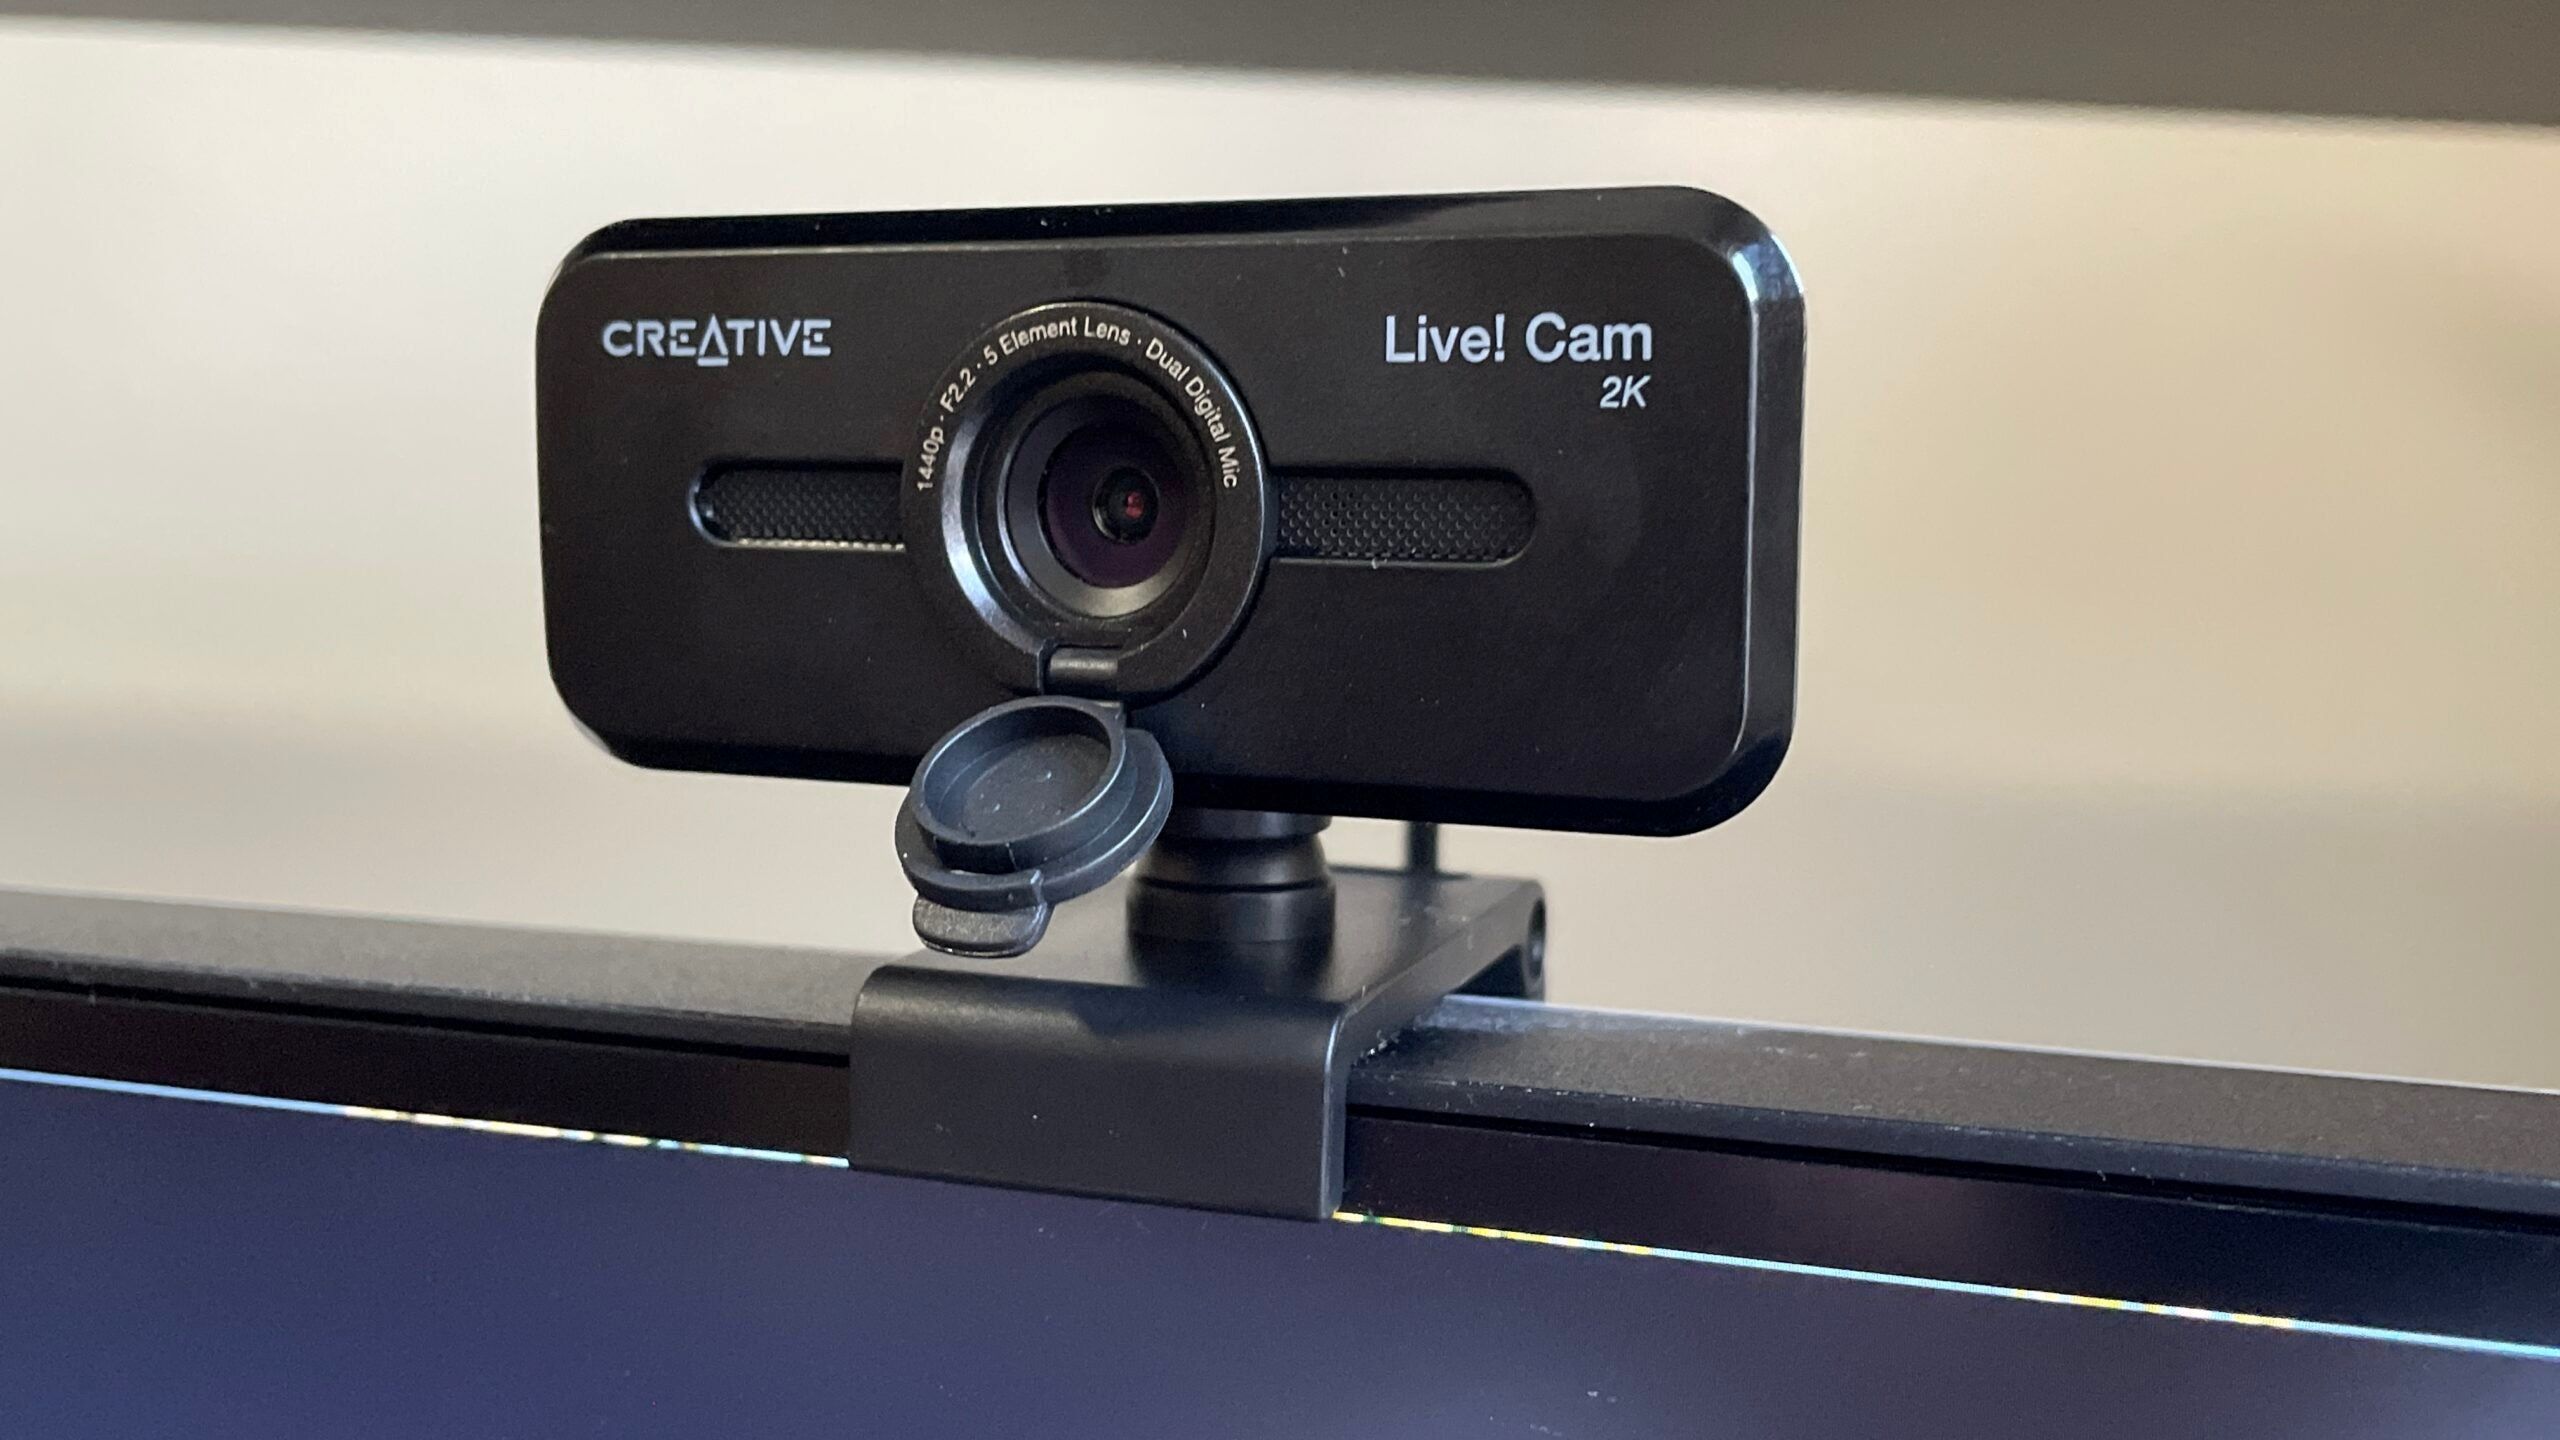
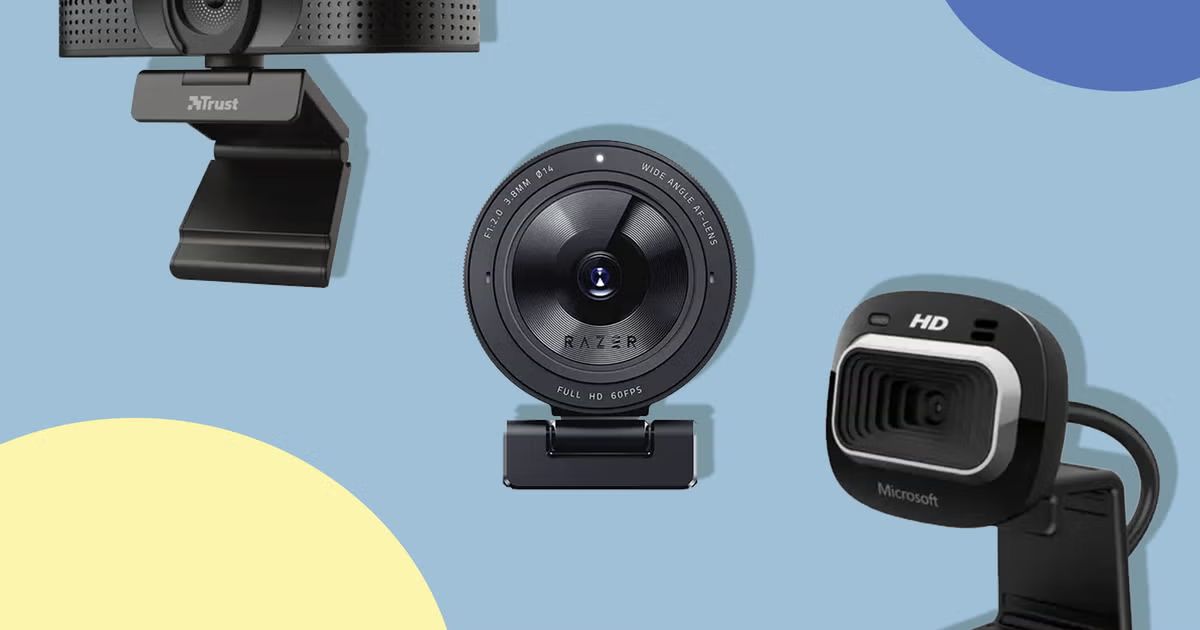
Selecting the right webcam is crucial for ensuring a high-quality and professional-looking live stream. Here are some factors to consider when choosing a webcam that suits your needs:
1. Image Quality: Look for a webcam that offers at least 1080p Full HD resolution. This will ensure clear and crisp video output, allowing your viewers to see your content in detail. Additionally, consider the frame rate (measured in frames per second) offered by the webcam. A higher frame rate, such as 30fps or 60fps, will provide smoother and more fluid video.
2. Low Light Performance: If you plan on streaming in low-light conditions, it’s important to choose a webcam with good low-light performance. Look for features like autofocus, automatic exposure adjustment, and low-light enhancement technology to ensure your video quality remains consistent even in dimly lit environments.
3. Field of View: Consider the field of view (FOV) offered by the webcam. A wider FOV allows you to capture more of your surroundings, making it ideal for streaming gaming sessions, presentations, or activities that require a larger area to be visible.
4. Connectivity: Check the compatibility of the webcam with your computer or laptop. Most webcams connect via USB, but some models offer wireless or Bluetooth connectivity options. Ensure that your device has the required ports or capabilities to connect the webcam.
5. Additional Features: Some webcams come with built-in microphones for capturing audio along with video. If you don’t have a separate microphone, opting for a webcam with good audio quality can be beneficial. Additionally, consider features like facial tracking, background removal, and software compatibility that can enhance your streaming experience.
When researching webcams, read reviews, and compare different models to find the one that best suits your requirements and budget. Keep in mind the intended use of the webcam and the specific features that are important to you. By choosing the right webcam, you’ll be able to deliver a professional and engaging live stream to your viewers.
Remember, the webcam is just one component of your live streaming setup. In the following sections, we’ll discuss installing the necessary software and configuring your webcam to ensure optimal performance.
Installing the Webcam Software
Once you have chosen the perfect webcam for your needs, the next step is to install the necessary software to optimize its functionality. Follow these steps to install the webcam software:
1. Check the Package: When you receive your webcam, ensure that it includes a CD or DVD with the software drivers. If not, don’t worry! Most webcam manufacturers provide the option to download the software from their website.
2. Connect the Webcam: Connect your webcam to the USB port on your computer or laptop. Make sure it is securely plugged in.
3. Software Installation: Insert the installation CD or download the software from the manufacturer’s website. Run the installation file and follow the on-screen instructions to install the webcam software. If prompted, restart your computer to complete the installation process.
4. Driver Updates: After the installation, it is recommended to check for driver updates. Webcam manufacturers often release updates to improve performance and compatibility. Visit the manufacturer’s website and search for the latest drivers for your webcam model. Download and install the updates, if available.
5. Testing the Webcam: Once the software is installed, it’s time to test your webcam. Open the software and look for options to view the live feed from your webcam. If you can see yourself on the screen, it means that the installation was successful.
6. Adjust Settings: Explore the webcam software options to adjust settings such as image quality, exposure, white balance, and autofocus. Play around with these settings to optimize the video output according to your preferences and the environment you will be streaming in.
By following these steps, you can ensure that your webcam is properly installed and ready to be used for live streaming. In the next section, we will discuss the importance of positioning your webcam correctly to capture the best angles and perspectives.
Positioning Your Webcam
The positioning of your webcam plays a vital role in the overall quality and visual appeal of your live stream. Here are some tips to help you position your webcam effectively:
1. Eye-Level Placement: Position the webcam at eye level or slightly above. This ensures that you are looking directly at the camera, creating a more engaging and natural connection with your viewers. Avoid positioning the webcam too high or too low, as it can create unflattering angles.
2. Framing and Composition: Consider the framing and composition of your shot. Make sure you are centered in the frame, with enough headroom and space around you. Experiment with different compositions to find what works best for your content and streaming style.
3. Background: Pay attention to the background behind you. Choose a clean and clutter-free area or create a visually appealing backdrop that aligns with your brand or the theme of your stream. Remove any distracting elements that may take the focus away from you.
4. Lighting: Good lighting is essential for a clear and well-lit video. Position yourself near a window or use artificial lighting sources to ensure adequate illumination on your face. Avoid harsh backlighting, as it can create silhouettes or wash out your features.
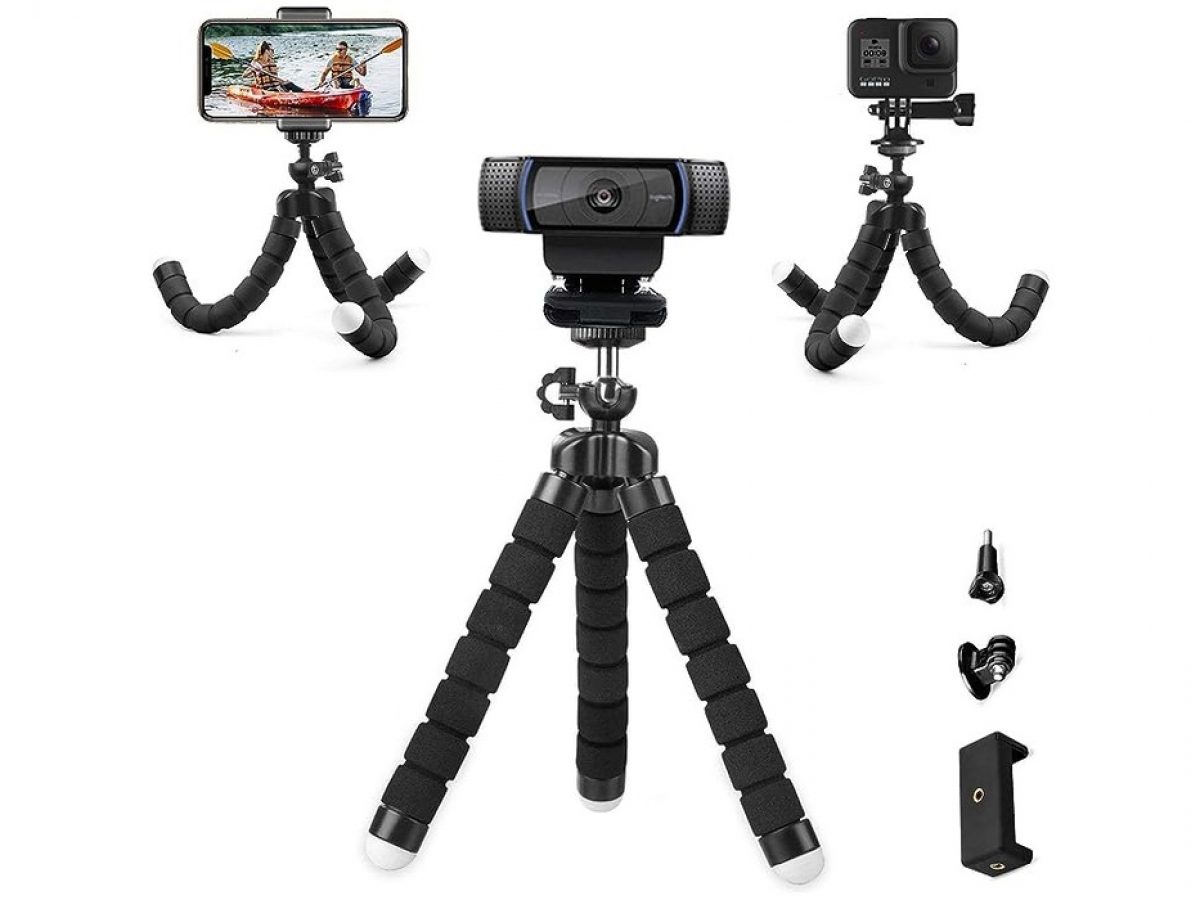
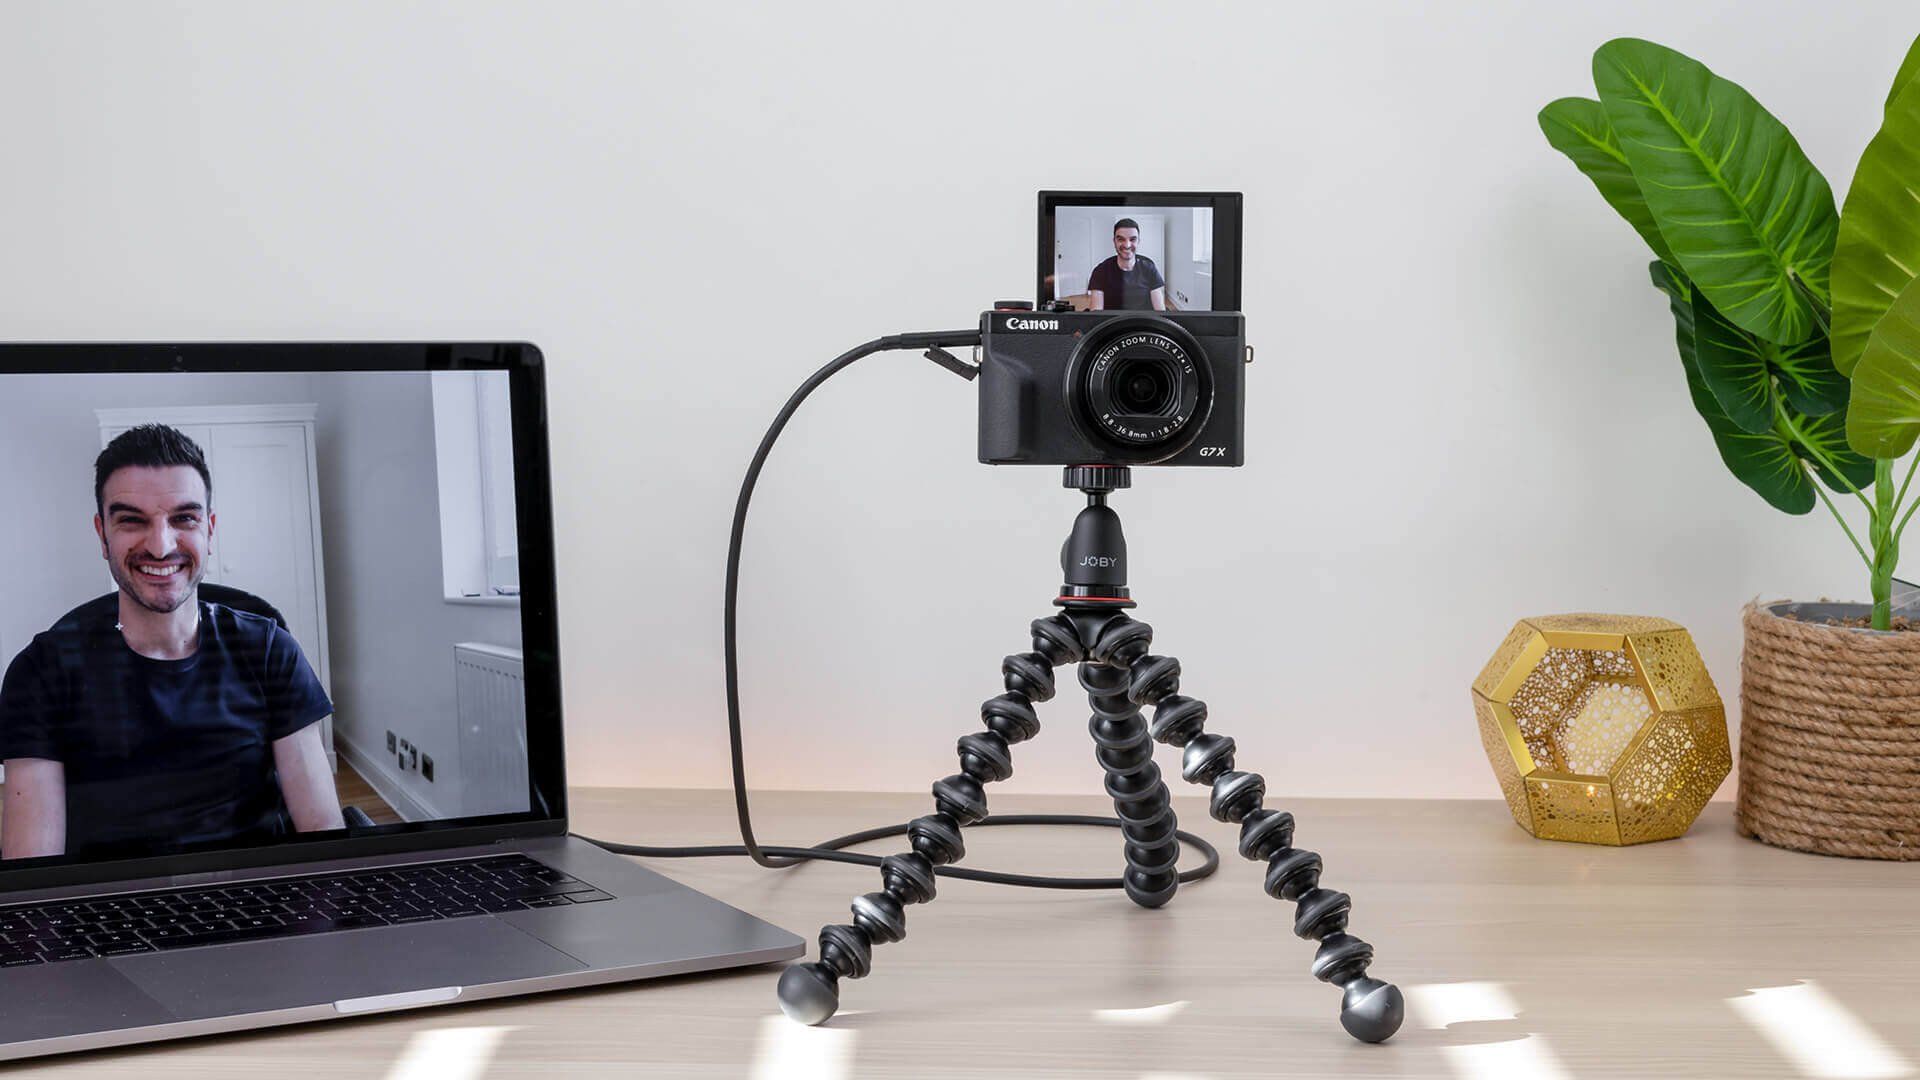
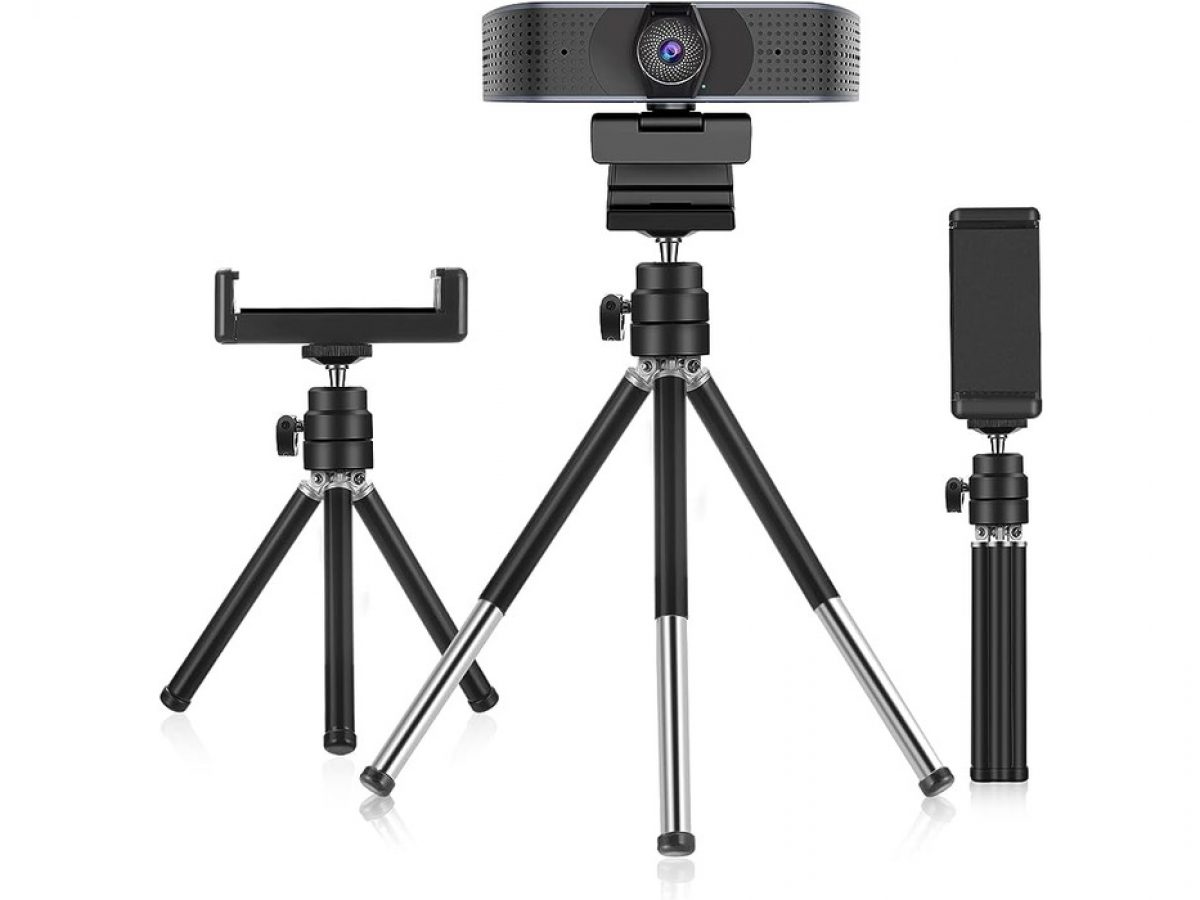
5. Stability: It’s important to ensure that your webcam is secure and stable. Use a tripod or a stable surface to minimize any vibrations or movement during your live stream. This helps maintain a professional and steady video feed.
6. Multiple Camera Angles: Depending on your streaming setup and the type of content you are creating, you may consider using multiple webcams to capture different angles or perspectives. This can add depth and variety to your stream, making it more visually engaging for your viewers.
Remember, the positioning of your webcam may require some experimentation and adjustments to find the optimal setup that suits your needs. Take the time to test different positions, angles, and lighting conditions to achieve the desired results.
In the next section, we will discuss how to adjust the settings of your webcam to optimize image quality and ensure a smooth streaming experience.
Adjusting the Webcam Settings
After positioning your webcam, it’s important to adjust the settings to optimize the image quality and ensure a smooth streaming experience. Here are some steps to help you adjust the webcam settings:
1. Software Controls: Open the webcam software on your computer and look for settings or controls specifically designed for adjusting the webcam settings. This may include options for brightness, contrast, saturation, sharpness, and color balance. Explore these settings to achieve the desired image quality.
2. Auto-Focus and Manual Focus: Most webcams come with an auto-focus feature that automatically adjusts the focus based on your distance from the camera. However, in certain situations, you may prefer to have manual control over the focus. If your webcam allows manual focus adjustments, experiment with it to find the perfect focus point.
3. Exposure: Adjust the exposure settings to ensure that the lighting on your face is balanced and not overexposed or underexposed. Some webcams have an auto-exposure feature that adjusts the exposure automatically, while others allow manual adjustments. Find the right balance to achieve a well-lit and clear image.
4. White Balance: White balance ensures that the colors in your video appear accurate and natural. Most webcams have an auto white balance setting that adjusts the colors based on the lighting conditions. However, if your webcam allows manual white balance adjustments, you can fine-tune it to match the lighting in your environment.
5. Zoom and Pan: Some webcams offer the ability to zoom in or pan across the frame. Use these features sparingly and only when necessary to maintain a professional and steady shot. In most cases, maintaining a wider shot provides a better view and more engagement with your viewers.
6. Audio Settings: If your webcam has a built-in microphone, check the audio settings to ensure it is providing clear and quality sound. Adjust the microphone sensitivity and volume levels to avoid distortion or background noise.
Remember to test different settings and make adjustments based on your personal preferences and the requirements of your content. Regularly review and fine-tune your webcam settings to ensure optimal performance and maintain a high-quality live streaming experience.
In the next section, we will discuss how to test your webcam to ensure everything is functioning properly before going live with your stream.
Testing the Webcam
Before you go live with your webcam, it’s crucial to test it to ensure that everything is functioning properly. Follow these steps to test your webcam:
1. Launch the Software: Open the webcam software on your computer or the streaming platform you will be using. Ensure that the webcam is properly connected and recognized by the software.
2. Preview the Video: Look for an option to preview the video feed from your webcam. This will allow you to see yourself in real-time, ensuring that the positioning, framing, and settings are to your liking.
3. Check Audio: If your webcam has a built-in microphone, speak into it and listen for clear and crisp audio. Adjust the microphone sensitivity and volume levels if necessary.
4. Test Recording: Use the recording function in the webcam software to record a short test video. Play it back to check the video quality, audio clarity, and overall performance. Look for any issues such as pixelation, blurriness, or audio distortion.
5. Check Compatibility: If you plan on using your webcam with a specific streaming platform or software, ensure that it is compatible. Test the webcam with the chosen platform or software to make sure it integrates seamlessly.
6. Troubleshoot: If you encounter any issues during the test, try troubleshooting common problems. This may include checking cables, updating software drivers, or adjusting settings. Refer to the webcam’s user manual or online support resources for guidance.
By thoroughly testing your webcam, you can identify and address any issues beforehand, ensuring a smooth and professional live streaming experience for your viewers.
In the next section, we will dive into the steps involved in setting up live streaming software for your webcam.
Setting up Live Streaming Software
To broadcast your webcam feed to a wider audience, you’ll need to set up live streaming software. Follow these steps to get started:
1. Choose Live Streaming Software: There are several live streaming software options available, both free and paid. Some popular choices include OBS Studio, Streamlabs OBS, XSplit, and Wirecast. Research and choose the software that best suits your needs and is compatible with your operating system.
2. Install the Software: Download and install the chosen live streaming software on your computer. Follow the installation instructions provided by the software provider.
3. Connect your Webcam: Connect your webcam to your computer and make sure it is recognized by the operating system. Most live streaming software automatically detects and integrates with webcams.
4. Configure Video Settings: In the live streaming software, navigate to the video settings section. Select your webcam from the available devices and adjust the resolution, frame rate, and other video settings according to your preferences and the requirements of your live stream.
5. Set Audio Options: Configure the audio settings in the live streaming software. Select the appropriate audio source, which can be your webcam’s built-in microphone or an external microphone. Adjust the audio levels and test the sound to ensure it is clear and balanced.
6. Add Overlays and Effects (Optional): Depending on your streaming style and branding, you may want to add overlays, text, or visual effects to your live stream. Explore the features and settings in the software to customize your stream with overlays, alerts, and other graphic elements.
7. Connect to Streaming Platform: Connect the live streaming software to the streaming platform of your choice. This can be platforms like YouTube Live, Twitch, Facebook Live, or others. Follow the instructions provided by the software to authenticate and connect your accounts.
8. Configure Stream Preferences: Set up the desired streaming preferences, including the stream title, category, privacy settings, and video bitrate. Configure the settings to optimize the stream quality and stability based on your internet connection and the capabilities of your computer.
9. Perform a Test Stream: Before going live, perform a test stream to ensure all settings are correctly configured and that the stream quality meets your expectations. Monitor the video and audio output during the test stream to identify and address any issues.
By following these steps, you can set up and configure the live streaming software for your webcam. In the next section, we will discuss the important settings to consider when configuring the streaming options for your live stream.
Configuring Streaming Settings
Configuring the streaming settings is a crucial step in ensuring a smooth and high-quality live stream. Follow these steps to configure the streaming settings in your live streaming software:
1. Select the Streaming Platform: In the live streaming software, choose the streaming platform you will be using from the list of supported platforms. This could be YouTube Live, Twitch, Facebook Live, or another platform of your choice.
2. Configure Stream Settings: Each streaming platform has specific requirements for stream settings. Refer to the platform’s documentation to determine the recommended video bitrate, resolution, and frame rate. Set these values accordingly in the streaming software to optimize the stream quality.
3. Choose the Streaming Server: Select the nearest and most appropriate streaming server for your location. This ensures better stability and reduced latency during the live stream. The software typically provides a list of available servers to choose from.
4. Set Encoder Settings: Choose the video encoder settings that align with the capabilities of your computer and network connection. Different software offers various options, such as x264 or NVENC. Select a preset or manually adjust the encoder settings according to your needs.
5. Set Stream Key and URL: Obtain the stream key and URL from your streaming platform. Enter these credentials in the streaming software to establish the connection. This allows the software to send your live stream to the platform.
6. Configure Stream Delay (Optional): Some streaming platforms offer a built-in stream delay setting, allowing you to add a delay to your stream. This can be useful for moderating content or preventing unwanted live interactions. Adjust the stream delay setting if required.
7. Test Stream and Monitor Metrics: Perform a test stream and monitor the stream metrics provided by the software. Pay attention to parameters like video bitrate, dropped frames, and overall stream health. Adjust settings as needed to optimize the stream performance.
8. Save Presets: Once you have configured the streaming settings, consider saving them as presets in the software. This allows you to quickly load the settings for future live streams, saving time and ensuring consistency.
By effectively configuring the streaming settings, you can ensure a stable and high-quality live stream. Make sure to regularly monitor the stream metrics during your live broadcasts to identify and address any potential issues.
In the next section, we will discuss the final steps to go live with your webcam and engage with your audience in real-time.
Going Live with Your Webcam
Now that you have set up your webcam, installed the necessary software, and configured the streaming settings, it’s time to go live and connect with your audience. Follow these steps to start your live stream:
1. Double-Check Settings: Before going live, double-check all your settings to ensure everything is properly configured. Make sure your webcam is positioned correctly, your audio levels are balanced, and your stream settings are optimized.
2. Start the Stream: In your live streaming software, find the “Start Stream” or “Go Live” button. Click on it to initiate the streaming process. The software will establish a connection with the streaming platform using your stream key and open the live stream on the platform.
3. Preview and Interact: Once your live stream is active, preview it on the streaming platform to make sure everything looks and sounds as intended. Take a moment to interact with your audience by acknowledging comments, answering questions, or addressing any live interactions.
4. Engage with Viewers: As you stream, engage with your viewers by providing valuable content, responding to comments, and creating an interactive experience. Encourage viewers to like, share, and subscribe to your stream to increase engagement and visibility.
5. Monitor Stream Quality: Keep an eye on the stream quality metrics provided by your streaming software, such as dropped frames, video bitrate, and stream health. If you notice any issues, consider adjusting settings or troubleshooting to maintain a smooth stream.
6. Promote Your Live Stream: Promote your live stream on your social media channels, website, or other platforms to attract more viewers. Announce the date and time of your live stream in advance to build anticipation and generate interest.
7. End the Stream: When you’re ready to end your live stream, properly close the streaming software and stop the stream on your chosen platform. Take the opportunity to thank your viewers for joining and leave them with a positive closing message.
Going live with your webcam allows you to showcase your talent, share your experiences, or communicate with your audience in real-time. Enjoy the experience, be yourself, and have fun engaging with your viewers.
In the next section, we will discuss common troubleshooting tips to help you overcome any issues that may arise during your live stream.
Troubleshooting Common Issues
While live streaming with your webcam, you may encounter a few common issues. Here are some troubleshooting tips to help you overcome them:
1. Internet Connection Problems: If you experience lag, buffering, or poor video quality, check your internet connection. Ensure you have a stable and reliable internet connection with sufficient upload speed. Consider using a wired connection instead of Wi-Fi for a more stable stream.
2. Audio Issues: If your audio is distorted, too soft, or not working at all, check your microphone settings. Make sure the correct microphone is selected in the streaming software and that the volume levels are properly configured. Test your microphone prior to the live stream to ensure it is functioning correctly.
3. Video Quality Problems: If your video appears pixelated or blurry, check your video settings. Ensure you have set the appropriate resolution, frame rate, and bitrate for your stream. Lowering the resolution or bitrate may help improve video quality if you have limited bandwidth or processing power.
4. Hardware Compatibility: If your webcam is not being recognized or is not functioning properly, ensure that it is compatible with your operating system and streaming software. Check for any necessary software updates for your webcam and make sure you have installed the latest drivers.
5. Stream Dropped Frames: If you notice dropped frames in your stream, it may be due to high CPU usage or insufficient resources. Try closing any unnecessary applications running in the background to free up system resources. Lowering your video settings or encoding settings may also help reduce dropped frames.
6. Stream Delay: If you are experiencing a significant delay between your live actions and when viewers see them, check your streaming software settings. Adjust the stream delay settings if available or consider using a lower-latency streaming platform.
7. External Interference: If you’re experiencing interference or distorted video or audio, check for any external sources of interference. Keep your webcam away from other electronic devices that may cause interference, such as routers, speakers, or cordless phones.
8. Test Stream and Troubleshoot Live: Before going live, perform a test stream to identify and address any potential issues. Monitor the chat, video, and audio quality during the test stream to ensure a smooth and trouble-free experience.
Remember to stay calm and patient while troubleshooting issues during your live stream. It’s always a good idea to have a backup plan, such as having an alternate streaming platform or a spare webcam, in case of any technical difficulties.
In the next section, we will conclude our guide and summarize the key points discussed throughout the article.
Conclusion
Setting up a live webcam opens up a world of possibilities for connecting with your audience and sharing your experiences in real-time. By following the steps outlined in this guide, you can successfully set up and configure your webcam, install the necessary software, and start live streaming confidently.
Choosing the right webcam is crucial, considering factors such as image quality, low light performance, field of view, and connectivity. Installing the webcam software and adjusting the settings allows you to optimize the video and audio quality for a professional-looking live stream. Proper positioning of the webcam ensures a visually appealing shot, while configuring streaming settings and choosing the right live streaming software guarantees a smooth and high-quality stream.
Remember to thoroughly test your webcam before going live, checking the video and audio quality to ensure everything is functioning properly. Engaging with your viewers, promoting your live stream, and monitoring stream metrics allow you to connect with your audience and make your live stream interactive.
In the event of any issues, troubleshooting common problems like internet connection, audio or video quality, hardware compatibility, and interference is essential. Conducting a test stream prior to the live stream helps identify and rectify any potential issues, ensuring a seamless streaming experience.
With a well-set-up webcam and proper live streaming techniques, you can captivate your audience, share your passions, and build a community of engaged viewers. So, go ahead and embrace the world of live streaming with your webcam, and enjoy the opportunities it brings in connecting with others in real-time.
We hope this guide has provided you with valuable insights and guidance on setting up and maximizing the potential of your live webcam. Best of luck with your live streaming adventures!


