Introduction
Welcome to this article on how to set the case fan curve on MSI Commander. If you’re a PC enthusiast or gamer, you probably know the importance of maintaining proper cooling for your system. Efficient cooling not only helps in keeping the temperatures of various components under control but also contributes to better overall performance and longevity.
MSI Commander is a powerful and user-friendly software tool that allows you to manage and control various aspects of your MSI motherboard, including fan speed and performance. By setting a custom fan curve, you can optimize the cooling performance of your system according to your specific needs and requirements.
If you’ve ever wondered how to make your PC’s fans work more effectively or want to reduce the noise created by your fans without compromising on cooling performance, this guide is for you. In the following sections, we will provide a step-by-step guide on how to set the case fan curve using MSI Commander.
Before we delve into the process, let’s understand why setting the case fan curve is crucial for your system’s overall performance.
What is MSI Commander
MSI Commander is a software tool developed by MSI (Micro-Star International) specifically designed for managing and customizing various settings of MSI motherboards. It provides users with a wide range of options and controls to enhance the performance and functionality of their systems.
One of the key features of MSI Commander is its ability to control and adjust fan speed. It allows users to create custom fan curves, which determine how the system’s fans operate, based on temperature thresholds.
With MSI Commander, you can easily monitor and manage the speed of your case fans, CPU fan, and other connected fans. This level of control enables you to fine-tune the cooling performance of your system and maintain optimal temperatures for critical components, such as the CPU and GPU.
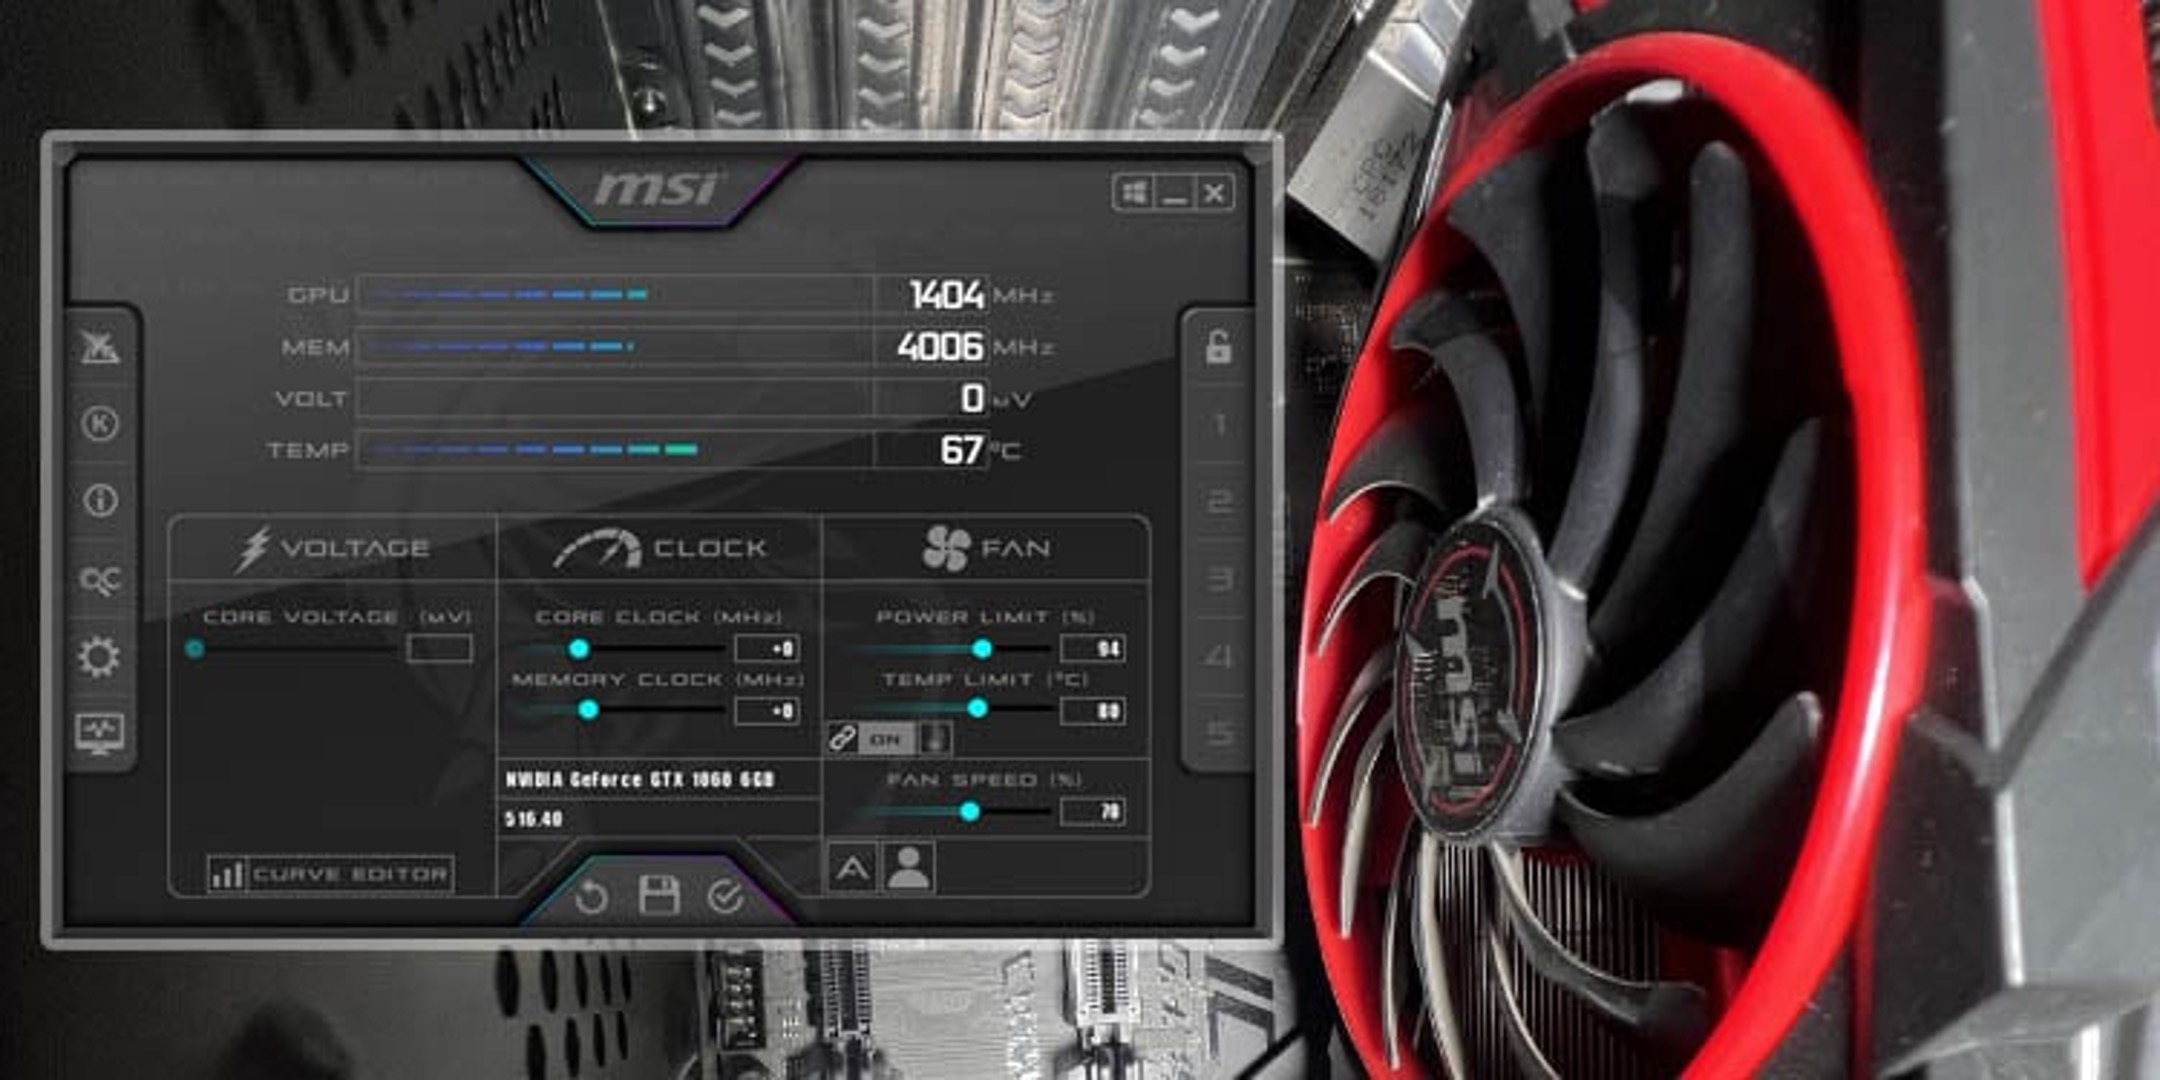
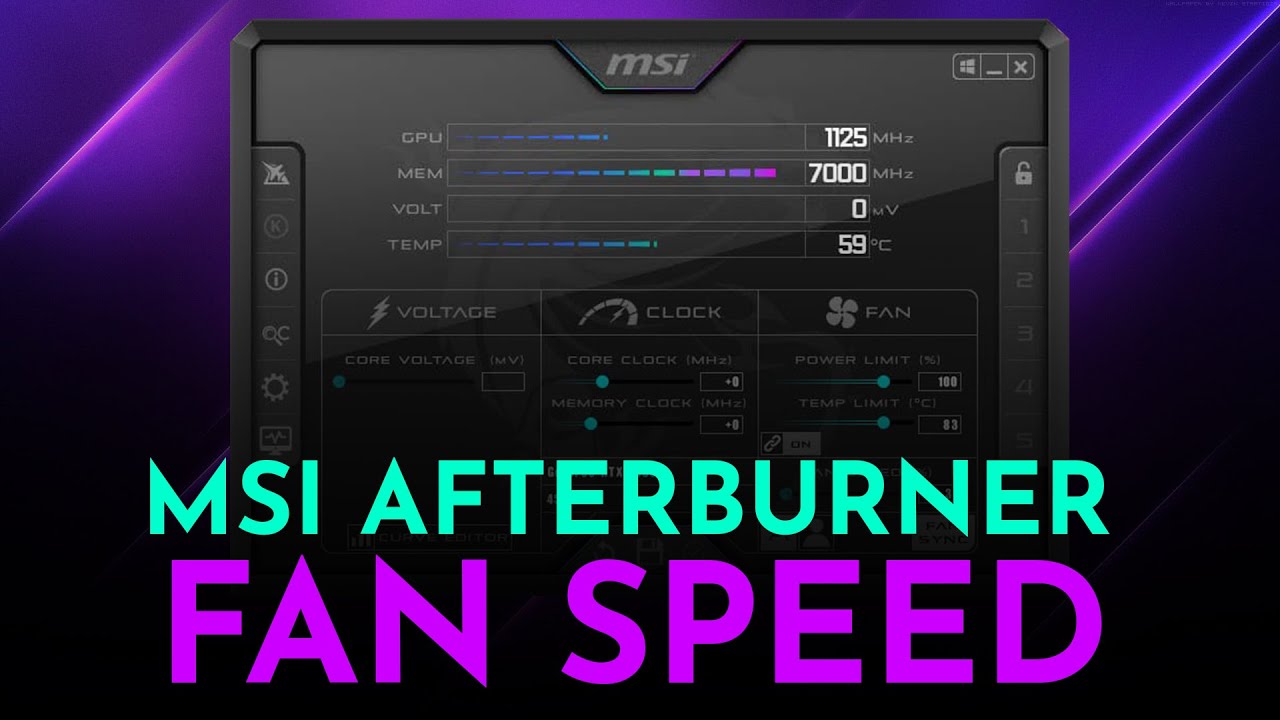
Furthermore, MSI Commander provides an intuitive graphical user interface (GUI) that makes it easy for users, even those with limited technical knowledge, to navigate and customize settings. It offers real-time monitoring of fan speed, temperature, and other system parameters, allowing you to keep track of your system’s performance and make necessary adjustments on the fly.
In addition to fan control, MSI Commander also offers features like overclocking, RGB lighting control, system optimization, and hardware information. It is a comprehensive tool that empowers users to maximize the potential of their MSI motherboards and create an optimized computing experience.
Overall, MSI Commander is a powerful and user-friendly software utility that provides advanced control and customization options for MSI motherboards. Whether you’re a seasoned PC enthusiast or a casual user, this tool allows you to fine-tune your system’s cooling performance and unleash its full potential.
Why Set Case Fan Curve
Setting a proper case fan curve is essential for maintaining optimal cooling in your PC system. Here are a few reasons why you should consider customizing the fan curve:
Temperature Control: The primary purpose of case fans is to regulate the temperature inside your system. By setting a custom fan curve, you can ensure that the fans respond to changes in temperature effectively. This helps in preventing your hardware components from overheating, which can lead to performance issues, instability, and even hardware damage.
Cooling Efficiency: Setting a case fan curve allows you to optimize the cooling efficiency of your system. Different components generate varying levels of heat, and the default fan settings may not always be sufficient to keep them adequately cool. By customizing the fan curve, you can ensure that the fans spin faster when the temperatures rise, providing improved cooling performance for specific components.
Noise Reduction: If you find that the noise generated by your fans is excessive, customizing the fan curve can help mitigate this issue. By setting a more aggressive fan profile during high-temperature scenarios and a more relaxed profile during idle or low-load periods, you can strike a balance between cooling and noise. This allows for a quieter computing experience without compromising on cooling performance.
System Longevity: Excessive heat buildup can significantly impact the lifespan of your hardware components. By setting an appropriate fan curve, you can effectively dissipate heat and ensure that your components operate within safe temperature limits. This increased thermal management can help extend the lifespan of your PC and reduce the risk of premature component failure.
Personalized Control: Every user’s system requirements and preferences are unique. By customizing the fan curve, you can have more control over how your system responds to temperature changes. Whether you prioritize cooling performance, noise reduction, or a balance between the two, setting a custom fan curve allows you to tailor your system’s cooling to your specific needs.
Overall, setting a case fan curve is crucial for maintaining optimal temperature control, enhancing cooling efficiency, reducing noise levels, and prolonging the lifespan of your PC components. Now that we understand the importance, let’s dive into the process of setting the case fan curve using MSI Commander.
Step-by-Step Guide on How to Set Case Fan Curve on MSI Commander
Now that we recognize the significance of setting a case fan curve, let’s explore the step-by-step process of customizing the fan curve using MSI Commander:
- Install MSI Commander: Start by downloading and installing the latest version of MSI Commander from MSI’s official website. Ensure that you choose the appropriate version compatible with your motherboard model.
- Launch MSI Commander: Once the installation is complete, launch MSI Commander. The software will automatically detect and display information about your MSI motherboard, including the fan configuration.
- Select Fan Control: From the main menu of MSI Commander, locate and click on the “Fan Control” option. This will open up the fan control settings, where you can customize the fan curve.
- Choose the desired fan speed control mode: MSI Commander offers two fan speed control modes: Automatic and Advanced. Select the “Advanced” mode to have full manual control over the fan curve settings.
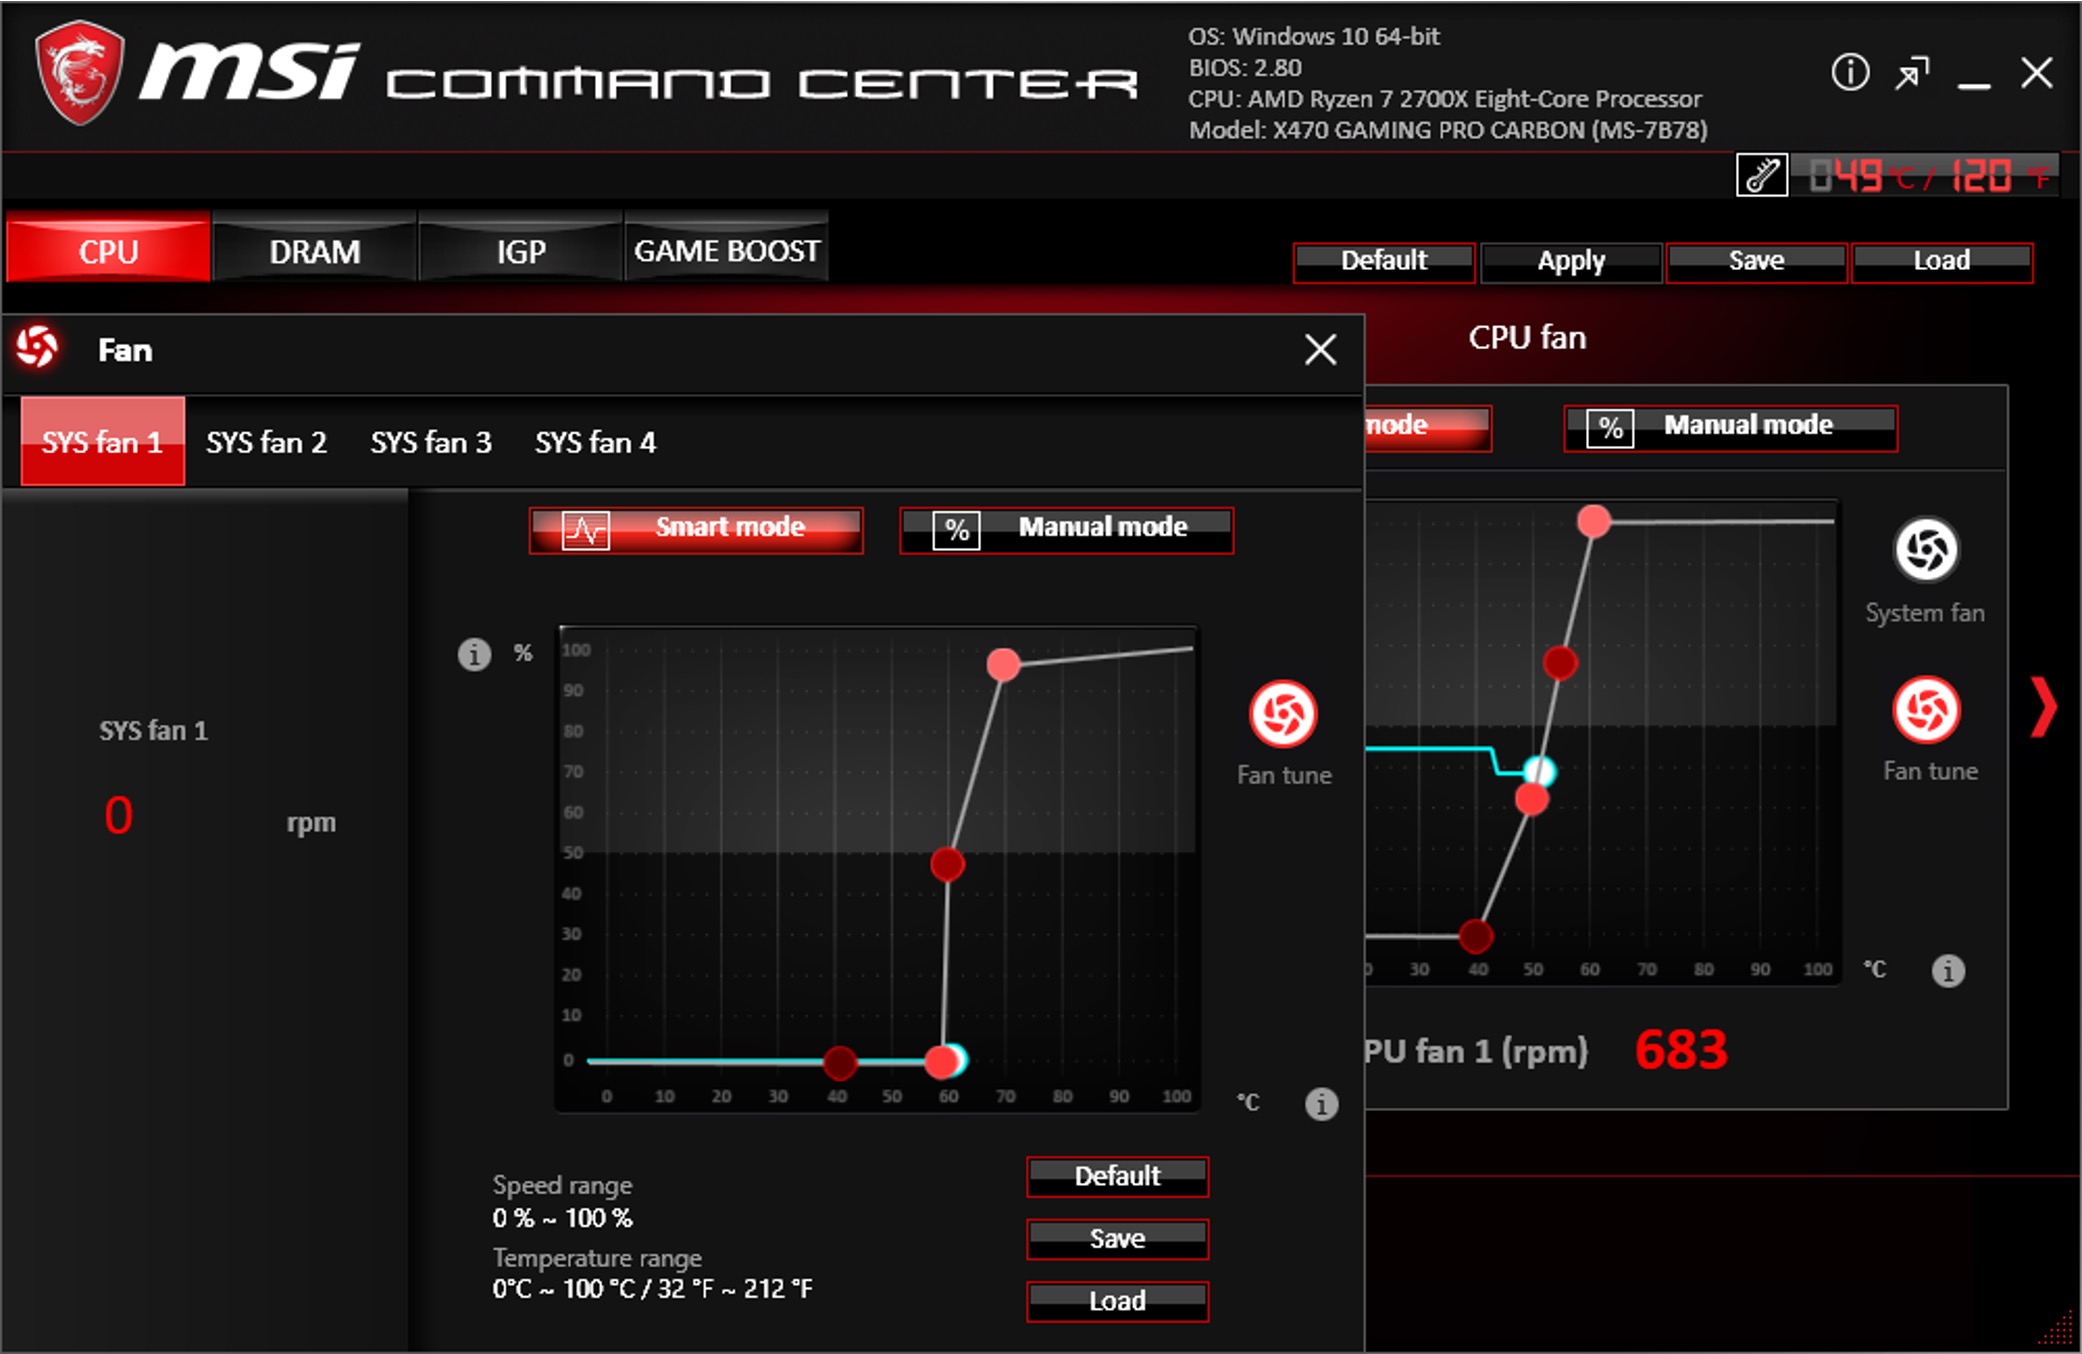
- Adjust the fan curve: In the fan control interface, you will see a graph that represents the fan curve. You can manually adjust the curve by clicking and dragging the points on the graph. This allows you to determine the fan speed at different temperature intervals.
- Set fan speeds: Customize the fan speeds according to your needs. You can increase the speed to provide more cooling when the temperatures rise or decrease it for quieter operation during idle or low-load scenarios.
- Save the settings: Once you are satisfied with the adjustments, click on the “Apply” or “Save” button to save the customized fan curve settings to your motherboard’s BIOS. This will ensure that the fan curve remains active even after rebooting your system.
- Monitor and tweak: After saving the settings, you can monitor the fan speeds and temperatures in real-time using MSI Commander. Keep an eye on the temperatures and adjust the fan curve as necessary to achieve optimal cooling performance.
It’s important to note that every system is unique, and the optimal fan curve settings may vary depending on your specific hardware configuration and cooling requirements. Experiment and monitor your system’s temperatures to find the right balance between cooling performance and noise levels.
By following these steps, you will be able to set a customized case fan curve using MSI Commander, optimizing the cooling performance of your PC system.
Conclusion
Setting a custom case fan curve using MSI Commander is a valuable tool for PC enthusiasts and gamers who want to optimize their system’s cooling performance. By adjusting the fan speeds based on temperature thresholds, you can ensure efficient cooling, prevent overheating, and enhance the overall longevity of your hardware components.
Throughout this guide, we have explored the importance of setting a case fan curve, the functionalities provided by MSI Commander, and a step-by-step process to customize the fan curve. With MSI Commander, you have the power to tailor your system’s cooling performance according to your specific needs and preferences.
Remember, while the default fan settings may work well for most scenarios, customizing the fan curve allows for a more targeted and efficient cooling solution. It enables you to strike the right balance between cooling performance and noise levels, ensuring an optimal computing experience.
Keep in mind that the optimal fan curve settings may vary depending on your hardware configuration, ambient temperatures, and personal preferences. It’s crucial to monitor your system’s temperatures and make necessary adjustments to achieve the best cooling performance.
By utilizing the benefits of MSI Commander, you can take control of your system’s cooling, enhance performance, and contribute to the longevity of your hardware. So, go ahead and experiment with your fan curve settings to find the perfect balance for your system!