Introduction
When it comes to keeping your computer running smoothly, case fans play a vital role in maintaining optimal temperatures. They help circulate air within the computer case, preventing overheating and ensuring the longevity of your hardware components.
If you’ve ever taken a peek inside your computer chassis, you may have noticed that case fans have more than just two wires. In addition to the traditional red and black wires, there is often a mysterious third wire. What exactly is this wire and what purpose does it serve? In this article, we will unravel the mystery of the third wire on a case fan and explore its significance.
Understanding the functionality of case fans is essential for any computer enthusiast or DIY builder. By gaining insights into the wires and their functions, you can make informed decisions about fan configurations, troubleshooting issues, and optimizing airflow management.
In this guide, we will delve into the basics of case fans, explain the role of the third wire, and explore the differences between PWM (Pulse Width Modulation) and non-PWM fans. Furthermore, we will outline the benefits of using PWM fans and provide step-by-step instructions on how to connect a PWM fan.
So, if you’ve ever wondered about that mysterious third wire on a case fan, grab your screwdriver and join us on this informative journey as we explore the fascinating world of computer cooling. Get ready to demystify the third wire and gain a deeper understanding of how it contributes to the optimal performance of your computer’s cooling system.
The Basics of Case Fans
Before delving into the intricacies of the third wire on a case fan, let’s start by understanding the basics of what a case fan is and why it is essential for your computer’s cooling system.
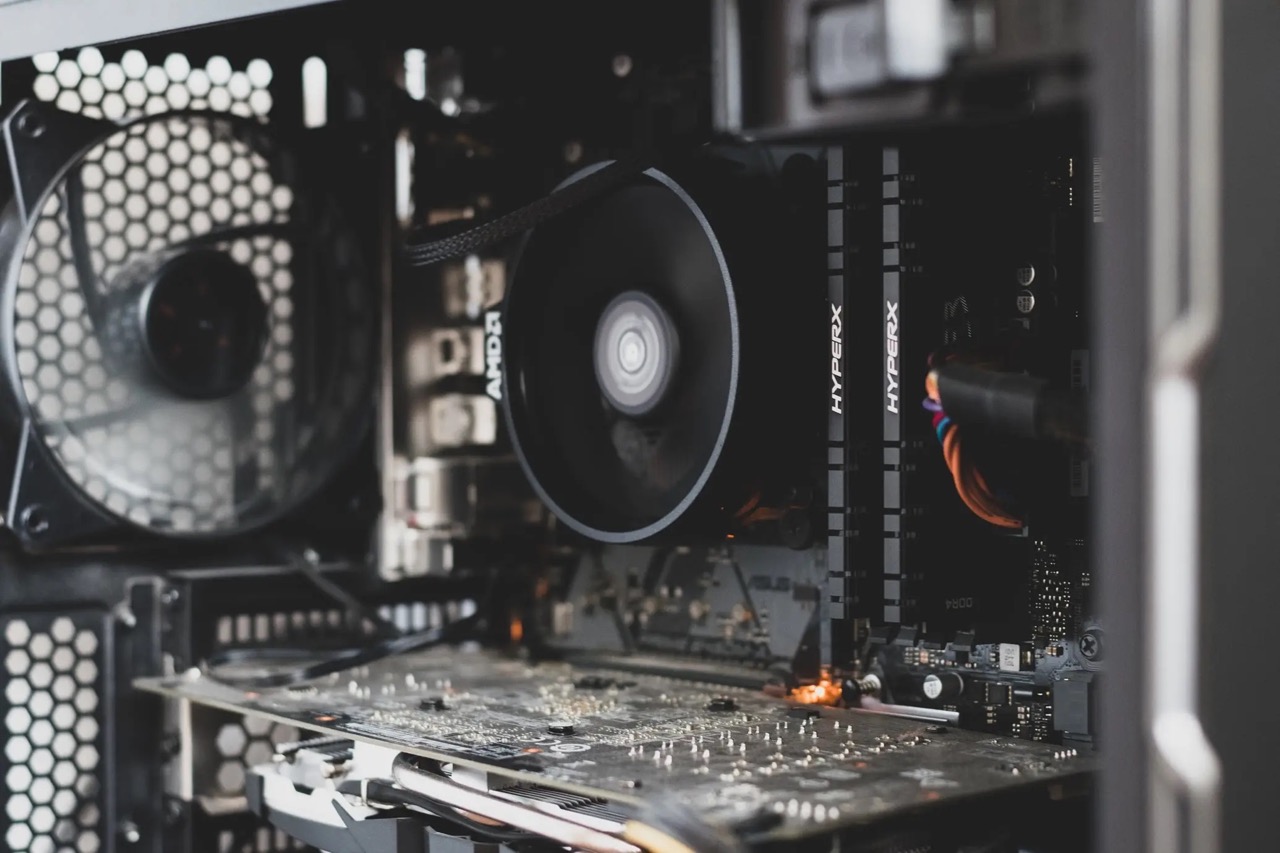
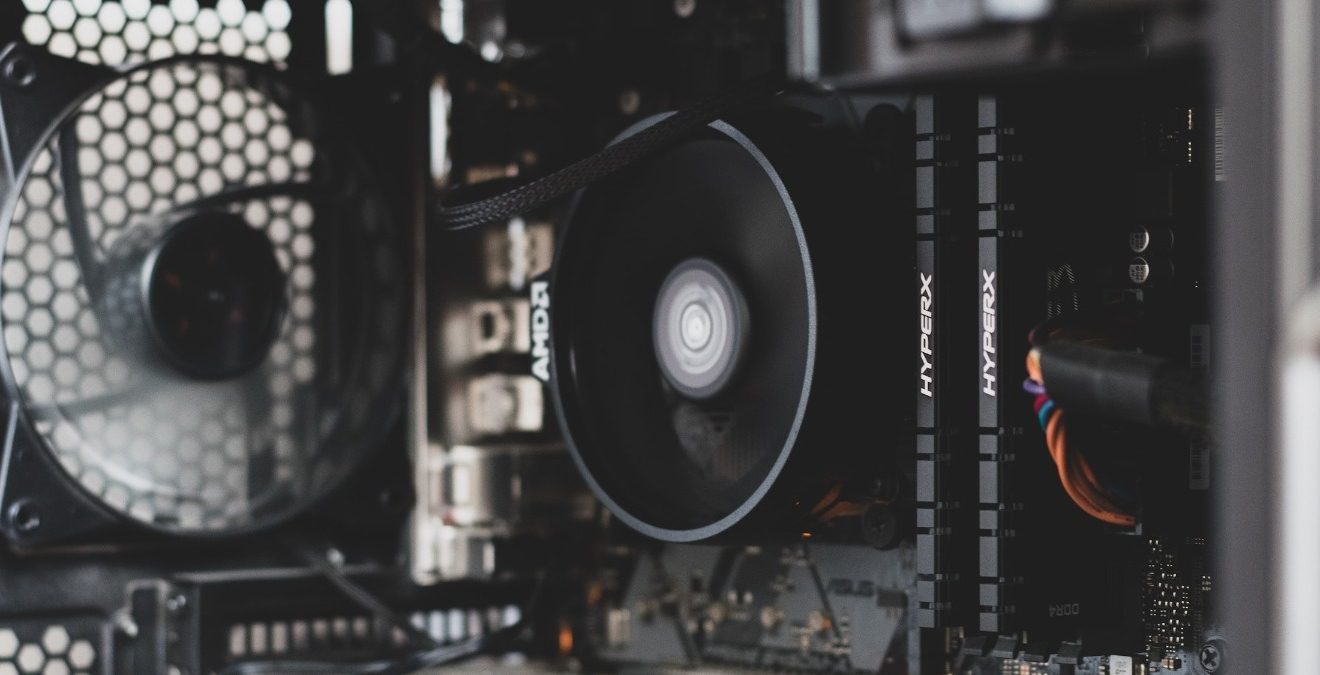
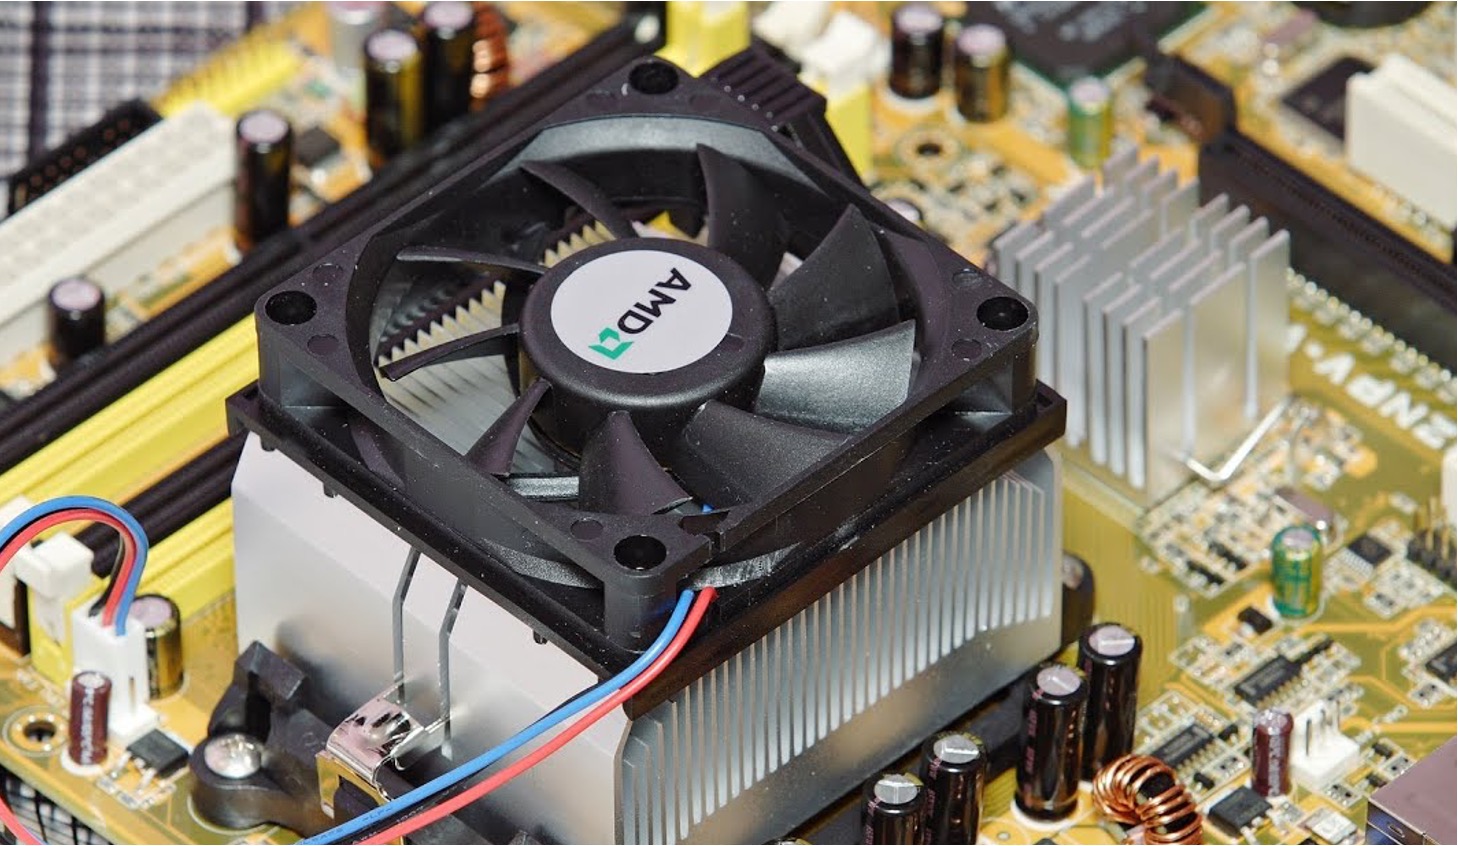
A case fan, also known as a cooling fan, is a small electric motor with blades designed to move air. It is typically installed inside the computer case to circulate air and dissipate the heat generated by various components, such as the CPU, graphics card, and power supply.
When your computer is in operation, these components produce heat. If left unchecked, this heat can accumulate and result in overheating, which can lead to performance issues and even permanent damage to your hardware.
Case fans help in preventing this by expelling the hot air and bringing in fresh, cool air into the case. This airflow facilitates the cooling process and maintains optimal temperatures for the components to function efficiently.
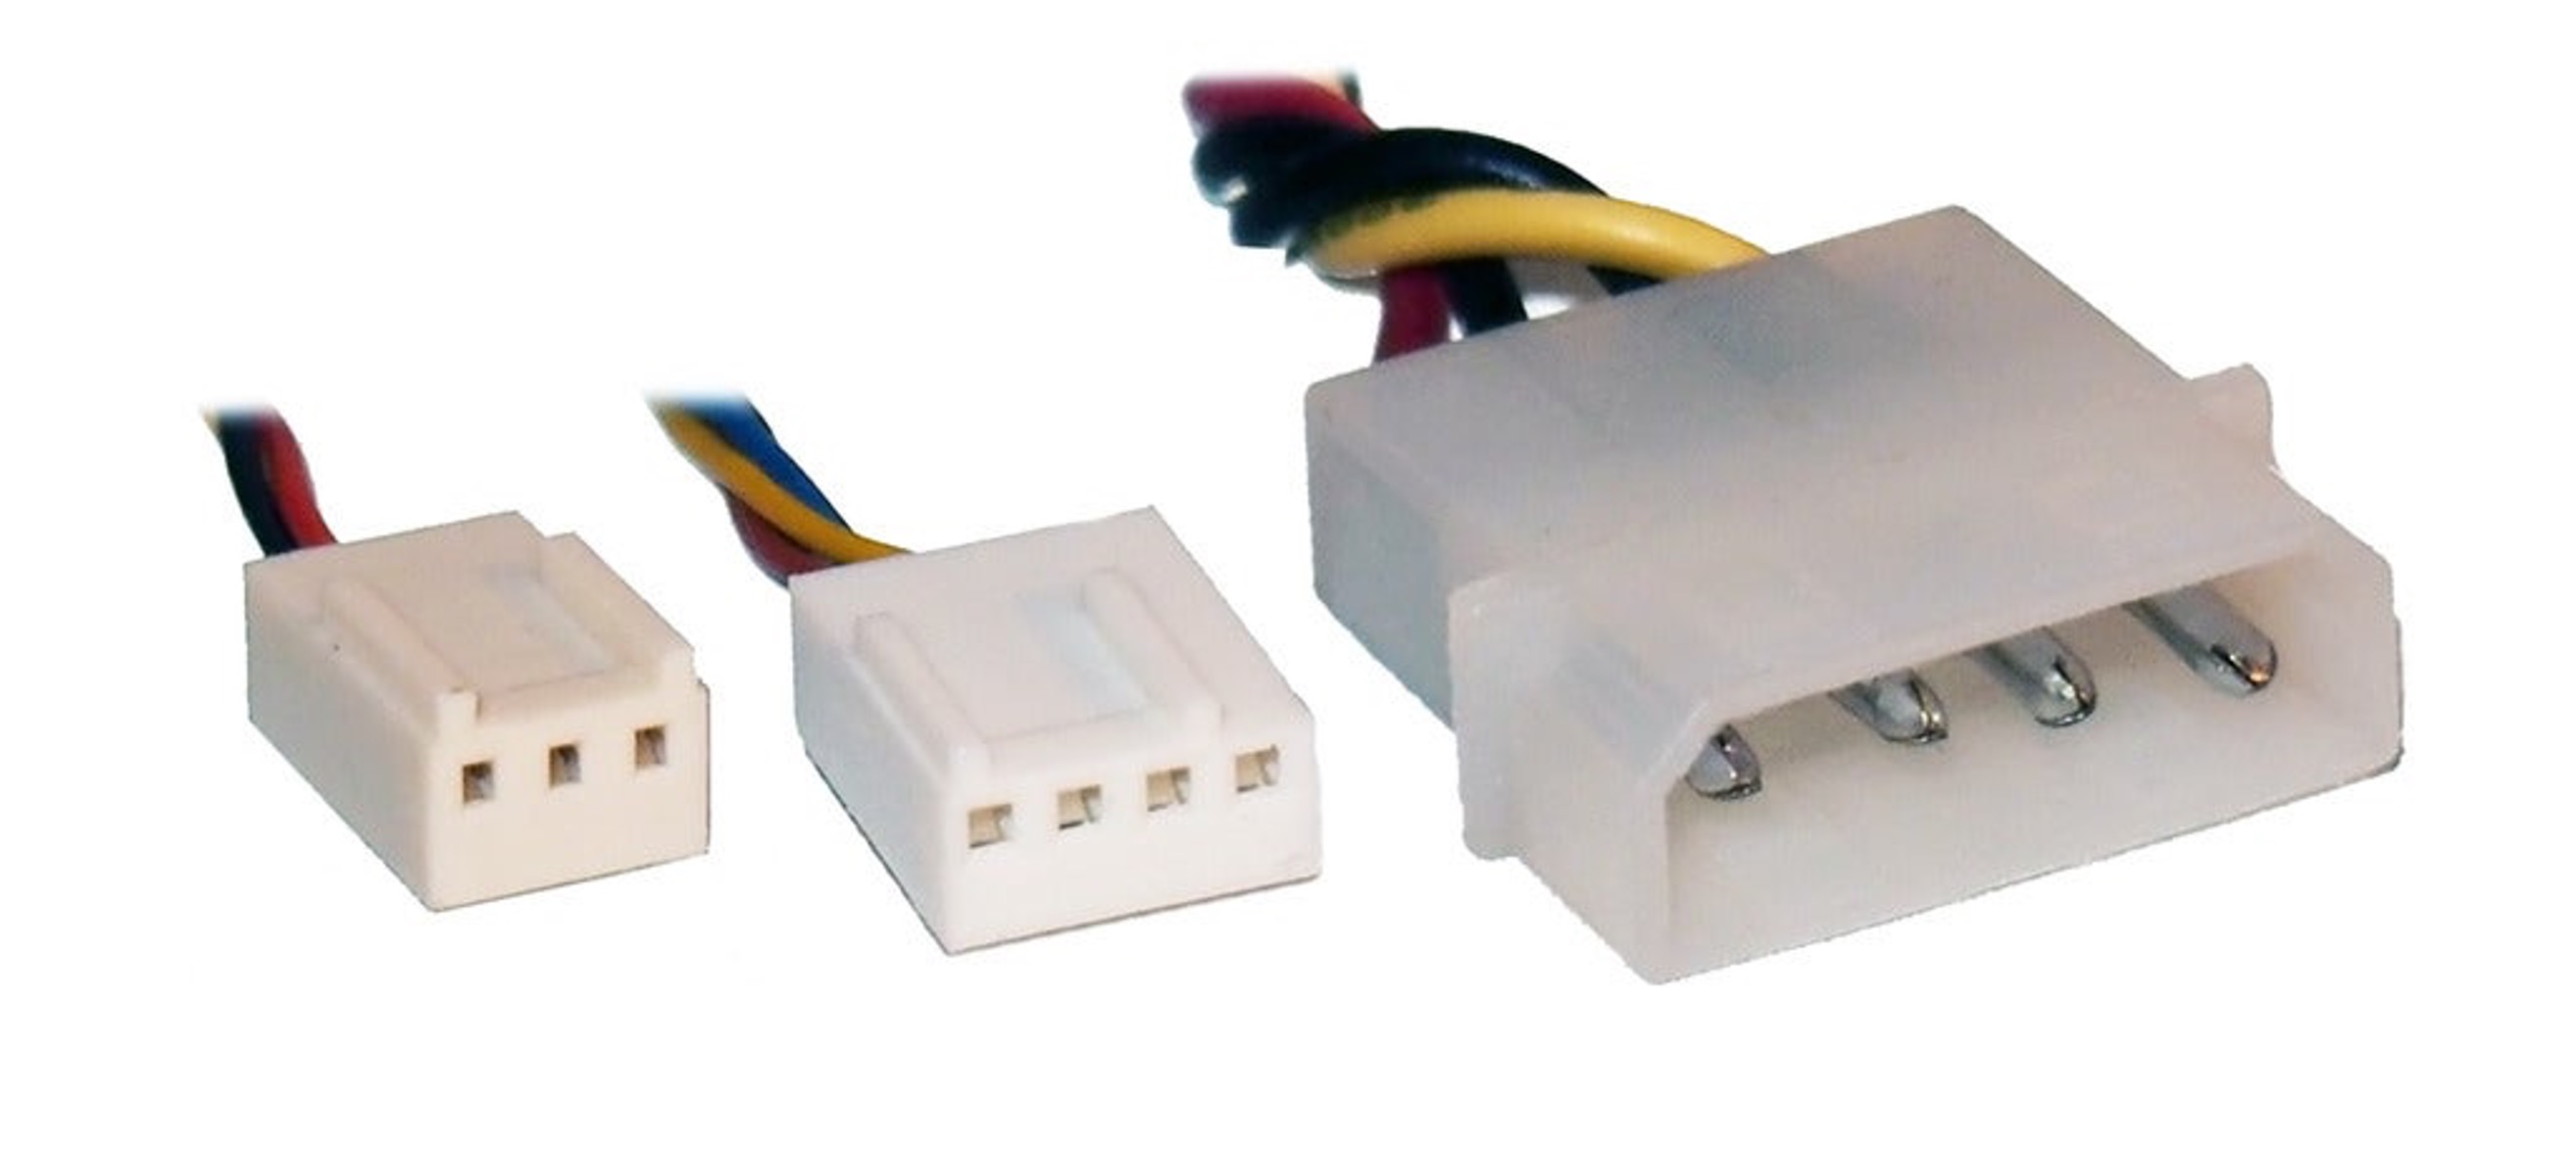
Most case fans have two wires, a red one and a black one. The red wire is responsible for carrying the electrical power, while the black wire is the ground wire. When connected to the appropriate power source, the fan starts spinning, pushing air through the case.
However, what sets case fans apart and adds complexity to their wiring is the presence of a third wire. This third wire, often colored yellow or blue, serves a specific purpose that we will explore further in the next section.
Now that you have a solid understanding of the role of case fans in computer cooling, let’s dive deeper into the significance of the third wire on these fans and how it affects their functionality.
Understanding the Wires on a Case Fan
To comprehend the purpose of the third wire on a case fan, it’s important to first understand the functionality of the different wires present on the fan. As mentioned earlier, most case fans have three wires – red, black, and a third wire typically colored yellow or blue.
The red wire is the positive wire carrying electrical power, while the black wire is the ground wire, completing the electrical circuit. These two wires are responsible for supplying power to the fan motor, enabling it to spin and generate airflow.
The intriguing third wire on the case fan is known as the tachometer or RPM (Rotations Per Minute) wire. This wire provides information about the fan’s speed to the computer’s motherboard or fan controller. The motherboard uses this data to monitor the fan’s speed and adjust it accordingly, depending on the system’s needs.
The RPM wire works by transmitting a pulse signal to the motherboard in each rotation of the fan. The motherboard counts these pulses and calculates the fan’s speed in revolutions per minute. This information allows the system to regulate fan speeds based on temperature variations, ensuring an efficient and balanced cooling performance.
By monitoring the fan’s speed, the motherboard can employ fan control mechanisms, such as PWM (Pulse Width Modulation), to adjust the voltage supplied to the fan. This control mechanism regulates the fan’s speed by varying the power input rather than simply turning the fan on or off.
In summary, the function of the third wire on a case fan is to provide the motherboard with information about the fan’s speed. This allows the system to adjust the fan’s speed dynamically, based on thermal conditions, in order to maintain a balance between cooling performance and noise levels.
Now that we have a clear understanding of the wires on a case fan and the purpose of the third wire, let’s explore in more detail what exactly the third wire does and the role it plays in the operation of a case fan.
What Is the Third Wire?
The third wire on a case fan, often colored yellow or blue, is commonly referred to as the tachometer or RPM (Rotations Per Minute) wire. This wire serves as a vital communication link between the fan and the computer’s motherboard or fan controller.
As mentioned earlier, the RPM wire provides information about the fan’s speed to the motherboard or fan controller. This data allows the system to monitor and regulate the fan’s speed dynamically, ensuring efficient cooling and maintaining a balance between performance and noise levels.
The RPM wire is connected to a specific pin on the fan header, which is a port on the motherboard designed to connect case fans. This allows the motherboard to read the pulse signals transmitted by the fan as it rotates.
By counting these pulses over a specific period of time, usually per minute, the motherboard calculates the fan’s speed in revolutions per minute (RPM). This information serves as important feedback for the system to adjust the fan’s speed as needed.
Without the RPM wire, the motherboard would be unable to accurately measure the fan’s speed and adjust it accordingly. This could result in the fan running too fast or too slow, leading to inadequate cooling or excessive noise.
In addition to monitoring fan speed, some motherboards also utilize the RPM wire to detect whether the fan is functioning properly. If the pulses transmitted by the fan are irregular or absent, the motherboard can detect this as a malfunction and issue a warning or error message to the user via the system’s BIOS or software.
The third wire on a case fan, therefore, serves a crucial role in facilitating communication between the fan and the motherboard. By providing information about the fan’s speed, it enables the system to regulate cooling performance, optimize noise levels, and ensure the overall stability and longevity of the computer’s hardware.
Now that we have explored the purpose and significance of the third wire on a case fan, let’s delve deeper into the differences between PWM (Pulse Width Modulation) and non-PWM fans and the benefits of using PWM fans in computer cooling systems.
The Role of the Third Wire
The third wire on a case fan plays a crucial role in facilitating communication and control between the fan and the computer’s motherboard or fan controller. It provides essential information about the fan’s speed, allowing for dynamic adjustment and optimal cooling performance.
One of the primary functions of the third wire, often colored yellow or blue, is to transmit RPM (Rotations Per Minute) data to the motherboard. This information enables the system to monitor the fan’s speed and make adjustments as necessary to maintain efficient cooling.
By receiving the RPM data, the motherboard can employ various fan control mechanisms to regulate the fan’s speed. One such mechanism is Pulse Width Modulation (PWM), which adjusts the voltage supplied to the fan based on temperature readings and system requirements.
PWM fans utilize the third wire to receive control signals from the motherboard, allowing precise control over the fan’s speed within a wide range. This control mechanism operates by rapidly switching the voltage on and off, effectively modulating the fan’s rotational speed.
Non-PWM fans, on the other hand, do not have a third wire and cannot benefit from PWM control. They operate at a fixed speed determined by the voltage supplied to them. These fans are typically controlled either by varying the voltage directly or using voltage step-down adapters.
The presence of the third wire, specifically in PWM fans, offers several advantages. Firstly, PWM control allows for accurate adjustments in fan speed, leading to better cooling performance and noise management. It enables the fan to run at lower speeds when the system requires less cooling, reducing noise levels.
Furthermore, PWM control ensures that the fan operates at its optimal performance range, avoiding the issues associated with underpowered or overworked fans. This helps in maintaining a stable system temperature and prolonging the lifespan of hardware components.
In summary, the role of the third wire on a case fan is to facilitate communication and control between the fan and the motherboard or fan controller. It enables the transmission of RPM data, allowing dynamic adjustments in fan speed based on cooling requirements. PWM fans, which utilize the third wire, offer precise control, better cooling performance, and noise management compared to non-PWM fans.
Now that we understand the role of the third wire and the advantages of PWM fans, let’s dive deeper into the benefits of using PWM fans for computer cooling and how to connect a PWM fan to your system.
PWM vs. Non-PWM Fans
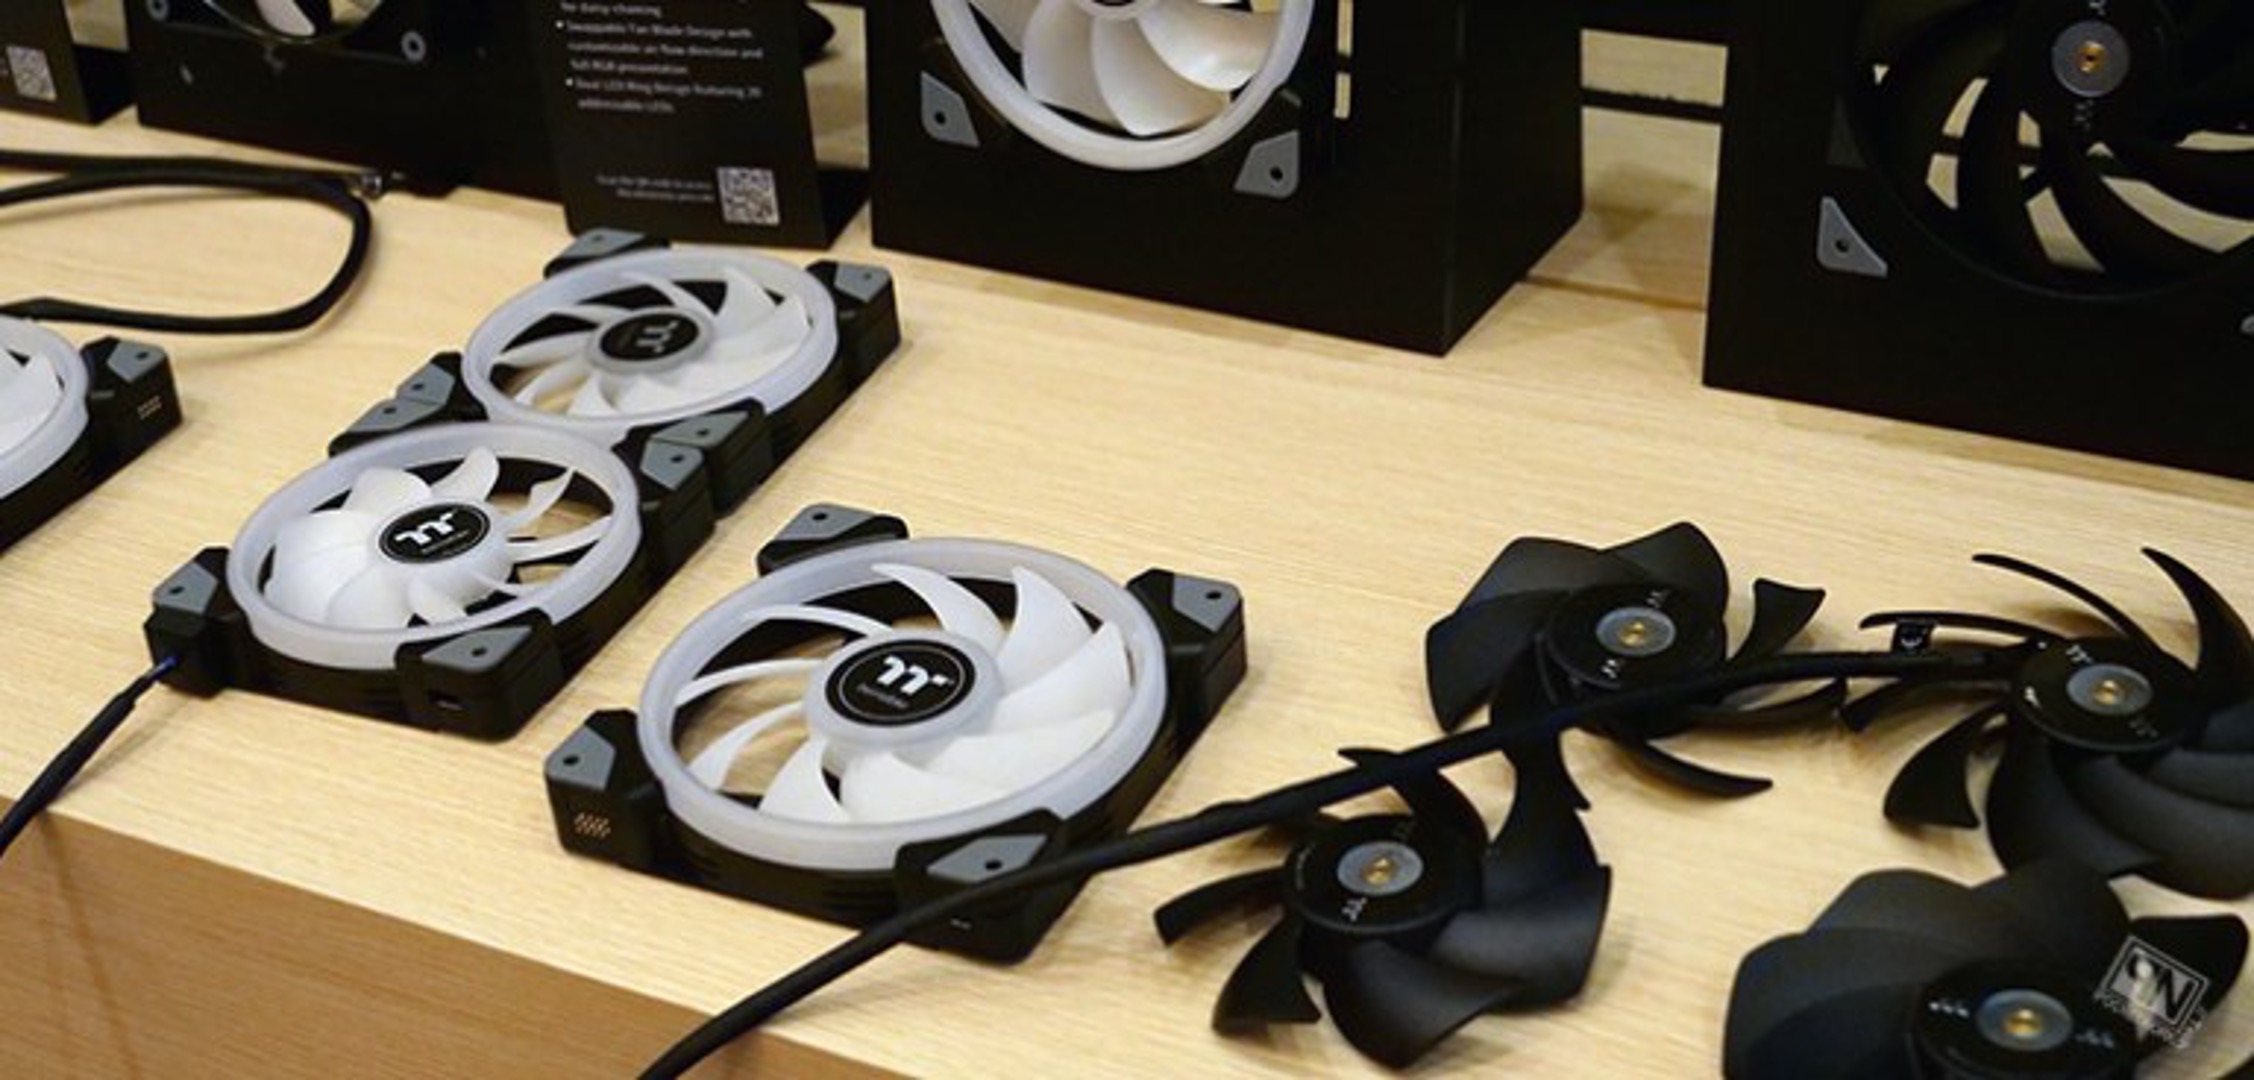
When it comes to case fans, there are two main types: PWM (Pulse Width Modulation) fans and non-PWM fans. Understanding the differences between these fan types is essential in determining which one is best suited for your specific cooling needs.
PWM fans, as mentioned earlier, utilize the third wire on the fan, which is responsible for receiving control signals from the motherboard or fan controller. This allows for precise control over the fan’s speed within a wide range. PWM control works by adjusting the voltage supplied to the fan in a series of rapid on-off cycles.
On the other hand, non-PWM fans do not have a third wire and thus lack the ability to receive control signals from the motherboard. They operate at a fixed speed determined by the voltage supplied to them, either directly or through the use of voltage step-down adapters.
The main advantage of PWM fans lies in their ability to provide more accurate and granular control over the fan speed. PWM control allows for fine-tuning the fan’s rotational speed based on real-time temperature readings, system demands, and cooling requirements. This dynamic adjustment results in optimal cooling efficiency and noise management.
Non-PWM fans, while lacking the flexibility of PWM control, can still provide adequate cooling. They operate at a fixed speed determined by the voltage, which can be manually adjusted to achieve the desired cooling performance. However, this fixed speed can lead to suboptimal performance and noise levels, especially when the system requires less cooling.
When it comes to noise management, PWM fans have an advantage over non-PWM fans. By being able to vary the fan’s speed based on cooling demands, PWM fans can operate at lower speeds when the system requires less airflow, resulting in quieter operation. In contrast, non-PWM fans, running at fixed speeds, may produce unnecessary noise when operating at higher speeds than necessary.
In terms of cost, PWM fans are generally slightly more expensive than non-PWM fans due to the additional circuitry required for PWM control. However, the added control and performance benefits make PWM fans worthwhile investments, particularly for high-performance or overclocked systems where precise cooling is crucial.
In summary, while both PWM and non-PWM fans can provide adequate cooling, PWM fans offer significant advantages in terms of precise control, optimal cooling performance, and noise management. Non-PWM fans, while more budget-friendly, are limited in their speed control capabilities and may result in suboptimal performance in certain scenarios.
Having understood the differences between PWM and non-PWM fans, let’s explore the benefits of using PWM fans in more detail and learn how to connect a PWM fan to your computer system.
Benefits of PWM Fans
PWM (Pulse Width Modulation) fans offer several advantages over their non-PWM counterparts, making them a popular choice for computer cooling systems. Let’s explore some of the key benefits of using PWM fans.
1. Precise Speed Control: The primary advantage of PWM fans is their ability to provide precise control over the fan’s speed. By varying the voltage supplied to the fan through rapid on-off cycles, PWM control allows for fine-tuning the fan’s rotational speed. This level of control ensures optimal cooling performance under different load and temperature conditions.
2. Dynamic Fan Speed Adjustments: With PWM control, the fan speed can be adjusted dynamically based on real-time temperature readings and system demands. This means that the fan can spin faster when the system requires increased cooling, and slow down when cooling demands are lower. This dynamic adjustment optimizes cooling efficiency, prevents overheating, and reduces unnecessary noise.
3. Noise Management: PWM fans excel in noise management. Since they can operate at lower speeds when the system requires less airflow, PWM fans tend to be quieter compared to non-PWM fans that run at fixed speeds. This feature makes PWM fans ideal for users who prioritize silent operation or work in noise-sensitive environments.
4. Efficiency and Power Savings: PWM fans are known for their efficiency and power-saving capabilities. By adjusting the fan speed based on cooling demands, PWM fans avoid unnecessary power consumption and reduce overall energy usage. This can be particularly beneficial in systems that require prolonged periods of low cooling demand, contributing to energy savings and a greener computing environment.
5. Better Performance in High-Load Scenarios: PWM fans are particularly effective in high-load scenarios or when the system is subjected to heavy workload or overclocking. The precise control over the fan speed allows for efficient cooling of the system, preventing overheating and maintaining stable performance even under demanding conditions.
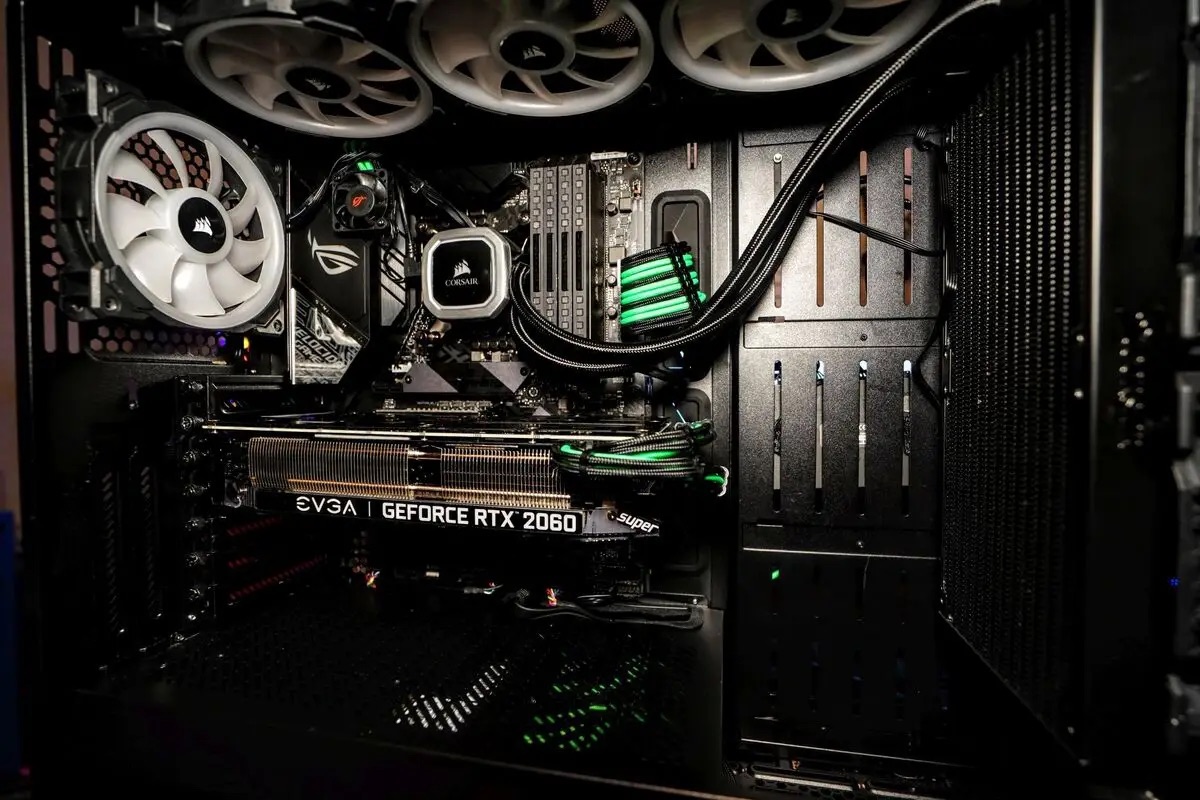
6. Compatibility and Ease of Use: PWM fans are widely compatible with modern motherboards and fan controllers, as most systems are equipped with PWM fan headers. Connecting a PWM fan is as simple as plugging it into the appropriate PWM header on the motherboard. This makes PWM fans easy to install and integrate into existing systems without the need for additional adapters or complicated setups.
In summary, PWM fans provide precise speed control, dynamic fan speed adjustments, effective noise management, energy efficiency, improved performance in high-load scenarios, and compatibility with modern systems. These benefits make PWM fans a popular choice for those seeking optimal cooling performance and a quieter computing experience.
Now that we understand the advantages of using PWM fans, let’s move on to the next section, where we will explore how to connect a PWM fan to your computer system, ensuring proper functionality and optimal cooling performance.
How to Connect a PWM Fan
Connecting a PWM (Pulse Width Modulation) fan to your computer system is a straightforward process that requires a few simple steps. Here’s a step-by-step guide on how to connect a PWM fan:
1. Locate the PWM Fan Header: Identify the PWM fan header on your motherboard or fan controller. This header is typically labeled “CPU_FAN” or “SYS_FAN” and is specifically designed for connecting case fans. The header should have four pins, which correspond to the PWM control signal.
2. Prepare the PWM Fan: Make sure your PWM fan is ready for installation. Ensure that it is the correct size for your computer case and has the necessary screws or mounting clips for secure attachment.
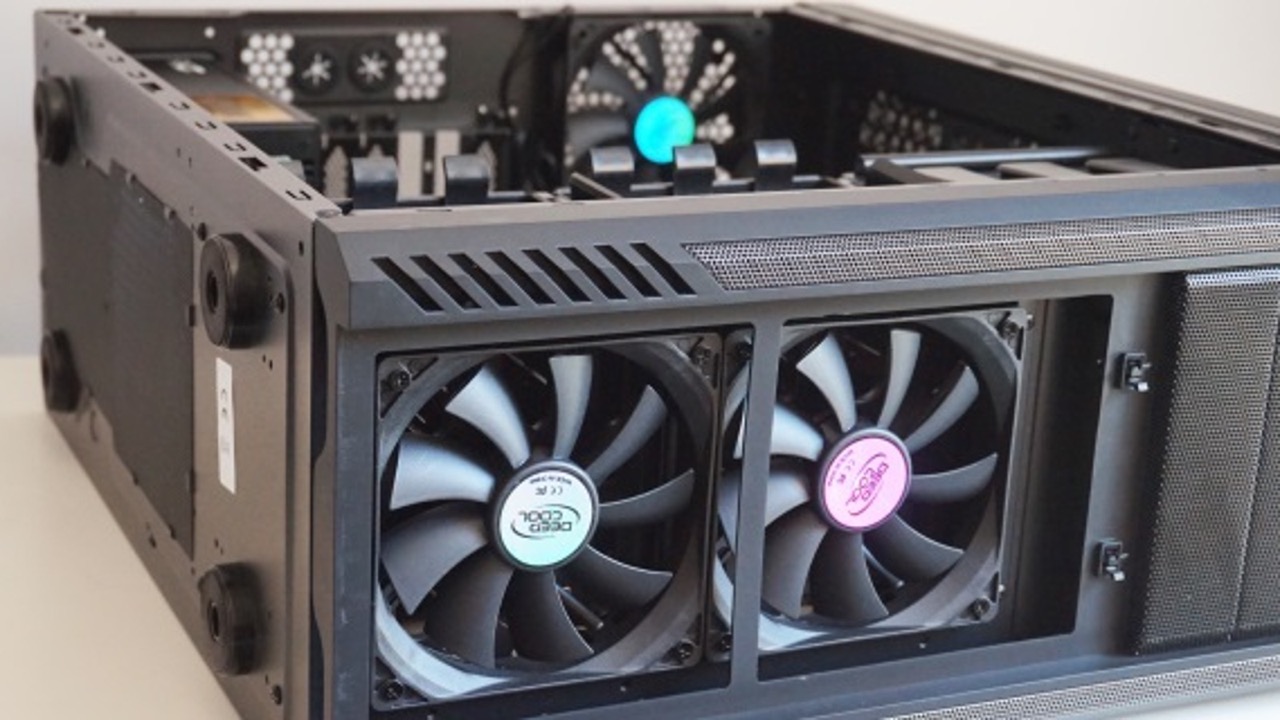
3. Position the Fan: Determine the desired position of the PWM fan inside your computer case. You can opt for front, rear, or side placements based on your cooling needs and the available fan mounting positions.
4. Connect the Fan to the PWM Header: Take the three-pin connector from the PWM fan and align it with the four pins on the PWM fan header. Ensure that the orientation is correct, matching the keying or tab on the connector with the corresponding notch on the header. Gently push the connector onto the header until it is firmly connected.
5. Secure the Fan: Use the screws or mounting clips provided with the fan to securely attach it to the designated mounting points in the case. Make sure the fan is secured tightly to prevent vibrations or movement that could impact its performance.
6. Test the Connection: Power on your computer and check if the PWM fan is functioning properly. The motherboard should automatically detect the fan and display its RPM on the system BIOS or software monitoring tools. You can also manually adjust the fan speed through the BIOS or fan control software, if desired.
7. Monitor and Adjust Fan Speed: Once the PWM fan is connected, you can monitor its speed using software utilities or the motherboard’s BIOS settings. Adjust the fan speed as necessary to achieve the desired cooling performance and noise levels.
Remember that the specific steps for connecting a PWM fan may vary slightly depending on the motherboard or fan controller you are using. Always refer to the manufacturer’s documentation for detailed instructions and guidelines specific to your hardware.
By following these steps, you can easily connect a PWM fan to your computer system, ensuring proper functionality and optimal cooling performance. Enjoy the benefits of precise fan speed control and efficient cooling with your newly installed PWM fan.
Now that we’ve covered the process of connecting a PWM fan, let’s move on to the next section where we will address common troubleshooting tips related to the third wire on case fans.
Troubleshooting the Third Wire
While the third wire on a case fan serves an important role in providing RPM data and facilitating control, it can sometimes present challenges or complications. Here are some common troubleshooting tips related to the third wire on case fans:
1. Ensure Proper Connection: Double-check that the third wire is securely connected to the correct pin on the fan header. Ensure that the connector is aligned properly with the notch and fully inserted. Loose connections can result in the fan not functioning properly or not transmitting RPM data accurately.
2. Verify Fan Speed Readings: Use software utilities or the motherboard’s BIOS settings to verify that the system is correctly detecting the fan speed. Check if the RPM readings are within the expected range for the fan’s specifications. If the readings are inaccurate or fluctuating significantly, it may indicate a problem with the third wire connection or the fan itself.
3. Check for Faulty Tachometer Wire: If the fan speed readings are consistently zero or unavailable, there might be an issue with the tachometer wire. Inspect the wire for any signs of damage, such as cuts or frayed insulation. A faulty or damaged tachometer wire can prevent accurate RPM data transmission, and in such cases, the fan may need to be replaced.
4. Verify BIOS and Software Settings: Ensure that the motherboard’s BIOS settings or fan control software is configured to monitor the fan speeds correctly. Check if the fan control mode is set to PWM (if using a PWM fan) and that the correct fan header is selected for monitoring. Adjust the settings as necessary to ensure proper functionality.
5. Consider Fan Control Software: If the motherboard’s BIOS settings are limited in fan control options, you might consider using third-party fan control software. These programs provide more advanced features for monitoring and adjusting fan speeds, allowing for better control and customization based on your specific cooling requirements.
6. Experiment with Fan Placement and Configuration: Sometimes, the position or configuration of the fan within the case can impact its performance or RPM readings. Try different fan placements, orientations, or combinations to optimize airflow and cooling. Additionally, ensure that there is no obstruction obstructing the fan blades and impeding airflow.
7. Consult Manufacturer Support: If troubleshooting steps do not resolve the issue, contacting the fan manufacturer’s technical support can be beneficial. They can provide further guidance, troubleshoot specific model-related issues, or determine if the fan requires repair or replacement.
By following these troubleshooting tips, you can address common issues related to the third wire on case fans. Remember to approach troubleshooting with patience and refer to the manufacturer’s documentation for hardware-specific information.
With proper troubleshooting, you can ensure that the third wire is functioning correctly, allowing for accurate RPM data transmission and optimal control of your case fan.
Now that we’ve covered troubleshooting the third wire, let’s conclude our exploration of case fans and their significance in computer cooling systems.
Conclusion
Case fans play a critical role in maintaining optimal temperatures and ensuring the smooth operation of your computer system. Understanding the wires, specifically the mysterious third wire, and their functionalities is essential for maximizing cooling performance and troubleshooting potential issues.
Throughout this article, we have explored the basics of case fans and the significance of the third wire. We’ve learned that the third wire, often colored yellow or blue, serves as the tachometer or RPM wire, providing information about the fan’s speed to the motherboard or fan controller. This data enables dynamic adjustments to fan speeds, ensuring efficient cooling and noise management.
Furthermore, we’ve compared PWM and non-PWM fans, highlighting the benefits of PWM fans. PWM fans offer precise speed control, dynamic adjustments, effective noise management, power savings, better performance in high-load scenarios, and compatibility with modern systems. These advantages make PWM fans a popular choice for optimal cooling solutions.
We’ve also discussed how to connect a PWM fan to your computer system, emphasizing the importance of ensuring proper connections, securing the fan in the desired position, and testing functionality. Additionally, we’ve provided troubleshooting tips for common issues related to the third wire, including verifying connections, checking for faults, and experimenting with fan configurations.
By following these guidelines and harnessing the power of case fans, you can maintain stable temperatures, prolong the lifespan of your hardware components, and optimize your computing experience.
Now armed with a deeper understanding of case fans, their wiring, and their importance in cooling systems, you have the knowledge to make informed decisions when it comes to selecting, configuring, and troubleshooting case fans for your computer.
So, go ahead, unleash the potential of your computer’s cooling system, and keep your hardware running cool and efficient with the help of case fans and their fascinating third wire.