Introduction
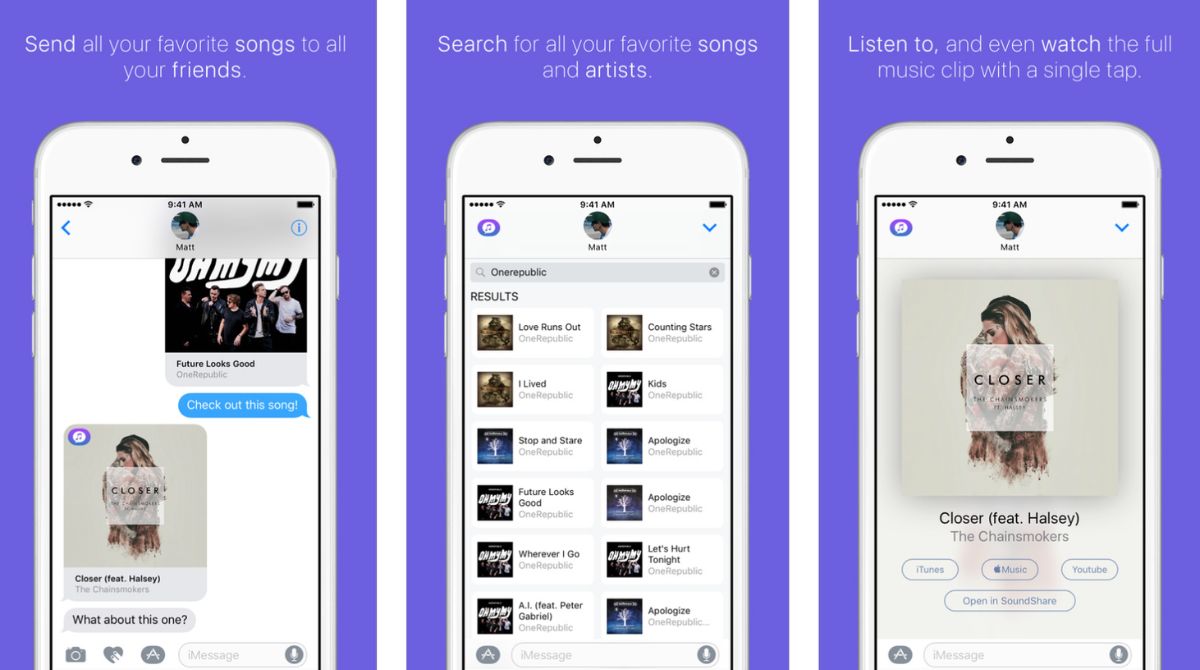
Music is an integral part of our lives, and sharing our favorite tunes with others adds a delightful touch to our interactions. With the introduction of iOS 10, Apple has made it easier than ever to share music with your friends and family through iMessage.
Whether you want to send a catchy tune that you can’t get out of your head or introduce someone to a new artist, sending music on iMessage is simple and fun. In just a few easy steps, you can serenade your loved ones or impress your friends with your impeccable taste in music.
This article will guide you through the process of sending music through iMessage on iOS 10. We will explore how to update your device, open the Messages app, choose a conversation, access the App Store, open the Music app, select a song, customize it, and finally, send it to your intended recipient.
So, let’s dive into the world of iMessage music sharing and discover the joy of sharing your favorite tunes in a whole new way!
Step 1: Update to iOS 10
Before you can start sending music through iMessage on your iPhone or other iOS device, it’s important to ensure that you have updated to the latest version of the operating system. iOS 10 introduced several exciting features and improvements, including the ability to send music directly through iMessage.
To check if your device is running iOS 10 or higher, follow these steps:
- Open the ‘Settings’ app on your iPhone or iOS device.
- Scroll down and tap on ‘General’.
- Tap on ‘Software Update’.
- If an update is available, tap on ‘Download and Install’.
- Follow the on-screen instructions to complete the update process.
It’s recommended to have a stable internet connection and sufficient battery life before initiating the update.
Once the update is complete, your device will have the latest version of iOS, and you’ll be ready to start sending music through iMessage.
Please note that the update process may vary slightly depending on your device model and the version of iOS you have installed. If you encounter any difficulties during the update process, consult the Apple Support website or contact Apple customer support for assistance.
Step 2: Open Messages App
Once you have updated your iOS device to iOS 10 or higher, it’s time to open the Messages app, where all your conversations are housed.
To open the Messages app, follow these simple steps:
- Locate the Messages app on your home screen. It is represented by a green speech bubble icon with a white background.
- Tap on the Messages app icon to launch it.
Upon opening the Messages app, you will see a list of your recent conversations. If you have an ongoing conversation where you would like to send music, select it from the list by tapping on it.
If you want to start a new conversation to send music, tap on the new message icon (usually represented by a pencil and paper) located in the top-right corner of the screen. This will open a blank message thread where you can add recipients.
The Messages app is not only used for text messages but also supports various multimedia features, including sending music. No matter if you’re starting a new conversation or continuing an existing one, the Messages app is where you can unleash your musical creativity and share your favorite tunes with others.
Step 3: Choose a Conversation
Now that you have opened the Messages app, it’s time to choose the conversation to which you want to send music. This could be an existing conversation with a friend, family member, or colleague, or it could be a new conversation you just started.
To choose a conversation in the Messages app, follow these steps:
- Scroll through the list of conversations in the Messages app to find the desired recipient.
- Tap on the conversation to select it.
If you don’t see the desired conversation in the list, you can start a new conversation by tapping on the new message icon (usually represented by a pencil and paper) located in the top-right corner of the screen. Then, enter the recipient’s name or phone number in the “To” field.
Choosing the right conversation ensures that the music you send reaches the intended recipient. It’s important to double-check and confirm that you have selected the correct conversation before proceeding to the next steps.
Whether it’s a casual chat with a friend or an important message thread with a colleague, selecting the appropriate conversation sets the stage for sharing your favorite music and adds a special touch to your interaction.
Step 4: Tap on the App Store Icon
Now that you have chosen the conversation to which you want to send music, it’s time to tap on the App Store icon within the Messages app. The App Store icon allows you to access a wide range of apps and features, including the Music app that will enable you to send music to your recipient.
To tap on the App Store icon, follow these steps:
- In the conversation thread, locate the text input field where you would normally type a message.
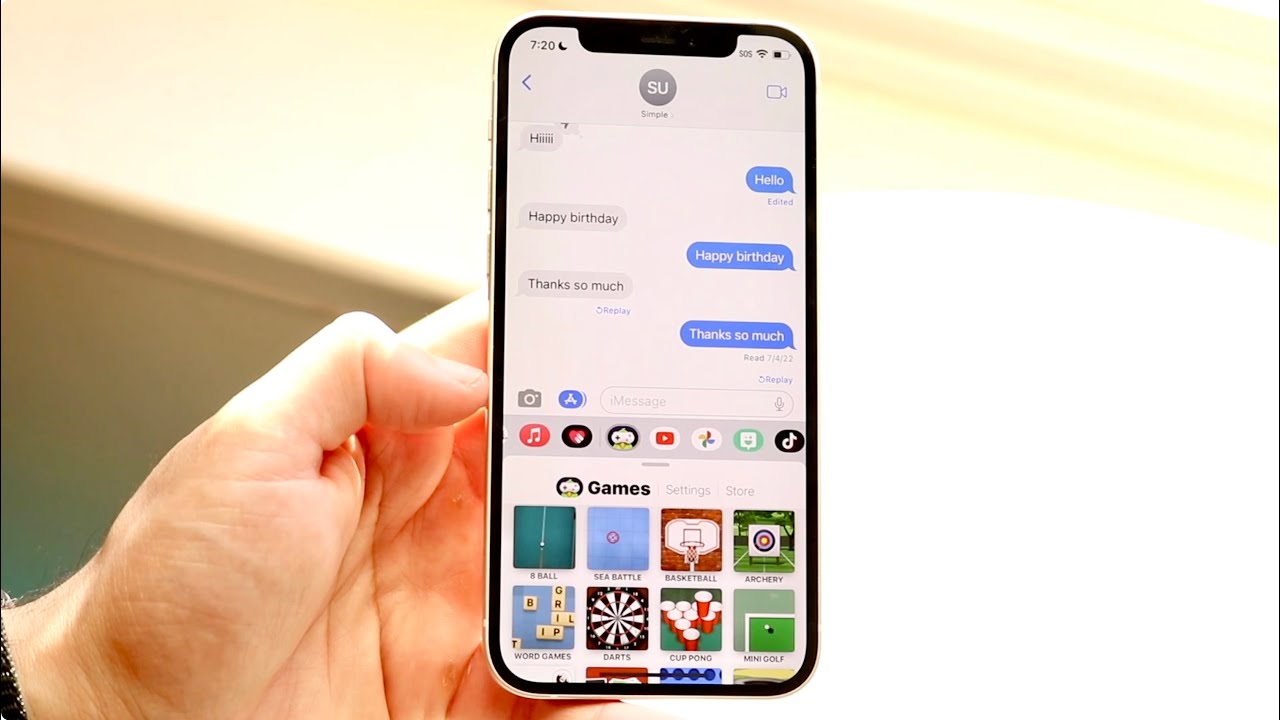
- Above the keyboard, you will see a row of icons. Tap on the icon that looks like the letter ‘A’ made out of pencils.
By tapping on the App Store icon, you will open a dedicated space within the Messages app where you can access various apps and extensions. This includes the Music app, which will allow you to browse, select, and send music to your chosen recipient.
Please note that the location and appearance of the App Store icon may vary slightly depending on your device and the version of iOS you have installed. If you are having trouble finding the icon, refer to the Apple Support website or the user manual specific to your device for assistance.
Now that you have successfully accessed the App Store within the Messages app, you are one step closer to sharing your favorite tunes and creating musical magic in your conversations.
Step 5: Open the Music App
After tapping on the App Store icon within the Messages app, it’s time to open the Music app. The Music app allows you to browse your library and choose the perfect song to send to your recipient.
To open the Music app, follow these steps:
- Within the App Store section of the Messages app, locate and tap on the icon that represents the Music app.
Once you tap on the Music app icon, the app will open, giving you access to your music library. Here, you can search for and select the song you wish to send to your recipient.
The Music app provides various features and options to enhance your music listening experience. You can create playlists, browse through different genres, and even discover new music through personalized recommendations.
It’s important to note that you need to have music stored on your device in order to access it through the Music app. If you don’t have any music on your device, you can sync your device with your computer or use a streaming service to download songs.
Now that you have successfully opened the Music app, you are ready to explore your music library and choose the perfect song to share with your recipient. Let the rhythm guide you as you embark on this musical journey!
Step 6: Browse and Select a Song
Now that you have opened the Music app within the Messages app, it’s time to browse through your music library and select the perfect song to send to your recipient. Whether you want to share your favorite track, a newly discovered gem, or a song that perfectly captures the mood of your conversation, the Music app offers a wide array of options to choose from.
To browse and select a song, follow these steps:
- Within the Music app, you will see various tabs at the bottom of the screen, such as ‘Library’, ‘For You’, ‘Browse’, ‘Radio’, and ‘Search’.
- Tap on the ‘Library’ tab to view your music library.
- You can then navigate through your library by selecting different categories such as ‘Artists’, ‘Albums’, ‘Songs’, or ‘Playlists’.
- Scroll through the options and tap on the song you wish to send.
If you don’t have the desired song in your music library, you can use the search feature within the Music app to find and download it directly onto your device. Simply tap on the ‘Search’ tab and enter the name of the song or artist.
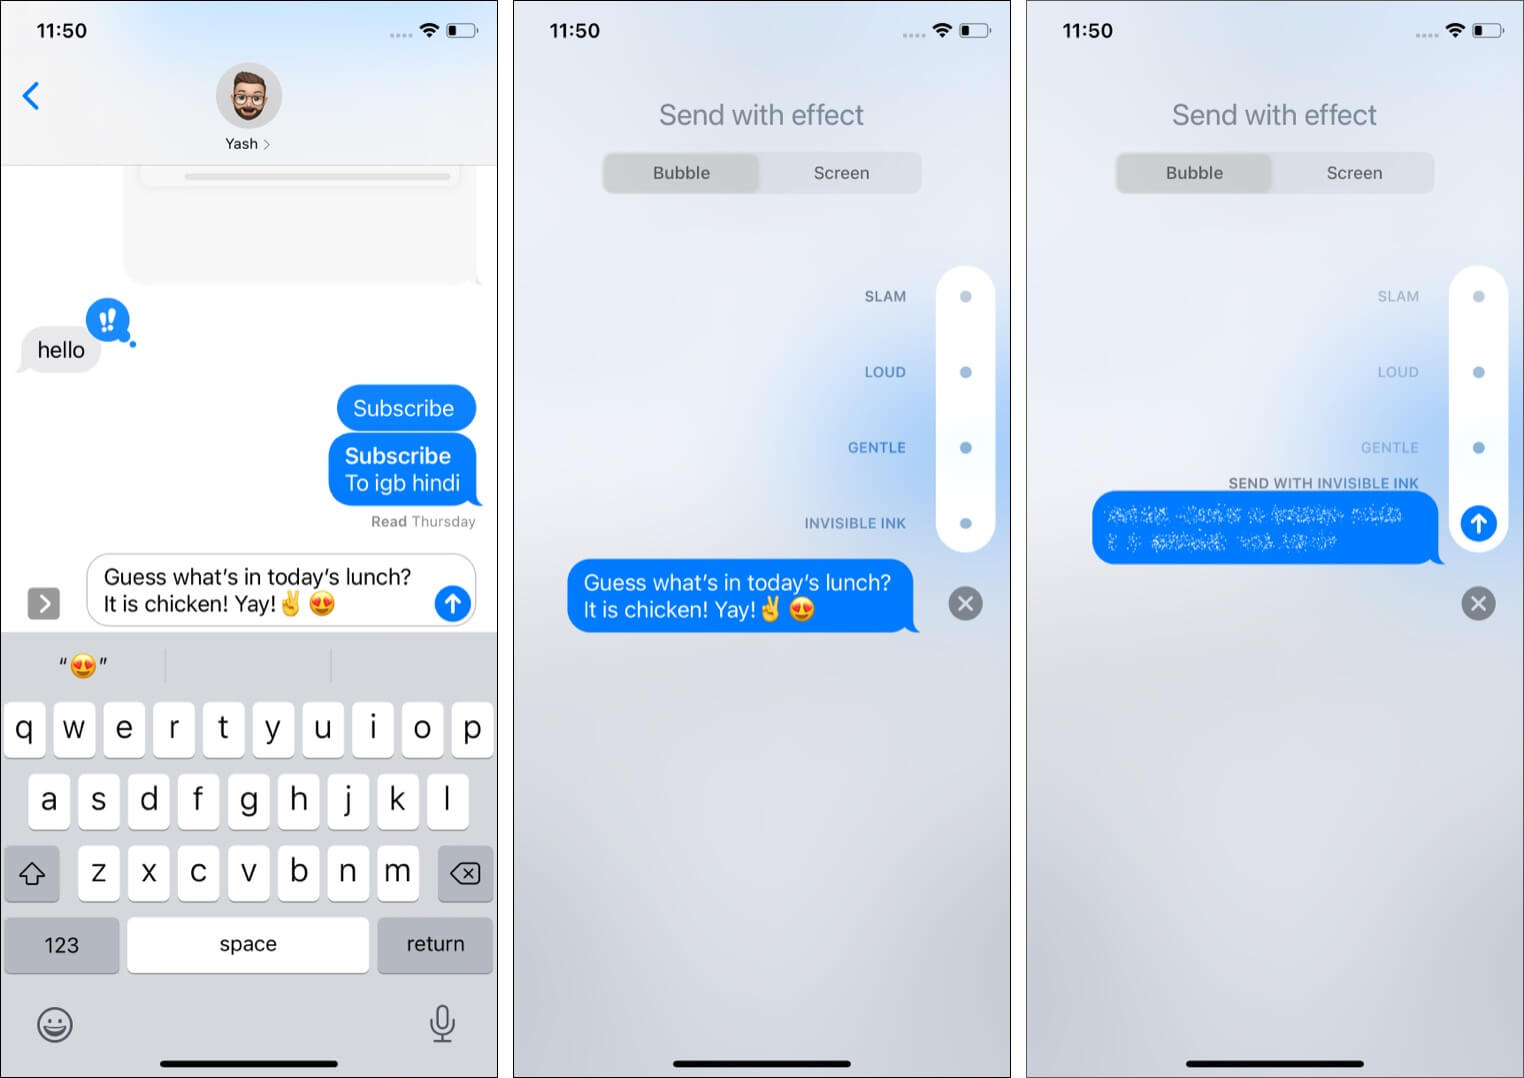
Once you have found the perfect song, you can proceed to the next step of customizing the song before sending it to your recipient. The Music app offers features like adding effects, adjusting the volume, and selecting specific parts of the song to send, allowing you to personalize the musical experience for your recipient.
Take your time to explore and enjoy your music library within the Music app. With countless songs at your fingertips, you can find the perfect melody to express yourself and share the joy of music with others.
Step 7: Customize the Song
Once you have selected the perfect song to share, it’s time to customize it before sending it to your recipient. The Music app offers various tools and options to personalize the song and make it even more special.
To customize the song, follow these steps:
- In the Music app, locate the song you have selected and tap on it to play.
- You will see a series of playback controls at the bottom of the screen, including play/pause, forward, and backward buttons.
- Tap on the ellipsis (…) or more options icon to access additional features and customization options for the song.
- Depending on the version of iOS and the specific song, you may have options such as adjusting the volume, adding effects, selecting a specific section of the song, or trimming the length of the song.
- Take your time to experiment and customize the song according to your preferences.
By customizing the song, you can make it more memorable and fitting for your recipient. You can add a personal touch, create a unique moment, or enhance the overall listening experience.
Once you are satisfied with the customization, you are ready to send the song to your recipient. But before you hit the send button, make sure to preview the song to ensure it sounds just right.
Remember, the goal is to create a musical experience that will put a smile on your recipient’s face and make them appreciate the effort and thought you’ve put into selecting and customizing the song.
Now that you have personalized the song to perfection, get ready to share the music magic with your recipient and let the melodies carry your message across in a truly unique way.
Step 8: Send the Song
Now that you have selected and customized the perfect song, it’s time to send it to your recipient and share the musical joy. The process of sending the song is simple and can be done within the Messages app.
To send the song, follow these steps:
- In the conversation thread within the Messages app, locate the text input field where you would normally type a message.
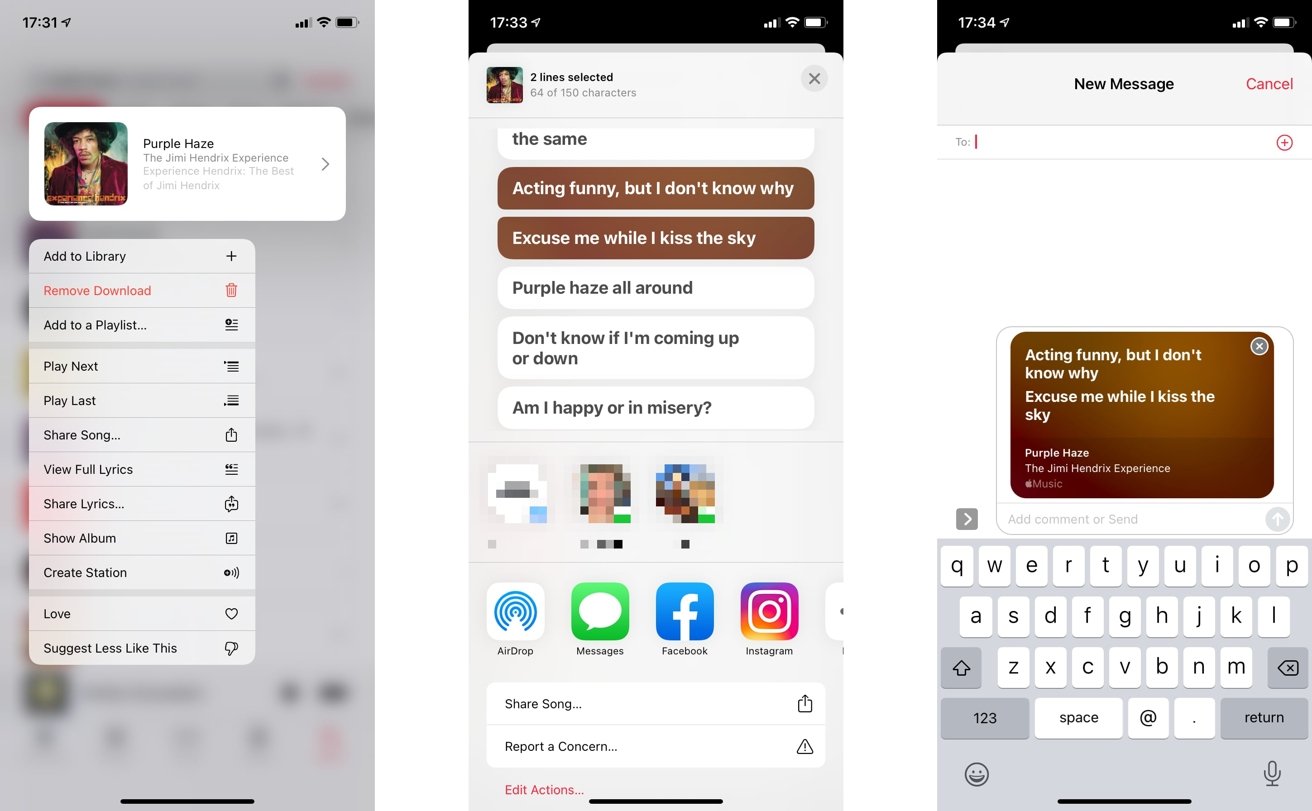
- Tap on the icon that represents the Music app, usually located next to the text input field.
- This will bring up a section where you can see the song you have selected and customized.
- You can play the song to ensure it sounds just right before sending it.
- Once you are ready, tap on the ‘Send’ button, usually represented by an arrow or paper plane icon.
The song will then be sent to your recipient within the conversation thread. They will receive a message with a preview of the song and an option to listen to it.
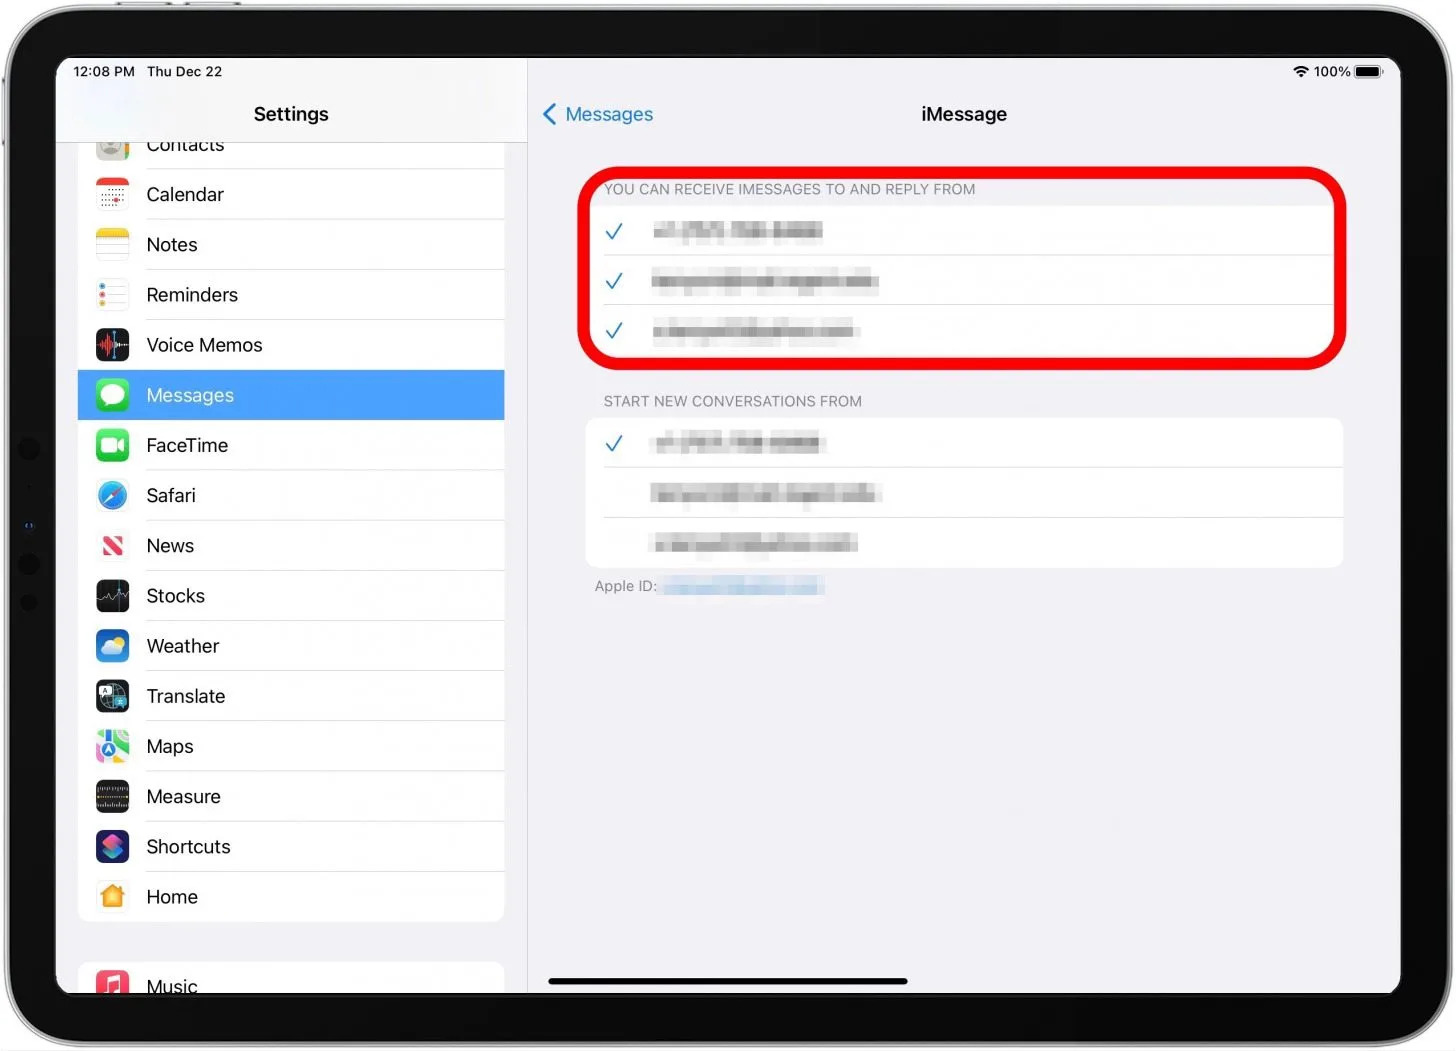
It’s important to note that the ability to send music through iMessage is dependent on the recipient’s device and settings. If they are using a compatible device and have enabled the option to receive music through iMessage, they will be able to enjoy the song you have sent.
With just a few taps, you have successfully shared your favorite song, a newly discovered gem, or a musical expression of your emotions with your recipient. Sit back and wait for their response, as the power of music brings joy and connections in a whole new way.
Conclusion
Sending music through iMessage on iOS 10 and higher is a delightful way to share your favorite tunes and create meaningful connections with your friends and loved ones. The process is simple and can be done within the Messages app, allowing you to express yourself through the power of music.
In this article, we have explored the step-by-step process of sending music through iMessage. We started by updating to iOS 10 or higher, opening the Messages app, selecting a conversation, accessing the App Store, opening the Music app, browsing and selecting a song, customizing the song, and finally, sending it to our recipients.
Throughout the process, we highlighted the importance of choosing the right conversation, browsing through your music library, and customizing the song to make it more personalized and meaningful. By following these steps, you can create a unique and memorable musical experience for both yourself and the recipient.
Remember, the ability to send music through iMessage is dependent on the recipient’s device and settings. If they have a compatible device and have enabled the option to receive music through iMessage, they will be able to enjoy the song you have sent.
So why not share the joy of your favorite tunes, introduce someone to a new artist, or simply create a musical conversation that sparks joy and connects people on a deeper level? With the power of iMessage and the Music app, the possibilities are endless.
Now that you have mastered the art of sending music through iMessage, let your musical creativity soar and make every conversation a symphony of shared emotions and harmonious connections.


