Introduction
Changing your iMessage account is a straightforward process that can be done on your Apple device. Whether you want to switch to a new Apple ID or use a different email address for iMessage, this guide will show you how to easily change your iMessage account. By following a few simple steps, you’ll be able to update your iMessage account to ensure seamless messaging and communication with your contacts.
iMessage, Apple’s messaging service, allows users to send text messages, photos, videos, and more to other Apple device users over Wi-Fi or cellular data. It is a popular communication tool for iPhone, iPad, and Mac users, offering features such as end-to-end encryption and the ability to send and receive messages across multiple Apple devices.
If you find yourself in a situation where you no longer want to use your current iMessage account, whether due to privacy concerns or simply wanting to use a different email address or Apple ID, this guide will walk you through the steps to change your iMessage account.
Before we dive into the steps, it’s important to note that changing your iMessage account will not affect your other Apple services, such as iCloud or the App Store. You’ll still be able to access those services with your original Apple ID or email address.
Now, let’s get started with the process of changing your iMessage account. Follow the next steps to seamlessly transition to a new iMessage account.
Step 1: Accessing the iMessage Settings
To begin the process of changing your iMessage account, you’ll first need to access the iMessage settings on your Apple device. Follow the steps below:
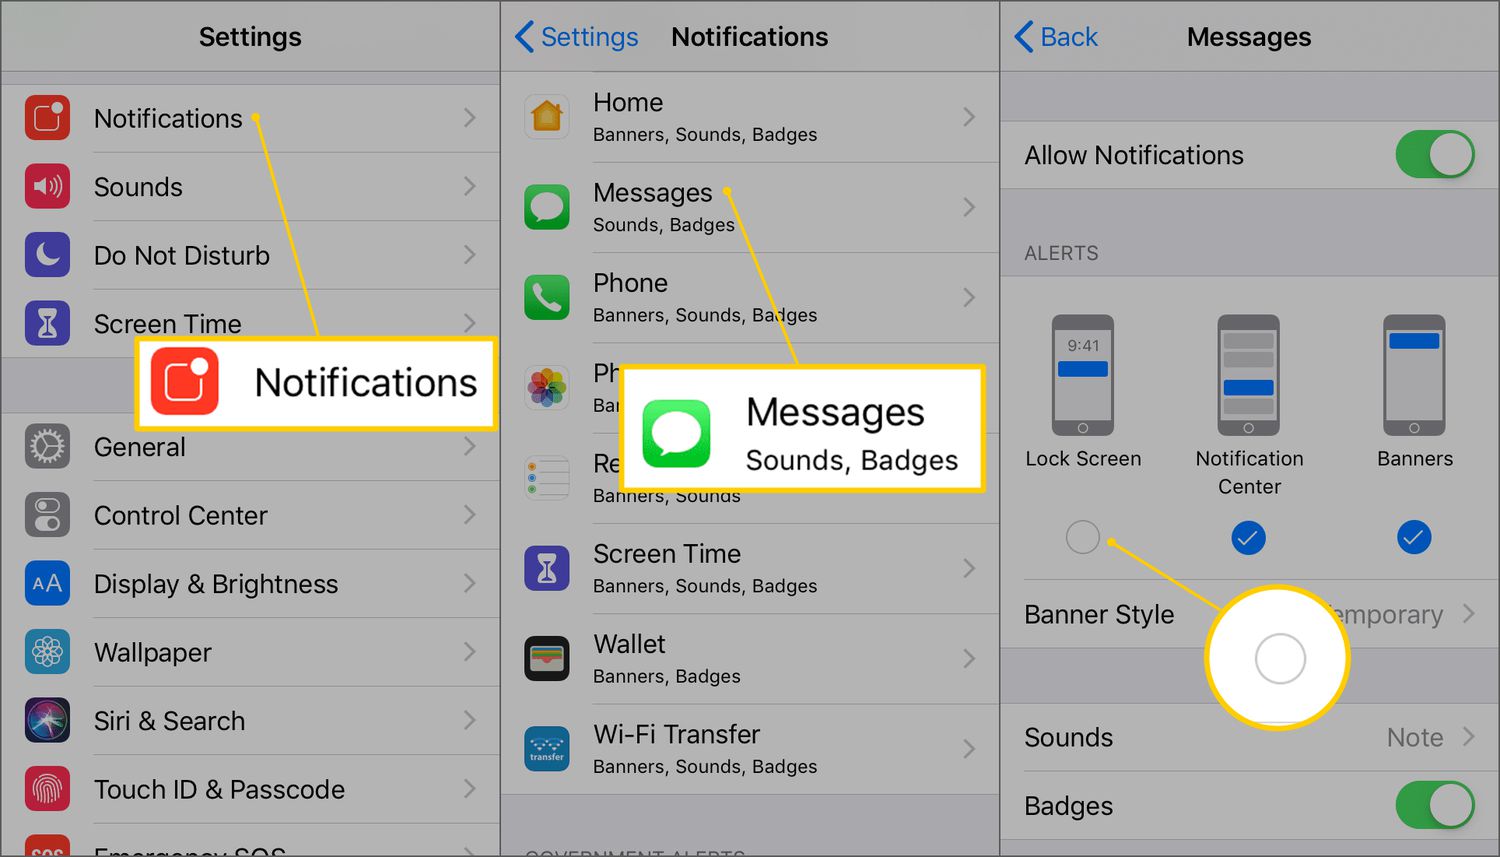
- Open the “Settings” app on your iPhone, iPad, or Mac. The Settings app can usually be found on your home screen or in the app drawer.
- Scroll down and tap on “Messages.” On some versions of iOS, you may need to look for “Messages & FaceTime” instead.
- If prompted, enter your device passcode or authenticate with Face ID or Touch ID to proceed.
- In the Messages settings, you’ll find various options related to your iMessage account and messaging preferences.
By accessing the iMessage settings, you are now ready to proceed to the next step of changing your iMessage account. Let’s continue.
Step 2: Signing Out of the Current iMessage Account
Once you have accessed the iMessage settings, the next step is to sign out of your current iMessage account. Follow the instructions below:
- In the Messages settings, scroll down until you see the “Send & Receive” section. Tap on it to proceed.
- You’ll see your current iMessage account at the top of the screen, under the “You can be reached by iMessage at” heading.
- To sign out of your current iMessage account, tap on your Apple ID or email address associated with the account.
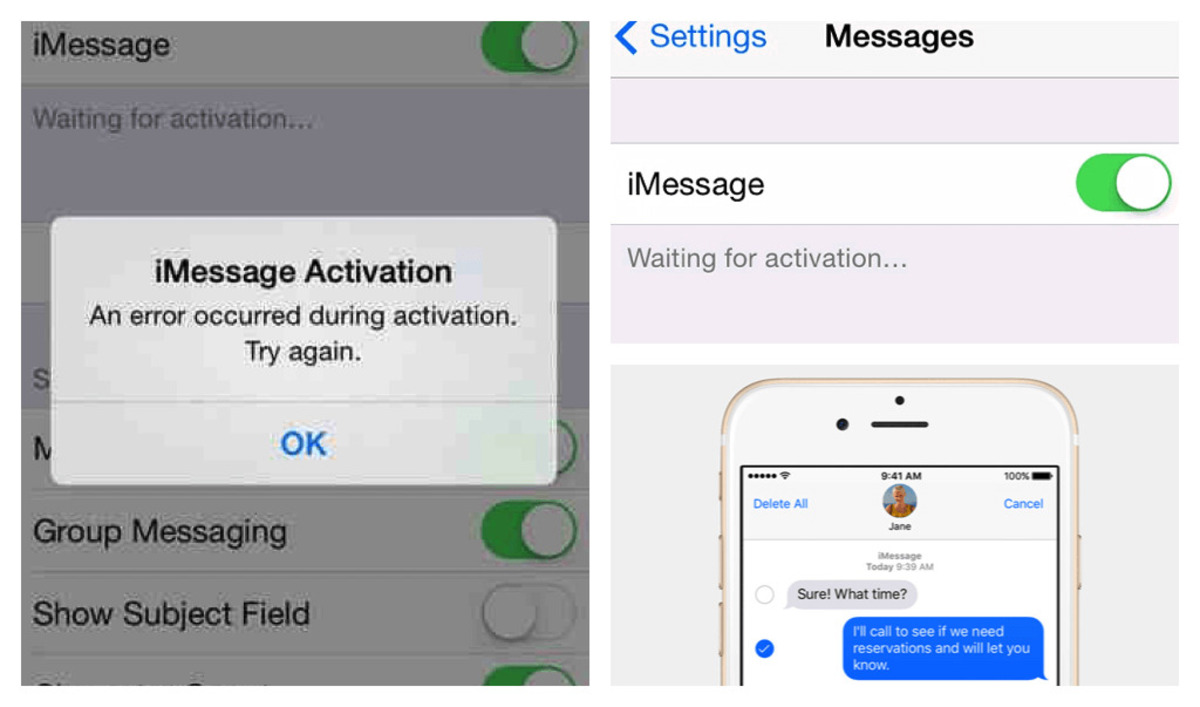
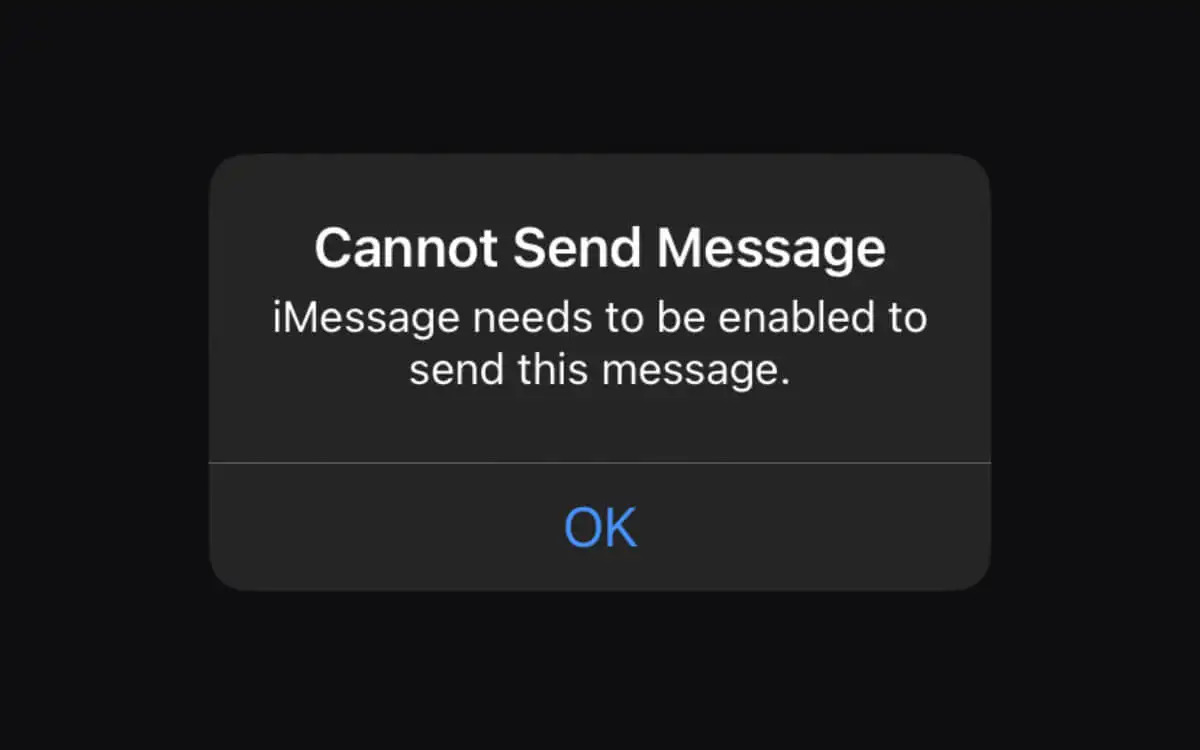
- A popup menu will appear with options related to your iMessage account. Tap on “Sign Out” to proceed with signing out of the account.
- You may be prompted to enter your Apple ID password to confirm the sign-out process. Enter your password and tap “Turn Off” to sign out of the current iMessage account.
By signing out of your current iMessage account, you are now ready to move on to the next step of signing in with a different iMessage account. Let’s explore that in the next step.
Step 3: Signing In with a Different iMessage Account
Now that you have successfully signed out of your current iMessage account, it’s time to sign in with a different iMessage account. Follow the steps below to proceed:
- In the Messages settings, scroll down to the “Send & Receive” section again.
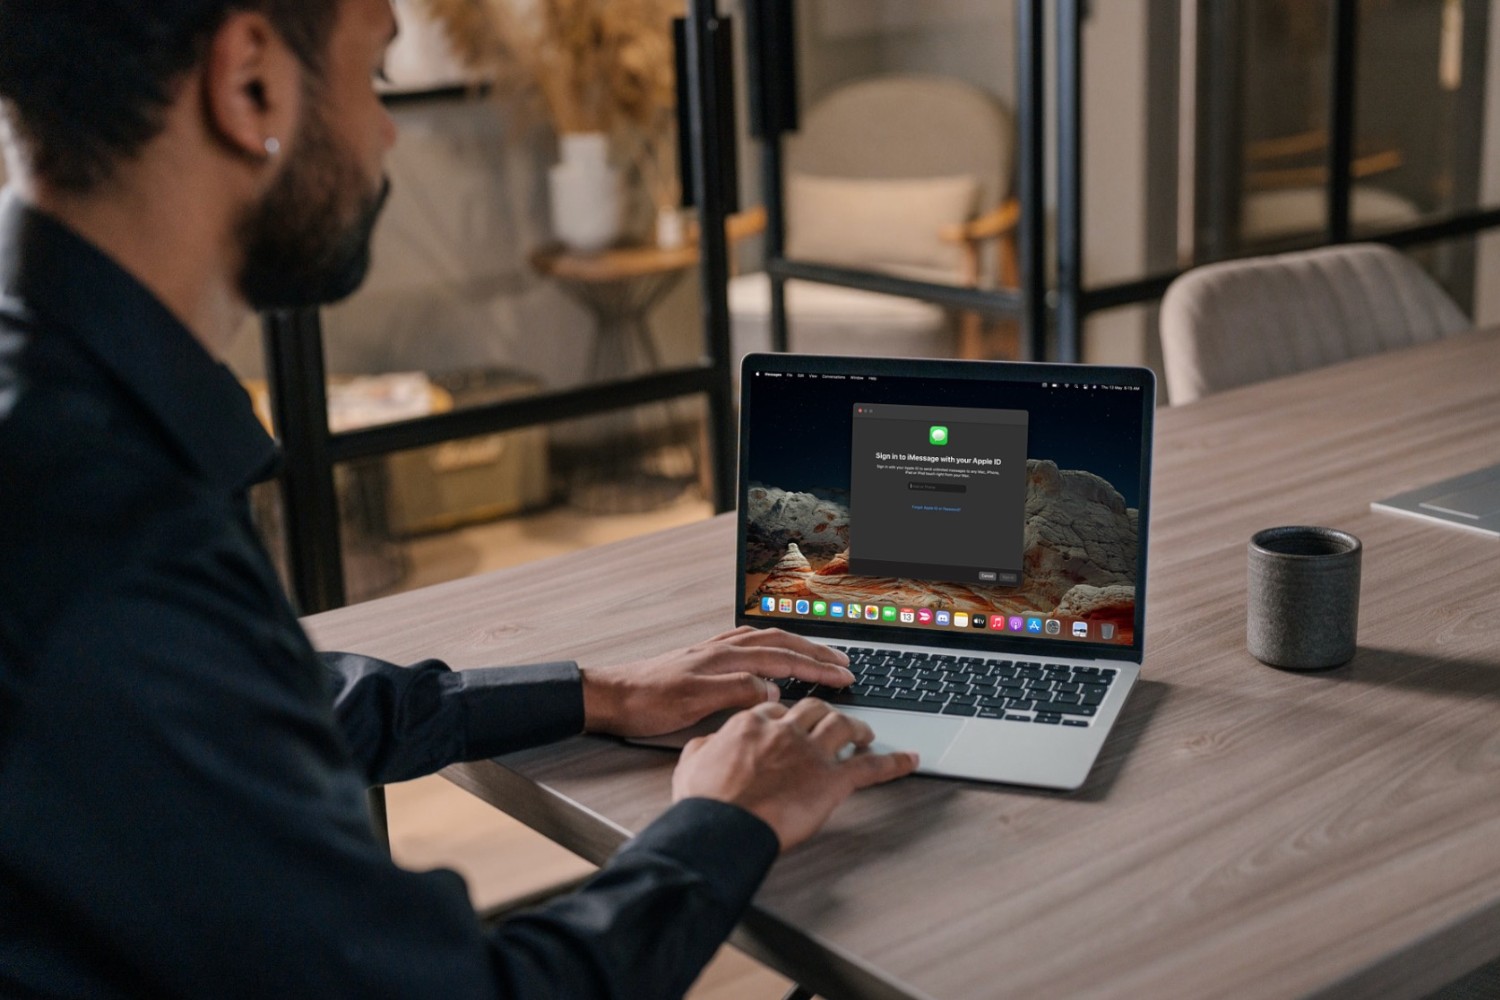
- Tap on the “Add Another Email…” option to add a different email address or Apple ID to use as your new iMessage account.
- Enter the email address or Apple ID that you want to associate with your iMessage account.
- You may be asked to verify the email address or Apple ID. Follow the instructions provided to complete the verification process.
- Once the email address or Apple ID is verified, it will be added to your iMessage account as an option for sending and receiving messages.
Congratulations! You have successfully signed in with a different iMessage account. However, before we conclude, there is one more important step to ensure a smooth transition to your new iMessage account. Let’s explore that in the next step.
Step 4: Verifying the New iMessage Account
After signing in with a different iMessage account, it is essential to verify the new account to ensure its proper functioning. Follow the steps below to complete the verification process:
- In the Messages settings, locate the “Send & Receive” section once again.
- Under the “You can be reached by iMessage at” heading, you should see your newly added email address or Apple ID.
- To verify the new iMessage account, tap on the email address or Apple ID.
- A confirmation email or message may be sent to the email address associated with the account. Check your inbox and follow the provided instructions to complete the verification process.
- Once the new iMessage account has been verified, it will be fully functional, and you can start using it to send and receive messages.
By verifying the new iMessage account, you have successfully completed the process of changing your iMessage account. You can now enjoy using your updated iMessage account to stay connected with friends and family.
Conclusion
Changing your iMessage account is a simple process that can be done on your Apple device. By following the steps outlined in this guide, you can seamlessly switch to a new iMessage account and continue enjoying the benefits of Apple’s messaging service.
Throughout the process, we covered the necessary steps to change your iMessage account, including accessing the iMessage settings, signing out of your current account, signing in with a different account, and verifying the new iMessage account.
It’s important to note that changing your iMessage account will not affect your other Apple services and accounts, such as iCloud or the App Store. You can continue using those services with your original Apple ID or email address.
Whether you’re looking to enhance your privacy, switch to a different email address, or simply use a new Apple ID, changing your iMessage account is a straightforward process that can be completed in just a few steps.
Now that you have mastered the process of changing your iMessage account, you can confidently customize your messaging experience on your Apple device.
Thank you for following this guide, and we hope it has been helpful in your journey to change your iMessage account. Happy messaging!