Introduction
Welcome to the world of Mac! If you’re new to using a Mac computer and you’re wondering how to access the files on your SD card, you’ve come to the right place. With a few simple steps, you’ll be able to view and copy files from your SD card in no time.
Whether you need to transfer photos from your digital camera, access files from your Android device, or simply want to view the contents of your SD card on your Mac, this guide will walk you through the process.
With the increasing popularity of portable storage like SD cards, it’s important to know how to effectively use them on your Mac. Fortunately, macOS provides a streamlined way to access and manage these external storage devices.
Before we dive into the details, it’s essential to ensure that your SD card is properly connected to your Mac. Once connected, you’ll be able to mount the SD card, view its contents, copy files from it, and safely eject it when you’re done.
In this guide, we’ll take you through each step of the process, from checking the SD card connection to troubleshooting common issues. So, let’s get started and learn how to see SD card on your Mac!
Checking the SD Card Connection
Before accessing the files on your SD card, it’s important to ensure that your Mac recognizes the device. Here’s how you can check the SD card connection:
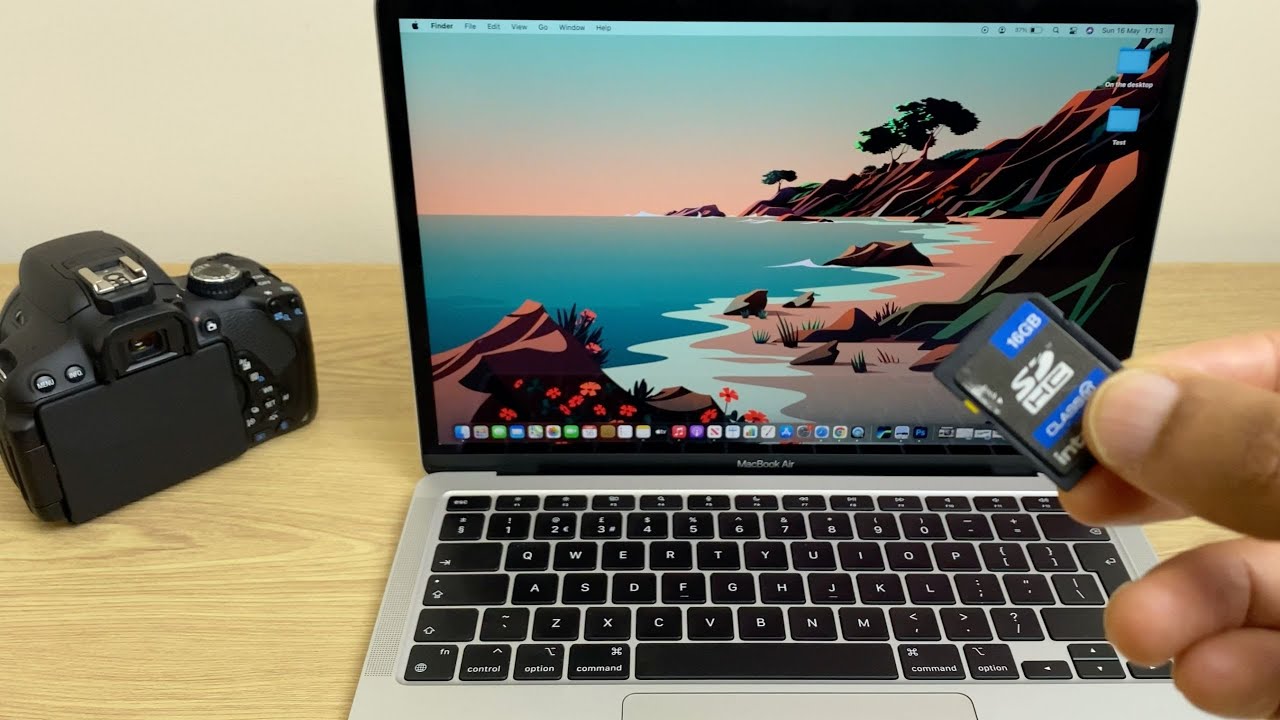
1. Begin by locating the SD card slot on your Mac. Typically, it is located on the side of the laptop or on the rear of a desktop computer. If your Mac doesn’t have a built-in SD card slot, you will need to use an SD card reader connected via USB.
2. Insert the SD card into the SD card slot or connect the SD card reader to your Mac’s USB port. Ensure that the SD card is inserted properly and not loose.
3. Once the SD card is inserted, wait for a few seconds to allow your Mac to recognize the device. The SD card should appear as a new volume on your desktop or in the Finder sidebar.
4. If the SD card does not appear, try removing and reinserting it into the slot or reconnecting the SD card reader. It’s also a good idea to check if the SD card is functioning properly. Try using it in another device or computer to rule out any issues with the card itself.
5. If you’re using an SD card reader, make sure it is compatible with your Mac and has the necessary drivers installed. You may need to visit the manufacturer’s website to download and install any required drivers.
Once your Mac recognizes the SD card, you’re ready to proceed to the next step: mounting the SD card.
Mounting the SD Card
Now that you’ve ensured a proper connection, it’s time to mount the SD card on your Mac. Mounting the SD card makes it accessible for viewing and copying files. Here’s how you can do it:
1. If you’re using a built-in SD card slot, the SD card should automatically mount on your Mac. You’ll see the SD card icon appear on your desktop or in the Finder sidebar. Click on the icon to open the SD card.
2. If you’re using an SD card reader connected via USB, insert the SD card and wait for a moment. The SD card should appear on your desktop or in the Finder sidebar. Click on the icon to access the SD card.
3. Upon mounting the SD card, you will see the contents of the card displayed in a Finder window. You’ll be able to see all the files and folders stored on the SD card.
4. In the Finder window, you can navigate through the folders and files on the SD card just as you would with any other storage device. Double-click on a folder to open it, or click on a file to view its contents.
5. If you want quicker access to the SD card in the future, you can drag the SD card icon from the desktop or Finder sidebar to the Dock. This will create a shortcut for easy and convenient access.
Remember, when the SD card is mounted, it is considered a part of your Mac’s filesystem. This means you can perform various operations such as copying, moving, or deleting files from the SD card, just like with any other storage on your Mac.
Now that you’ve successfully mounted the SD card, let’s move on to the next step: viewing the contents of the SD card.
Viewing SD Card Contents
After mounting the SD card, you can easily view the contents of the card on your Mac. Here’s how you can do it:
1. Open the Finder application on your Mac by clicking on the Finder icon in the Dock or selecting it from the Applications folder.
2. In the Finder window, you’ll see the SD card listed in the sidebar under the Devices section. Click on the SD card to display its contents in the main window.
3. The contents of the SD card will be displayed in a hierarchical structure, similar to how files and folders are organized on your Mac’s internal storage.
4. Navigate through the folders and files on the SD card by double-clicking on folders to open them and clicking on files to preview their contents. You can also change the view options in the Finder to display the contents in different ways, such as as a grid or a list.
5. If you have media files on the SD card, such as photos or videos, you can view them directly in the Finder by selecting the file and pressing the spacebar. This will open the Quick Look preview, allowing you to quickly glance at the file without opening it in another application.
6. To return to the previous folder, you can either click on the backward arrow in the Finder window’s toolbar or use the keyboard shortcut Command + Up Arrow.
7. As you explore the contents of the SD card, you can perform various file operations, such as copying, moving, or deleting files and folders. Simply select the item you want to manage, right-click, and choose the appropriate action from the context menu.
That’s it! You now know how to view the contents of your SD card on your Mac. Next, let’s learn how to copy files from the SD card onto your Mac.
Copying Files from the SD Card
If you need to transfer files from your SD card to your Mac, the process is straightforward. With a few simple steps, you’ll be able to copy files and folders from your SD card onto your Mac’s internal storage. Here’s how:
1. Open the Finder application on your Mac and navigate to the SD card’s contents, as we discussed in the previous section.
2. Select the file or folder that you want to copy from the SD card. You can select multiple items by holding down the Command key while clicking on each item.
3. Once you’ve made your selection, right-click on the selected item(s) and choose “Copy” from the context menu. Alternatively, you can use the keyboard shortcut Command + C.
4. Navigate to the location on your Mac’s internal storage where you want to copy the files. This can be a specific folder or directly onto the desktop.
5. Right-click in the destination folder and choose “Paste” from the context menu. Alternatively, you can use the keyboard shortcut Command + V.
6. The files and folders will be copied from the SD card to the chosen location on your Mac. Depending on the size and number of files, the copying process may take a few moments.
7. Once the copying process is complete, you can safely eject the SD card from your Mac (covered in the next section) or continue working with the files on your Mac’s internal storage.
Copying files from the SD card provides you with a backup or allows you to edit and work with the files on your Mac without altering the original content on the SD card.
Now that you know how to copy files from the SD card, let’s move on to the next step: ejecting the SD card safely.
Ejecting the SD Card
Once you have finished working with the files on your SD card and have copied any necessary files to your Mac, it’s important to eject the SD card before physically removing it from your Mac. Ejecting the SD card ensures that all data is written and saved, preventing data loss or corruption. Here’s how to properly eject the SD card:
1. Locate the SD card icon on your desktop or in the Finder sidebar.
2. Right-click on the SD card icon and select “Eject” from the context menu. Alternatively, you can simply drag the SD card icon and drop it into the Trash icon in the Dock.
3. Wait for a moment as your Mac unmounts the SD card. You will see the SD card icon disappear from the desktop or Finder sidebar.
4. Once the SD card is ejected, it is safe to physically remove it from your Mac’s SD card slot or SD card reader.
It is important to note that removing the SD card without properly ejecting it can result in data loss or corruption. Before physically removing the SD card, always make sure it has been ejected to ensure the integrity of your files.
Now that you know how to safely eject the SD card from your Mac, it’s time to address some common troubleshooting issues you may encounter while working with SD cards on your Mac.
Troubleshooting Common Issues
Working with SD cards on your Mac may sometimes come with a few challenges. Here are some common issues you might encounter when using SD cards and how to troubleshoot them:
1. SD card not recognized: If your Mac doesn’t recognize the SD card, try disconnecting and reconnecting the card or using a different SD card reader. You can also try restarting your Mac and checking for software updates that might include compatibility fixes.
2. Slow transfer speeds: If copying files from the SD card to your Mac is taking longer than expected, it could be due to a slow SD card or USB connection. Try using a different SD card or USB port to see if it improves the transfer speed. Additionally, closing unnecessary applications and freeing up disk space on your Mac can also help.
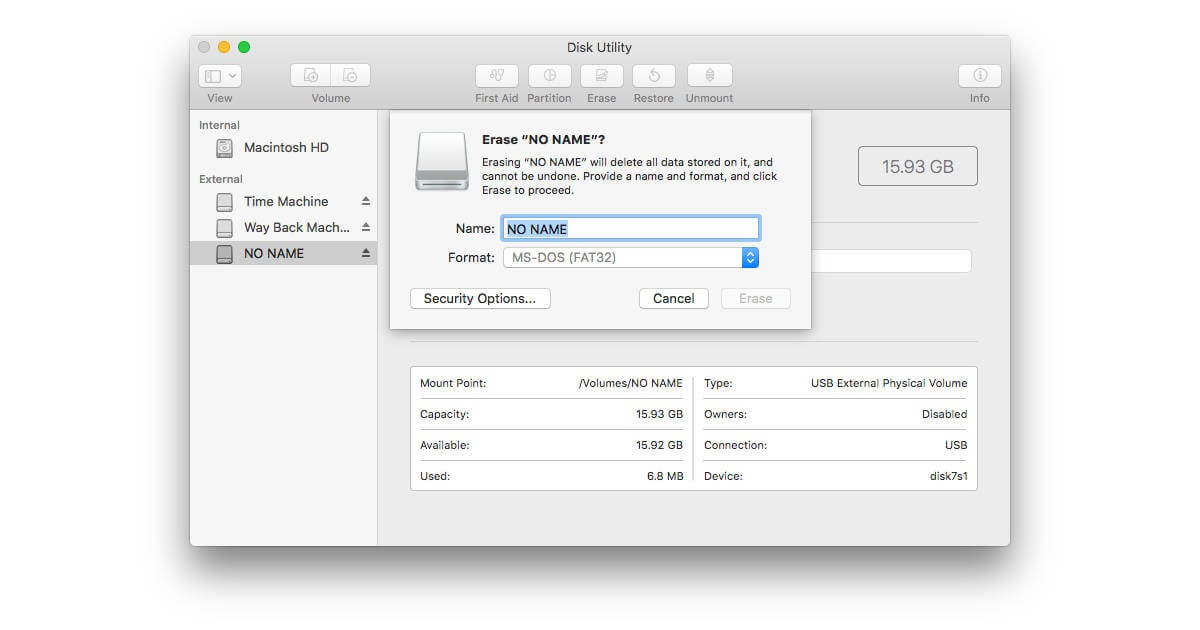
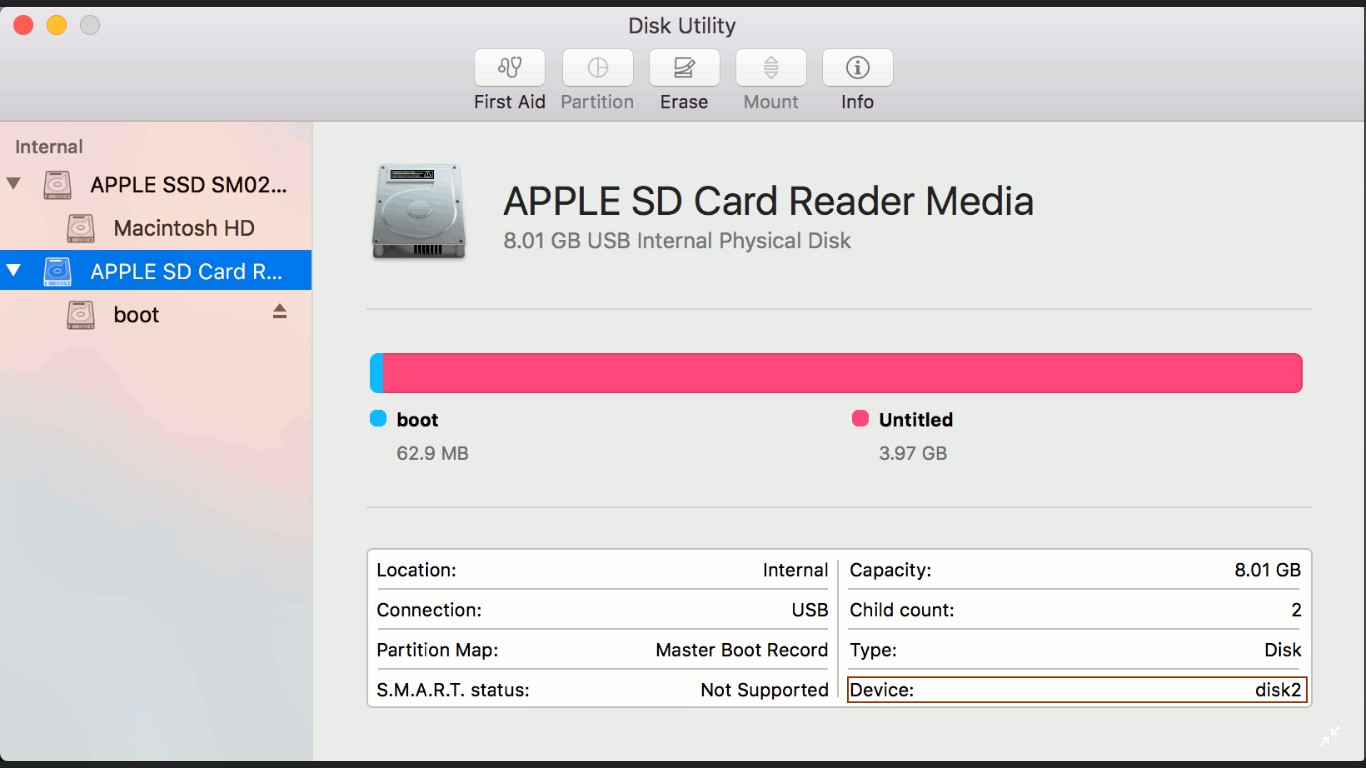
3. File system incompatibility: In some cases, if your SD card has been formatted with a file system not compatible with macOS, your Mac may not be able to read the card. To resolve this issue, you can reformat the SD card to a compatible file system using the Disk Utility application on your Mac.
4. File corruption: If you encounter corrupted files on your SD card, it could be due to improper ejection or other factors. Running a disk repair or using data recovery software might help recover the corrupted files. However, it’s important to have a backup of your SD card’s data to prevent any permanent loss.
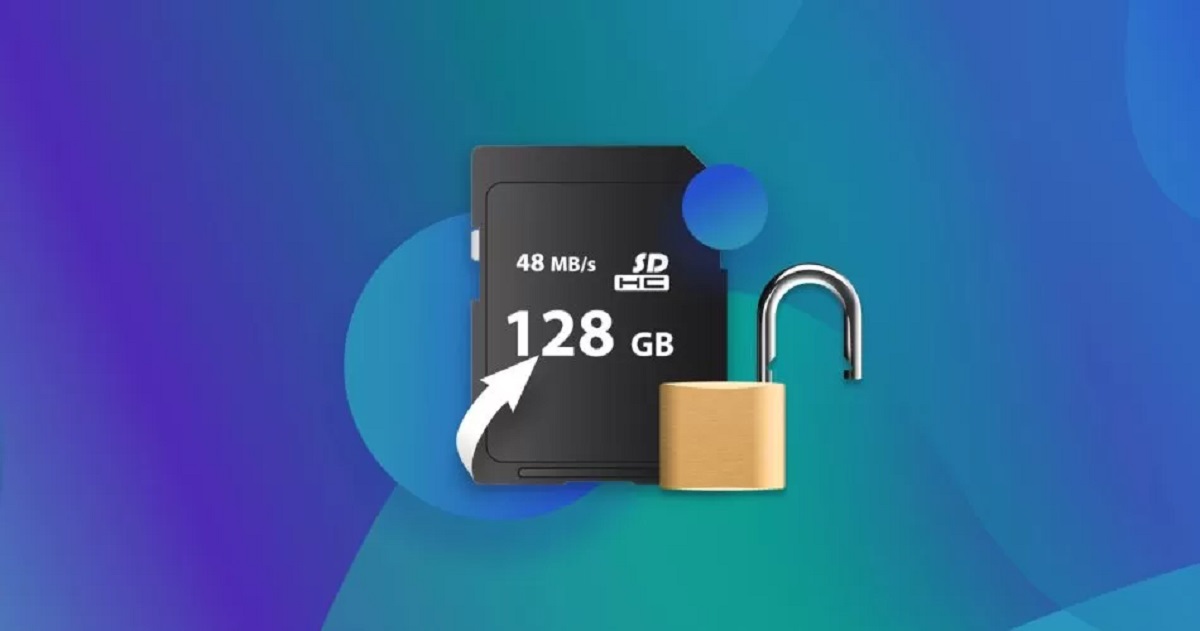
5. Read-only SD card: If you cannot modify or copy files to the SD card, it may be locked in a read-only mode. Check for a physical write protection switch on the SD card and make sure it is in the correct position. If the switch is off or the problem persists, you may need to resolve it using disk utilities or reformatting the card.
If you’re still experiencing issues with your SD card after troubleshooting, it might be helpful to consult with technical support or seek assistance from a professional to diagnose and resolve the problem.
Now that we’ve covered common troubleshooting issues, let’s summarize what we’ve learned in this guide.
Conclusion
Accessing and managing your SD card on your Mac is a simple process that allows you to conveniently view and transfer files. By checking the SD card connection, mounting the SD card, viewing its contents, copying files, and safely ejecting the card, you can effectively utilize your SD card’s storage capabilities.
Remember to ensure a proper connection and mount the SD card before accessing its contents. Use the Finder application to navigate through the folders and files on the SD card, and easily copy files to your Mac for editing or backup purposes.
Safely ejecting the SD card is crucial to prevent data loss or corruption. Always eject the SD card before physically removing it from your Mac’s SD card slot or SD card reader to ensure the integrity of your files.
If you encounter any issues, such as the SD card not recognized, slow transfer speeds, file system incompatibility, file corruption, or read-only mode, troubleshoot the problem by reconnecting the card, checking for updates, reformatting the card, or seeking assistance if necessary.
With these steps and troubleshooting tips, you can confidently work with your SD card on your Mac and enjoy the convenience of portable storage for your files and media.
We hope this guide has been helpful in demystifying the process of accessing and utilizing your SD card on your Mac. Enjoy exploring and managing your files with ease!