Introduction
Welcome to the world of screen mirroring, an incredibly useful feature that allows you to display the contents of your MacBook on a projector for large-scale presentations, movie nights, or simply sharing your screen with a larger audience. Whether you’re a teacher, presenter, or someone who enjoys multimedia on a bigger screen, screen mirroring is a game-changer.
But how do you screen mirror your MacBook to a projector? In this guide, we will walk you through the step-by-step process of connecting and mirroring your MacBook to a projector. Don’t worry if you don’t have any technical experience; this guide is designed to be beginner-friendly.
Before we dive into the steps, it’s important to note that compatibility is key. Make sure that your MacBook and projector are compatible in order to achieve a successful screen mirroring experience. Compatibility can depend on various factors such as the year and model of your MacBook, the type of projector, and the connection options available.
Once you have verified compatibility, you’re ready to move on to the next step: connecting the projector to your MacBook. In the following sections, we will guide you through the process to ensure a seamless connection and enable screen mirroring in no time.
Step 1: Check Compatibility
Before you can begin screen mirroring your MacBook to a projector, it’s important to confirm that your devices are compatible. Compatibility varies depending on factors such as the model and year of your MacBook, the type of projector you have, and the available connection options. Here are a few key points to consider:
- MacBook Compatibility: Check the specifications of your MacBook to determine if it supports screen mirroring. Different MacBook models and years may have varying capabilities. Usually, newer models are more likely to support screen mirroring.
- Projector Compatibility: Ensure that your projector has the necessary inputs and capabilities to receive the mirroring signal from your MacBook. Common compatibility options include HDMI, DisplayPort, or VGA connections.
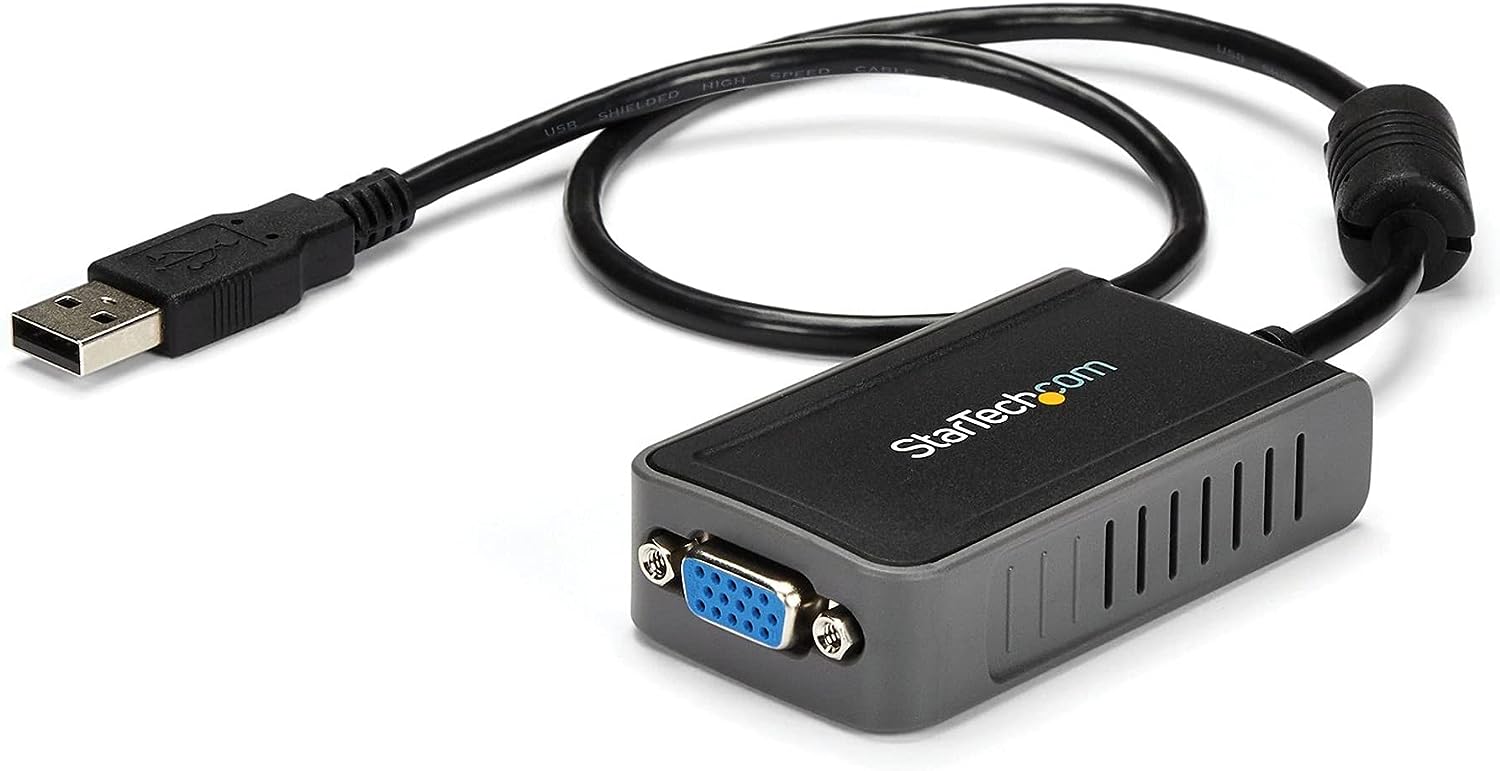
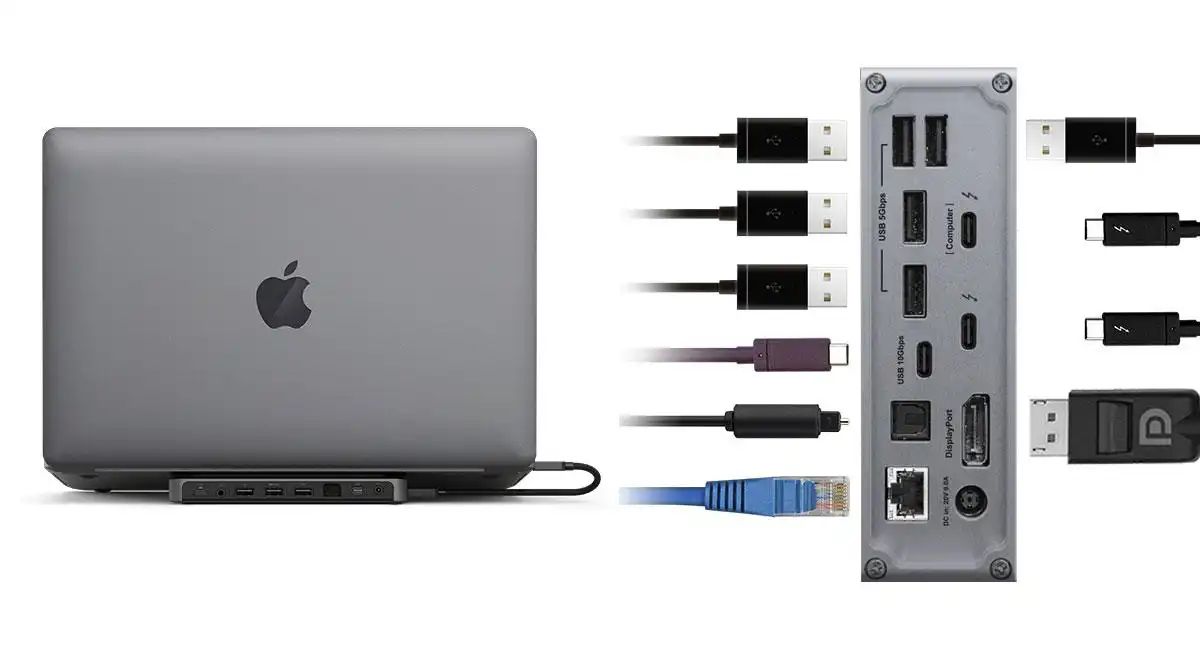
- Connection Options: Familiarize yourself with the available connection options on both your MacBook and projector. MacBook models may have different types of ports, such as USB-C, Thunderbolt, or Mini DisplayPort. Make sure you have the appropriate adapter or cable to connect your MacBook to the projector.
Once you have checked the compatibility of your devices, you can move on to the next step of connecting your MacBook to the projector. Ensure that you have all the necessary cables and adapters ready for a smooth setup process.
Keep in mind that if you encounter compatibility issues, there are alternative solutions available. You might need to use a different type of adapter, switch to a different projector, or explore wireless screen mirroring options like AirPlay or Chromecast with compatible devices.
By taking the time to verify compatibility, you will avoid any frustrating disruptions in the screen mirroring process. So make sure that your MacBook and projector are ready to go before proceeding to the next step.
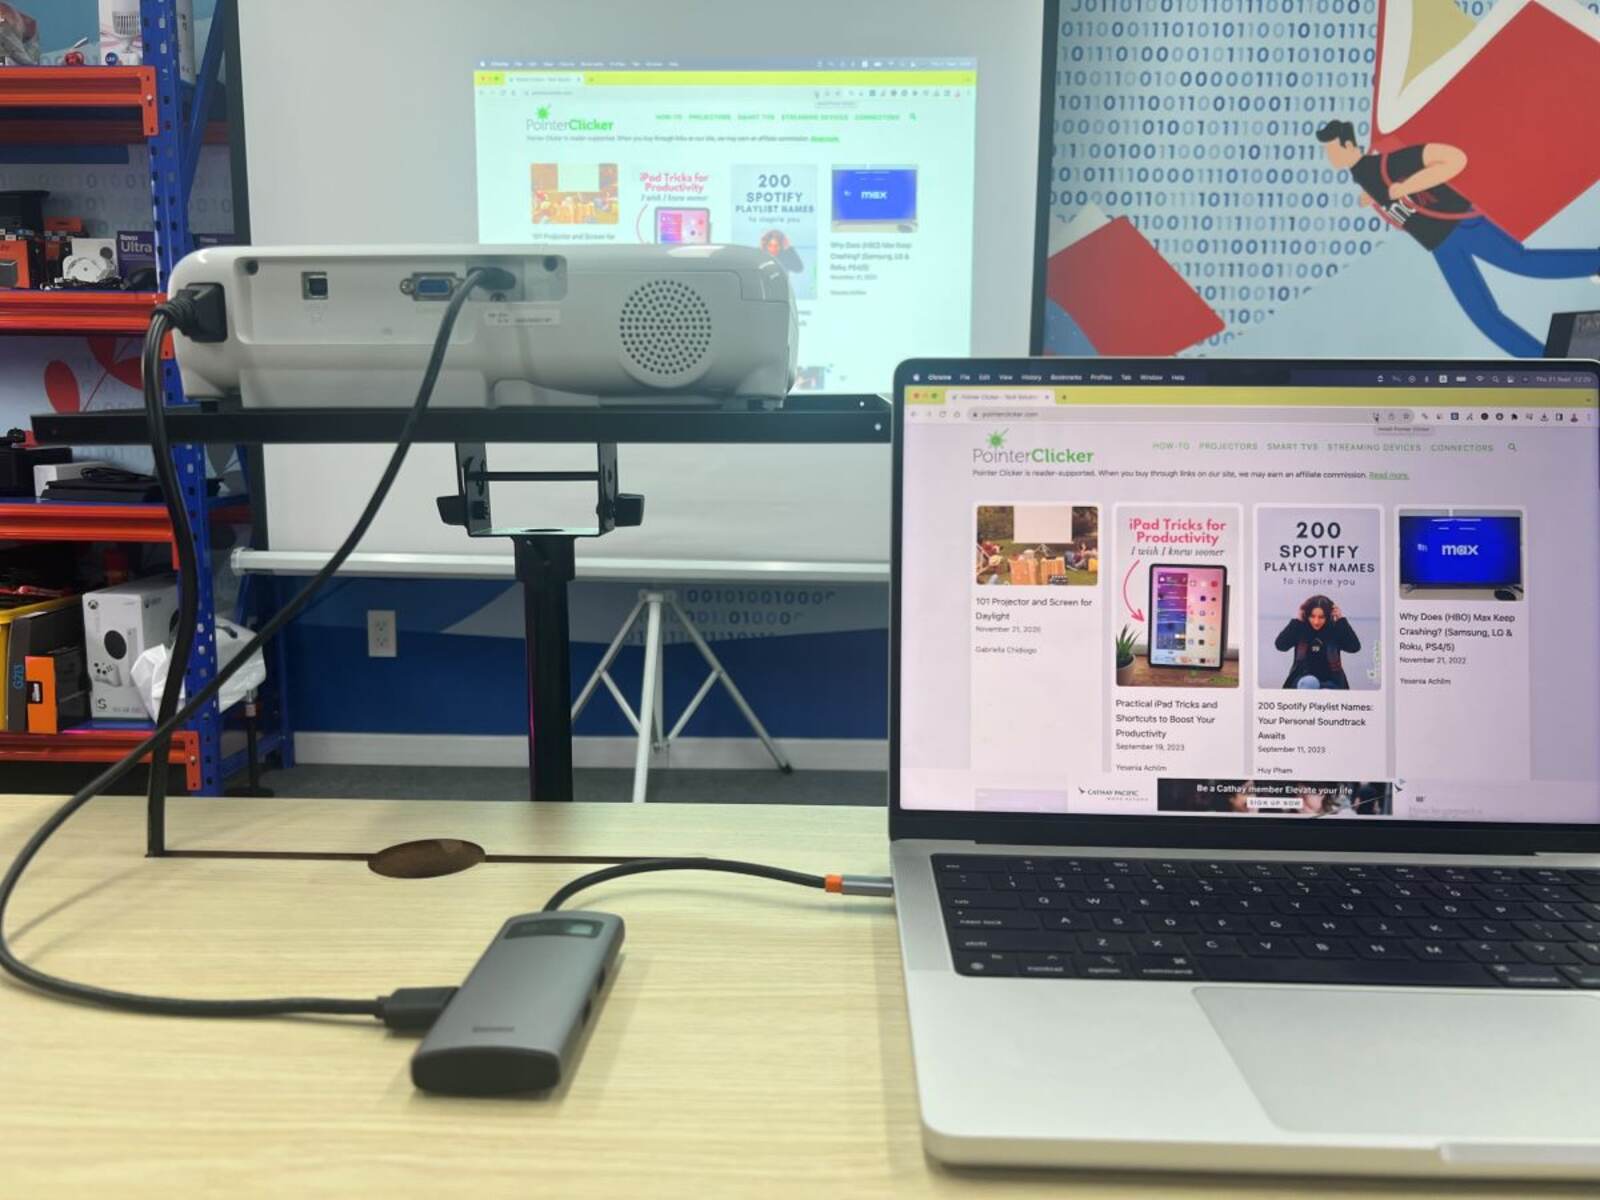
Step 2: Connect the Projector to Your MacBook
Now that you have confirmed the compatibility of your MacBook and projector, it’s time to establish the physical connection between the two devices. Follow these steps to connect the projector to your MacBook:
- Locate the Video Input: On your projector, find the video input port. This is where you will connect the cable from your MacBook. Depending on the projector model, the port may be labeled as HDMI, DisplayPort, VGA, or another video input option.
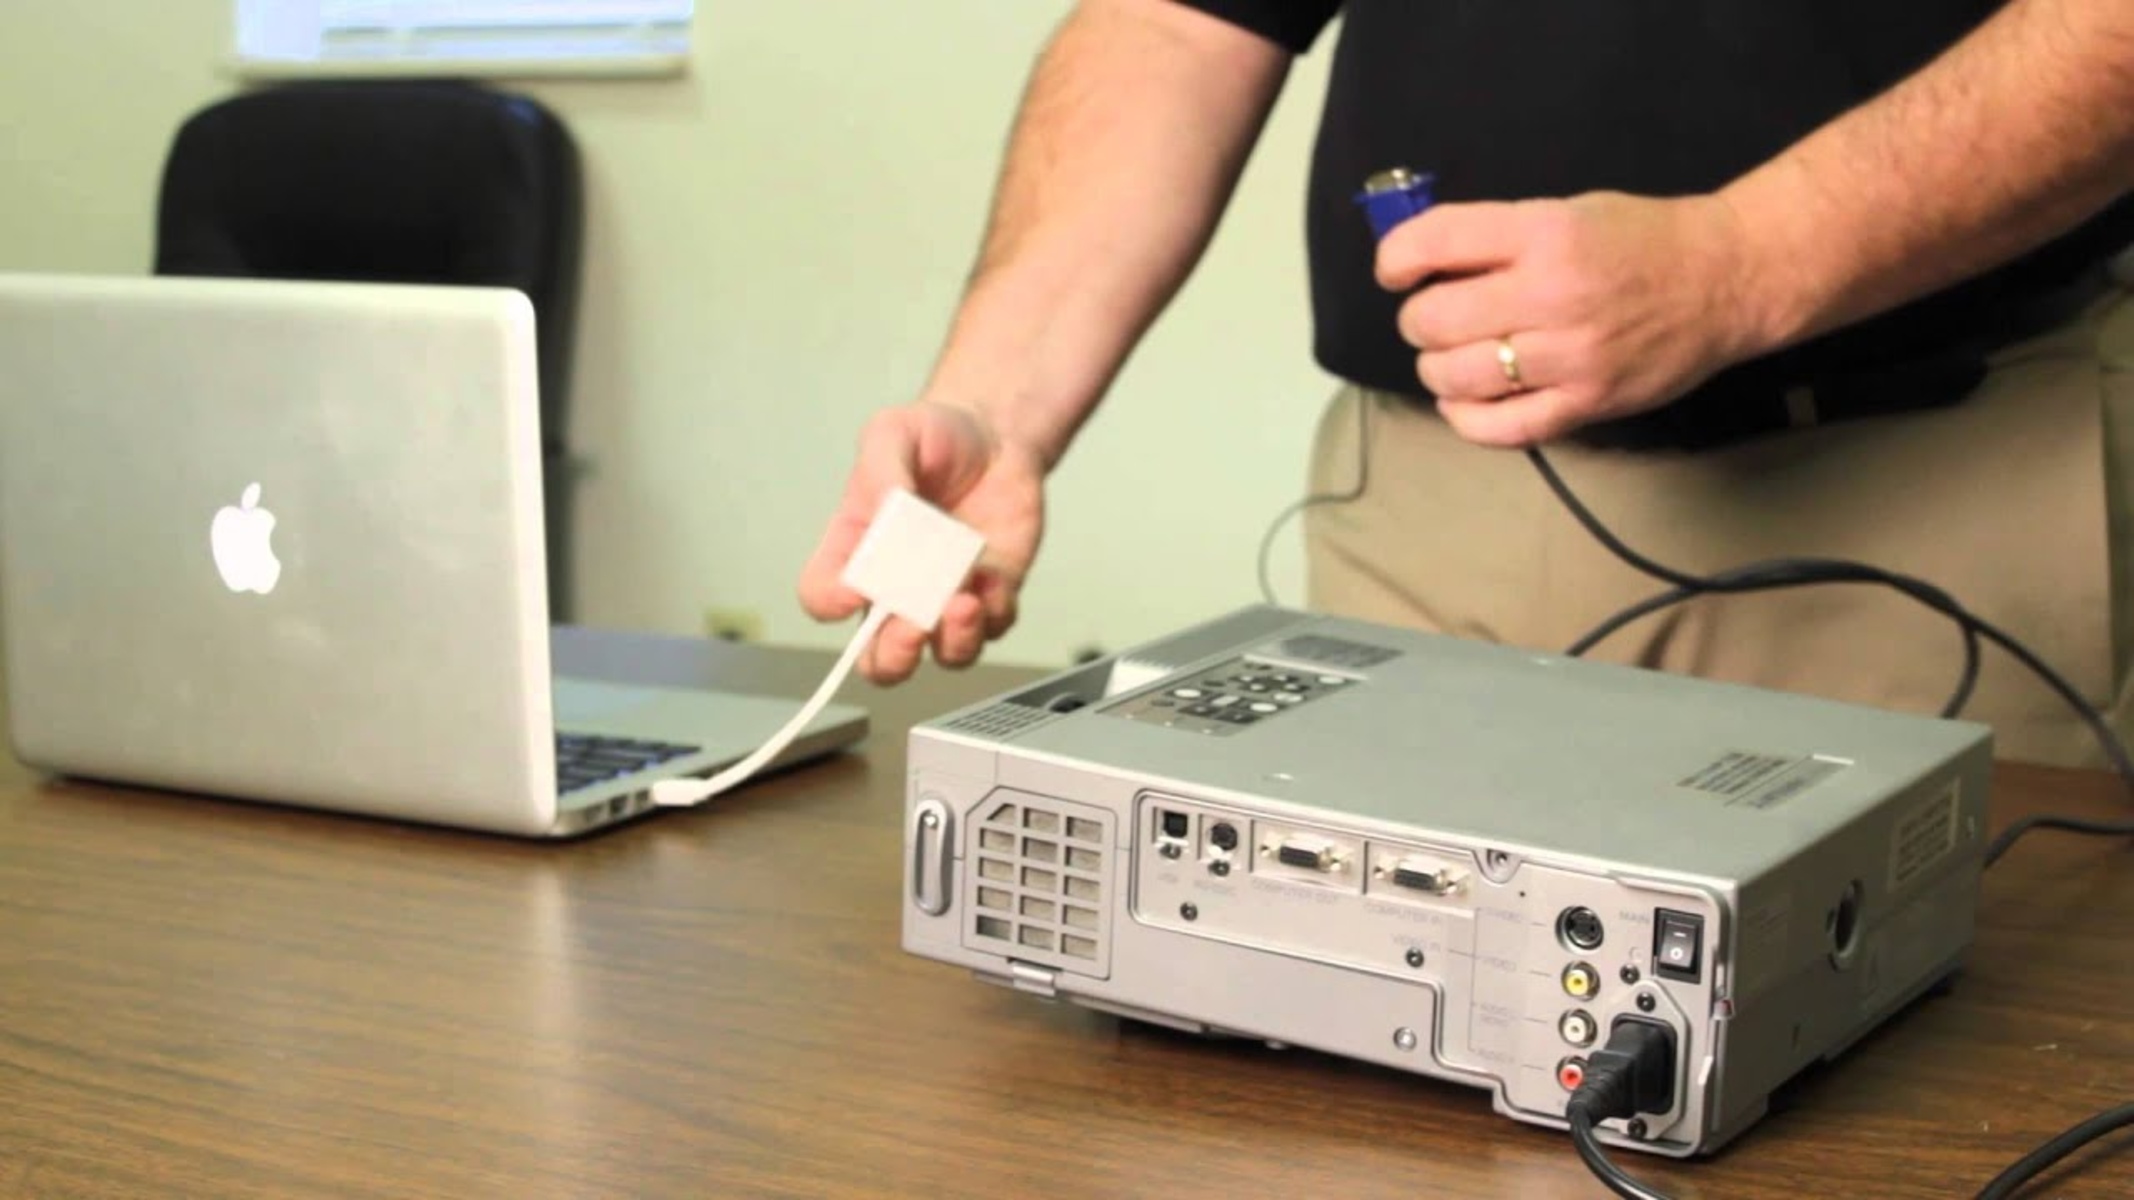
- Choose the Right Cable: Select the appropriate cable or adapter to connect your MacBook to the projector. If your MacBook has a USB-C or Thunderbolt port, you may need an adapter to connect to HDMI, DisplayPort, or VGA cables. If your MacBook has a built-in HDMI or DisplayPort, you can use a compatible cable without an adapter.
- Connect the Cable: Insert one end of the cable into the video output port on your MacBook. Ensure a secure connection. Then plug the other end of the cable into the corresponding video input port on the projector.
- Power Up the Projector: Turn on the projector and wait for it to fully power up. Make sure the projector is set to the correct input source that matches the port you connected the MacBook to.
- Select the Input Source: On your MacBook, go to the Apple menu and choose “System Preferences”. In the System Preferences window, click on “Displays”. Next, click on the “Arrangement” tab and check the box that says “Mirror Displays”. This will ensure that your MacBook screen is mirrored on the projector.
Once you have completed these steps, your MacBook should be connected to the projector, and you’re ready to move on to the next step of adjusting the display settings.
Keep in mind that the specific steps may vary slightly depending on the model of your MacBook and the type of projector you have. Consult the user manuals or online documentation for your devices if you need more detailed instructions for the connection process.
With the physical connection established, you’re one step closer to successfully screen mirroring your MacBook to the projector!
Step 3: Adjust Display Settings on Your MacBook
Now that you have connected your MacBook to the projector, it’s time to adjust the display settings to ensure optimal screen mirroring. Follow these steps to adjust the display settings on your MacBook:
- Access System Preferences: Click on the Apple menu in the top-left corner of your MacBook and select “System Preferences” from the dropdown menu.
- Open Displays Settings: In the System Preferences window, locate and click on the “Displays” icon.
- Arrangement Tab: In the Displays settings, navigate to the “Arrangement” tab. Here, you will see a graphical representation of your MacBook display and the connected projector.
- Mirror Displays: Check the box that says “Mirror Displays”. This option allows you to duplicate your MacBook screen on the projector. If the box is already checked, no further action is needed.
- Resolution and Scaling: Adjust the resolution and scaling settings if needed. You can choose your preferred resolution or use the “Default for display” option.
- Arrangement: If necessary, rearrange the position of the displays by dragging them in the graphical representation. This will determine which display is your primary screen and which is the mirrored display.
- Close Settings: Once you have made any desired adjustments, close the System Preferences window.
By adjusting the display settings on your MacBook, you can ensure that the content is correctly displayed on the projector. It’s important to note that the available options may vary depending on the operating system version of your MacBook.
Experiment with different resolutions and scaling settings to find the optimal display configuration for your needs. Keep in mind that higher resolutions may result in smaller text and icons, so choose a setting that is comfortable for your audience.
With the display settings adjusted, you’re now ready to move on to the next step: enabling screen mirroring on your MacBook.
Step 4: Enable Screen Mirroring
Now that you have connected your MacBook to the projector and adjusted the display settings, it’s time to enable screen mirroring. Follow these steps to activate screen mirroring on your MacBook:
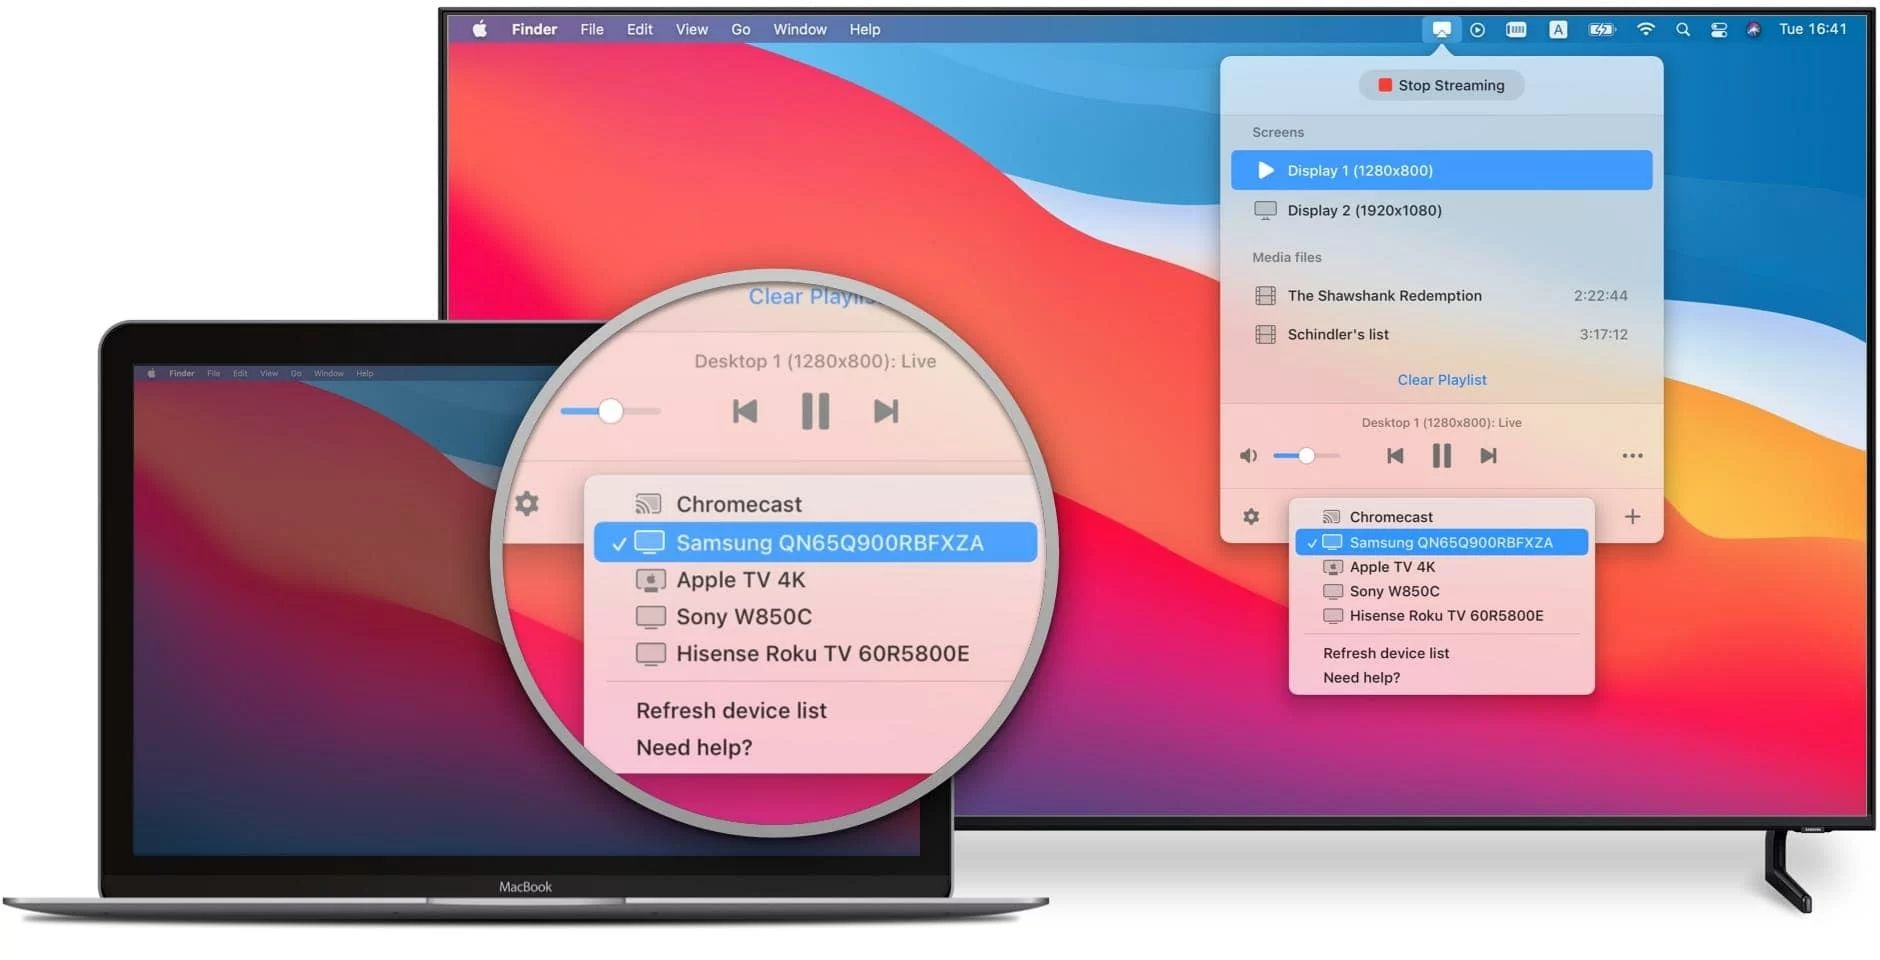
- Access AirPlay: In the menu bar at the top of your MacBook screen, locate the AirPlay icon. It looks like a rectangle with an arrow pointing upwards. Click on this icon to open the AirPlay menu.
- Select the Projector: In the AirPlay menu, you should see a list of available devices to mirror your screen to. Choose the name of your connected projector from the list.
- Enable Mirroring: Once you have selected the projector, toggle the switch next to “Mirroring” to turn it on. This will initiate the screen mirroring process.
- Wait for Connection: Give your MacBook a moment to establish the connection with the projector. You should see your MacBook screen mirrored on the projector shortly.
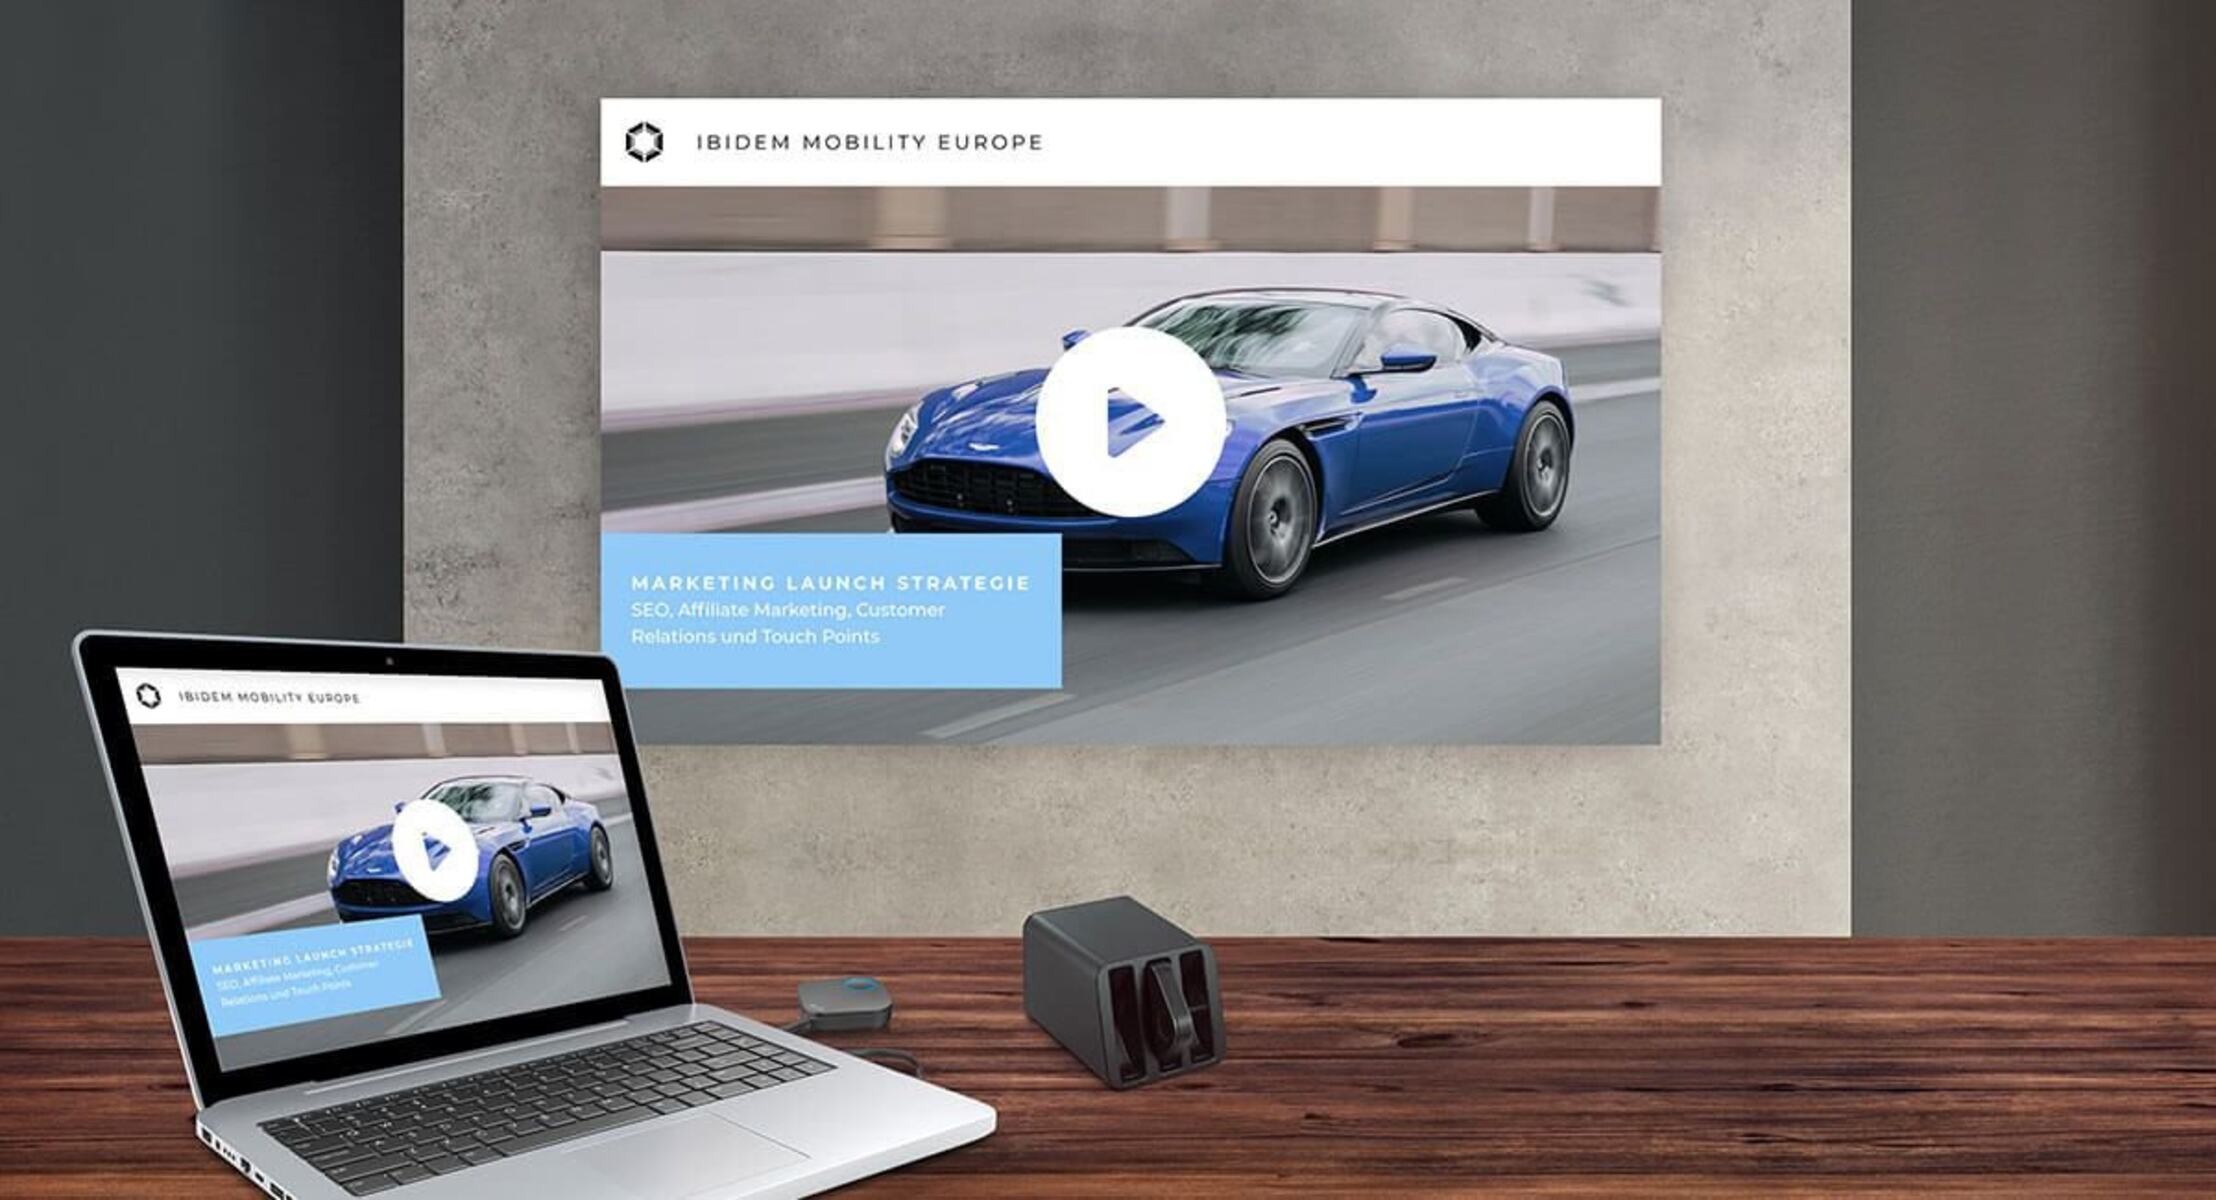
Once screen mirroring is enabled, anything you do on your MacBook screen will be mirrored on the projector. This includes opening apps, playing videos, giving presentations, or browsing websites. It provides a seamless way to share your content with a wider audience.
During screen mirroring, your MacBook may display a notification indicating that it is being mirrored. You can control the volume, brightness, and other settings directly from your MacBook, and the changes will be reflected on the projector as well.
To stop screen mirroring, simply click on the AirPlay icon in the menu bar again, select “Turn AirPlay Off”, or toggle the “Mirroring” switch to the off position.
With screen mirroring enabled, you can now enjoy the benefits of projecting your MacBook screen to a larger audience or display. It’s time to bring your content to life!
Step 5: Troubleshooting Common Issues
While screen mirroring your MacBook to a projector is generally a straightforward process, you may encounter a few common issues along the way. Don’t worry – we’ve got you covered! Here are some troubleshooting tips to help you overcome potential obstacles:
- No Signal: If the projector doesn’t display a signal from your MacBook, double-check the cable connections on both ends. Ensure that the cables are securely plugged in and that the projector is set to the correct input source.
- Incompatible Cable or Adapter: If you’re using an adapter to connect your MacBook to the projector and experiencing issues, make sure you are using a compatible adapter. Some adapters may not support screen mirroring, so always check the product specifications or consult with the manufacturer.
- Display Resolution: If the projected image appears distorted or doesn’t fit the screen properly, adjust the display resolution on your MacBook. Experiment with different resolutions to find the optimal setting that matches the projector’s native resolution.
- Audio Output: If you’re not getting audio through the projector, check the audio output settings on your MacBook. You may need to select the projector as the audio output device manually. Also, ensure that the volume is not muted on both the MacBook and the projector.
- Update Software: Ensure that both your MacBook and the projector firmware are up to date. Outdated software can sometimes cause compatibility issues. Check for any available updates and install them if necessary.
- Interference: If you notice any interference or flickering on the projected image, it could be due to electromagnetic interference from nearby electronic devices. Try moving the projector and MacBook away from other devices to minimize interference.
If you’ve tried all the troubleshooting steps and are still encountering issues, consult the user manuals for your MacBook and projector, or reach out to the respective customer support teams for further assistance. They will be able to guide you through specific troubleshooting steps based on your particular setup.
Remember, patience and perseverance are key when troubleshooting. With a little troubleshooting, you’ll be able to overcome any obstacles and enjoy seamless screen mirroring on your MacBook and projector.
Conclusion
Congratulations! You have successfully learned how to screen mirror your MacBook to a projector. By following the steps outlined in this guide, you can now share your MacBook screen with a larger audience, whether it’s for presentations, movie nights, or any other multimedia needs.
Throughout this guide, we covered the importance of checking compatibility between your MacBook and the projector. We also walked you through the process of connecting the two devices using the appropriate cable or adapter, adjusting the display settings on your MacBook, enabling screen mirroring via AirPlay, and troubleshooting common issues that may arise.
Remember, each MacBook and projector setup may have unique requirements, so consult the user manuals or online documentation for your specific devices if needed. Additionally, stay up to date with any software updates for your MacBook and projector to ensure optimal compatibility.
Screen mirroring provides a powerful tool for sharing content, collaborating, and enhancing visual experiences. Whether you’re giving a presentation in a professional setting or enjoying a movie night with friends, the ability to mirror your MacBook screen on a projector opens a world of possibilities.
Now that you’ve mastered the art of screen mirroring on your MacBook, go ahead and unleash your creativity, capture your audience’s attention, and enjoy the convenience and flexibility that screen mirroring offers.
So, connect your MacBook to a projector, mirror your screen, and let your ideas shine!