Introduction
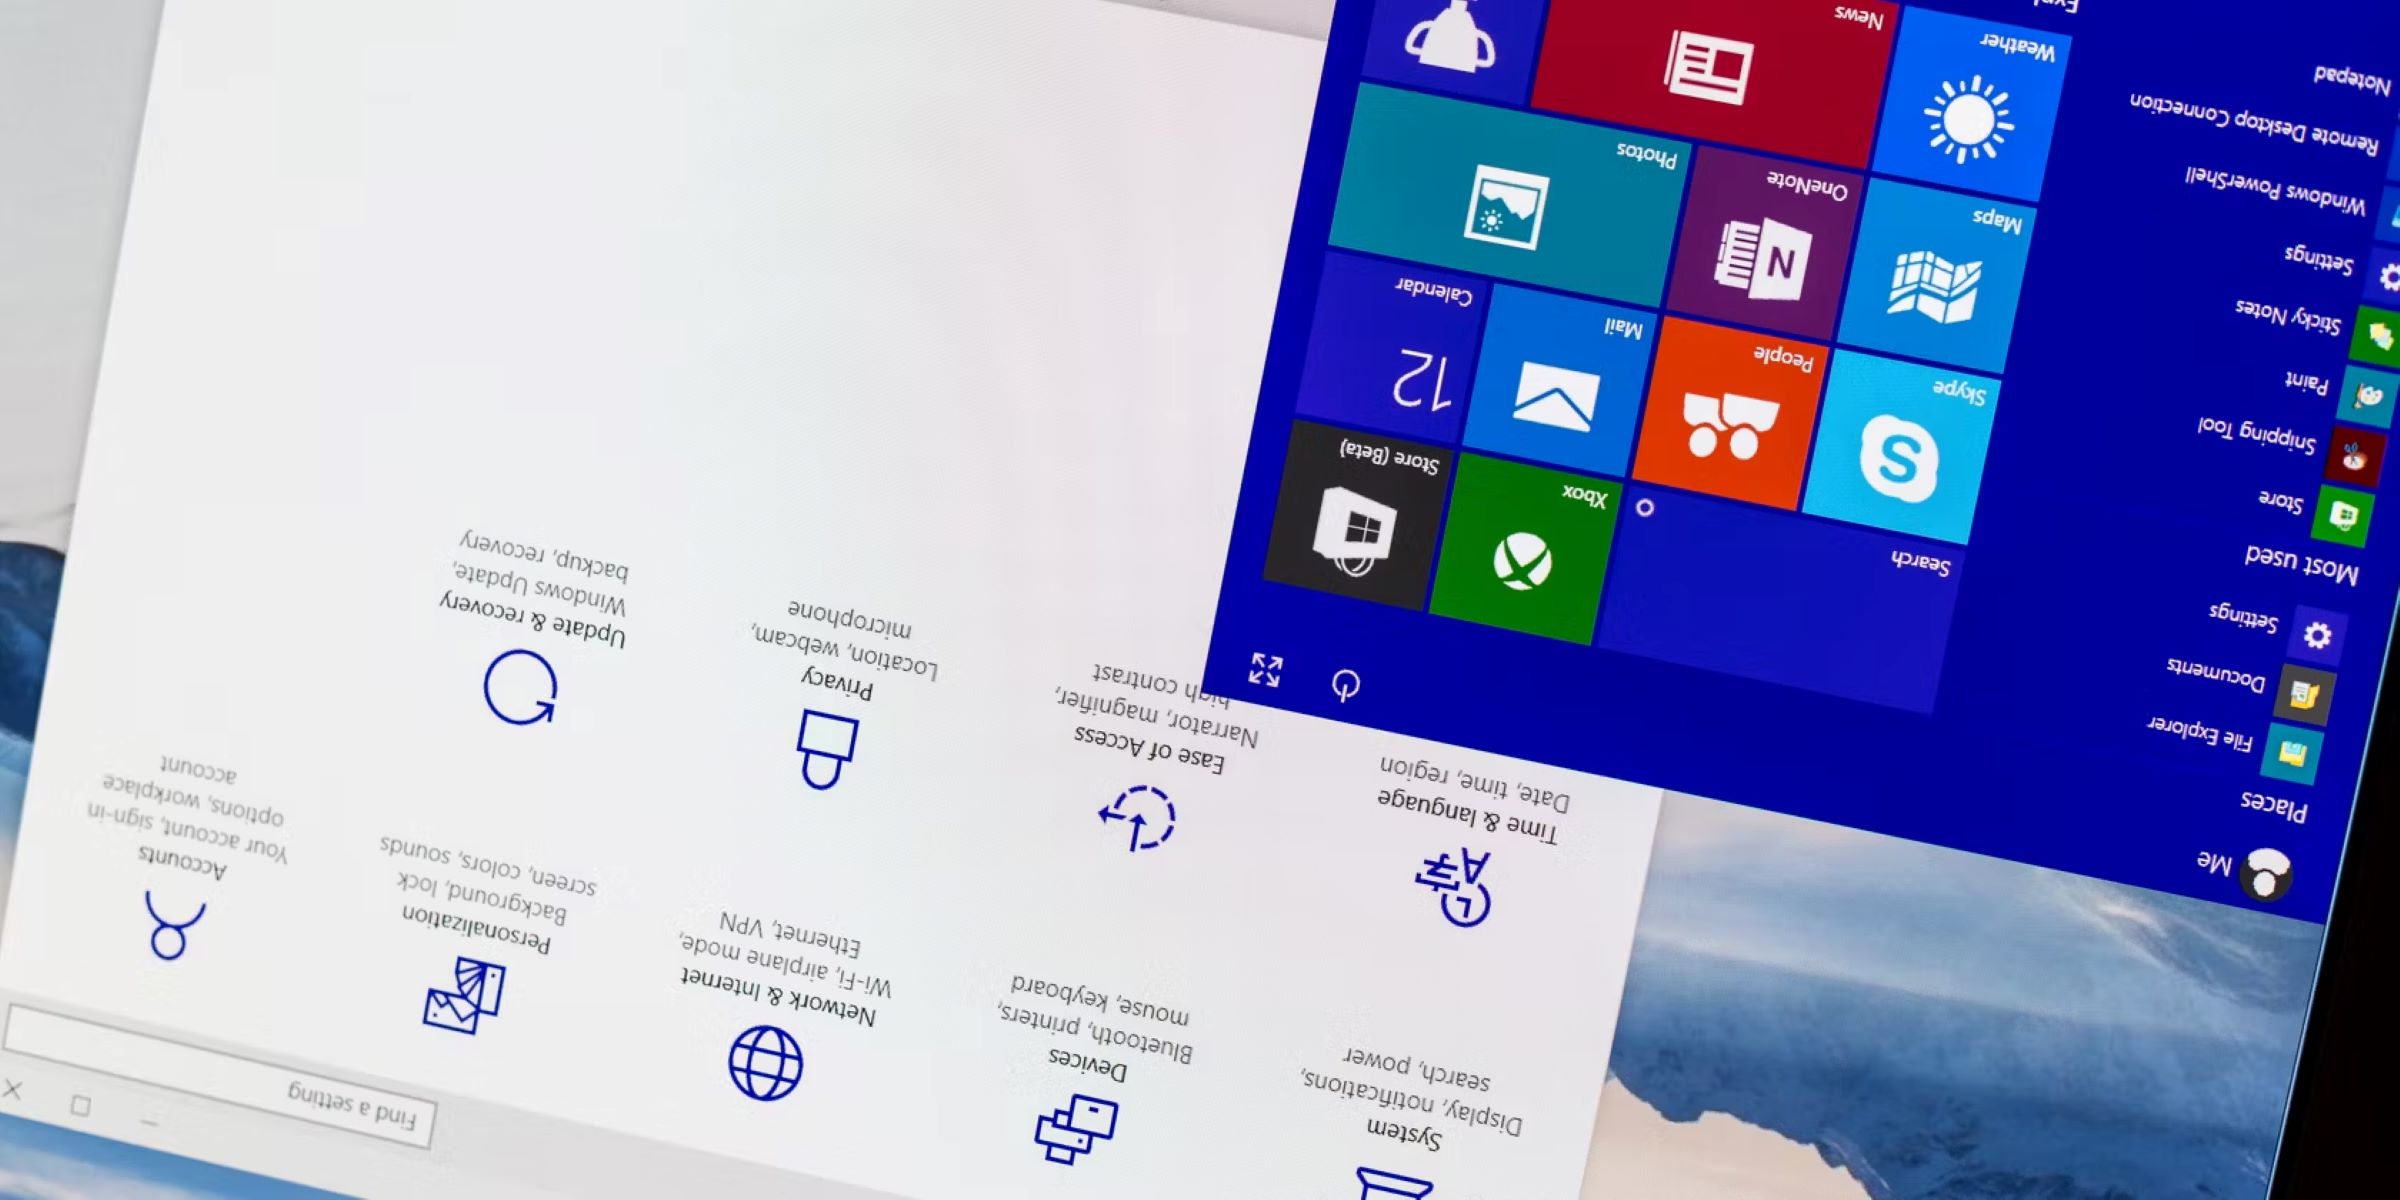
As we spend more and more time working and playing on our computers, it’s essential to have a comfortable viewing experience. Sometimes, you may find yourself needing to rotate your computer screen to accommodate different tasks or personal preferences. Rotating the screen can be particularly helpful when working with vertical images, reading documents, or participating in video conferences.
In this article, we will explore various methods to rotate your computer screen using keyboard shortcuts, display settings, graphics control panels, creating a script shortcut, and utilizing third-party software. Whether you use a Windows PC or a Mac, there are solutions available to suit your needs.
Rotating your computer screen can offer versatile benefits. For designers and photographers, it can be useful to view images in their native orientation. Writers and researchers may prefer a vertical screen for easier reading and scrolling through long documents. Additionally, teachers and presenters can rotate the screen to engage with their audience during presentations or while sharing content.
Before we dive into the methods, it’s important to note that the availability of certain options may vary depending on your operating system, graphics card, and driver configuration. It’s recommended to check your system settings and graphics card specifications to determine the available options for screen rotation.
In the following sections, we will provide step-by-step instructions for each method, including any relevant keyboard shortcuts or settings to access. All the methods presented here are safe to use, and you can easily revert to your original screen orientation if desired.
Now that we have an understanding of the importance and benefits of screen rotation, let’s explore the different methods you can use to rotate your computer screen with ease.
Method 1: Using Keyboard Shortcuts
One of the quickest and easiest ways to rotate your computer screen is by using keyboard shortcuts. These shortcuts allow you to change the screen orientation with just a few key presses. Here’s how you can do it:
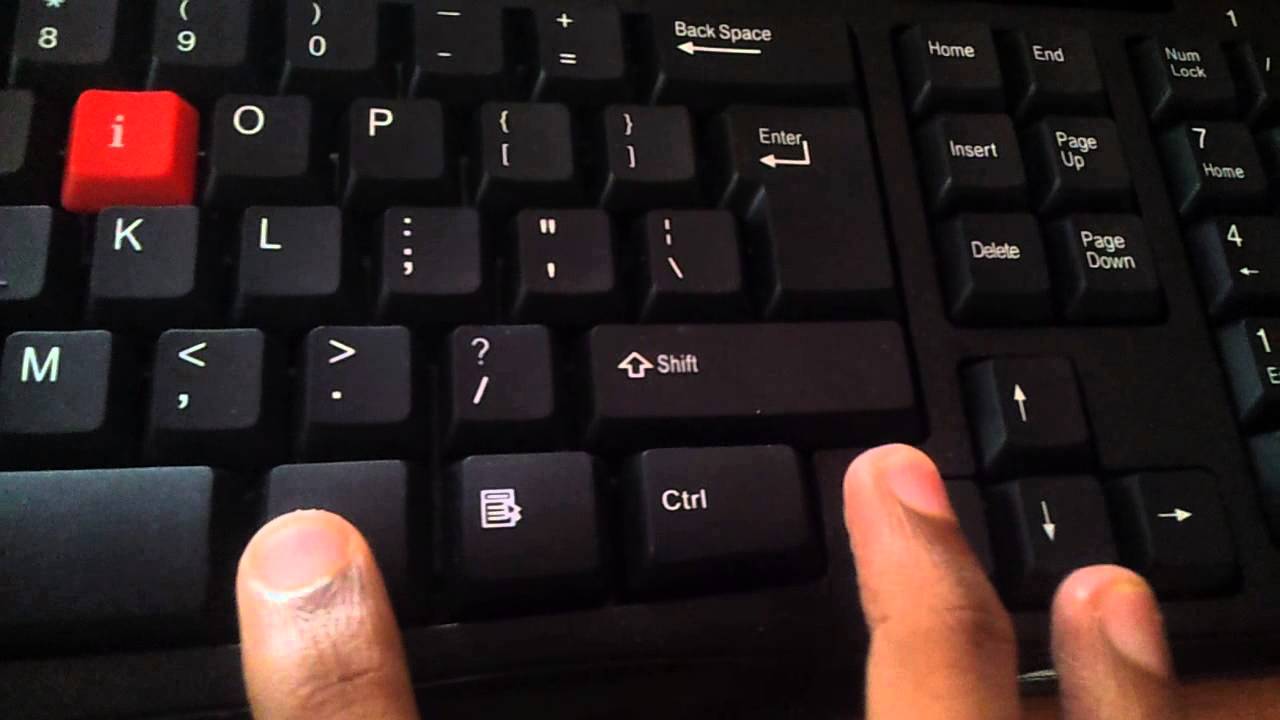
- Windows: Press Ctrl + Alt + Arrow keys to rotate the screen. By default, Ctrl + Alt + Right Arrow rotates the screen 90 degrees to the right, Ctrl + Alt + Down Arrow rotates it 180 degrees (upside down), and Ctrl + Alt + Left Arrow rotates it 90 degrees to the left.
- Mac: Press Command + Option + Arrow keys to rotate the screen. Similar to Windows, Command + Option + Right Arrow rotates the screen to the right, Command + Option + Down Arrow rotates it upside down, and Command + Option + Left Arrow rotates it to the left.
If these shortcuts don’t work on your system, you can try checking your graphics card settings or using other methods mentioned in this article.
It’s important to note that not all computers or operating systems support screen rotation via keyboard shortcuts. Also, these shortcuts may vary depending on your graphics card and driver configuration.
Now that you know how to rotate your computer screen using keyboard shortcuts, let’s move on to the next method: using display settings.
Method 2: Using Display Settings
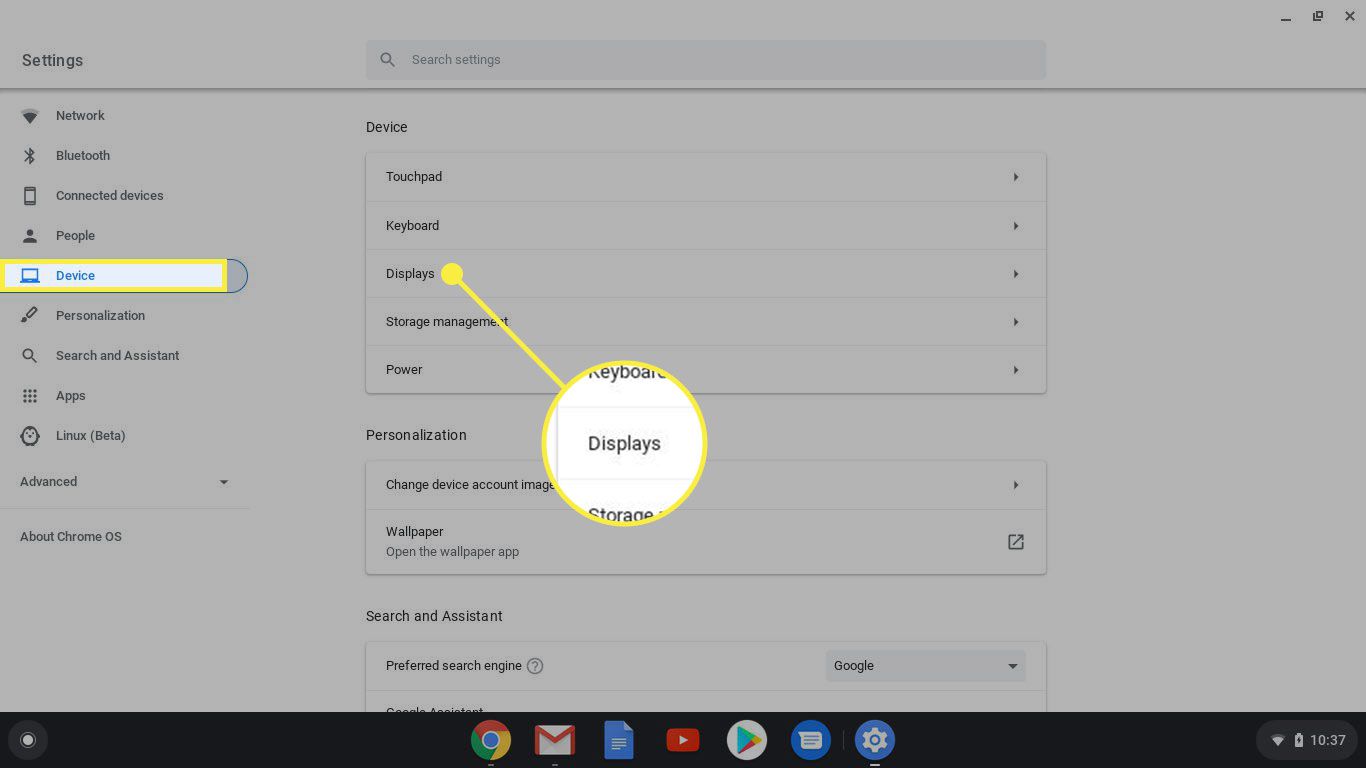
If you prefer a more visual approach to rotate your computer screen, you can utilize the display settings available on your operating system. Here’s how you can do it:
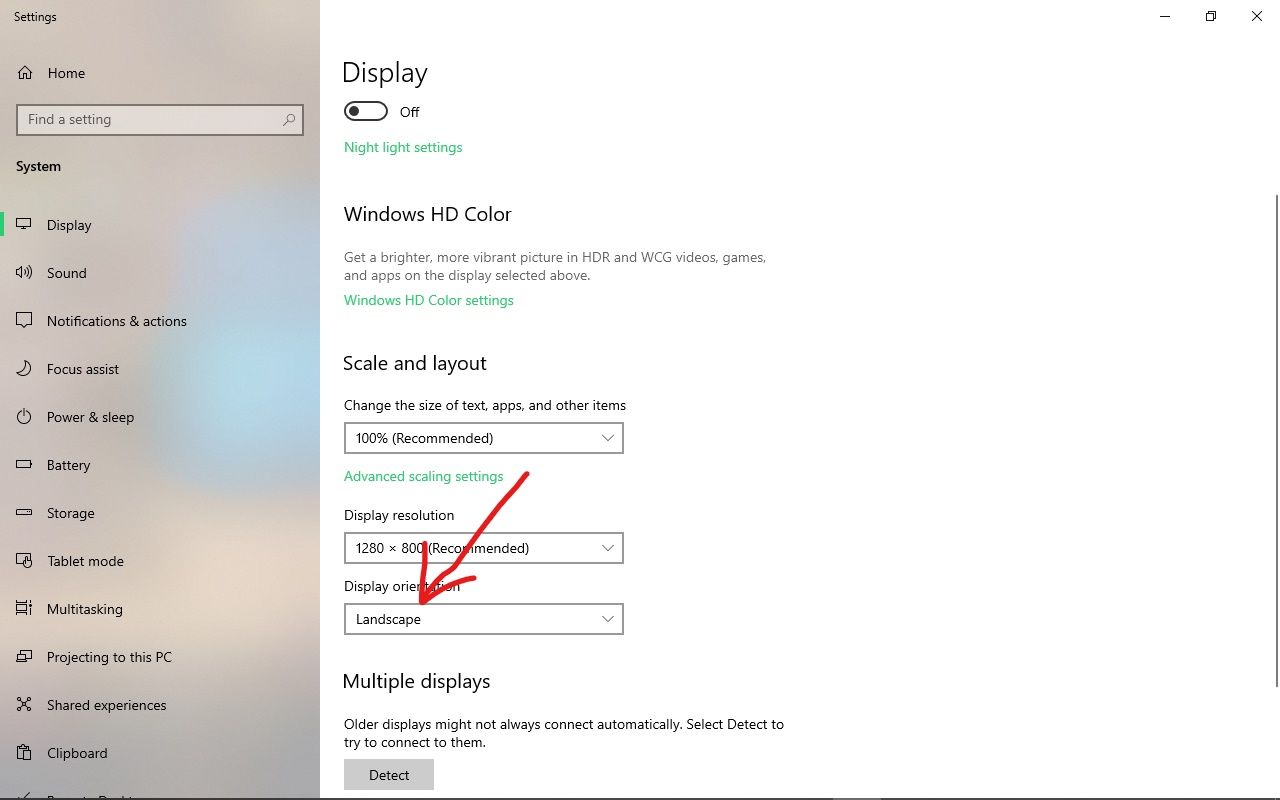
- Windows: Right-click on your desktop and select Display settings from the context menu. In the Display settings window, scroll down to the Orientation section. From the dropdown menu, select the desired rotation option: Landscape, Portrait, Landscape (flipped), or Portrait (flipped). Once you’ve made the selection, the screen will immediately rotate to the chosen orientation. If you are satisfied with the new orientation, click Apply to save the changes, or click Cancel to revert to the previous settings.
- Mac: Click on the Apple menu at the top left corner of your screen, then select System Preferences. In the System Preferences window, click on Display. Navigate to the Display tab and select the desired rotation option from the Rotation dropdown menu: Standard, 90°, 180°, or 270°. Again, if you are satisfied with the new orientation, click OK to save the changes, or click Cancel to revert to the previous settings.
Using the display settings to rotate your screen provides a straightforward and user-friendly approach. It allows you to preview the new orientation before applying the changes, ensuring that it aligns with your preferences.
It’s worth mentioning that the options and terminology may vary slightly depending on your operating system version. Additionally, some computers may have additional display settings or software specific to the manufacturer.
Now that you know how to rotate your computer screen using display settings, let’s explore another method: using the graphics control panel.
Method 3: Using Graphics Control Panel
If you have a dedicated graphics card installed on your computer, you may have access to a graphics control panel that offers more advanced options for screen rotation. Here’s how you can utilize the graphics control panel to rotate your computer screen:
- Windows: Right-click on your desktop and select Graphics Options or Graphics Properties from the context menu. This will open the graphics control panel specific to your graphics card. Navigate to the Display or Rotation section, where you will find options to rotate the screen. Select the desired orientation and click Apply or OK to save the changes.
- Mac: Mac users with dedicated graphics cards can access the graphics control panel by clicking on the Apple menu at the top left corner of the screen. From the dropdown menu, select System Preferences and then click on Displays. In the Display tab, you should see a button or tab for accessing your graphics card settings. From there, you can find the rotation options and make the necessary adjustments.
The availability and features of the graphics control panel may vary depending on your graphics card manufacturer and driver version. It’s recommended to refer to the documentation or support resources provided by your graphics card manufacturer for specific instructions.
Using the graphics control panel allows for more customization options and control over screen rotation. You can often adjust not only the orientation but also additional display settings such as color calibration, resolution, and aspect ratio.
Now that you know how to utilize the graphics control panel to rotate your computer screen, let’s explore another method: creating a script shortcut.
Method 4: Creating a Script Shortcut
An alternative method to rotate your computer screen is by creating a script shortcut. This method involves writing a simple script that can be executed with a single click to change the screen orientation. Here’s how you can do it:
- Windows: Right-click on your desktop and select New, then click on Shortcut. In the Create Shortcut window, enter the following command:
Ctrl+Alt+desired arrow key(replace desired arrow key with the appropriate choice, such as Right, Down, or Left). Click Next and provide a name for the shortcut (e.g., “Rotate Screen Right”). Click Finish to create the shortcut. Whenever you click on this shortcut, the screen will rotate according to the selected arrow key combination. - Mac: On a Mac, you can achieve a similar result by using AppleScript. Open the Script Editor application, which can be found in the Utilities folder within the Applications folder. In the Script Editor, enter the following script:
do shell script "open -a System\\ Preferences; tell application \"System Preferences\" to reveal anchor \"displaysDisplayTab\" of pane \"com.apple.preference.displays\""Save the script as an application. Once saved, you can run the application to open the Display preferences tab, where you can easily change the screen rotation.
By creating a script shortcut, you can personalize the screen rotation process and make it more convenient. It allows for quick and easy access to changing the orientation without having to navigate through menus or settings.
It’s important to note that creating a script shortcut may require a basic understanding of scripting and familiarity with the operating system. If you’re not comfortable with this method, feel free to explore other options mentioned in this article.
Now that you know how to create a script shortcut to rotate your computer screen, let’s move on to the final method: using third-party software.
Method 5: Using Third-Party Software
If the built-in methods mentioned earlier don’t meet your requirements or if you prefer a more comprehensive solution for screen rotation, you can consider using third-party software specifically designed for this purpose. Here’s how you can utilize third-party software to rotate your computer screen:
- Windows: There are several third-party software options available for Windows that offer advanced screen rotation features. Some popular choices include DisplayFusion, iRotate, and PowerStrip. These software applications provide additional customization options, hotkey support, and advanced screen management features. Simply download and install the software of your choice, follow the instructions provided by the manufacturer, and you’ll have access to more flexibility in adjusting and controlling your screen orientation.
- Mac: Mac users can also find third-party software solutions for screen rotation. Applications like iScreenRotation and Display Menu offer additional features and customization options beyond the built-in system settings. Visit the software manufacturer’s website, download the appropriate version for your Mac, and follow the installation instructions provided to gain access to advanced screen rotation features.
Using third-party software allows you to have greater control over your screen rotation, with additional features and customization options tailored to your specific needs. Keep in mind that third-party software may require a purchase or have limitations in the free version, so it’s advisable to review and compare different options before making a decision.
Now that you are aware of the fifth method for screen rotation, let’s wrap up the article by summarizing the methods discussed.
Conclusion
Rotating your computer screen can greatly enhance your viewing experience and accommodate various tasks or personal preferences. In this article, we explored five different methods to rotate your computer screen using keyboard shortcuts, display settings, graphics control panels, creating a script shortcut, and utilizing third-party software.
The first method, using keyboard shortcuts, provides a quick and simple way to rotate your screen with just a few key presses. This method is widely supported on both Windows and Mac systems.
The second method, using display settings, offers a more visual approach for screen rotation. It allows you to preview and select the desired orientation from the settings menu, ensuring a tailored viewing experience.
The third method, utilizing graphics control panels, is particularly useful for those with dedicated graphics cards. These control panels provide advanced options and customization features for screen rotation, along with additional display settings.
The fourth method, creating a script shortcut, enables you to create a personalized shortcut that instantly rotates your screen with a single click. This method requires some scripting knowledge but allows for convenient and quick screen rotation.
The fifth method, using third-party software, provides comprehensive solutions beyond the built-in options. These software applications offer advanced customization, additional features, and hotkey support for a more tailored screen rotation experience.
Choose the method that best suits your needs and preferences, considering the availability of options on your operating system and graphics card configuration. Remember to review any third-party software before installation and consider the compatibility and limitations of each option.
By utilizing these methods, you can easily rotate your computer screen to enhance productivity, improve readability, and enjoy a more immersive viewing experience.


