Introduction
Highlighting text is an essential skill that allows us to emphasize important information or make notes within documents. While most people are familiar with using a mouse or touchpad to select and highlight text, there is a quicker and more efficient method—using keyboard shortcuts.
In this article, we will explore various methods for highlighting using keyboard shortcuts. These methods are not only time-saving but also help reduce the strain on your hands by minimizing the need to constantly switch between the keyboard and mouse. Whether you are a writer, student, researcher, or simply someone who works with text frequently, mastering these techniques will undoubtedly improve your productivity.
We will discuss the popular methods for highlighting using the Shift key, Control (Ctrl) key, Command key (Mac), or the Windows key (Windows), as well as specific application shortcuts that can be used for efficient highlighting. Additionally, we will provide tips for troubleshooting common highlighting issues that you may encounter along the way.
So, if you’re ready to take your text highlighting skills to the next level and become a keyboard shortcut master, let’s dive into the fascinating world of highlighting using keyboard shortcuts!
What is highlighting and why is it important?
Highlighting refers to the act of selecting and marking specific passages of text with a distinct color or formatting to draw attention to them. This simple yet effective technique allows you to easily identify and remember key information within documents.
Highlighting has numerous benefits, making it an essential tool for various tasks. Whether you’re studying, conducting research, or simply reading through a lengthy document, here are some reasons why highlighting is important:
- Improved comprehension: By selectively highlighting important details, you can focus your attention on the most relevant information. This enhances comprehension and helps you retain essential concepts.
- Efficient revisiting: When you need to revisit a document or study material later, highlighting enables you to quickly locate and review the key points. This saves time and allows for effective revision.
- Note-taking: Highlighting can serve as a form of note-taking within a document. By highlighting important passages, you can create a concise summary or annotate specific points without the need for extensive, separate notes.
- Collaboration: When working on group projects or sharing documents with colleagues, highlighting allows you to communicate important sections or suggest edits effectively. This promotes collaboration and streamlines the feedback process.
- Organization: By using different colors or formatting options for highlighting, you can categorize information based on themes, priority, or relevance. This visual organization system helps you navigate through complex documents more efficiently.
Whether you’re a student, professional, or casual reader, the ability to effectively highlight text is a valuable skill that can significantly enhance your productivity and understanding. So, let’s explore the various methods for highlighting using keyboard shortcuts and take advantage of this powerful tool!
Popular methods for highlighting using keyboard shortcuts
Mastering keyboard shortcuts for highlighting is a game-changer when it comes to efficiently working with text. Let’s explore some popular methods that you can use to highlight using keyboard shortcuts:
- Method 1: Using the Shift key: The Shift key is a versatile tool for highlighting consecutive text. To utilize this method, place your cursor at the beginning of the desired text, hold down the Shift key, and use the arrow keys to extend the selection. Pressing Shift + Right arrow selects one character at a time, while Shift + Down arrow selects one line at a time. To select whole words, combine the Shift key with the Ctrl key (on Windows) or the Option key (on Mac).
- Method 2: Using the Control (Ctrl) key: The Ctrl key is particularly helpful when you want to highlight non-consecutive sections of text. To use this method, position your cursor at the start of the first segment, press and hold the Ctrl key, and then use the arrow keys to navigate to the subsequent sections you wish to highlight. You can press Ctrl + A to select the entire document quickly.
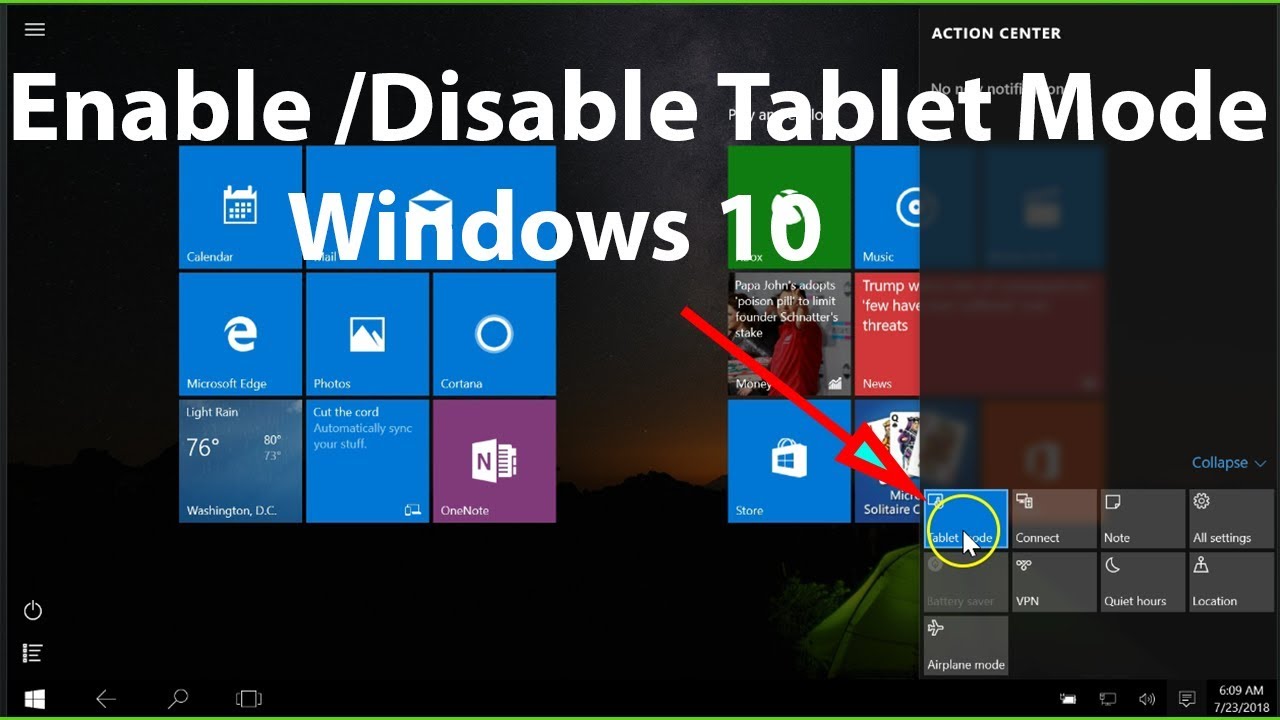
- Method 3: Using the Command key (Mac) or the Windows key (Windows): If you’re using a Mac, the Command key is your go-to for various highlighting shortcuts. Press and hold the Command key while using the arrow keys to select text. On Windows, the Windows key can be used similarly, in combination with the arrow keys, to achieve the same result.
- Method 4: Using specific application shortcuts: Many applications have their own unique shortcuts for highlighting text. For example, in Microsoft Word, you can use Ctrl + Shift + Right arrow to highlight one word at a time. Explore the documentation or help section of the specific application you’re using to find out the available shortcuts for highlighting.
Experiment with these methods and choose the one that suits your workflow best. By mastering these techniques, you can significantly speed up your text highlighting process and become more proficient in handling documents.
Now that we have covered the popular methods for highlighting using keyboard shortcuts, let’s move on to the next section and delve deeper into each technique for more detailed instructions.
Method 1: Using the Shift key
One of the most common and straightforward methods for highlighting text using keyboard shortcuts is by utilizing the Shift key. This method is especially useful when you want to select consecutive text portions.
Follow these steps to highlight text using the Shift key:
- Place your cursor at the beginning of the desired text.
- Hold down the Shift key.
- Use the arrow keys to extend the selection:
- Press the Right arrow key to select one character at a time.
- Press the Down arrow key to select one line at a time.
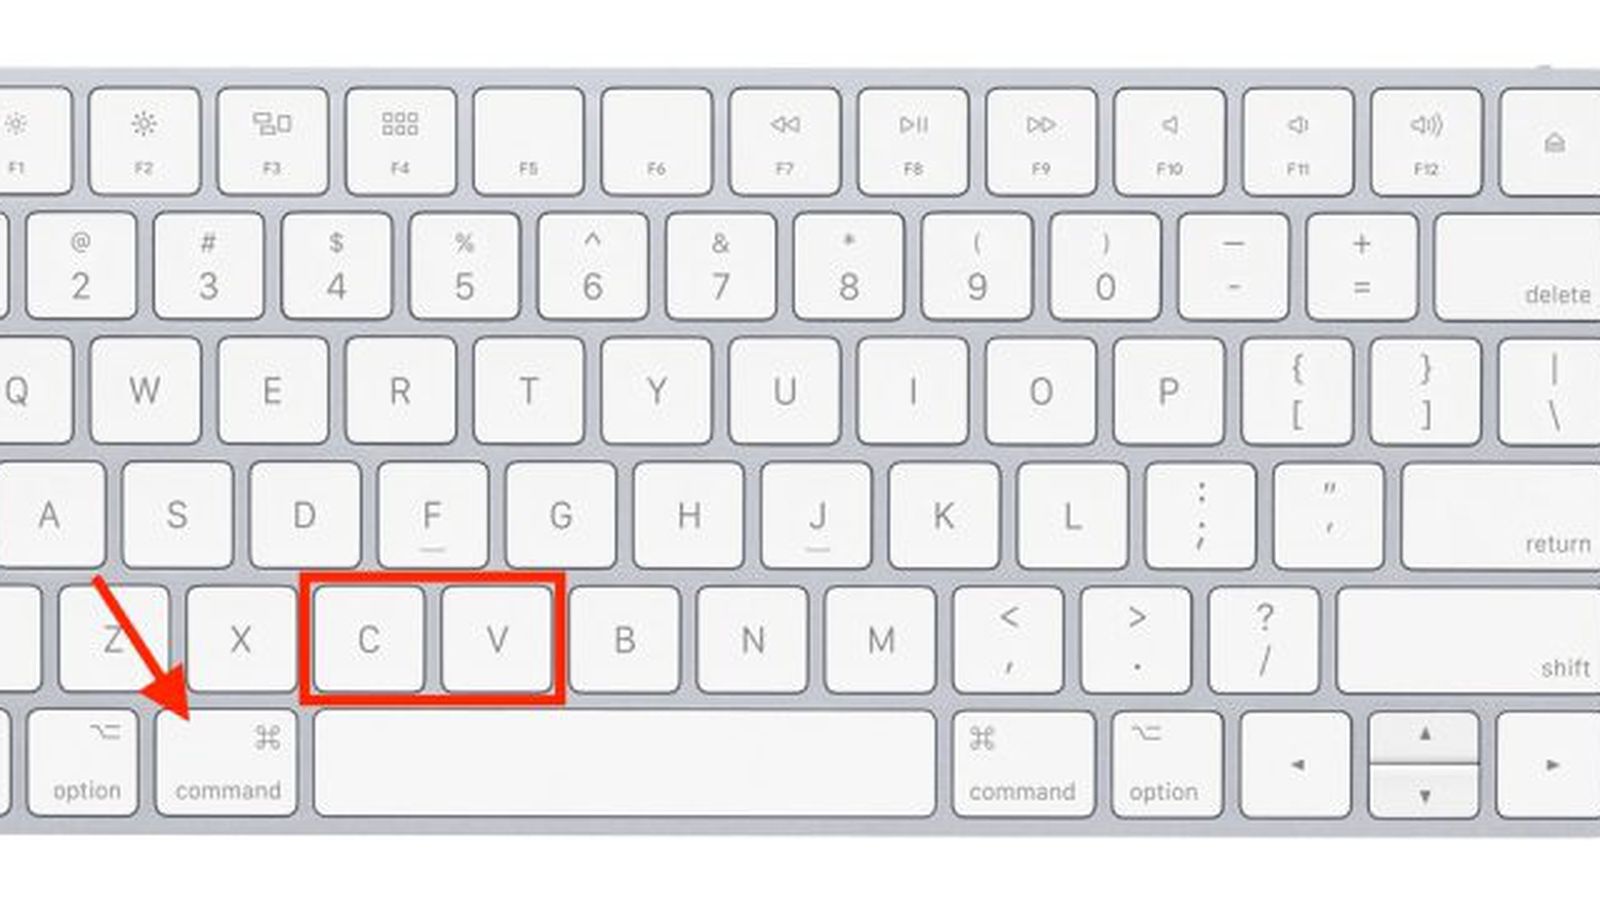
- To select whole words, combine the Shift key with the Ctrl key (on Windows) or the Option key (on Mac).
By combining the Shift key with various arrow keys, you can quickly and precisely highlight the desired portions of text. This method is especially helpful when you need to highlight and copy a snippet of text or when you want to format specific sections of a document.
Remember to release the Shift key once you have completed the selection. This will ensure that you don’t accidentally overwrite or delete the highlighted text when you start typing or performing other actions.
Practice this method to become proficient in highlighting using the Shift key. It may take a bit of time to get used to the keyboard shortcuts, but once you master them, you’ll save precious time and minimize reliance on the mouse or touchpad.
Now that we have covered the first method of highlighting using the Shift key, let’s move on to explore more methods in the next section.
Method 2: Using the Control (Ctrl) key
Another popular method for highlighting text using keyboard shortcuts is by utilizing the Control (Ctrl) key. This method is particularly useful when you want to select non-consecutive sections of text within a document.
To highlight text using the Ctrl key, follow these steps:
- Position your cursor at the beginning of the first text segment you wish to highlight.
- Press and hold the Ctrl key on your keyboard.
- Use the arrow keys to navigate to the subsequent sections you want to select.
This method allows you to move throughout the text while retaining the previously selected portions. It is especially useful when you have multiple sections of text that are not adjacent to each other, such as when you want to highlight specific paragraphs or sentences in a document.
In addition to navigating with the arrow keys, you can also combine the Ctrl key with other commands to perform advanced text highlighting. For example, pressing Ctrl + A selects the entire document, while Ctrl + Shift + Right arrow selects one word at a time.
Remember to release the Ctrl key once you have finished highlighting the desired text segments. This will prevent accidental modification or deletion of the selected text.
By mastering the Ctrl key highlighting method, you can efficiently select and manipulate non-contiguous portions of text without the need to resort to the mouse or touchpad.
Now that we have covered the second method of highlighting using the Ctrl key, let’s move on to explore more methods in the next section.
Method 3: Using the Command key (Mac) or the Windows key (Windows)
When it comes to highlighting text on your keyboard, using the Command key (Mac) or the Windows key (Windows) can be a highly efficient method. These keys allow you to navigate and select text quickly, enhancing your productivity.
Here’s how you can highlight text using the Command key (Mac) or the Windows key (Windows):
- Position your cursor at the beginning of the text you want to highlight.
- Press and hold the Command key (Mac) or the Windows key (Windows) on your keyboard.
- Use the arrow keys to move the selection to your desired endpoint.
By combining the Command key or the Windows key with the arrow keys, you can easily extend the selection. This method allows you to quickly highlight consecutive text portions within a document.
Depending on the application you are using, there may be additional keyboard shortcuts associated with the Command or Windows key for advanced text highlighting. For example, in some applications, pressing Command + Shift + Right arrow on a Mac can highlight one word at a time.
Release the Command key or the Windows key when you have finished selecting the desired text. This will prevent unintentional changes to the highlighted content.
By utilizing the Command key (Mac) or the Windows key (Windows) for text highlighting, you can significantly speed up the process and seamlessly navigate through documents.
Now that we have covered the third method of highlighting using the Command key (Mac) or the Windows key (Windows), let’s move on to explore more methods in the next section.
Method 4: Using specific application shortcuts
In addition to the general keyboard shortcuts for highlighting text, many applications have their own specific shortcuts that offer additional functionality and convenience. These shortcuts are tailored to the application’s features and can streamline your text highlighting process further.
To utilize specific application shortcuts for highlighting text, follow these steps:
- Consult the documentation or help section of the application you’re using to find the available shortcuts for highlighting.
- Identify the shortcut that corresponds to your desired highlighting action.
- Ensure that your cursor is placed in the desired starting position.
- Press the designated shortcut key to initiate the highlighting action.
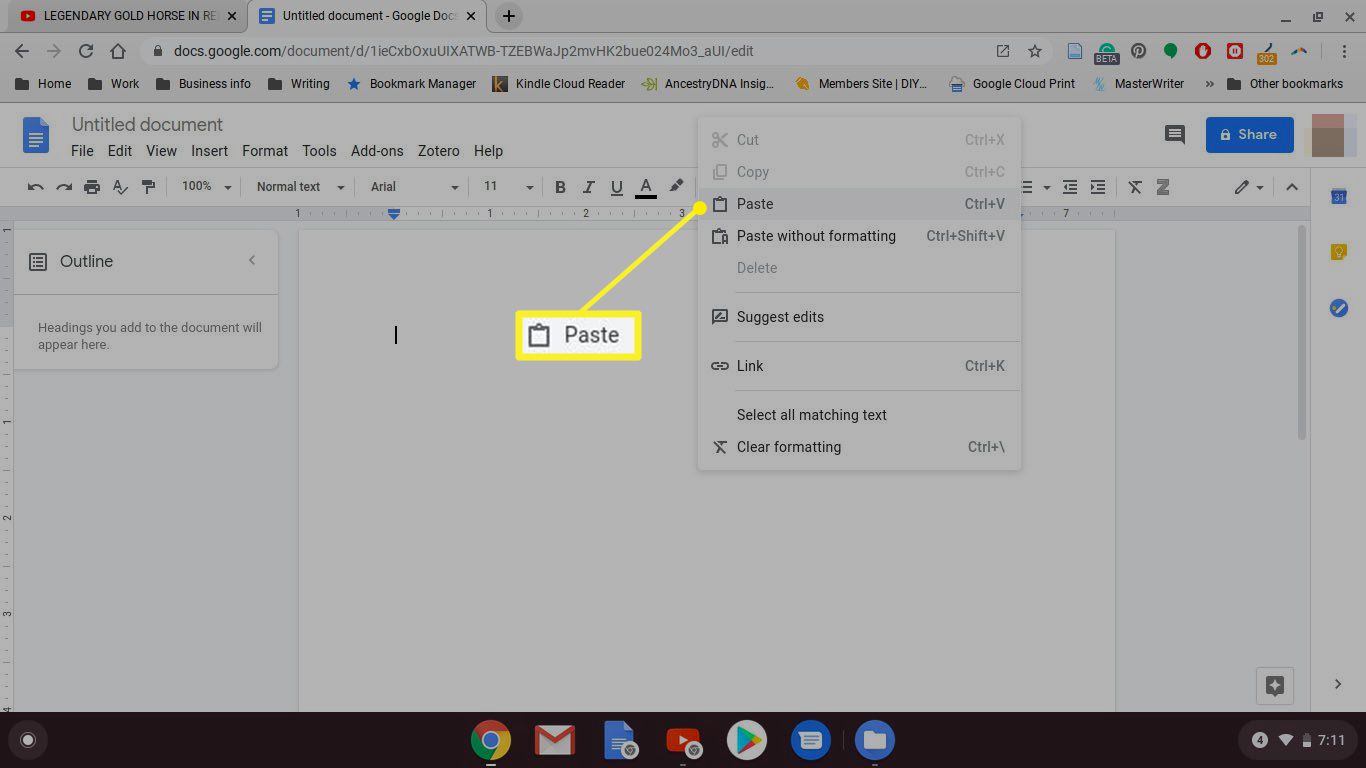
For example, in Microsoft Word, you can use the shortcut Ctrl + Shift + Right arrow to highlight one word at a time. Other applications, such as Google Docs or Adobe Acrobat, may have their own set of unique shortcuts for highlighting specific elements.
By familiarizing yourself with these specific application shortcuts, you can take full advantage of the features and capabilities offered by the software you are using. This not only enhances your text highlighting experience but also increases your overall productivity within the application.
Take the time to explore and experiment with the application shortcuts available in the software you frequently use. By doing so, you’ll uncover hidden gems that can make your text highlighting tasks more efficient and enjoyable.
Now that we have covered the fourth method of highlighting using specific application shortcuts, let’s move on to explore some useful tips for efficient highlighting.
Tips for efficient highlighting
While mastering the keyboard shortcuts for highlighting is a great first step, there are additional tips you can employ to further enhance your efficiency. These tips will help you make the most out of your text highlighting tasks and streamline your workflow.
- Use consistent highlighting colors: Assign specific colors to different categories or themes to create a visual organization system. This makes it easier to recognize and differentiate highlighted sections at a glance.
- Combine highlighting with other formatting options: Experiment with combining highlights with bold, italic, or underlined formatting to create emphasis and hierarchy within your highlighted sections.
- Use shortcut combinations: Combine various keyboard shortcuts to perform advanced highlighting actions. For example, combine Shift + Ctrl + Right arrow to select whole words at a time.
- Utilize find and replace: If you need to make uniform changes to highlighted sections, use the find and replace functionality to make quick and consistent modifications.
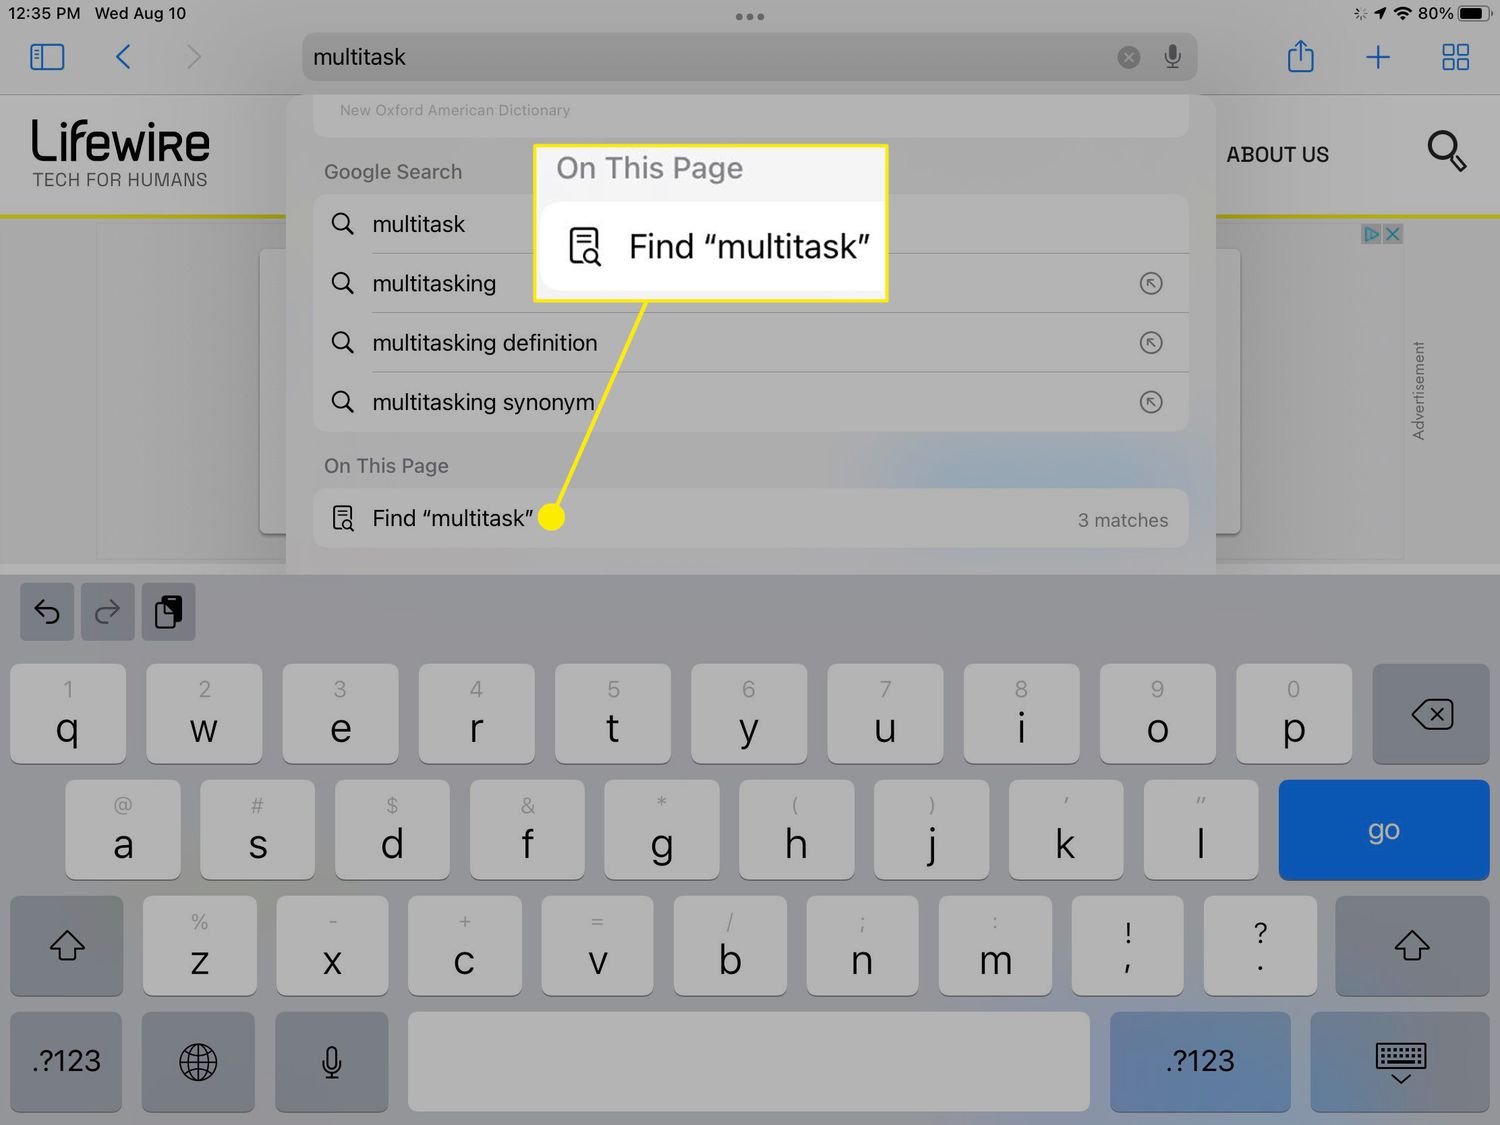
- Auto-highlighting tools: Some applications provide auto-highlighting tools that can automatically highlight specific keywords or phrases within your document. Explore these features to save time and effort.
- Practice keyboard navigation: Familiarize yourself with keyboard navigation techniques within your application. This allows you to move seamlessly between different sections of your document, making highlighting more efficient.
- Use sticky notes or comments: If you want to make additional annotations or notes about a highlighted section, take advantage of sticky notes or comment features within your application. This keeps your comments organized and linked to specific highlighted sections.
By incorporating these tips into your text highlighting routine, you can maximize your efficiency and reap the full benefits of keyboard shortcuts and highlighting features available in the applications you use.
Now that we have covered some tips for efficient highlighting, let’s address common issues that you may encounter during the highlighting process in the next section.
Troubleshooting common highlighting issues
While highlighting text using keyboard shortcuts is generally a straightforward process, you may encounter some common issues along the way. Here are a few troubleshooting tips to help you overcome these challenges:
- Incomplete selection: If you find that your selection is not extending as expected, ensure that you are holding down the correct modifier key (Shift, Ctrl, Command, or Windows) while using the arrow keys.
- Overwriting highlighted text: Be cautious when typing or performing other actions after highlighting text. If you start typing without first deselecting the highlighted text, you may unintentionally replace the selected content. To avoid this, release the appropriate modifier key or click outside the highlighted area before making any changes.
- Inability to deselect text: If you are unable to deselect text after highlighting, press the Esc key on your keyboard. This will cancel any active selection and return your cursor to a regular editing state.
- Conflicting application shortcuts: Some application shortcuts may conflict with your system shortcuts. If you find that specific keyboard combinations are not working as intended, check for any conflicts in either the application’s settings or your system’s keyboard shortcuts. Consider modifying or disabling conflicting shortcuts to resolve the issue.
- Unsupported applications: Note that not all applications support extensive keyboard shortcuts for text highlighting. In such cases, you may need to rely on alternative methods, such as using the mouse or touchpad to highlight text manually.
If you encounter any unresolvable issues with your text highlighting process, consult the documentation or online resources for the specific application you are using. These resources often provide troubleshooting guides and forums where you can seek assistance from experienced users.
By being aware of these common highlighting issues and taking the necessary troubleshooting steps, you can effectively overcome any challenges that may arise while using keyboard shortcuts for text highlighting.
Now that we have explored troubleshooting tips for highlighting issues, let’s conclude our journey through the world of text highlighting using keyboard shortcuts.
Conclusion
Mastering the art of highlighting text using keyboard shortcuts is a valuable skill that can greatly enhance your productivity and efficiency when working with documents. By leveraging the Shift key, Control (Ctrl) key, Command key (Mac), Windows key (Windows), and specific application shortcuts, you can quickly and precisely select and emphasize important information.
Highlighting text using keyboard shortcuts offers numerous advantages, including improved comprehension, efficient revisiting of information, simplified note-taking, enhanced collaboration, and effective organization of documents. It allows you to navigate through text seamlessly, reducing the need to constantly switch between the keyboard and mouse.
To ensure efficient highlighting, remember to use consistent colors, combine highlights with other formatting options, and familiarize yourself with the specific application shortcuts available. By practicing keyboard navigation techniques and utilizing auto-highlighting tools, you can further streamline your workflow.
In the event of any issues, such as incomplete selections or conflicting shortcuts, consult documentation resources and seek assistance from experienced users. Troubleshooting common highlighting issues is essential to prevent any interruptions in your workflow.
In conclusion, by mastering the various methods of highlighting using keyboard shortcuts, implementing useful tips, and troubleshooting any issues that may arise, you will become a proficient text highlighter. Embrace the power of keyboard shortcuts and elevate your productivity to new heights!