Introduction
Flipping the screen on your Windows computer can be a useful feature to have, whether it’s to accommodate different viewing angles, assist with reading documents or simply for personal preference. Regardless of the reason, flipping the screen can be done easily using various methods that are built into Windows or with the help of third-party applications. In this article, we will explore different methods to flip the screen on Windows so you can find the one that works best for you.
From keyboard shortcuts to display settings and graphics control panels, there are multiple ways to achieve a flipped screen effect. Depending on your operating system version and the graphics card installed on your computer, certain methods may be more appropriate than others. We will cover the most common methods that are compatible with different Windows versions and graphics cards.
So, whether you accidentally flipped your screen and can’t figure out how to revert it back, or you’re simply looking to change things up for a fresh perspective, keep reading to learn how to flip your screen on Windows.
Let’s dive into the various methods that will allow you to flip your screen effortlessly and regain control over your display.
Method 1: Using Keyboard Shortcuts
One of the easiest and quickest ways to flip your screen on Windows is by using keyboard shortcuts. Depending on your graphics card and driver software, the specific shortcuts may vary slightly, but the general concept remains the same across most systems.
The most common keyboard shortcut combination to flip the screen on Windows is Ctrl + Alt + Arrow keys. Here’s how you can use this shortcut:
- Press and hold the Ctrl and Alt keys on your keyboard.
- While holding these keys, press the Arrow key corresponding to the direction in which you want to flip your screen. For example, pressing the Right Arrow key will rotate the screen 90 degrees to the right.
- Release the Ctrl and Alt keys, and your screen should now be flipped according to your selected arrow key.
It’s important to note that not all graphics drivers support this keyboard shortcut, especially if you’re using older hardware or custom graphics drivers. If the Ctrl + Alt + Arrow keys combination doesn’t work for you, don’t worry. There are other methods that we’ll explore next.
Using keyboard shortcuts is a convenient way to quickly flip your screen orientation without needing to navigate through menus or settings. It’s especially useful if you frequently need to switch between orientations based on your current tasks or preferences.
Now that you know how to use keyboard shortcuts to flip your screen on Windows, let’s move on to the next method: using display settings.
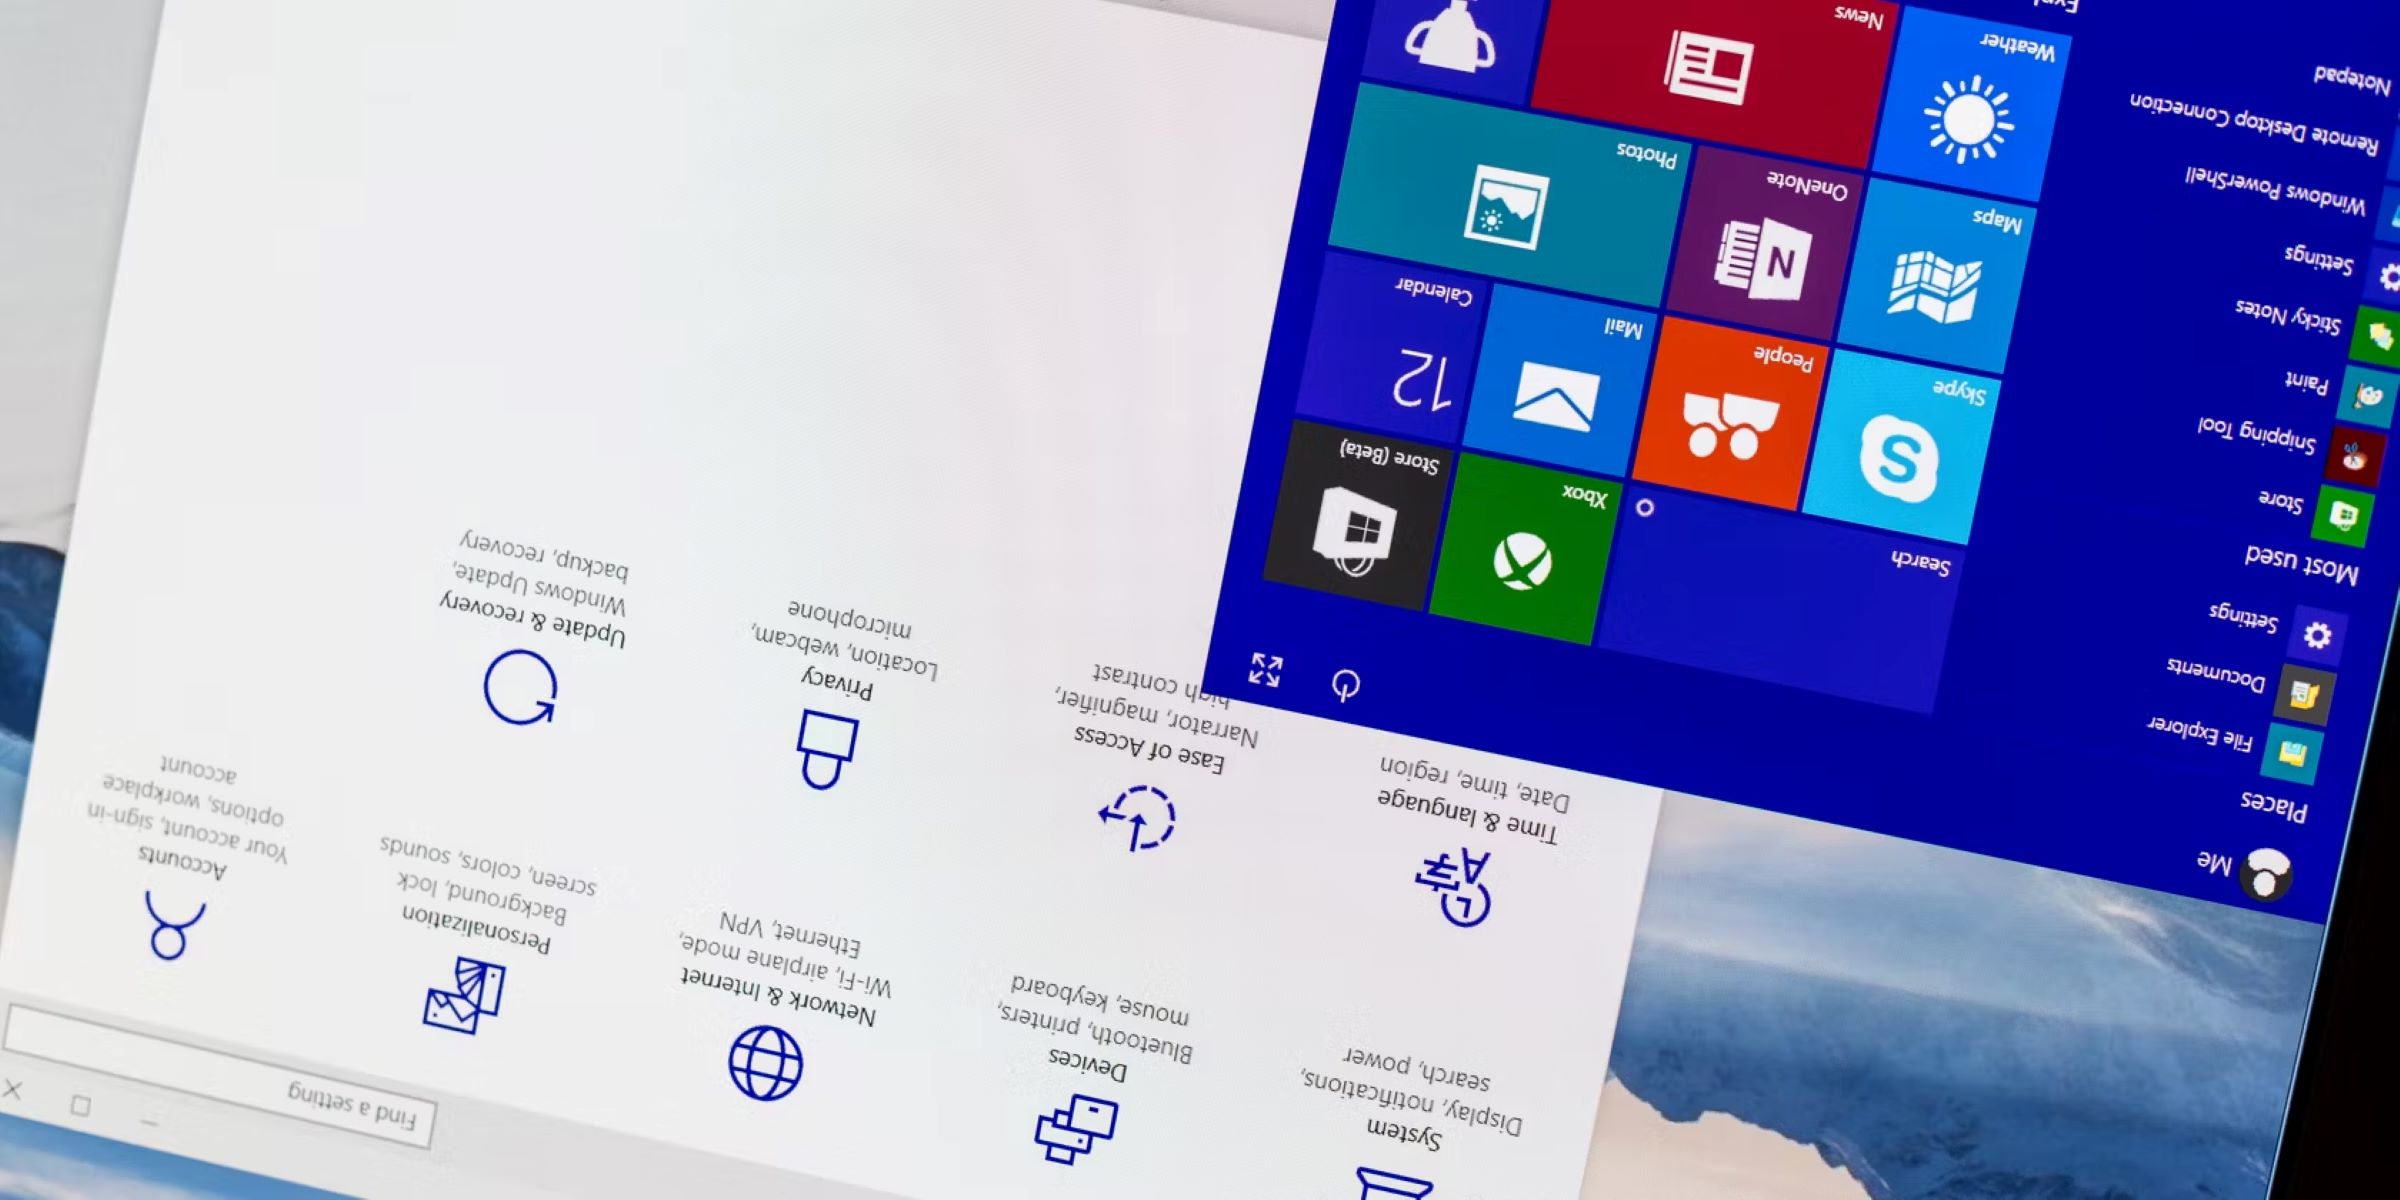
Method 2: Using Display Settings
If keyboard shortcuts didn’t work for you or if you prefer a more visual approach, you can easily flip the screen using the display settings in Windows. This method allows for precise control over screen orientation and can be helpful if you want to switch back and forth between different orientations.
To access the display settings, follow these steps:
- Right-click on an empty area of your desktop and select Display settings.
- In the display settings window, scroll down until you find the Orientation option under the Display section.
- Click on the drop-down menu next to Orientation and select the desired orientation you want to flip your screen to. The options usually include Landscape, Portrait, Landscape (Flipped), and Portrait (Flipped).
- Once you’ve selected the desired orientation, click on Apply or OK to save the changes.
- Your screen will now be flipped according to the selected orientation.
It’s worth noting that the available orientation options may vary depending on your system and graphics card capabilities. Additionally, some graphics drivers might have their own dedicated control panel where you can access advanced display settings.
This method is especially useful if you want to fine-tune your screen orientation or if you need to switch back and forth between orientations frequently. It provides a visual and intuitive way to flip your screen without the need for any external tools or applications.
Now that you know how to use the display settings to flip your screen on Windows, let’s move on to the next method: using graphics control panel.
Method 3: Using Graphics Control Panel
If you’re using a dedicated graphics card on your Windows computer, you may have access to a graphics control panel that provides additional options and customization for your display settings. This control panel is typically provided by the graphics card manufacturer and allows for more advanced configurations, including flipping the screen orientation.
To access the graphics control panel, follow these steps:
- Right-click on an empty area of your desktop and look for an option that mentions your graphics card. The name may vary depending on your graphics card manufacturer, but it often includes terms like “Graphics Options” or “Graphics Properties”.
- Click on the graphics card option, and the control panel will open.
- Navigate through the options or tabs in the control panel until you find the display settings.
- Look for a section or option related to screen orientation or rotation.
- Select the desired orientation or flip option, and apply the changes.
The interface and options in the graphics control panel may differ depending on your graphics card manufacturer and driver version. If you’re unsure where to find the screen orientation settings, refer to the documentation or support resources provided by your graphics card manufacturer.
Using the graphics control panel offers more granular control over your display settings, allowing you to customize various aspects of your screen orientation. It’s particularly advantageous if you require advanced configurations or if you want to take advantage of specific features provided by your graphics card.
Now that you know how to use the graphics control panel to flip your screen on Windows, let’s move on to the next method: using display driver options.
Method 4: Using Display Driver Options
If you’re unable to flip your screen using the previous methods or if your graphics card doesn’t have a dedicated control panel, you can try accessing the display driver options directly. This method allows you to manipulate advanced display settings and can be useful if you have a specific driver that supports screen rotation.
To access the display driver options, follow these steps:
- Right-click on the desktop and select Graphics Options or Graphics Properties from the context menu. The specific option may vary depending on your system.
- In the graphics driver options window, navigate to the section that relates to your display settings.
- Look for an option that allows you to adjust the screen orientation or rotation.
- Select the desired orientation or flip option, and save the changes.
The interface and available options may differ depending on your graphics driver and its version. If you’re uncertain where to find the screen flip settings, refer to the documentation or support resources provided by the driver manufacturer.
Using the display driver options can provide additional flexibility and control over your screen orientation. It’s particularly helpful if you have specific driver features that are not available through other methods.
Now that you’re familiar with using display driver options to flip your screen on Windows, let’s move on to the final method: using third-party apps.
Method 5: Using Third-Party Apps
If none of the previous methods work for you or if you’re looking for more advanced screen flipping features, using third-party apps is another option to consider. There are several applications available that specialize in screen rotation and provide additional customization options beyond what is offered by default in Windows.
Here are a few examples of popular third-party apps that can help you flip your screen:
- DisplayFusion: DisplayFusion is a feature-rich application that allows you to manage multiple monitors and customize your display settings. It includes the ability to flip your screen and offers advanced options for fine-tuning your screen orientation.
- Monitor Profile Switcher: This app provides quick and easy access to different monitor profiles, including screen orientation settings. It allows you to create and switch between profiles with different orientations effortlessly.
- iRotate: iRotate is a lightweight app that enables you to rotate and flip your screen with just a few clicks. It provides a simple and straightforward interface for adjusting the display orientation.
When using third-party apps, it’s important to download them from trusted sources and ensure they are compatible with your Windows version. Read user reviews and installation instructions to make an informed decision and find the app that best suits your needs.
Using third-party apps can offer additional flexibility and advanced features for flipping your screen. These apps are particularly useful if you require specialized screen rotation options or if you want a more user-friendly interface.
Now that you’re aware of different methods, including using third-party apps, to flip your screen on Windows, you can choose the one that fits your preferences and needs. Experiment with different methods to find the most convenient and effective way to flip your screen orientation.
Conclusion
Flipping the screen on Windows can be a valuable feature when you need to adapt your display to different viewing angles, improve readability, or simply change things up for a fresh perspective. In this article, we explored various methods to flip the screen on Windows.
We started by using keyboard shortcuts, such as Ctrl + Alt + Arrow keys, providing a quick and easy way to flip the screen. Then, we moved on to the display settings, allowing for precise control over screen orientation through the Windows interface.
If your system has a dedicated graphics control panel, we explained how to access it and use its options to flip the screen. Additionally, we discussed the use of display driver options, which provide advanced configurations for screen rotation.
Lastly, we explored the option of using third-party apps, which offer additional features and flexibility for flipping the screen, such as DisplayFusion, Monitor Profile Switcher, and iRotate.
Remember to exercise caution when downloading and installing third-party apps, making sure to choose reputable sources and compatible software.
With this knowledge, you now have a range of methods at your disposal to flip your screen on Windows. Whether you prefer the convenience of keyboard shortcuts, the visual control of display settings, the advanced options of graphics control panels, or the additional features of third-party apps, you have the flexibility to customize your screen orientation to your liking.
So go ahead and experiment with these methods to find the one that best suits your needs, and enjoy a flipped screen experience on your Windows computer.