Introduction
A mirrored hard disk drive, also known as RAID-1, is a configuration that offers data redundancy by duplicating data across two separate drives. This ensures that if one drive fails, the data is still accessible and can be retrieved from the other drive. Windows 10 provides built-in support for setting up and managing mirrored hard disk drives, making it easy to protect your valuable data.
In this article, we will guide you through the process of replacing one of the mirrored hard disk drives in Windows 10. We will cover everything from backing up your data to configuring the new drive. By following these steps, you can replace a faulty or aging hard disk drive without compromising the integrity of your data.
Please note that replacing a mirrored hard disk drive requires some technical knowledge and careful execution. If you are not familiar with the process or feel uncomfortable performing it yourself, it is advisable to seek the assistance of a professional.
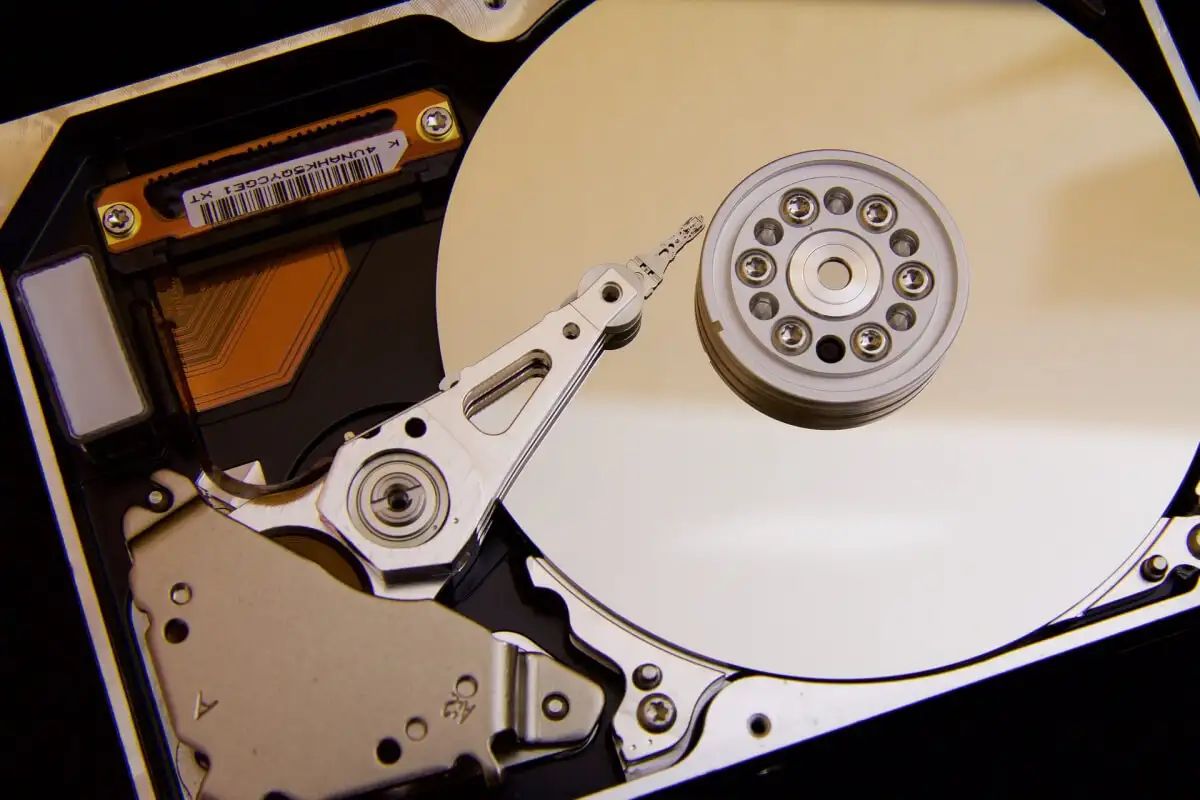
Understanding Mirrored Hard Disk Drive
A mirrored hard disk drive, also known as RAID-1, is a configuration that involves two identical hard disk drives operating together to provide redundancy and data protection. By mirroring the data between both drives, if one drive fails, the other continues to function, ensuring seamless access to your files and preventing data loss.
When data is written to a mirrored hard disk drive, it is simultaneously written to both drives, resulting in an exact copy of the data on each drive. This redundancy ensures that if one drive fails, the system can automatically switch over to the functioning drive, allowing you to continue working without interruption.
The mirroring process occurs in real-time, meaning that any changes made to the data on one drive are immediately replicated to the other. This ensures that both drives remain identical and up-to-date at all times.
In addition to providing data redundancy, mirrored hard disk drives can also improve read performance. When retrieving data, the system can read from either drive, reducing the time it takes to access the requested information.
It is important to note that a mirrored hard disk drive is not a substitute for regular backups. While it provides protection against drive failure, it does not protect against data corruption, accidental deletion, or other software-related issues. Regularly backing up your data is essential to ensure comprehensive data protection.
Overall, a mirrored hard disk drive is an effective solution for protecting your data and ensuring uninterrupted access to your files. By understanding the concept of mirroring and the benefits it provides, you can make informed decisions about implementing and maintaining this configuration.
Backup Your Data
Before you proceed with replacing the mirrored hard disk drive, it is crucial to back up all your data to ensure its safety in case of any unforeseen issues during the process. While the chances of data loss are minimal, it is always better to be safe than sorry.
There are various methods you can use to backup your data:
- External Hard Drive: Connect an external hard drive to your computer and use backup software to create a complete backup of your files. This method is convenient and allows for easy restoration if needed.
- Cloud Storage: Utilize cloud storage services such as Google Drive, Dropbox, or Microsoft OneDrive to upload your important files and documents. This ensures that your data is stored securely off-site.
- Network Attached Storage (NAS): If you have a NAS device, you can transfer your files to it for backup purposes. NAS provides a centralized storage solution accessible from multiple devices.
Ensure that your backup is up-to-date and includes all the necessary files, folders, and applications. It is advisable to verify the integrity of your backup to ensure that all data has been successfully backed up and can be restored if required.
Remember to also back up any application-specific settings, bookmarks, and preferences, as they may not be included in a standard file backup. Take note of any license keys or activation codes for software programs, as you might need them during the reinstallation process.
By taking the time to back up your data before replacing the mirrored hard disk drive, you can be confident that your files are secure, minimizing the risk of potential data loss or corruption.
Check System Requirements
Before replacing the mirrored hard disk drive in your Windows 10 system, it is essential to ensure that your system meets the necessary requirements for a successful replacement. Here are some key considerations:
- Drive Compatibility: Make sure that the new hard disk drive you intend to install is compatible with your system. Check the specifications of your computer or motherboard to determine the supported drive types, such as SATA or NVMe.
- Storage Capacity: Assess your storage needs and choose a new hard disk drive with the appropriate capacity. Consider factors such as the size of your current drive, the amount of data you currently have, and any future storage requirements.
- RAID Controller: Verify that your system has a RAID controller that supports mirrored hard disk drives. Most modern motherboards come with built-in RAID controllers, but it is always recommended to consult your system’s documentation or manufacturer’s website to confirm this.
- Available Drive Bays: Check if your system has available drive bays to accommodate the new hard disk drive. Some systems may have limitations on the number of supported drives or require additional hardware to expand the number of drive bays.
- Power Supply: Evaluate your power supply’s wattage and ensure that it can handle the additional power demand from the new hard disk drive. Inadequate power supply can cause system instability or malfunctions.
By verifying these system requirements, you can ensure a smooth replacement process without encountering any compatibility issues. If you are uncertain about any of these requirements or need assistance, consult your system’s documentation or seek guidance from the manufacturer’s support team.
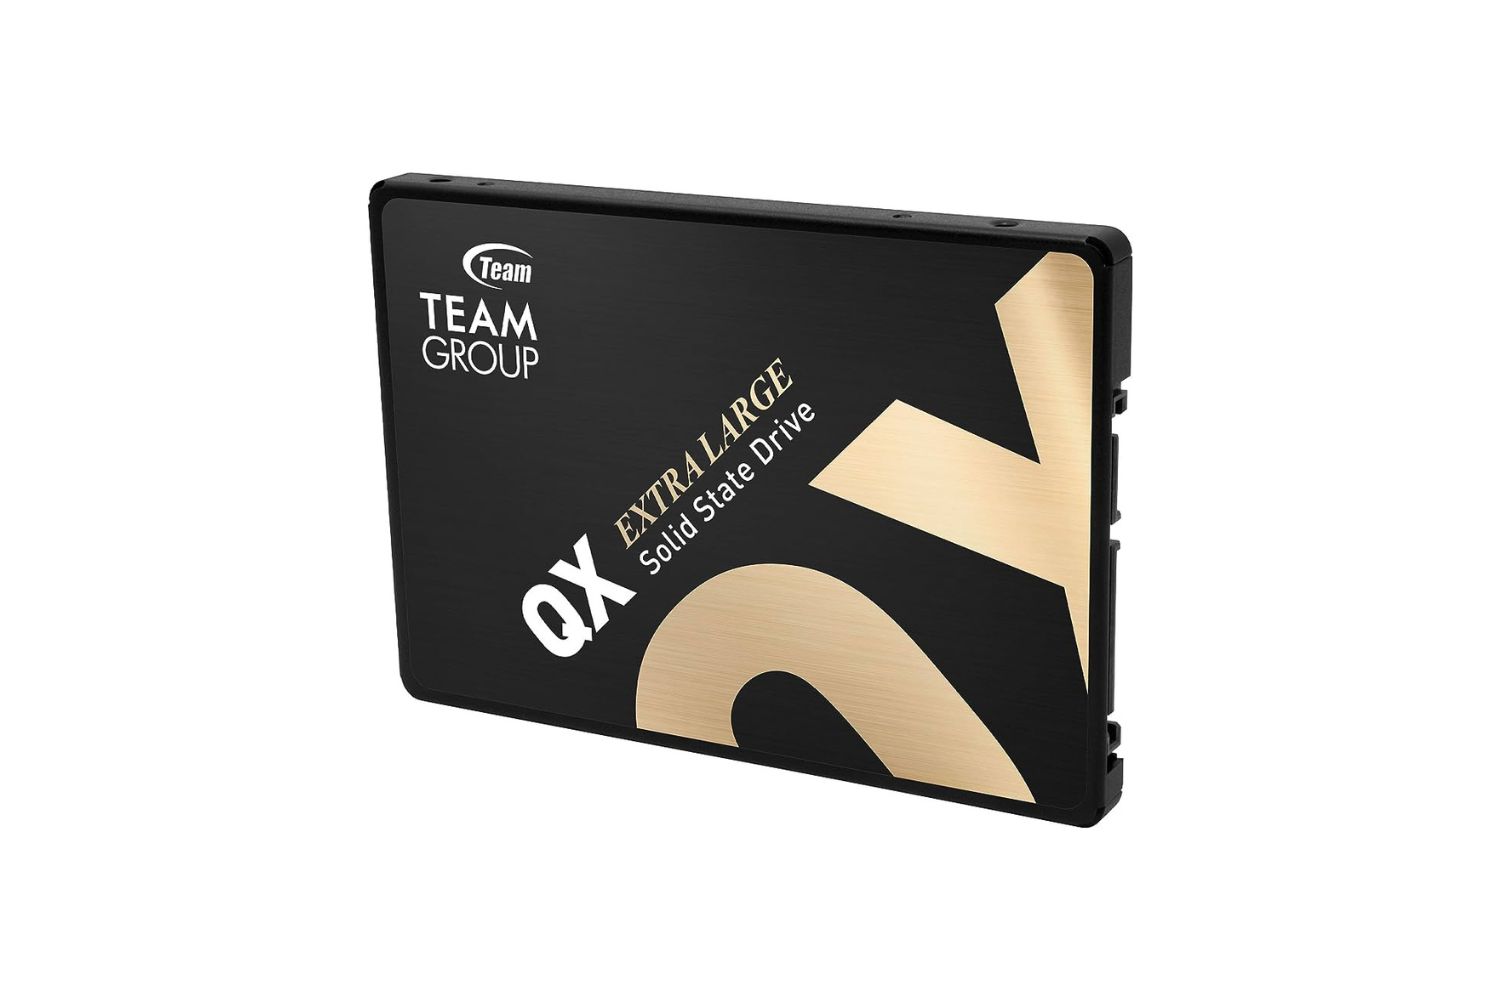
Prepare New Hard Disk Drive
Before installing the new hard disk drive to replace the existing mirrored drive, there are a few important steps you need to take to ensure a seamless transition. Here are the necessary preparations:
- Purchase the Right Drive: Ensure you have acquired a new hard disk drive that matches the specifications and requirements discussed earlier. Double-check the compatibility with your system and confirm that it meets your desired storage capacity.
- Static Protection: Static electricity can damage sensitive electronic components, including hard disk drives. To prevent this, discharge any static electricity from your body by touching a grounded metal surface before handling the new drive. You can also wear an anti-static wristband for added protection.
- Disconnect Power and Data Cables: Turn off your computer and unplug all power and data cables connected to the existing mirrored drive. Take note of the cables’ positions and connections, as you will need to reconnect them to the new drive later on.
- Prepare Mounting Bracket or Tray: If your computer requires a mounting bracket or tray to hold the hard disk drive securely, make sure it is properly attached to the new drive. Refer to your computer’s documentation or the manufacturer’s instructions for guidance.
- Configure Jumper Settings (if applicable): Some older hard disk drives may have jumper pins that need to be configured. Consult the new drive’s documentation or manufacturer’s website to determine if any jumper settings need to be adjusted based on your specific setup.
By preparing the new hard disk drive in advance, you can streamline the installation process and avoid any potential issues. Take your time to handle the drive with care and ensure all necessary precautions are taken to protect both yourself and the drive from damage.
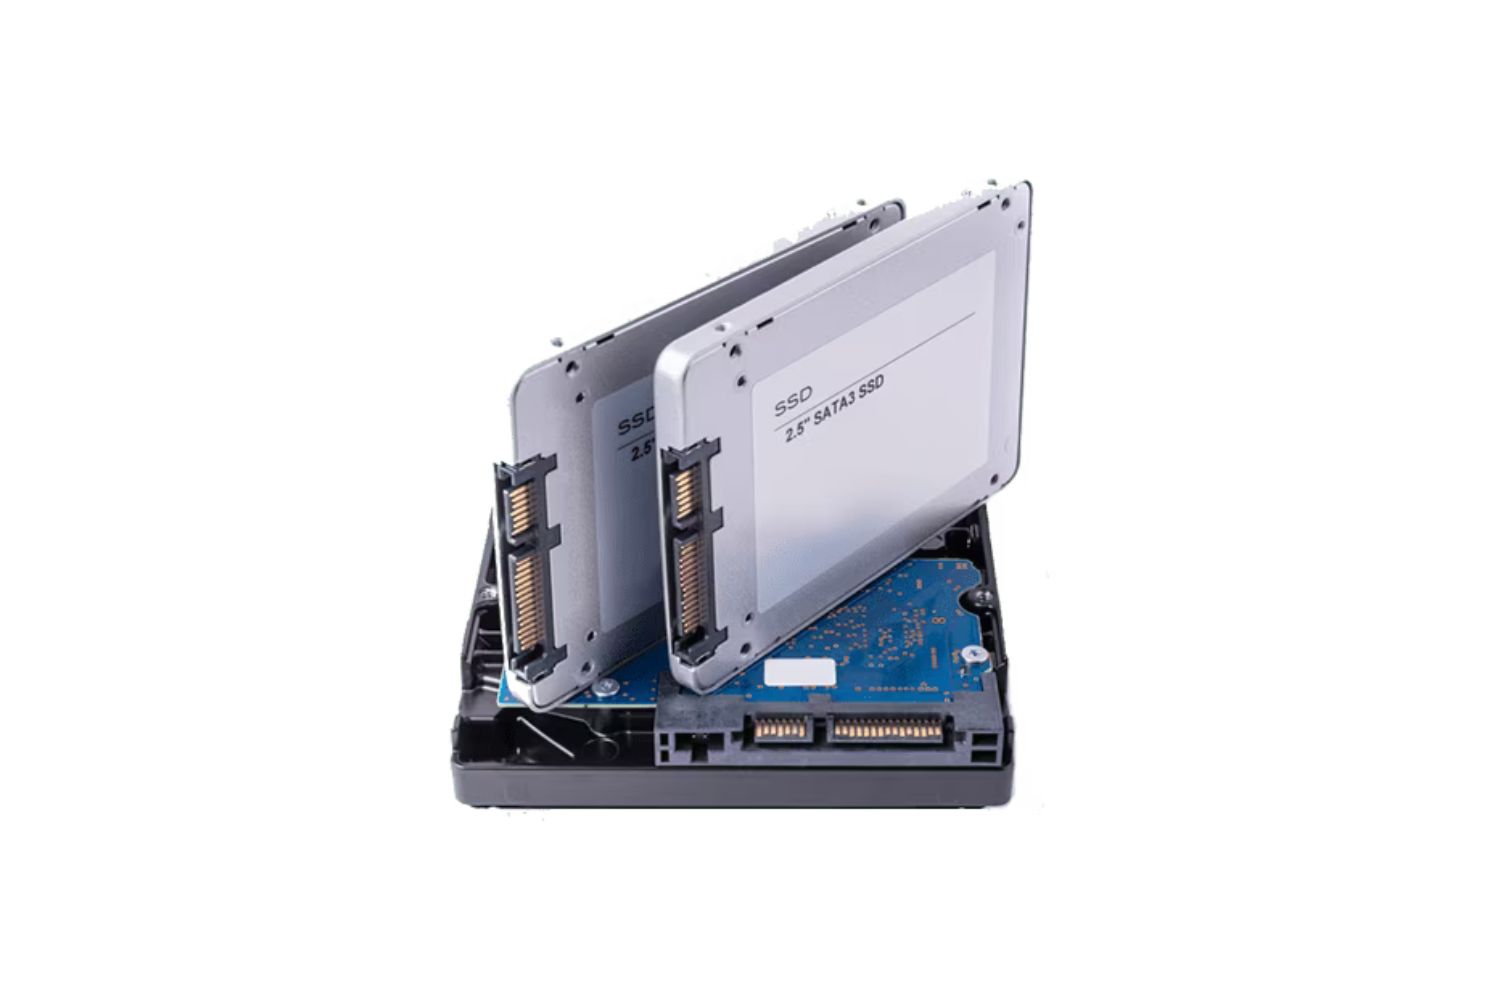
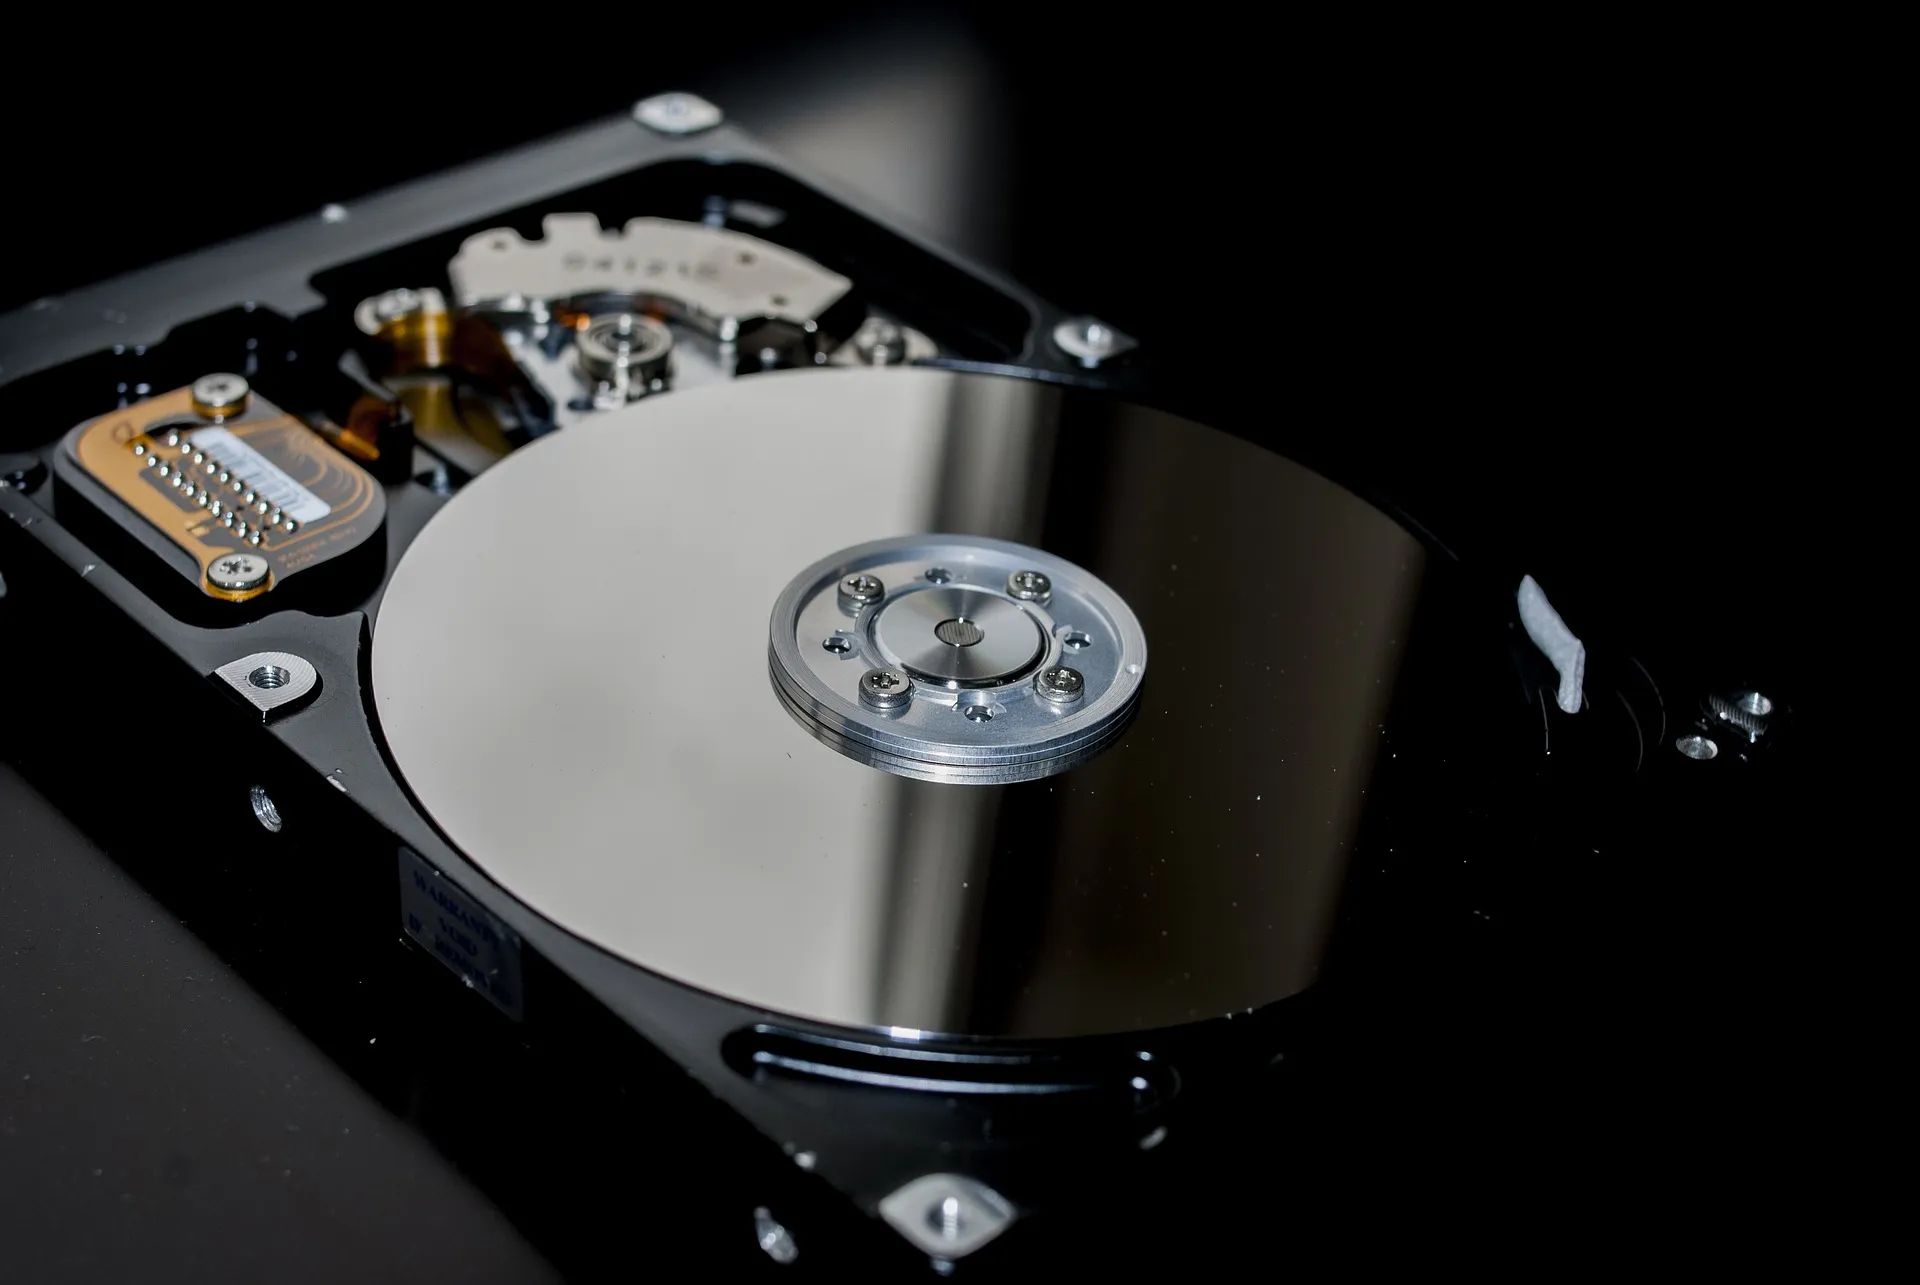
Remove Old Hard Disk Drive
Before installing the new hard disk drive, you need to remove the old hard disk drive from your system. Follow these steps to safely remove the drive:
- Power Down Your System: Shut down your computer completely and unplug it from the power source. This will ensure that you are working on the system in a powered-off state.
- Open Your Computer Case: Depending on your computer case, you may need to unscrew screws or release latches to open it. Refer to your computer’s manual or manufacturer’s website for specific instructions on opening the case.
- Locate the Mirrored Hard Disk Drive: Identify the hard disk drive that is part of the mirrored configuration. It is usually labeled with a number or marked as “Mirror” or “RAID-1.” Take note of its location and how it is connected to the system.
- Remove Data and Power Cables: Carefully disconnect the data and power cables connected to the mirrored hard disk drive. Gently wiggle the connectors back and forth while pulling them out to prevent any damage to the connectors or cables.
- Remove Mounting Screws: Most hard disk drives are held in place with screws or brackets. Locate the screws securing the drive and unscrew them. Keep the screws in a safe place for later use.
- Slide Out the Old Hard Disk Drive: Once the screws are removed, slide out the old hard disk drive from its housing. Be cautious not to apply excessive force or twist the drive.
With these steps completed, you have successfully removed the old hard disk drive from your system. Take a moment to inspect the drive for any visible damage or signs of wear and tear. Properly dispose of or recycle the old drive in accordance with local regulations.
Keep the removed drive in a safe location in case you need to access or recover data from it in the future. Now, you are ready to install the new hard disk drive and continue with the replacement process.
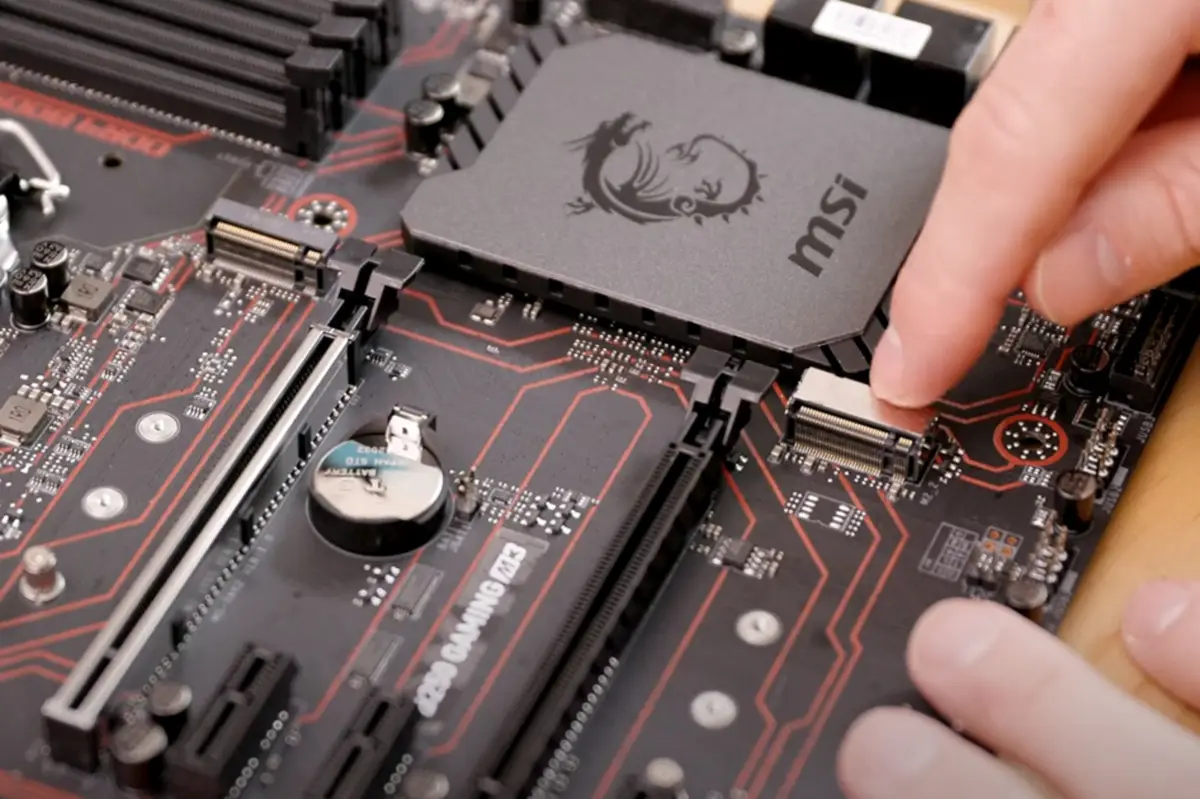
Install New Hard Disk Drive
Now that the old hard disk drive has been successfully removed, it’s time to install the new hard disk drive in your system. Follow these steps to ensure a proper installation:
- Prepare the Mounting Area: Locate the drive bay or mounting spot where the new hard disk drive will be installed. Ensure it is free from dust and debris that could impede the installation process.
- Insert the New Hard Disk Drive: Place the new hard disk drive into the drive bay, aligning the holes on the sides of the drive with the screw holes in the bay. Gently push the drive in until it is secure.
- Secure the Drive: Use the screws that were removed from the old drive to secure the new drive in place. Tighten the screws just enough to hold the drive firmly in place without overtightening.
- Connect Data and Power Cables: Attach the data and power cables to the appropriate connectors on the new hard disk drive. Ensure a secure and snug connection, but be careful not to force or bend any of the pins.
- Check Cable Orientation: Pay attention to the orientation of the cables and ensure they are positioned correctly. The data cable should be connected to the motherboard or RAID controller, while the power cable should be connected to the power supply.
- Close Your Computer Case: Once all connections are secure, carefully close your computer case and fasten any screws or latches to secure it in place. Ensure that all cables are neatly organized and do not obstruct any fans or other components.
With the new hard disk drive installed, you are one step closer to completing the replacement process. Take a moment to double-check all connections and make sure everything is securely in place. Now, you can move on to the next step of configuring the mirrored hard disk drive in your Windows 10 system.
Reconfigure Mirrored Hard Disk Drive
With the new hard disk drive installed, it’s time to reconfigure the mirrored hard disk drive in your Windows 10 system. Follow these steps to ensure the correct configuration:
- Power On Your System: Plug in your computer and power it on. Allow the system to boot up and detect the newly installed hard disk drive.
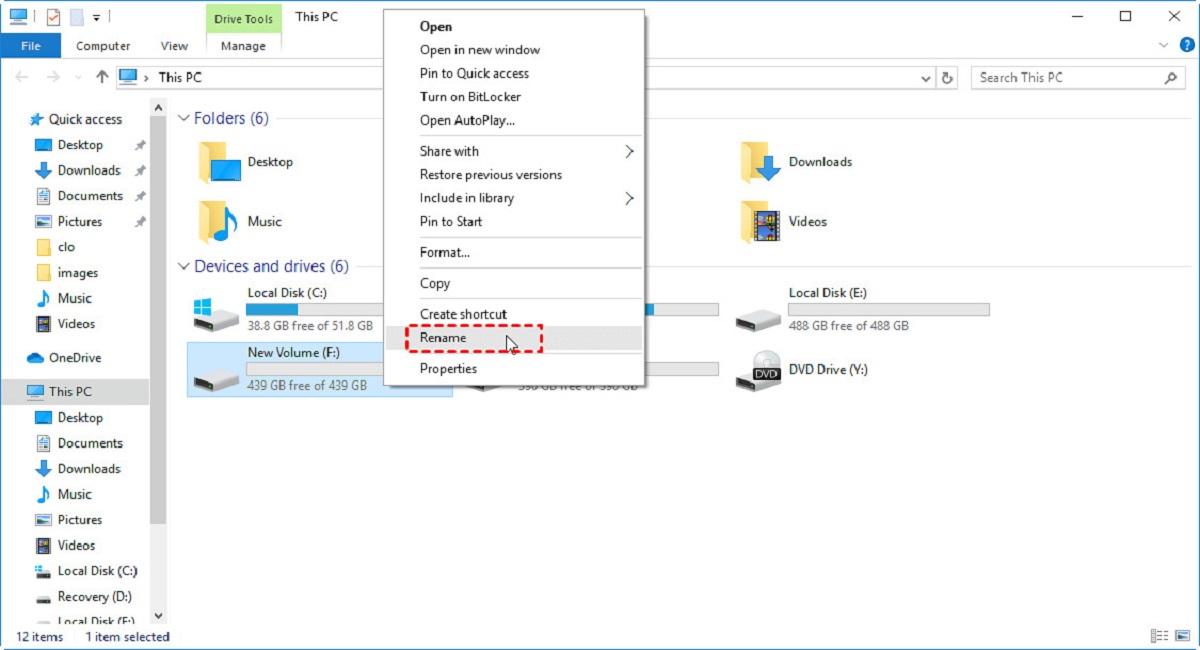
- Open Disk Management: Right-click on the Start button and select “Disk Management” from the context menu. This will open the Disk Management utility.
- Initialize the New Drive: In the Disk Management window, you should see the new hard disk drive listed, marked as “Unallocated.” Right-click on it and select “Initialize Disk.” Choose the appropriate disk initialization method, such as MBR (Master Boot Record) or GPT (GUID Partition Table), and follow the on-screen prompts to complete the initialization process.
- Create a New Partition: After initializing the disk, right-click on the unallocated space and select “New Simple Volume.” Follow the on-screen instructions to create a new partition on the new hard disk drive. Specify the desired partition size and assign a drive letter to the new partition.
- Format the Partition: Once the partition has been created, right-click on it and select “Format.” Choose the desired file system (such as NTFS) and provide a suitable volume label if desired. Click “OK” to format the partition.
- Set Up Mirroring: After formatting the partition, right-click on it and select “Add Mirror.” In the wizard that appears, choose the existing mirror disk as the destination for mirroring. Follow the prompts to complete the mirroring setup.
- Verify Mirrored Configuration: Once the mirroring setup is complete, check the Disk Management utility to ensure that both the new and existing drives are listed as “Healthy (Mirror).” This indicates that the mirrored hard disk drive is properly configured and functioning correctly.
With the mirrored hard disk drive reconfigured, your data is protected and backed up across the two drives. It’s advisable to regularly monitor the health and status of the mirrored drive for optimal performance and data protection.
By following these steps, you have successfully reconfigured the mirrored hard disk drive in your Windows 10 system, ensuring the continuity of your data protection and redundancy.
Test and Verify New Hard Disk Drive
After reconfiguring the mirrored hard disk drive in your Windows 10 system, it is important to test and verify the functionality of the new drive. This step ensures that the drive is working correctly and data is being mirrored as expected. Follow these steps to test and verify the new hard disk drive:
- Restart Your System: Restart your computer to ensure all changes take effect and allow the system to properly recognize the newly configured mirrored drive.
- Check Disk Management: Open the Disk Management utility and verify that both the old and new hard disk drives are listed as “Healthy (Mirror).”
- Perform Read and Write Operations: Copy a few files to the new drive and then retrieve them to ensure that the read and write operations are functioning properly. This confirms that data is being mirrored successfully between the two drives.
- Monitor Drive Health: Utilize SMART (Self-Monitoring, Analysis, and Reporting Technology) tools or third-party software to monitor the health and performance of the new drive. Keep an eye on temperature, error rates, and any other indicators that might signal potential issues.
- Run Diagnostic Tools: Perform a complete scan of the new drive using the manufacturer’s diagnostic tools or third-party software. This helps identify any potential errors or issues with the drive.
- Backup and Restore: Test the backup and restore functionality by creating a backup of a small portion of your data and then attempting to restore it from the mirrored drive. This ensures that the backup and restore processes are working correctly.
- Monitor Performance: Observe the performance of your system with the newly configured mirrored drive. Ensure that there are no significant slowdowns or issues experienced when accessing or writing data to the drive.
By following these testing and verification steps, you can be confident that the new hard disk drive is in good working order and that the mirrored configuration is fully functional. Regular monitoring and evaluation of the drive’s performance will help you maintain a stable, secure, and reliable storage setup for your data.
Conclusion
Replacing a mirrored hard disk drive in Windows 10 is a critical task to ensure the continued protection and accessibility of your data. By following the steps outlined in this guide, you can successfully replace a faulty or aging drive without compromising the integrity of your data.
Remember to take precautionary measures such as backing up your data before starting the replacement process. Additionally, check that your system meets the necessary requirements and carefully prepare the new hard disk drive for installation.
Properly removing the old drive and installing the new one is crucial to maintaining the mirrored configuration. Once the new drive is in place, reconfigure the mirrored hard disk drive using Windows 10’s Disk Management utility.
After reconfiguration, test and verify the functionality of the new drive to ensure that data is being mirrored accurately. Perform read and write operations, monitor drive health, and run diagnostic tools to identify any potential issues.
By following these guidelines and best practices, you can successfully replace a mirrored hard disk drive in Windows 10 and safeguard your valuable data. Remember to regularly monitor the health and performance of the mirrored drive to ensure ongoing data protection.
However, if you are unsure of your technical abilities or do not feel comfortable performing the task yourself, it is recommended to seek the assistance of a professional to ensure a smooth and successful replacement process.