Introduction
Welcome to this guide on how to remove your tablet driver. Whether you’re experiencing issues with your tablet, upgrading to a new device, or simply no longer need the driver installed, this step-by-step tutorial will help you through the process.
A tablet driver is a software program that allows communication between your tablet device and your computer. It enables you to use the tablet’s features and functionalities such as pressure sensitivity, pen input, and gesture controls. While tablet drivers are essential for proper tablet operation, there may come a time when you need to uninstall the driver from your system.
Removing a tablet driver can be necessary for various reasons. Perhaps you want to troubleshoot driver conflicts, improve performance, or completely switch to a different tablet brand or model. Whatever the reason may be, it’s important to follow the correct steps to ensure a thorough removal of the tablet driver and any associated files and settings.
In this guide, we will take you through the step-by-step process of removing your tablet driver. We will cover uninstalling the driver, removing the driver files, deleting any associated registries, restarting your computer, and cleaning up your system. By following these steps, you can ensure a complete removal of the tablet driver and avoid any potential issues or conflicts.
Before proceeding with the removal process, it’s crucial to back up any important files or data on your computer. This precautionary measure will help you avoid any unintentional loss of data during the driver removal process. Additionally, make sure you have administrator rights on your computer, as you will need them to uninstall the driver and make changes to system files and registries.
Now that we’ve covered the basics, let’s dive into the step-by-step process of removing your tablet driver.
Why Would You Want to Remove Your Tablet Driver?
There are a few reasons why you may want to remove your tablet driver. Let’s explore some common scenarios where removing the tablet driver becomes necessary:
1. Troubleshooting: If you’re experiencing issues with your tablet’s functionality, such as unresponsive buttons, erratic cursor movement, or frequent crashes, uninstalling and reinstalling the driver can often resolve these problems. Removing the existing driver ensures a clean installation of the latest version, potentially resolving any software-related issues.
2. Upgrading to a New Tablet: If you’re upgrading to a new tablet device from the same or a different brand, it’s recommended to remove the existing driver before installing the driver for the new tablet. This ensures a smooth transition and eliminates potential conflicts between different tablet drivers.
3. Switching Tablet Brands or Models: If you’re switching to a different tablet brand or model, removing the previous tablet driver is essential. Different tablet models may have their own unique drivers that are not compatible with other brands or models. By removing the old driver, you can avoid any conflicts and ensure proper functionality of the new tablet.
4. Clean Up Your System: As you continue to use your computer, the number of installed drivers and associated files can accumulate. Removing unnecessary tablet drivers that are no longer in use can help declutter your system and improve overall performance. It’s a good practice to remove any drivers that you no longer need or use regularly.
5. Resolving Conflicts: In some cases, installing multiple tablet drivers on the same computer can lead to conflicts and compatibility issues. If you have multiple tablets or have previously installed drivers for different tablets, removing the unwanted drivers can help resolve conflicts and ensure smooth operation.
By understanding the reasons why you may want to remove your tablet driver, you can make informed decisions and take the necessary steps to ensure a smooth and trouble-free experience with your tablet device.
Step 1: Uninstall the Tablet Driver
The first step in removing your tablet driver is to uninstall it from your system. Here’s how you can do it:
1. Open the Control Panel: Click on the Start button and type “Control Panel” in the search bar. Select the Control Panel application from the search results to open it.
2. Navigate to Programs and Features: Once you’re in the Control Panel, locate the “Programs” category and click on the “Uninstall a program” link under it. This will open the Programs and Features window.
3. Locate the Tablet Driver: In the Programs and Features window, scroll through the list of installed programs and locate the tablet driver software. It may be listed under the tablet manufacturer’s name or as the specific driver name.
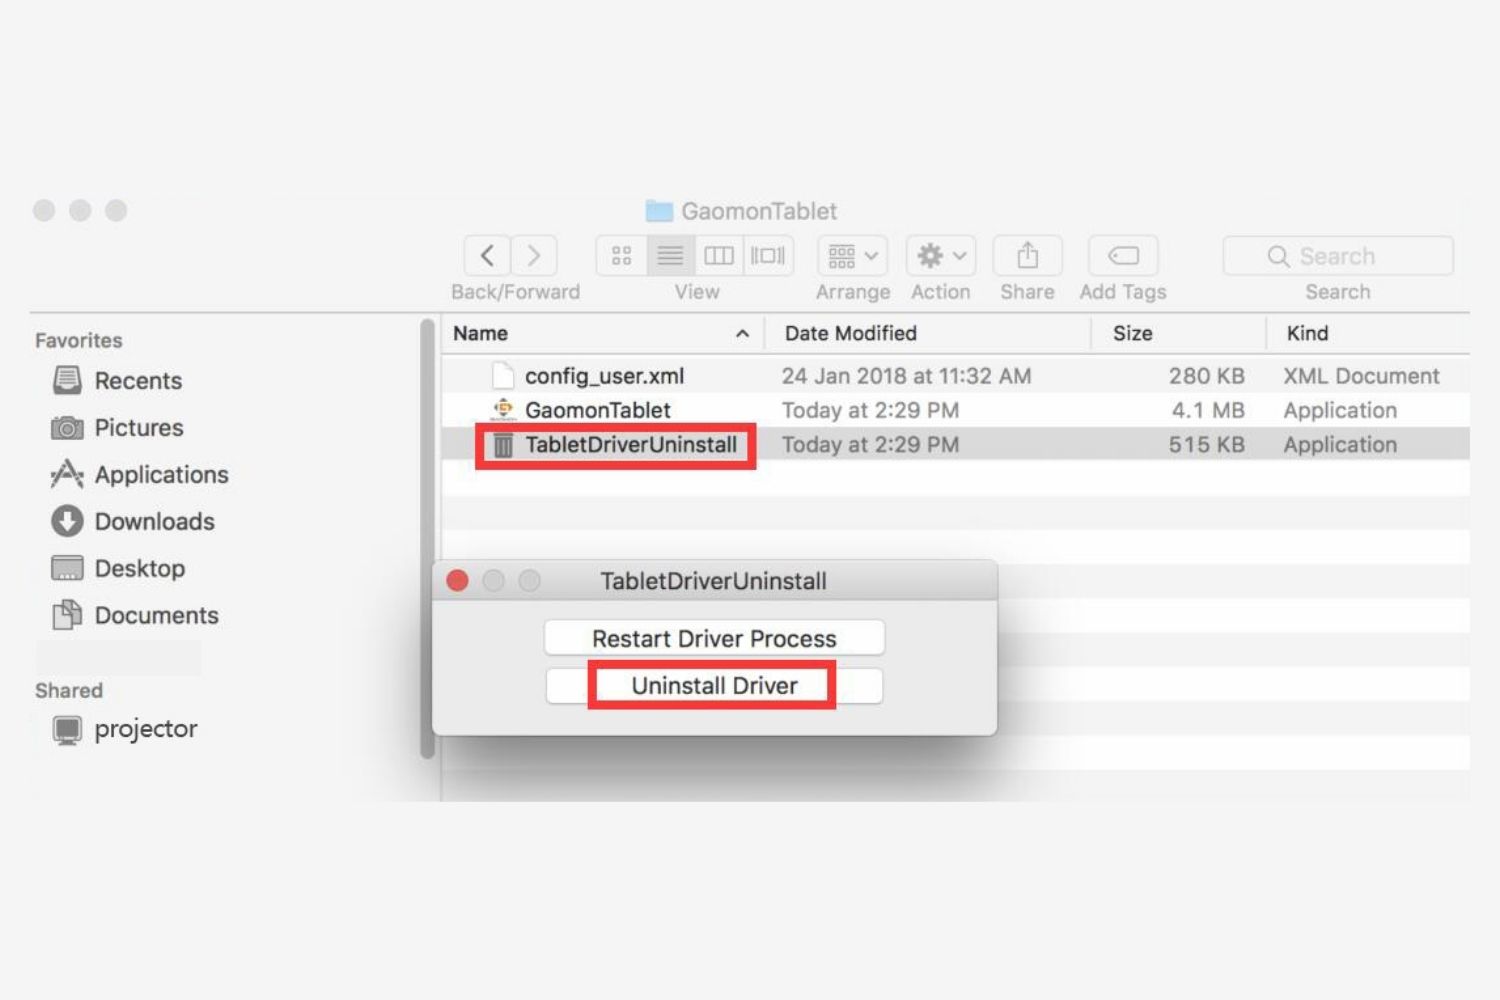
4. Uninstall the Tablet Driver: Right-click on the tablet driver and select “Uninstall” from the context menu. Follow the on-screen prompts to proceed with the uninstallation process. It may ask for confirmation or additional instructions depending on the specific driver.
5. Complete the Uninstallation: Once the uninstallation process is complete, you may be asked to restart your computer. If prompted, go ahead and restart your computer to finalize the removal of the tablet driver.
By following these steps, you can successfully uninstall the tablet driver from your system. However, please note that this step alone may not completely remove all associated files and registries. To ensure a thorough removal, proceed to the next steps in this guide.
Step 2: Remove the Tablet Driver Files
After uninstalling the tablet driver from your system, it’s important to remove any remaining files related to the driver. Follow these steps to ensure a complete removal of the tablet driver files:
1. Open File Explorer: Right-click on the Start button and select “File Explorer” from the context menu. Alternatively, you can press the Windows key + E on your keyboard to open File Explorer instantly.
2. Navigate to the Driver Installation Folder: In File Explorer, navigate to the folder where the tablet driver files were originally installed. The default installation location is typically in the “C:\Program Files” or “C:\Program Files (x86)” directory. Look for a folder with the name of the tablet manufacturer or the driver itself.
3. Delete the Driver Folder: Once you’ve located the driver installation folder, right-click on it and select “Delete” from the context menu. Confirm the deletion when prompted. Note that deleting this folder may remove any other files associated with the tablet driver, so make sure you no longer need them.
4. Empty the Recycle Bin: After deleting the driver folder, open the Recycle Bin on your desktop and permanently delete the files. This step ensures that the driver files are completely removed from your system and cannot be restored.
5. Repeat for any Additional Driver Files: Depending on the tablet driver, there may be additional files located in other folders or directories. Repeat steps 2-4 to search for any remaining driver files and remove them accordingly.
By following these steps, you can remove the tablet driver files from your system. However, keep in mind that there may still be traces of the driver remaining in the system registry. To ensure a thorough removal, proceed to the next steps in this guide.
Step 3: Delete Registries Associated with the Tablet Driver
While uninstalling the tablet driver and removing its files is a significant step, there may still be remnants of the driver lingering in the Windows registry. To ensure a complete removal, it’s essential to delete any registries associated with the tablet driver. Follow these steps to accomplish this:
1. Open the Registry Editor: Press the Windows key + R on your keyboard to open the Run dialog box. Type “regedit” in the field and press Enter. This will open the Registry Editor
2. Backup the Registry: Before making any changes to the registry, it’s advised to backup the entire registry or at least the specific registry keys related to the tablet driver. This step provides a safety net in case any issues arise during the deletion process.
3. Navigate to the Tablet Driver Registries: In the Registry Editor, navigate to the following location: HKEY_CURRENT_USER\Software and HKEY_LOCAL_MACHINE\Software. Look for any subkeys or entries related to the tablet driver. These entries are typically named after the tablet manufacturer or driver name.
4. Delete the Tablet Driver Registries: Right-click on any registry key or entry related to the tablet driver and select “Delete” from the context menu. Confirm the deletion when prompted. Repeat this step for all tablet driver-related registries you identified in the previous step.
5. Restart Your Computer: After deleting the tablet driver registries, it’s important to restart your computer. This ensures that any changes made to the registry take effect and fully removes any remnants of the tablet driver.
By following these steps, you can delete the registries associated with the tablet driver from your system. However, to ensure a comprehensive removal and optimize your system, proceed to the next step in this guide.
Step 4: Restart Your Computer
After completing the previous steps of uninstalling the tablet driver, removing its files, and deleting associated registries, it’s crucial to restart your computer. Restarting allows the system to finalize the removal process and ensure that any changes made take effect. Here’s how you can restart your computer:
1. Save your Work: Before restarting, make sure to save any open files or documents. Closing all running applications ensures a smooth restart without any data loss or conflicts.
2. Click on the Start Menu: Locate the Start button on the taskbar and click on it. This opens the Start menu.
3. Select Restart: In the Start menu, locate the power options. Depending on your version of Windows, the options may be displayed as icons or in a list. Click on the power icon or the “Power” option to reveal the restart option.
4. Choose Restart: Click on the “Restart” option to initiate the restart process. Windows will display a confirmation dialog box to ensure you want to restart your computer. If you have any unsaved work, the system may prompt you to save it before proceeding.
5. Wait for the Restart: Once the restart process is initiated, your computer will begin the shut down process and then automatically restart. Wait for the reboot to complete.
During the restart, the system will start fresh, without any remnants of the tablet driver. This ensures that any remaining traces or conflicts associated with the driver are eliminated, allowing for a clean and optimized system.
After your computer has restarted, you can proceed with the final step to clean up your system and ensure a thorough removal of the tablet driver.
Step 5: Clean Up Your System
After removing the tablet driver and its associated files and registries, it’s important to perform a thorough system cleanup to ensure optimal performance and prevent any potential conflicts or issues. Here’s how you can clean up your system:
1. Disk Cleanup: Use the built-in Disk Cleanup utility to remove temporary files, system files, and other unnecessary data from your computer. To access Disk Cleanup, open the Start menu, type “Disk Cleanup,” and select the appropriate option from the search results. Follow the prompts to select the drive you want to clean and choose the files to delete.
2. Uninstall Unused Programs: Take the opportunity to uninstall any other unused programs on your computer. Open the Control Panel, navigate to “Programs and Features,” and review the list of installed programs. Right-click on any program you no longer need and select “Uninstall” to remove it from your system.
3. Update Drivers and Software: Make sure your system is up to date by updating other drivers and software on your computer. Check for updates from the manufacturer’s websites or use a driver update utility to ensure you have the latest versions installed.
4. Perform Antivirus Scan: Run a full antivirus scan to ensure your system is free from any malware or viruses. Make sure your antivirus software is up to date and performs a comprehensive scan of your computer to detect and remove any potential threats.
5. Reinstall Necessary Programs: If you removed any programs during the driver removal process, reinstall those that are essential for your workflow. Make sure to download the latest versions from the official websites to ensure compatibility and security.
By performing these system cleanup steps, you not only ensure the removal of remnants from the tablet driver but also optimize your system’s performance and security. Your computer will be ready for the next steps, whether it’s installing a new tablet driver or transitioning to a different tablet brand or model.
Conclusion
Removing a tablet driver from your system may become necessary for various reasons, such as troubleshooting issues, upgrading to a new tablet, or switching tablet brands or models. By following the step-by-step process outlined in this guide, you can ensure a thorough removal of the tablet driver, its associated files, and registry entries.
Throughout the process, it’s important to back up your important files, have administrator rights on your computer, and carefully follow each step. Uninstalling the tablet driver, removing its files, deleting associated registries, restarting your computer, and performing a system cleanup are key steps to ensure a complete and optimized removal.
Remember that each tablet driver may have its own specific uninstallation process, so make sure to consult the manufacturer’s documentation or support resources for any additional steps that may be required.
After successfully removing the tablet driver, take the opportunity to update other drivers and software on your computer, perform an antivirus scan, and reinstall necessary programs to maintain a clean and secure system.
By following this guide, you can confidently remove your tablet driver and prepare your system for the next steps, whether it’s installing a new tablet driver, troubleshooting, or transitioning to a new tablet device. Enjoy your tablet experience and make the most of its features!


