Introduction
When it comes to managing the apps on your Android phone, it’s essential to have control over what is installed and taking up valuable space. Whether you want to declutter your home screen, free up storage, or remove unnecessary apps, there are various methods you can use to remove apps from your Android device.
Having numerous unused apps can not only clutter your phone’s interface but also impact its performance and drain battery life. By removing unnecessary apps, you can improve your device’s efficiency and create a more streamlined experience. In this article, we will explore several options for removing apps from your Android phone, ranging from uninstalling them from the home screen to disabling them completely.
Before we dive into the methods, it’s crucial to note that the steps and terminology may slightly vary depending on the Android version and the customized user interface of your device. However, the core concepts and principles remain the same.
Whether you’re a tech-savvy user or a novice, you’ll find these methods easy to follow, helping you take control of your Android phone’s app landscape. Let’s explore the different options available for removing apps and reclaiming valuable space on your device.
Option 1: Uninstalling Apps from the Home Screen
One of the most straightforward methods to remove apps from your Android phone is by uninstalling them directly from the home screen. Here’s how you can do it:
- Locate the app you want to remove on your home screen. You can typically find app icons arranged in grids or lists on your device’s main screen.
- Long-press on the app icon until a menu or options pop up. This action activates the edit mode, allowing you to rearrange or remove apps.
- Look for the option that says “Uninstall,” “Remove,” or a trash can icon. The wording may vary depending on your Android version and device manufacturer.
- Tap on the uninstall option and confirm your selection when prompted. The app will then be removed from your phone.
This method is ideal for quickly getting rid of apps that you recently installed or no longer need. It provides a straightforward way to declutter your home screen and remove unwanted icons with minimal effort.
However, please note that not all apps can be uninstalled using this method. System apps that are pre-installed on your device by the manufacturer or your service provider may not have an uninstall option available. In such cases, you can either disable the app or proceed to the next option we’ll explore.
Option 2: Removing Apps from the App Drawer
If you are unable to uninstall an app directly from the home screen, you can still remove it by accessing the app drawer. The app drawer contains all the installed apps on your Android phone and provides an additional method for removing them. Here’s how you can do it:
- Locate the app drawer icon on your home screen. It is usually represented by a grid or a square with small dots inside.
- Tap on the app drawer icon to open it. You will see a comprehensive list of all the apps installed on your device.
- Scroll through the apps until you find the one you want to remove. You can also use the search bar at the top to quickly locate a specific app.
- Long-press on the app icon you wish to uninstall. You will notice that the app icon starts to float or a menu appears at the top of the screen.
- Drag the app icon to the “Uninstall” or the “Remove” option that appears at the top of the screen and release your finger. Confirm your selection if prompted.
This method is useful for removing apps that you do not frequently use or that you have identified as unnecessary. The app drawer provides a centralized location where you can manage and remove apps without cluttering your home screen.
Remember, like in the previous option, system apps may not have an uninstall option available in the app drawer. In such cases, you can proceed to the next option, which involves removing apps through the device’s settings menu.
Option 3: Using the Settings Menu to Delete Apps
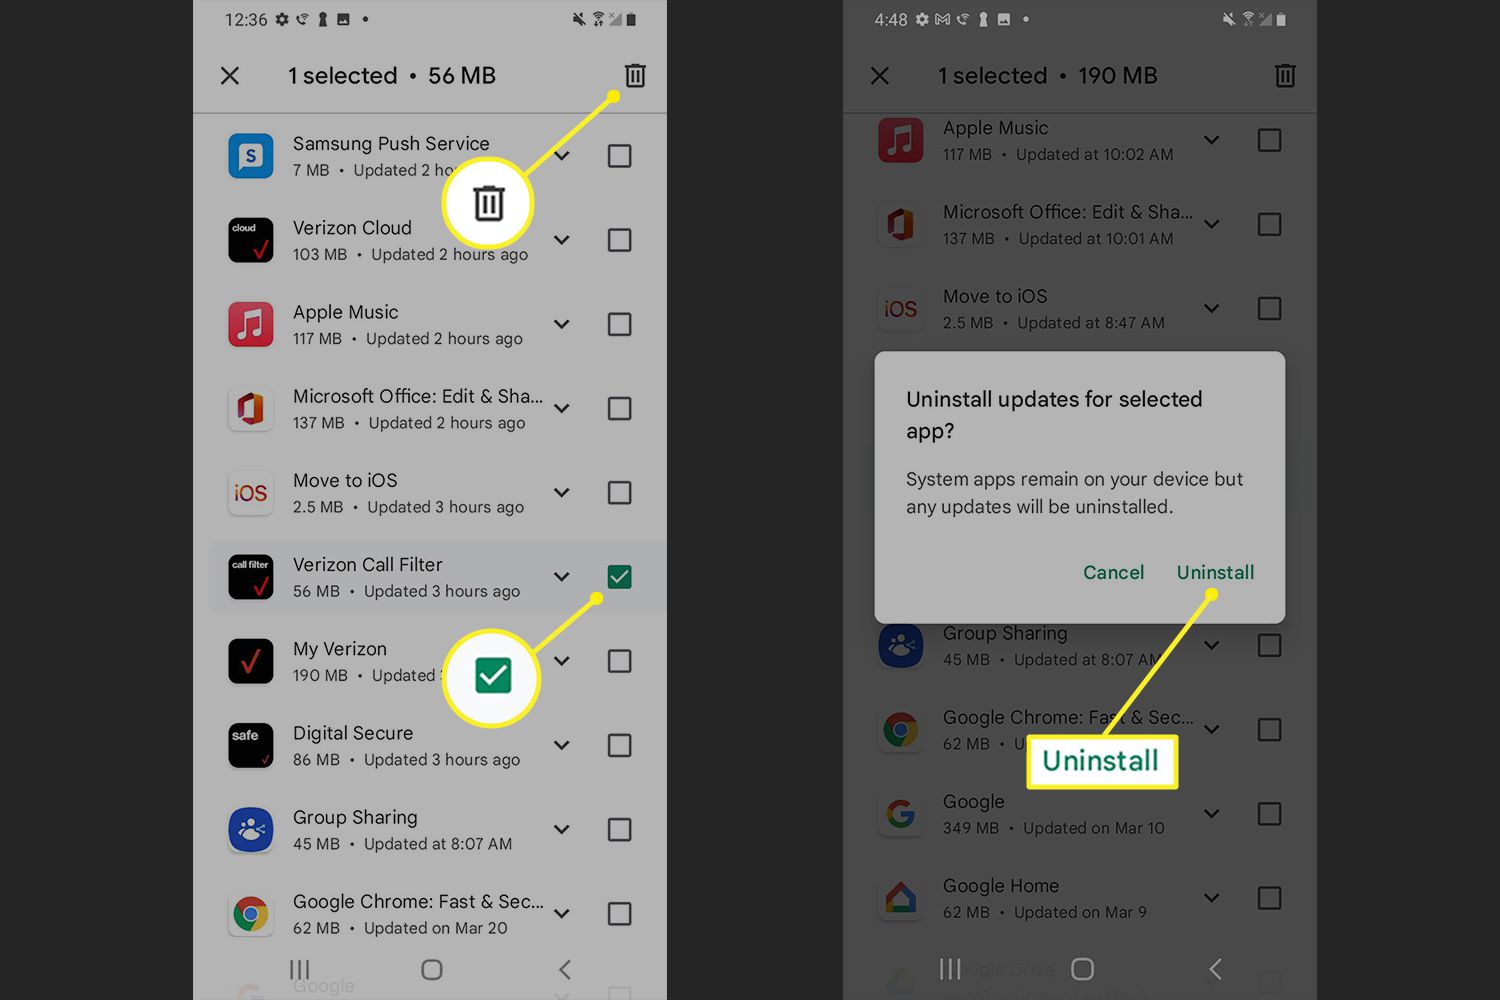
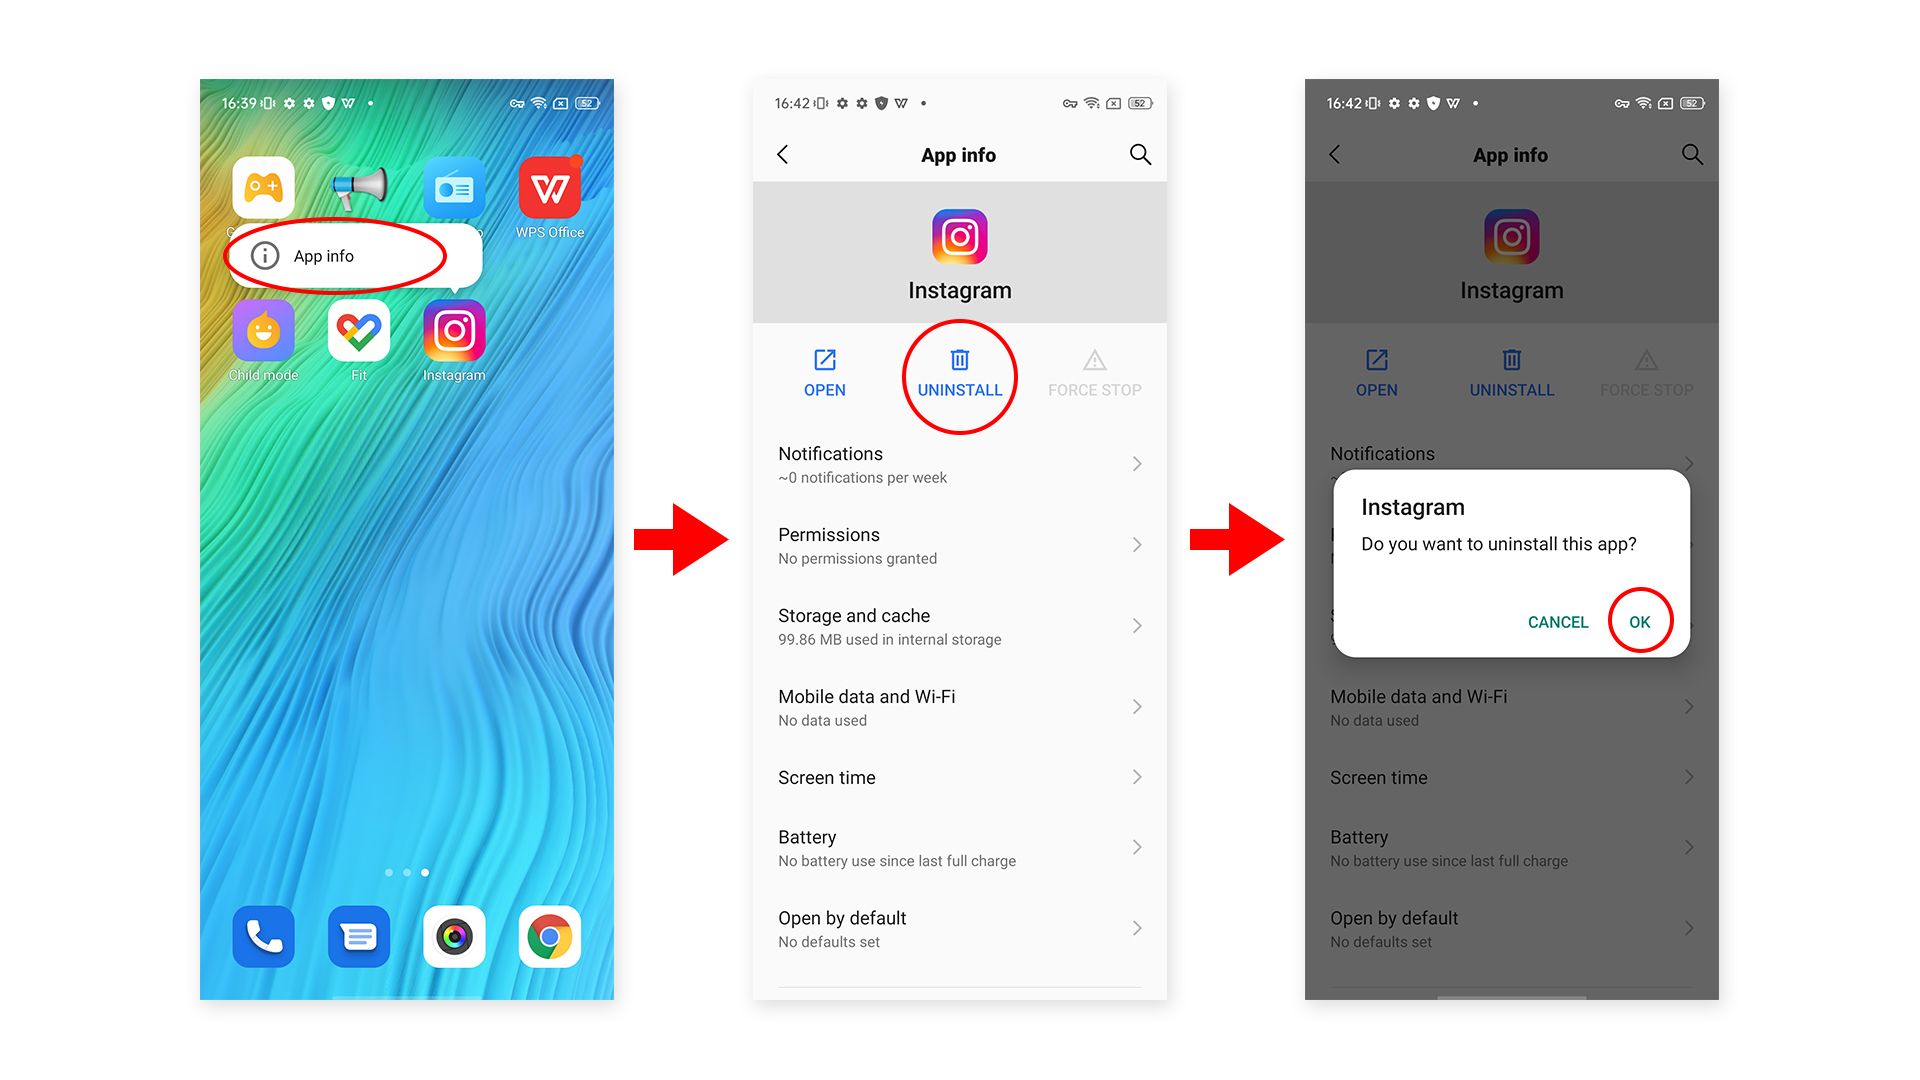
If you are unable to uninstall an app from the home screen or the app drawer, you can still remove it by accessing the settings menu on your Android phone. This method provides an alternative way to manage and delete apps. Here’s how you can do it:
- Open the settings menu on your Android device. You can usually access it by tapping on the gear-shaped icon in the app drawer or swiping down from the top of the screen and selecting the settings gear.
- Scroll down the settings menu and look for an option called “Apps,” “Applications,” or “Application Manager.”
- Tap on the “Apps” or “Applications” option to open the app management section.
- You will see a list of all the installed apps on your device. Scroll through the list or use the search bar provided to find the app you want to remove.
- Tap on the app you wish to uninstall to access its specific settings.
- In the app settings, you will find various options related to the app. Look for “Uninstall” or “Remove” and tap on it.
- Confirm your selection if prompted, and the app will be uninstalled from your Android device.
This method gives you more control and detailed information about each app on your device. It allows you to review app details, such as storage usage, permissions, and more, before making the decision to uninstall them.
While this method can be slightly more time-consuming compared to the previous options, it provides a comprehensive approach to managing and deleting apps on your Android phone.
Option 4: Disabling Apps to Free Up Space
If you’re looking to free up space on your Android device but don’t want to completely remove certain apps, disabling them can be a viable option. Disabling an app essentially prevents it from running in the background and taking up system resources. Here’s how you can disable apps on your Android phone:
- Go to the settings menu on your Android device by tapping on the gear-shaped icon in the app drawer or swiping down from the top of the screen and selecting the settings gear.
- Scroll down to find the “Apps,” “Applications,” or “Application Manager” option and tap on it.
- In the app management section, scroll through the list or use the search bar to find the app you want to disable.
- Tap on the app to access its settings.
- Look for the “Disable” or “Turn off” option and tap on it.
- Confirm your selection if prompted, and the app will be disabled on your Android device.
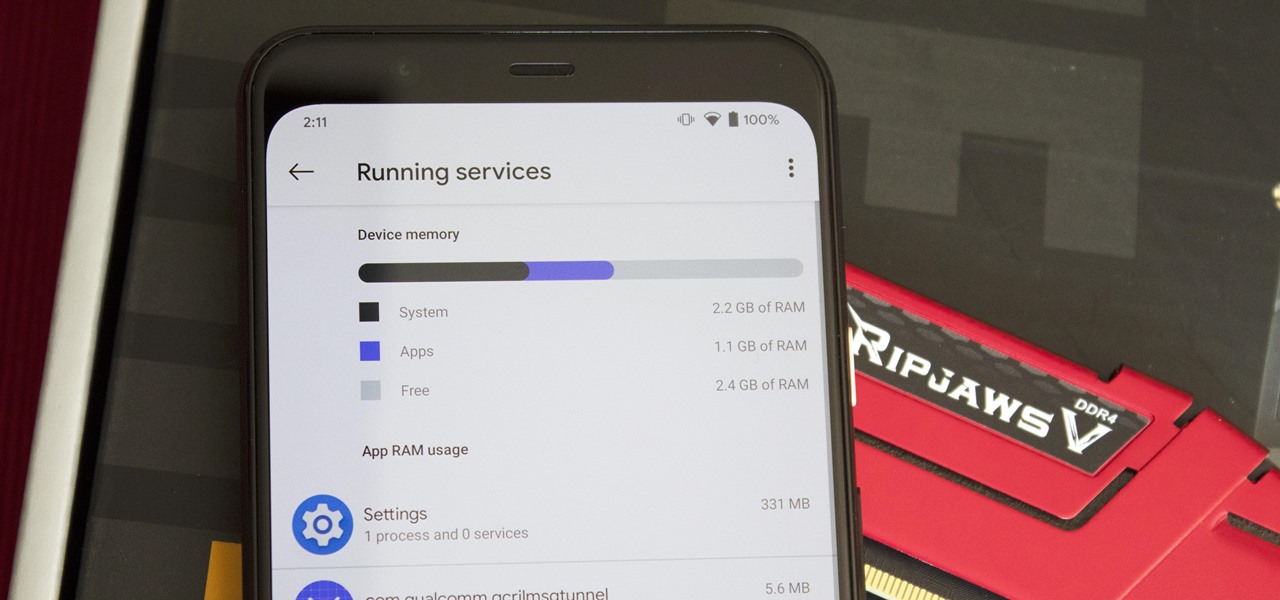
Disabling apps can be beneficial for several reasons. It allows you to free up storage space without permanently removing apps that you may need in the future. Disabling certain system apps or pre-installed apps that you don’t use can also improve your device’s performance and battery life.
It’s important to note that while disabling apps can make them inactive and reduce their impact on system resources, it does not remove them from your device entirely. The disabled app will no longer appear on your home screen or app drawer, and you won’t receive any updates for it. However, you can easily re-enable the app if needed.
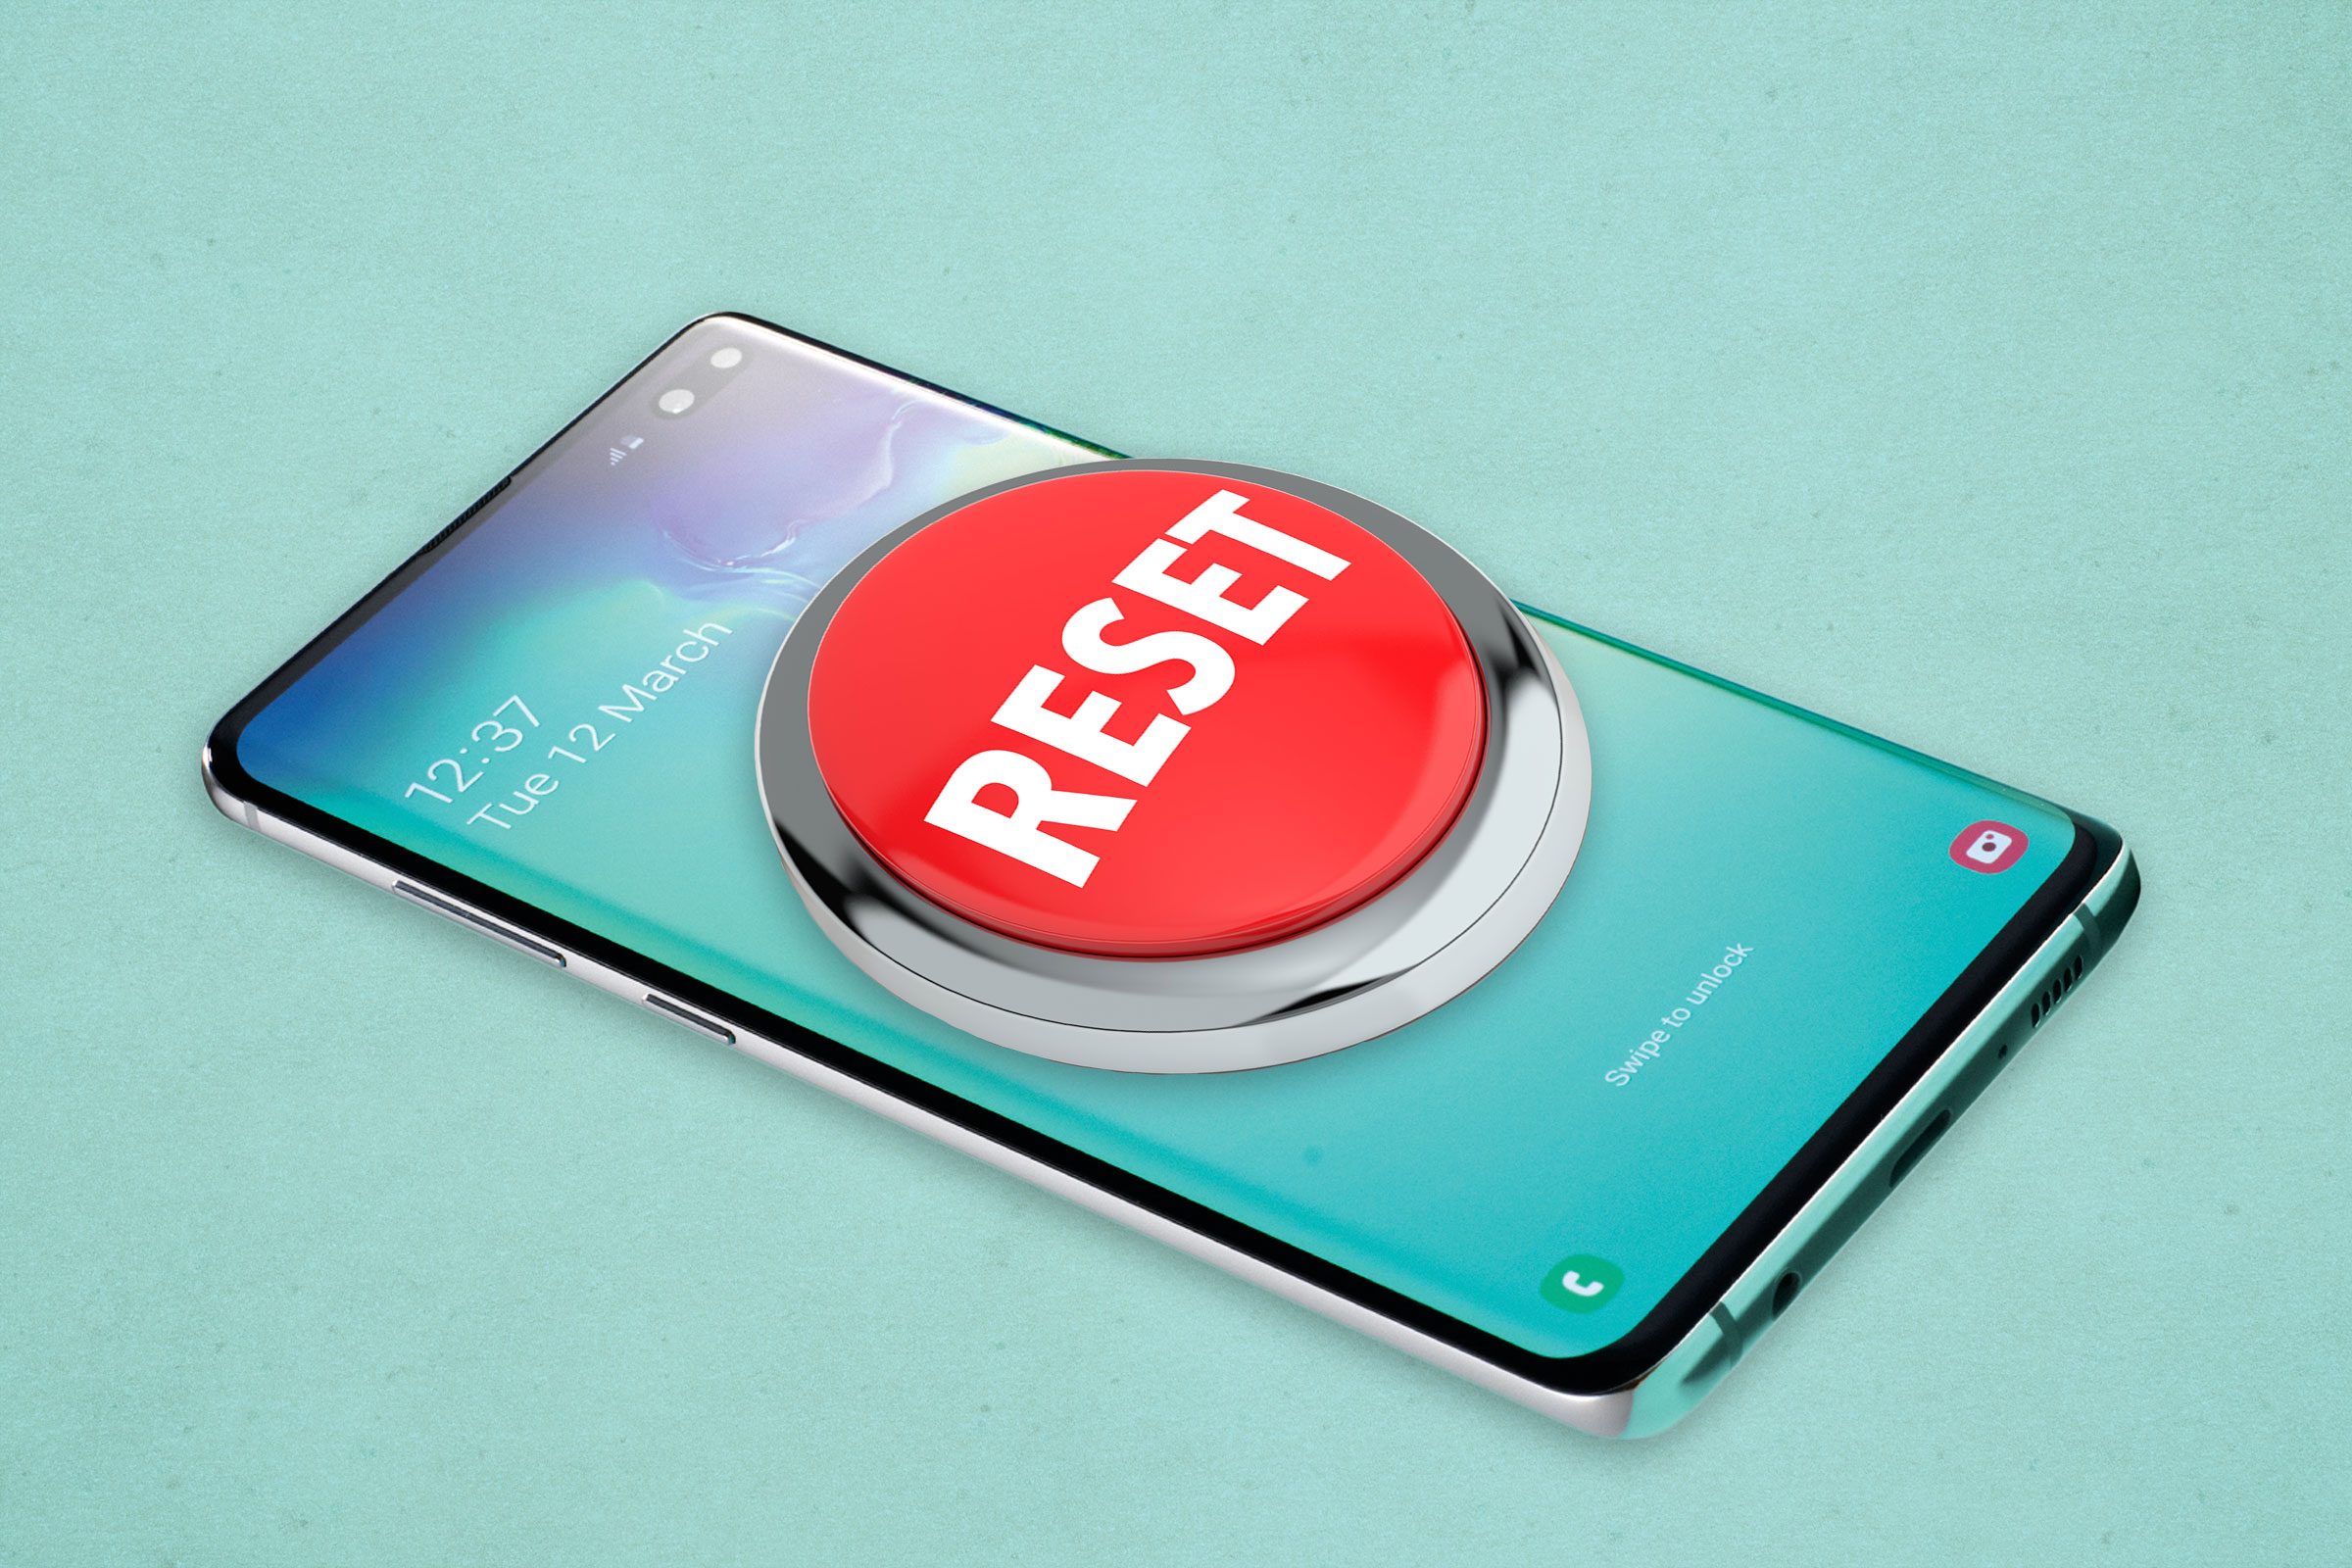
Option 5: Factory Resetting Your Android Device
If you want to completely remove all apps and data from your Android device and start fresh, performing a factory reset is an effective option. However, it’s crucial to note that factory resetting your device will erase all personal data, including apps, contacts, photos, and settings. Make sure to backup any important data before proceeding with this method. Here’s how you can factory reset your Android device:
- Open the settings menu on your Android device.
- Scroll down and tap on the “System” or “System and Device” option.
- Look for an option called “Reset” or “Reset options.”
- Tap on “Factory data reset” or a similar option.
- You may be prompted to enter your device’s password, PIN, or pattern lock to proceed.
- Review the warning message carefully, as it reminds you that all data will be deleted. If you’re sure, proceed with the factory reset.
- Wait for the process to complete, and your Android device will be restored to its original factory settings.
A factory reset is a drastic measure that should be used with caution. This method is most commonly used when you want to sell or give away your device, or when you’re facing significant performance issues that cannot be resolved through other methods.
After performing a factory reset, your Android device will be like new, and you will need to set it up again from scratch. This includes reinstalling apps, signing in to accounts, and configuring settings. Ensure you have backups of important data and take note of any necessary information before proceeding.
Keep in mind that the steps and options might vary slightly depending on your device’s manufacturer and Android version. It’s recommended to consult your device’s user manual or the manufacturer’s website for specific instructions related to your device.