Introduction
Are you experiencing issues with your Verizon tablet? If it’s freezing or acting sluggish, performing a reboot can often be an effective troubleshooting step. Rebooting your Verizon tablet can help refresh the system and resolve minor software glitches that may be causing the problems. In this guide, we will walk you through the steps to safely reboot your Verizon tablet.
Before we begin, it’s essential to note that rebooting your tablet does not erase any of your files or settings. It simply restarts the device, allowing it to start afresh. However, if you are concerned about potentially losing data, we recommend backing up your tablet before proceeding with the reboot.
It’s also important to mention that the specific steps for rebooting a Verizon tablet may vary slightly depending on the model you have. However, the general process remains the same across most devices. We will provide detailed instructions that should apply to the majority of Verizon tablet models. If you have any doubts or encounter any issues during the process, we suggest referring to the user manual or contacting Verizon customer support for further assistance.
Now, let’s dive into the step-by-step instructions to reboot your Verizon tablet and get it back to optimal performance.
Step 1: Power off the Verizon tablet
The first step in rebooting your Verizon tablet is to power it off completely. This ensures that all processes and apps running in the background are stopped before initiating the reboot.
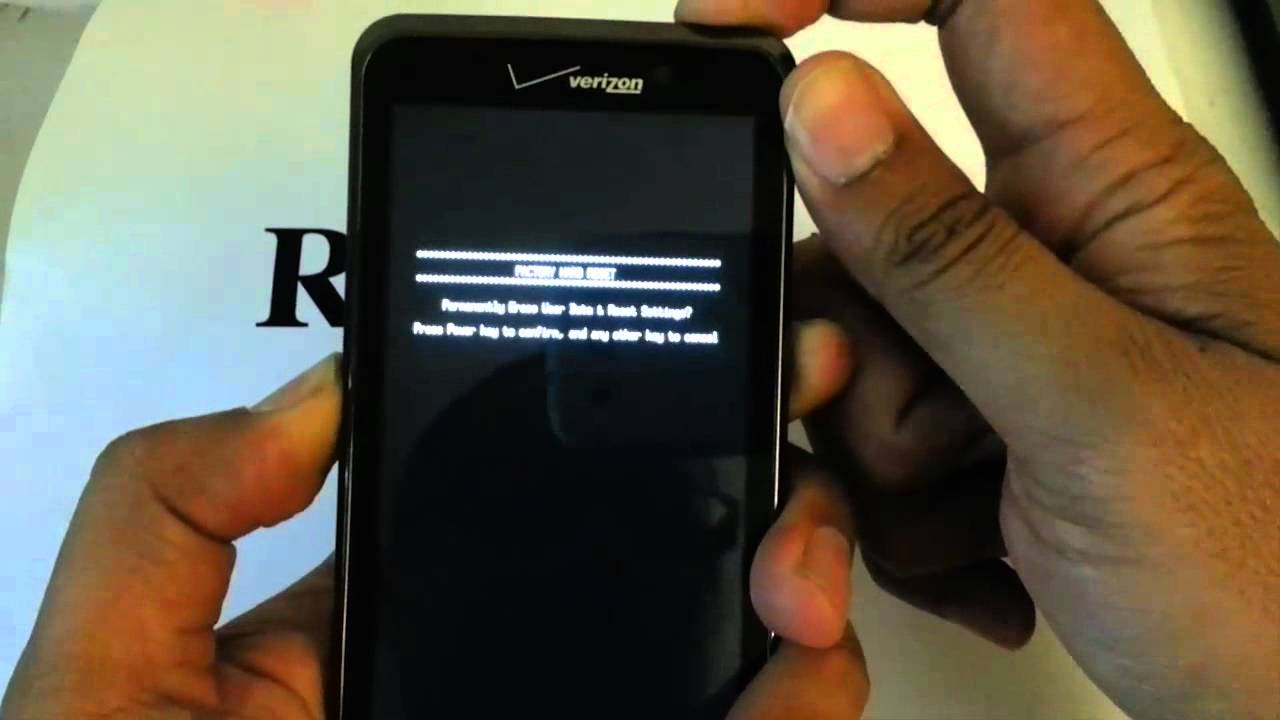
To power off your Verizon tablet, locate the power button. It is typically situated on the top or side of the device. Press and hold the power button until a menu appears on the screen.
In the menu, you will see the option to power off the tablet. Tap on this option to begin the shutdown process. Your tablet will then display a confirmation screen asking if you want to power off. Tap “Yes” or “Power off” to proceed.
After tapping the power off option, your Verizon tablet will begin the shut down process. Wait for a few seconds until the screen turns black, indicating that the tablet is fully powered off.
It is crucial to ensure that the tablet is completely powered off before proceeding to the next step. This ensures a clean reboot and helps clear any temporary files or cache that may be causing performance issues.
Once your Verizon tablet is powered off, you are ready to move on to the next step of the rebooting process.
Step 2: Locate the reset button on your Verizon tablet
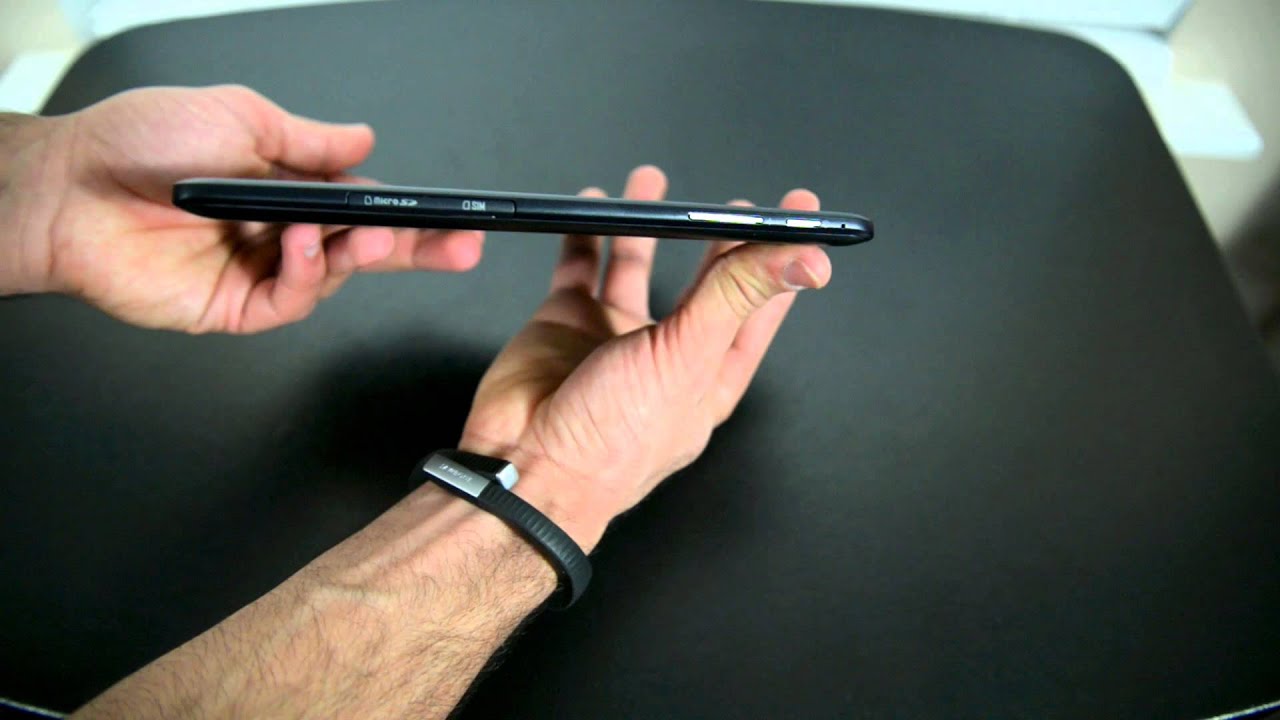
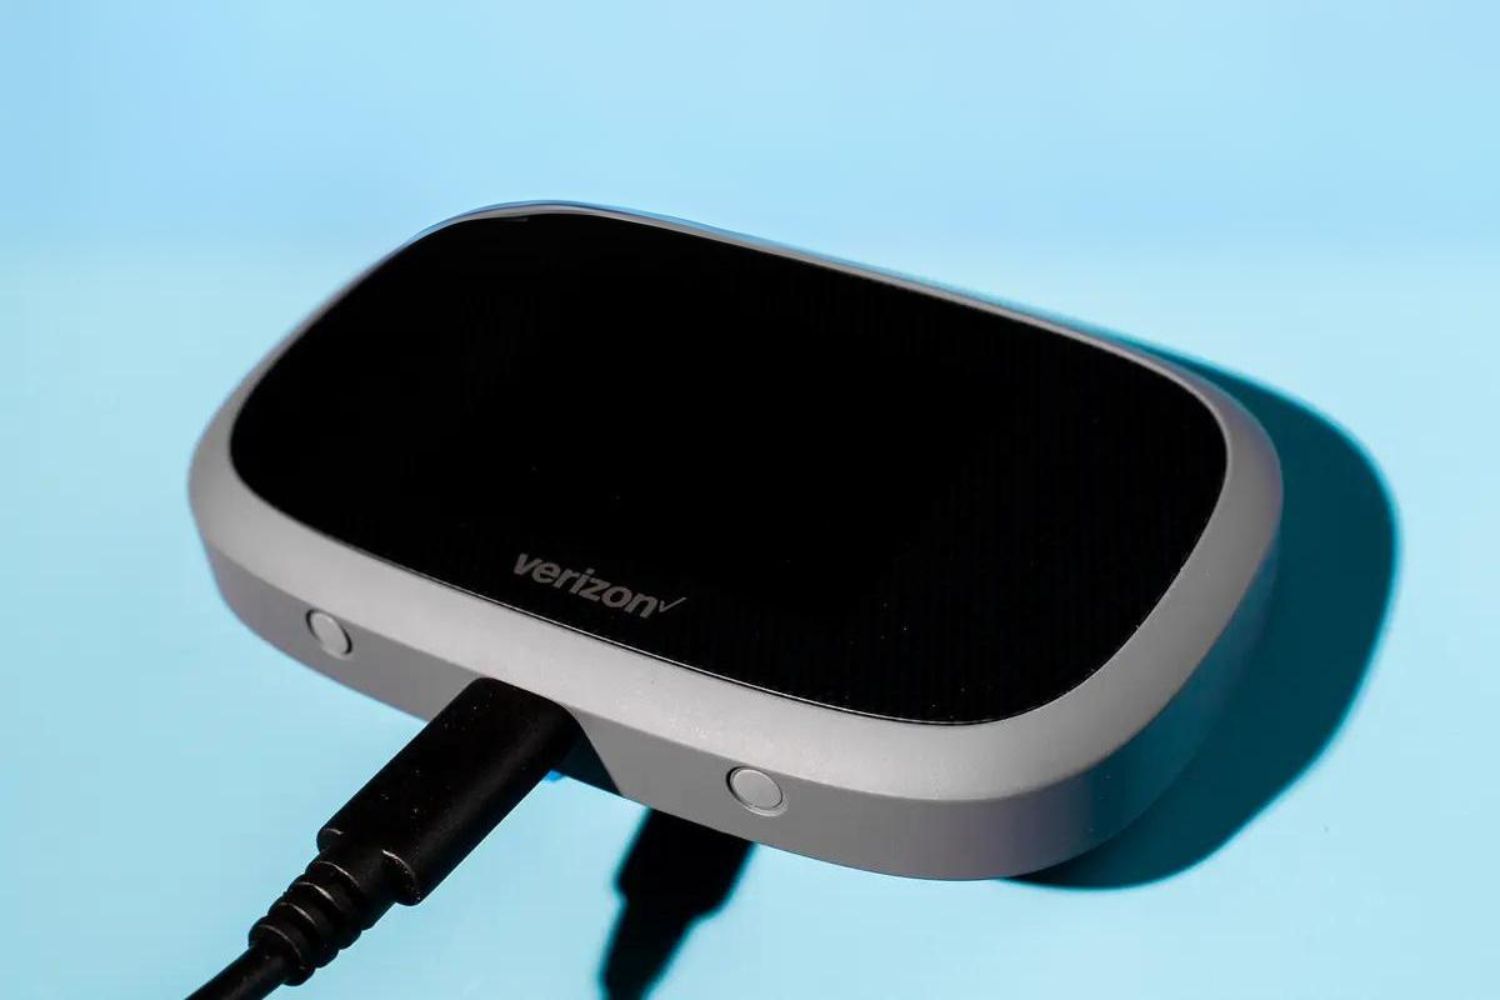
To proceed with the rebooting process of your Verizon tablet, you’ll need to locate the reset button. The reset button is a small, recessed button typically found on the back or side of the tablet.
The exact placement of the reset button may vary depending on the model of your Verizon tablet. However, it is commonly located near the charging port or alongside other buttons like the volume controls.
Take a moment to examine your tablet and look for a small hole or a pin-sized button that is labeled “Reset” or “RST.” It is important to note that not all Verizon tablets have a physical reset button. Some devices require a different key combination or use software options to initiate a reboot. If you cannot locate a physical reset button on your tablet, refer to the user manual or contact Verizon customer support for guidance specific to your device.
If you have identified the physical reset button on your Verizon tablet, you are now ready to proceed to the next step of the reboot process.
Step 3: Prepare a paperclip or a SIM card removal tool
Before you can proceed with pressing the reset button on your Verizon tablet, you’ll need to prepare a small tool that can fit into the reset button’s hole. A paperclip or a SIM card removal tool is commonly used for this purpose.
If you choose to use a paperclip, make sure it is straightened out to have a small, pointed end. Additionally, ensure that it is clean and free from any debris that may interfere with the reset process.
Alternatively, if you have a SIM card removal tool, it can also be used to press the reset button. SIM card removal tools are usually provided with new phones or tablets. They have a small pin at one end, which is perfect for resetting the device.
If you do not have a paperclip or a SIM card removal tool, you can use any other small, pointy object that fits into the reset button’s hole. However, be cautious not to use anything sharp or metallic that could damage the tablet or cause injury.
With your paperclip or SIM card removal tool in hand, you are now prepared to move on to the next step and initiate the reboot process for your Verizon tablet.
Step 4: Insert the paperclip or SIM card removal tool into the reset button
Now that you have your paperclip or SIM card removal tool ready, it’s time to insert it into the reset button on your Verizon tablet. This step will initiate the reboot process.
Gently insert the pointed end of the paperclip or SIM card removal tool into the small hole where the reset button is located. Apply light pressure and ensure that the tool goes all the way into the hole. You should feel a slight resistance as you push the tool in.
It’s important to be gentle and not overly forceful when inserting the tool. Applying excessive pressure or using a lot of force could cause damage to the tablet or the reset button.
Once the tool is inserted into the reset button, hold it securely to maintain contact with the button in the next step. This ensures that the reset process is successful and properly initiated.
With the paperclip or SIM card removal tool inserted into the reset button, you are now ready to proceed to the next step and continue with the rebooting process of your Verizon tablet.
Step 5: Hold down the reset button for a few seconds
Now that the paperclip or SIM card removal tool is securely inserted into the reset button, it’s time to hold down the button for a few seconds. This action will initiate the actual reset process on your Verizon tablet.
Apply steady and gentle pressure on the tool, holding down the reset button for about 10 to 15 seconds. You may see the screen flicker or go blank momentarily during this time, which is normal. It indicates that the reboot process has been initiated.
Holding down the reset button for a few seconds allows the tablet to perform a soft reset, where it clears any temporary files, reboots the operating system, and starts afresh. It is important to maintain contact with the reset button throughout this step to ensure a successful reboot.
While holding down the reset button, make sure to keep a firm grip on the tablet to prevent any accidental drops or movement. This will help avoid any interruptions in the reset process.
Once you have held down the reset button for the specified time, you can proceed to the next step and continue with the rebooting process of your Verizon tablet.
Step 6: Release the reset button and wait for the tablet to reboot
After holding down the reset button for the specified time period, it’s time to release the button and wait for your Verizon tablet to reboot. This step allows the device to complete the reset process and restart the operating system.
Carefully remove the paperclip or SIM card removal tool from the reset button, ensuring that you do not accidentally trigger the button again. Gently pull it out of the hole, leaving the reset button untouched.
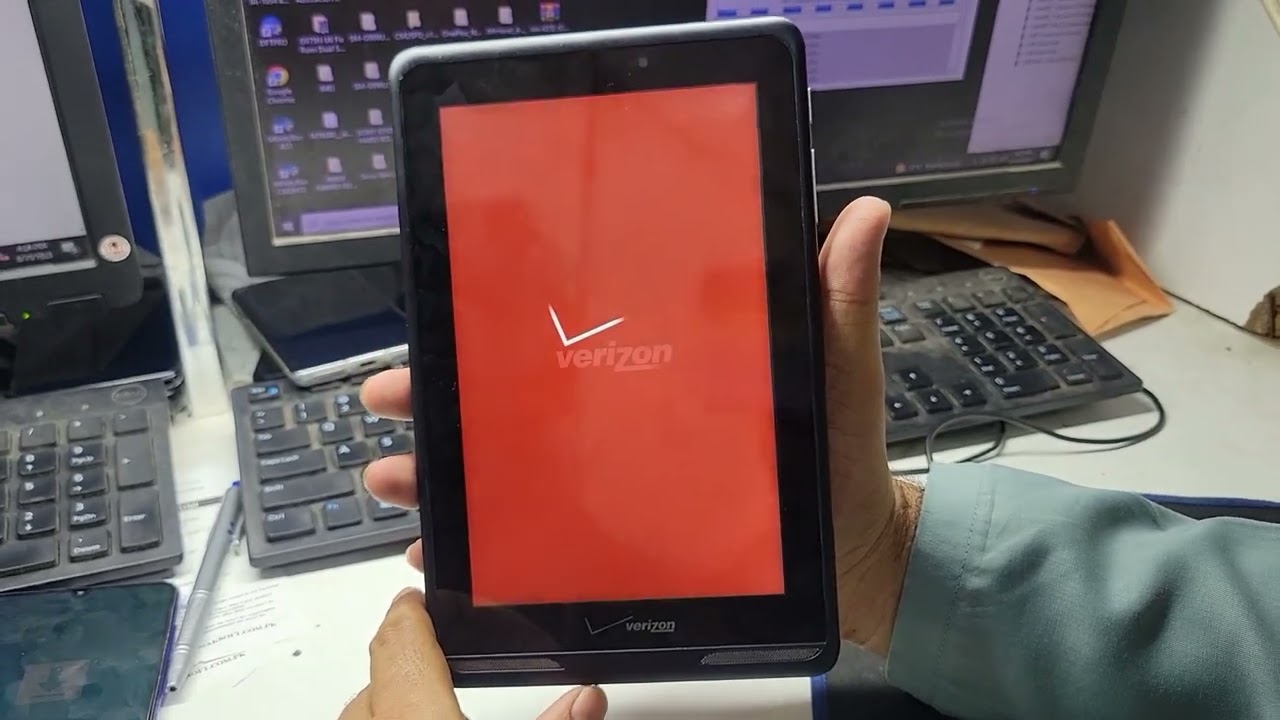
Once the reset button is no longer pressed, your Verizon tablet will begin the reboot process. This may take a few moments, during which the screen may go black or display the manufacturer’s logo. This indicates that the tablet is going through the reboot sequence and is perfectly normal.
During the reboot process, it’s essential to be patient and avoid any unnecessary interruptions. Allow the device sufficient time to complete the reboot, as interrupting the process could potentially cause further issues or disrupt the operating system.
It is worth noting that the exact duration of the reboot may vary depending on your tablet’s model and the amount of data stored on the device. Generally, it should take a few minutes for the tablet to fully reboot and become operational again.
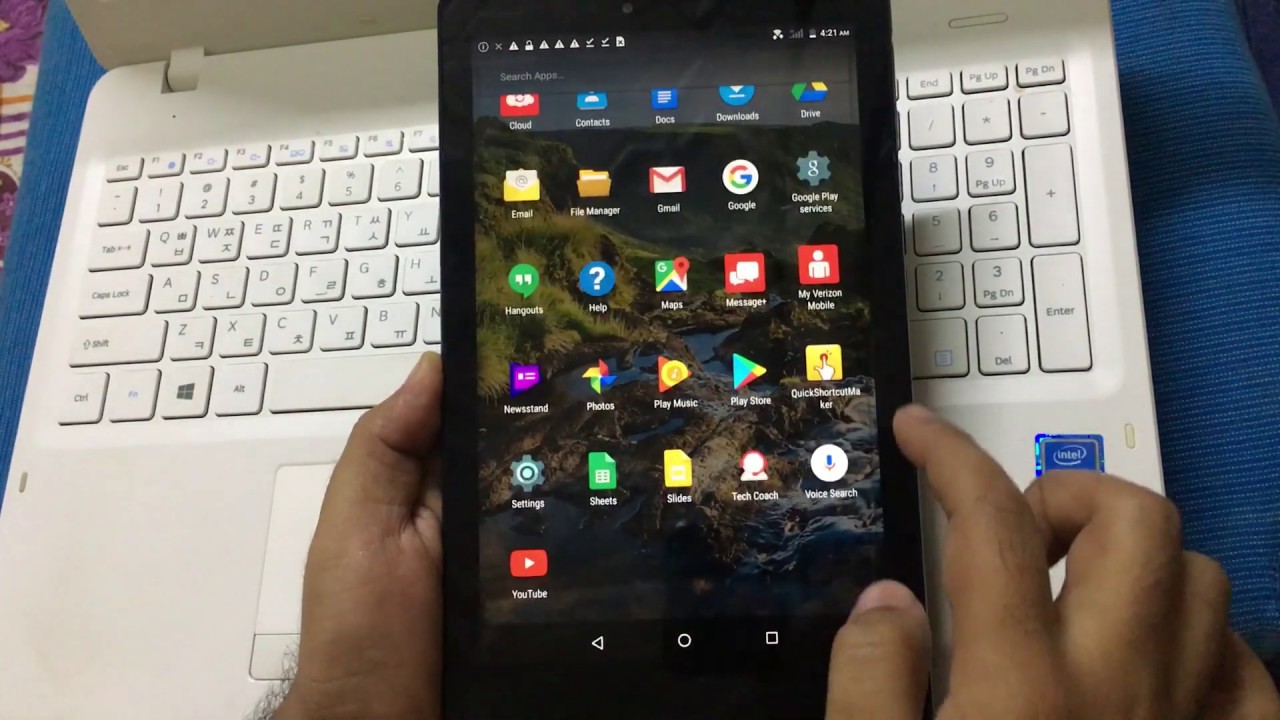
Once your Verizon tablet has successfully rebooted, it will display the lock or home screen, indicating that it is ready for use. You can then proceed to the next step and set up your tablet again to personalize it according to your preferences.
Step 7: Set up your Verizon tablet again
Now that your Verizon tablet has completed the reboot process, it’s time to set it up again. This step involves going through the initial setup wizard to customize your tablet’s settings and preferences.
When your tablet finishes booting up, you will be greeted with the setup screen. Follow the on-screen instructions to select your language, connect to a Wi-Fi network, and sign in with your Google or Verizon account, if required.
During the setup process, you’ll have the option to restore data from a backup. If you previously backed up your tablet’s data, this step allows you to restore apps, contacts, and other information onto your Verizon tablet. Selecting this option can save you time and effort in reconfiguring your device.
Additionally, you may be prompted to set up additional security features, such as a passcode, fingerprint or face recognition, or a pattern lock. It is recommended to enable at least one of these security measures to protect your personal data.
As you progress through the setup wizard, you’ll have the opportunity to customize various settings, such as display brightness, sound preferences, and app permissions. Take your time to review and adjust these options according to your preferences.
Once you have completed the setup process, your Verizon tablet will be ready for use. You can now begin enjoying your tablet’s features and functionalities with a fresh start after the reboot.
Remember to reinstall any necessary apps, sync your accounts, and transfer files or data from your backup if needed. With your Verizon tablet set up again, you can continue using it with improved performance and without the issues you experienced before the reboot.
Step 8: Recovering data from a backup (optional)
If you previously backed up your Verizon tablet’s data, you have the option to restore your apps, contacts, and other information onto your device. This step can be especially useful if you want to quickly regain access to your previous data without manually reinstalling apps and reconfiguring settings.
During the setup process, you may encounter a prompt asking if you want to restore data from a backup. If you choose to do so, follow the on-screen instructions to select the backup source, such as Google Drive or Verizon Cloud. Sign in to your backup account and select the backup file containing your desired data.
The restoration process may take some time, depending on the size of the backup and the speed of your internet connection. Ensure that you have a stable Wi-Fi connection to avoid interruptions during the data recovery process.
Once the data restoration is complete, you should see your apps reappear on the home screen, and your contacts, emails, and other content should be accessible through their respective applications. Double-check the settings and preferences to ensure that everything has been successfully restored.
However, it’s important to note that not all app data may be recoverable from a backup. In some cases, you may need to log in to individual apps and restore data or settings manually. Additionally, any locally stored files or media that were not included in the backup may need to be transferred back to your tablet separately.
If you did not create a backup prior to the reboot or encounter any issues during the restoration process, it may be necessary to manually reinstall your apps and reconfigure your settings. Take this opportunity to review your app list and only reinstall the necessary ones to keep your tablet clutter-free and optimized.
By recovering your data from a backup, you can efficiently restore your tablet to its previous state, ensuring that you have access to your essential apps and personal information.
Conclusion
Rebooting your Verizon tablet can be an effective solution for resolving performance issues or software glitches. By following the step-by-step instructions outlined in this guide, you can safely and successfully reboot your tablet to restore its optimal functionality.
Remember to power off your Verizon tablet before locating the reset button. Prepare a paperclip or SIM card removal tool to insert into the reset button, ensuring that you hold it down for a few seconds to initiate the reboot process. Once released, patiently wait for the tablet to complete the reboot and go through the setup process again.
Optionally, you can recover your data from a backup to quickly regain access to your apps, contacts, and settings. This step can save you time and effort in manually reconfiguring your tablet after the reboot.
If you encounter any difficulties during the reboot process or are unsure about any steps, it is recommended to consult your tablet’s user manual or contact Verizon customer support for assistance specific to your device.
By following these instructions, you can ensure that your Verizon tablet is running smoothly and efficiently, providing you with a seamless user experience. Remember to regularly update your tablet’s software and perform routine maintenance to keep it in optimal condition.
We hope this guide has been helpful in assisting you with rebooting your Verizon tablet. Enjoy using your refreshed device and make the most of its features and capabilities!