Introduction
Adding propellers to a drone is an essential step in ensuring its proper functionality and enabling it to take flight. Whether you are assembling a DIY drone or replacing damaged propellers, correctly putting on the propellers is crucial for optimal performance and safety. In this guide, we will provide you with step-by-step instructions on how to attach propellers to your drone.
Before we dive into the process, it’s essential to emphasize the importance of safety when working with drones. Always follow the manufacturer’s guidelines and take necessary precautions. Keep in mind that propellers can be sharp and can cause injury if mishandled. It is advisable to wear protective gloves and eye goggles during the propeller installation process.
To successfully attach propellers to your drone, you will need a few tools which we will discuss shortly. Additionally, it’s crucial to familiarize yourself with the specific types of propellers your drone requires, as compatibility is vital for proper installation.
By the end of this guide, you will have the knowledge and confidence to correctly attach propellers to your drone, ensuring smooth and safe flying experiences. Let’s get started!
Safety Precautions
When working with drones and attaching propellers, safety should always be a top priority. Here are some important safety precautions to keep in mind:
- Read the manufacturer’s instructions: Familiarize yourself with the manufacturer’s guidelines and recommendations for propeller installation. Each drone may have specific instructions that you must follow to ensure safe and proper installation.
- Inspect propellers for damage: Before attaching propellers, carefully examine them for any signs of damage or wear. Cracks, chips, or significant deformations can impair their performance and may lead to accidents during flight. Replace any damaged propellers before proceeding with installation.
- Power off the drone: Before attaching or removing propellers, make sure the drone is powered off. This reduces the risk of accidental activation of the motor, which can cause injury or damage to the drone.
- Wear protective gear: It is advisable to wear protective gloves and safety goggles to protect your hands and eyes from any potential injuries during the installation process. The propellers can be sharp, and accidents can happen, so taking precautions is essential.
- Secure the drone: Place the drone on a stable and flat surface before attaching or removing propellers. This helps prevent the drone from accidentally tipping over and causing damage or injury.
- Keep a safe distance: When the propellers are installed, always maintain a safe distance from the spinning blades. Even a small-sized drone can cause injuries if mishandled or if someone comes into contact with the rotating propellers.
- Take your time: Rushing the propeller installation process can lead to mistakes. Take your time to ensure each propeller is securely attached before moving on to the next one. This will help avoid potential accidents or damage to the drone.
By following these safety precautions, you can minimize the risk of accidents and ensure a safe propeller installation process. Remember to prioritize safety at all times to enjoy a worry-free drone flying experience.
Tools Required
Before you begin attaching propellers to your drone, it’s important to gather the necessary tools. Here are the essential tools you will need:
- Screwdriver: Depending on the type of propellers and the drone model, you may need a screwdriver to secure the propellers in place. Make sure you have the appropriate screwdrivers (typically Phillips or Torx) in different sizes to fit the screws on the drone.
- Propeller Removal Tool (optional): Some drones come with propeller removal tools specifically designed to help you easily remove propellers. If your drone includes this tool, it can be beneficial to have it on hand.
- Protective Gloves: It’s always a good idea to wear protective gloves when handling propellers. Gloves provide an added layer of protection and help prevent cuts or injuries caused by sharp edges.
- Safety Goggles: Safety goggles are essential to protect your eyes from any debris or any accidental contact with the propellers. They provide an additional safety measure during the installation process.
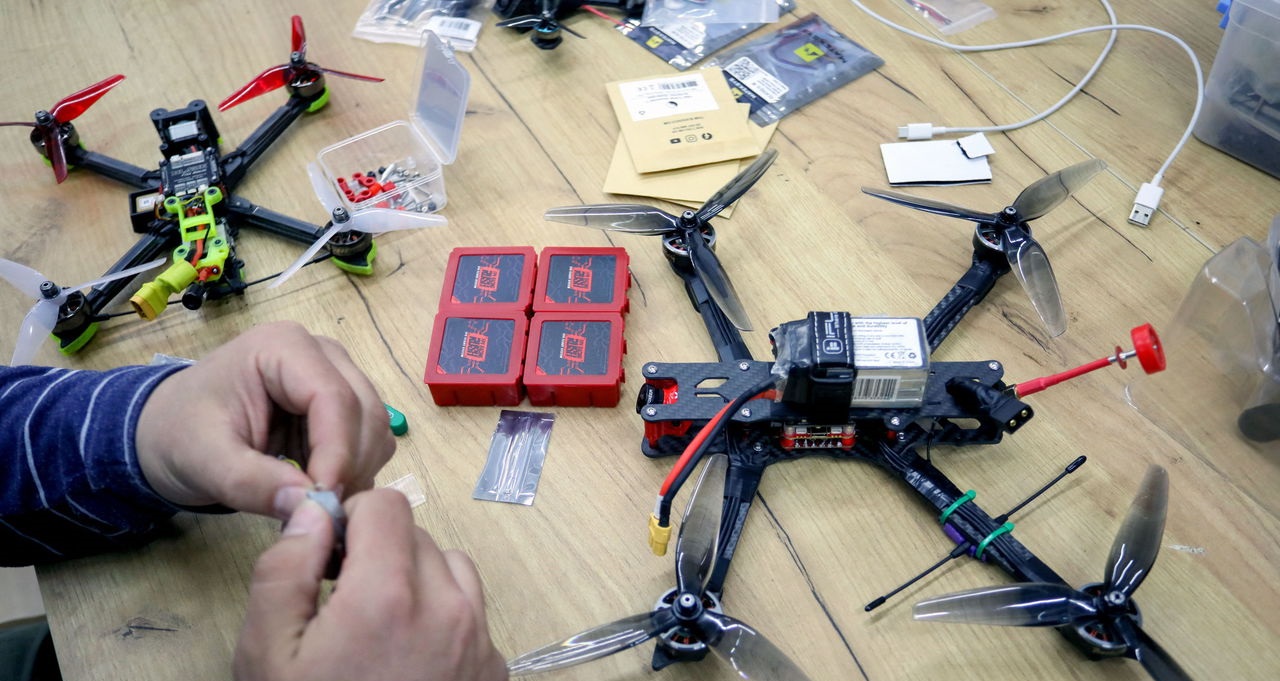
- Propellers: Of course, you will need the propellers themselves. Ensure you have the correct size and type of propellers that are compatible with your drone model. Refer to your drone’s user manual or consult the manufacturer’s guidelines to determine the appropriate propeller specifications.
By having these tools ready and easily accessible, you will be well-prepared to attach the propellers to your drone smoothly and efficiently.
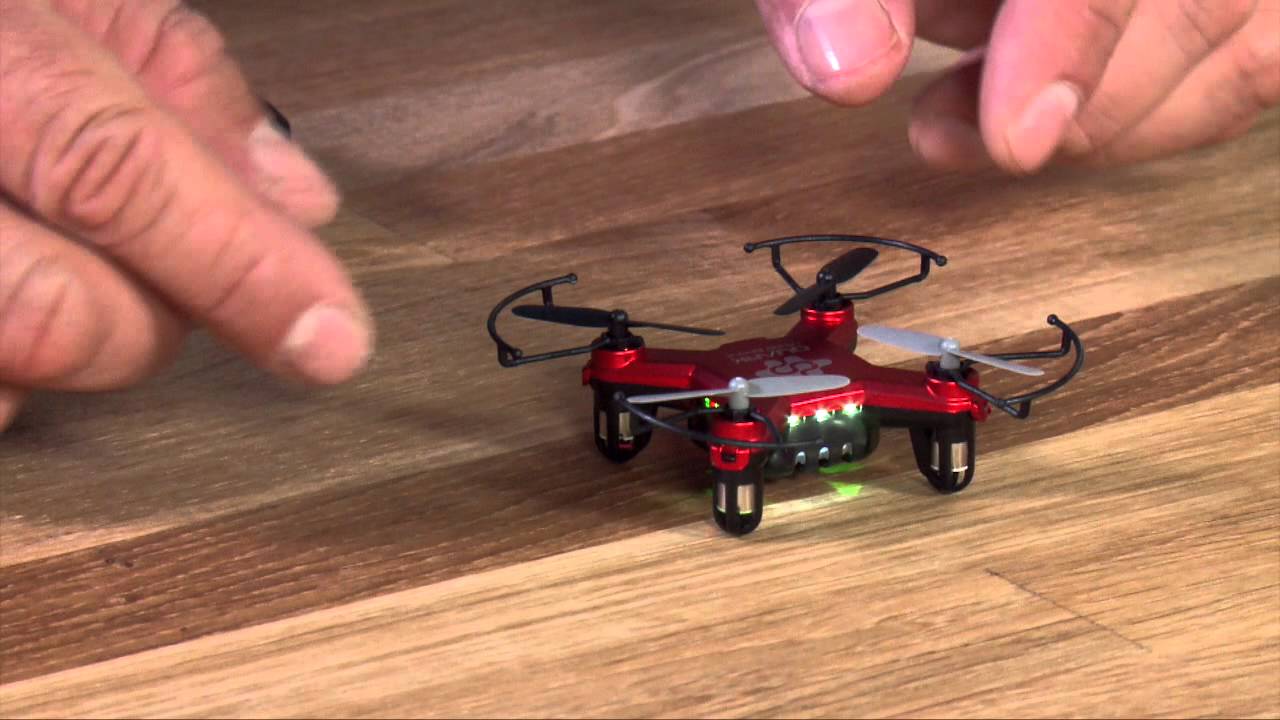
Step 1: Unboxing the Propellers
The first step in attaching propellers to your drone is to unbox them properly. Follow these steps:
- Gather the propeller set: Locate the package containing the propellers. Ensure you have all the necessary propellers for your drone, including both clockwise and counterclockwise rotating ones. Different drones may have different propeller configurations, so make sure you have the correct set.
- Inspect the propellers: Before proceeding, carefully examine each propeller for any visible damage or defects. Look for cracks, chips, or any irregularities that could affect performance. If you notice any issues, it’s recommended to replace the damaged propeller(s) before installation.
- Organize the propellers: Once you have confirmed that the propellers are in good condition, organize them based on their rotation direction. Typically, clockwise rotating propellers will have a marking or label indicating their direction. Separate the clockwise and counterclockwise propellers to ensure proper installation.
- Keep the packaging: It’s a good idea to hold on to the propeller packaging during the installation process. The packaging often contains important information, such as the propeller specifications and identifying marks, which can be useful for future reference and troubleshooting.
By carefully unboxing and inspecting the propellers, you ensure that they are in good condition and ready for installation. This step sets the foundation for a successful propeller attachment process.
Step 2: Identifying the Correct Propellers
Identifying the correct propellers for your drone is crucial to ensure proper installation and optimal performance. Follow these steps to identify the correct propellers:
- Consult the user manual: Refer to your drone’s user manual to find information about the compatible propellers. The manual will specify the propeller size, type, and rotation direction required for your specific drone model. If you don’t have the manual on hand, you can usually find it on the manufacturer’s website.
- Check the propeller markings: Examine the propellers for any markings or labels that indicate their specifications. Each propeller may have markings to indicate its rotation direction (clockwise or counterclockwise) or size. Pay close attention to these markings to ensure you install the correct propellers in the appropriate positions.
- Match the propeller colors (if applicable): Some drones come with propellers of different colors to differentiate between clockwise and counterclockwise propellers. Check if your drone’s propellers have color-coded markings that indicate their rotation directions. Match the colors with the appropriate motor positions to ensure correct installation.
- Compare propeller sizes: Drone propellers typically come in various sizes. Be sure to compare the length and width of the propellers to the measurements specified in the user manual. Installing propellers of incorrect dimensions can lead to imbalance and affect the drone’s stability and performance.
- Seek professional advice (if needed): If you’re unsure about the correct propellers for your drone or if you have any doubts, don’t hesitate to seek advice from experts or the drone manufacturer’s customer support. They can provide accurate information and guidance to ensure you select the right propellers.
Properly identifying the correct propellers ensures that they are compatible with your drone and will function correctly. Take the time to verify the propeller specifications and seek assistance if required to avoid any potential issues during installation.
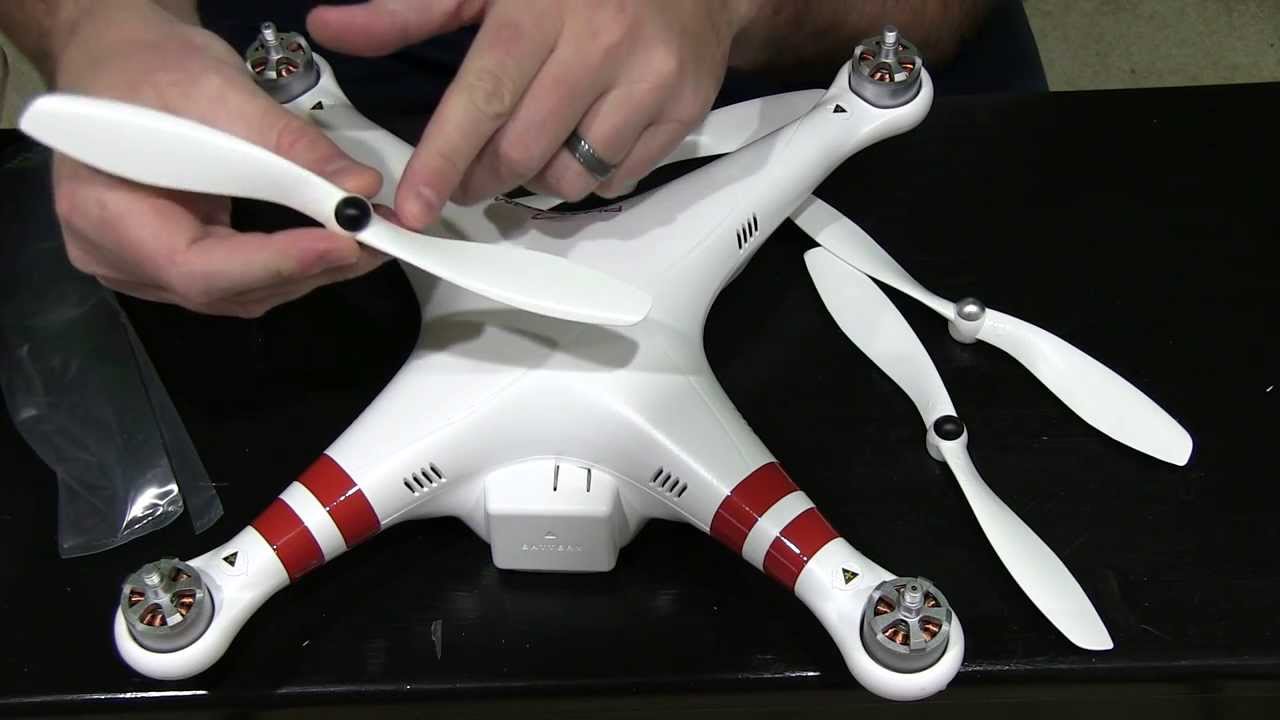
Step 3: Attaching the Propellers
Now that you have identified the correct propellers, it’s time to attach them to your drone. Follow these steps to properly install the propellers:
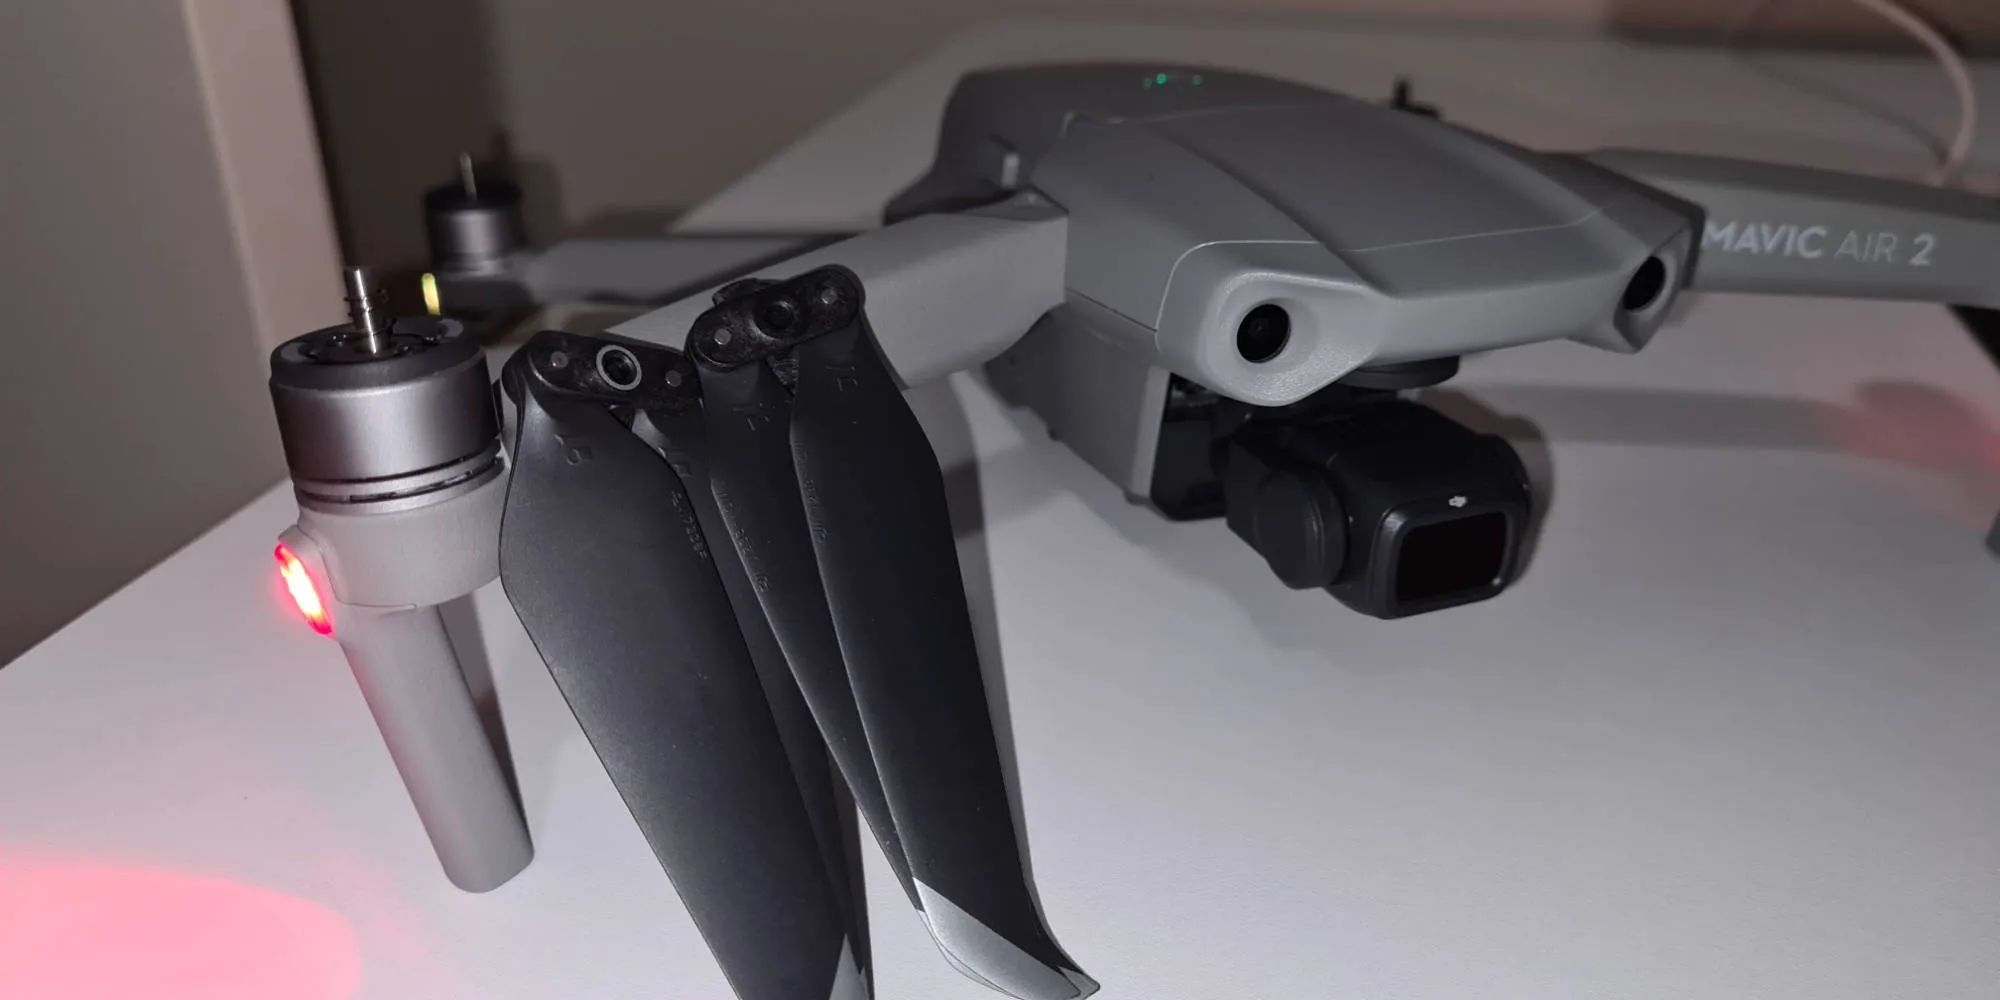
- Locate the propeller slots: Look for the designated slots or connectors on each motor of your drone where the propellers will be attached. These slots are specifically designed to secure the propellers in place.
- Align the propellers: Take the first propeller, aligning it with the corresponding slot on the correct motor. Make sure to position it so that the propeller blades are facing upward and away from the drone’s body.
- Insert the propeller: Gently push the propeller onto the motor shaft, applying slight pressure until it fits snugly. Ensure that the propeller sits flat against the motor and does not wobble or tilt.
- Lock the propeller in place: Use a screwdriver (if necessary) to secure the propeller by tightening the screws or locking mechanisms on the motor. Be careful not to overtighten the screws, as this could damage the propeller or the motor. Follow the manufacturer’s recommendations for the appropriate level of tightness.
- Repeat for remaining propellers: Follow the same process for each propeller, making sure to attach them to the correct motor slots. Take your time to align and insert each propeller properly, ensuring a secure and balanced attachment.
During the propeller installation process, it is essential to handle the propellers with care and precision. Avoid applying excessive force or twisting motions that could cause damage to the propellers or the motor.
Once all the propellers are attached, visually inspect each one to confirm that they are securely in place. Check for any signs of misalignment or loose connections. If necessary, make the required adjustments before proceeding to the next step.
Now that the propellers are securely attached to your drone, you are one step closer to getting it ready for flight. However, before taking off, it’s vital to ensure that the propellers are properly secured to prevent any accidents or damage.
Step 4: Securing the Propellers
After attaching the propellers, it is crucial to secure them properly to ensure they stay in place during flight. Follow these steps to secure the propellers on your drone:
- Check the tightness: Before securing the propellers, give each one a gentle twist to check if they are tight enough. If any propeller feels loose, use a screwdriver to tighten the screws or locking mechanisms further. Take care not to overtighten them, as this can damage the propellers or the motor.
- Perform a balance check: Balancing the propellers is essential for smooth and stable flight. Spin each propeller gently and observe if it spins evenly without any excessive wobbling. If you notice any imbalance, you can use a propeller balancing tool or tape to add weight to the lighter side of the propeller until it balances out.
- Confirm the propeller positions: Double-check that all propellers are attached to the correct motor slots. Each propeller should match the rotation direction indicated by the manufacturer for optimal flight performance.
- Inspect for obstructions: Examine the area around each propeller to ensure there are no loose cables, debris, or other objects that could interfere with the propeller’s rotation. Clear any obstructions before proceeding.
- Perform a final tightening: Once you have checked all propellers and made any necessary adjustments, use the screwdriver to tighten the screws or locking mechanisms securely. Again, avoid overtightening to prevent damaging the propellers or the motor.
By following these steps, you can ensure that the propellers are securely fastened to the drone and properly balanced. This will help maintain stability and reduce the risk of accidents or damage during flight.
After securely fastening the propellers, give them one final visual inspection to confirm that they are all tightly secured. It is always a good practice to periodically check the propellers’ tightness, especially before each flight, to ensure their continued stability.
Step 5: Checking for Proper Installation
Once the propellers are attached and secured, it’s important to perform a thorough check to ensure they are properly installed. Follow these steps to check for proper installation:
- Visually inspect propeller alignment: Look at each propeller from different angles to ensure they are aligned straight and parallel to the drone’s body. Misaligned propellers can cause imbalance during flight, affecting the drone’s stability and maneuverability.
- Confirm propeller rotation direction: Check that each propeller is rotating in the correct direction according to its marking or label. Clockwise propellers should spin clockwise, while counterclockwise propellers should spin counterclockwise. This ensures proper airflow and reduces the chances of propeller collisions.
- Verify equal propeller distances: Measure the distances from each propeller blade to the drone’s center to ensure they are equidistant. If there are significant differences in the distances, it may indicate an alignment issue or an incorrect propeller placement. Adjust as necessary to achieve equal distances.
- Power up and test: Power up your drone and run a quick test to ensure that each propeller is spinning smoothly and evenly. Listen for abnormal noises or vibrations that could indicate an installation problem. If you detect any issues, power off the drone and inspect the propellers again for proper installation.
- Perform a trial hover: Once you are confident that the propellers are correctly installed, perform a trial hover to assess the drone’s stability and responsiveness. Ascend gradually and observe if the drone hovers steadily, without excessive wobbling or drifting. If you detect any irregularities, land the drone immediately and reassess the propeller installation.
By carefully checking for proper propeller installation, you can ensure that your drone is ready for safe and stable flights. Regularly inspect the propellers before each flight to maintain their integrity and address any issues promptly.
Step 6: Troubleshooting Common Issues
Even with proper installation, there may be times when you encounter issues with the propellers on your drone. Here are some common problems and troubleshooting steps to help you address them:
- Propeller imbalance: If you notice excessive vibrations or uneven spinning of the propellers, it may indicate an imbalance. Use a propeller balancing tool or tape to add weight to the lighter side of the propeller until it becomes properly balanced.
- Propeller spinning in the wrong direction: Sometimes, a propeller may spin in the opposite direction than intended. Check that you have installed the correct propeller in the correct motor slot. If necessary, swap the propellers to ensure they rotate in the proper direction.
- Loose propellers: If a propeller feels loose or wobbly, check and tighten the screws or locking mechanisms. Ensure they are securely fastened to avoid any propeller detachment during flight.
- Propeller damage: If a propeller becomes damaged or develops cracks, it should be replaced immediately. Operating a drone with damaged propellers can compromise flight performance and pose safety risks.
- Uneven or erratic flight: If the drone exhibits unstable flight patterns, such as drifting or difficulty maintaining altitude, it may be a sign of improper propeller installation. Double-check the alignment, rotation direction, and tightness of the propellers. Make any necessary adjustments to ensure proper installation.
- Erratic motor behavior: If one or more motors are behaving unpredictably or not spinning properly, inspect the propellers on those motors. Check for any obstructions, loose connections, or misaligned propellers that could be causing the issue.
Remember to always refer to your drone’s user manual or contact the manufacturer for specific troubleshooting guidance. They will have detailed instructions and support for addressing any propeller-related issues unique to your drone model.
By troubleshooting common issues with the propellers, you can maintain the optimal functionality and safety of your drone. A well-maintained propeller system is vital for smooth and enjoyable flights.
Conclusion
Attaching propellers to your drone is a crucial step to ensure its proper functionality and safe flight. By following the steps outlined in this guide, you can confidently install propellers and troubleshoot common issues that may arise. Remember to prioritize safety throughout the process, and always refer to the manufacturer’s guidelines for your specific drone model.
During the installation process, it’s important to carefully unbox and inspect the propellers, identify the correct propellers for your drone, and secure them properly. Take the time to align and tighten each propeller, ensuring they are balanced and securely fastened. Performing checks for proper installation, such as propeller alignment, rotation direction, and equal distances, will help guarantee a stable and smooth flight.
If you encounter any issues with the propellers, such as imbalance or erratic behavior, troubleshooting steps are available to help you resolve them. Regularly inspecting the propellers before each flight and addressing any problems promptly will help maintain a safe and enjoyable drone flying experience.
By following these steps and taking the necessary precautions, you can confidently attach propellers to your drone and enjoy the thrill of flying while ensuring the safety of your equipment and those around you.