Introduction
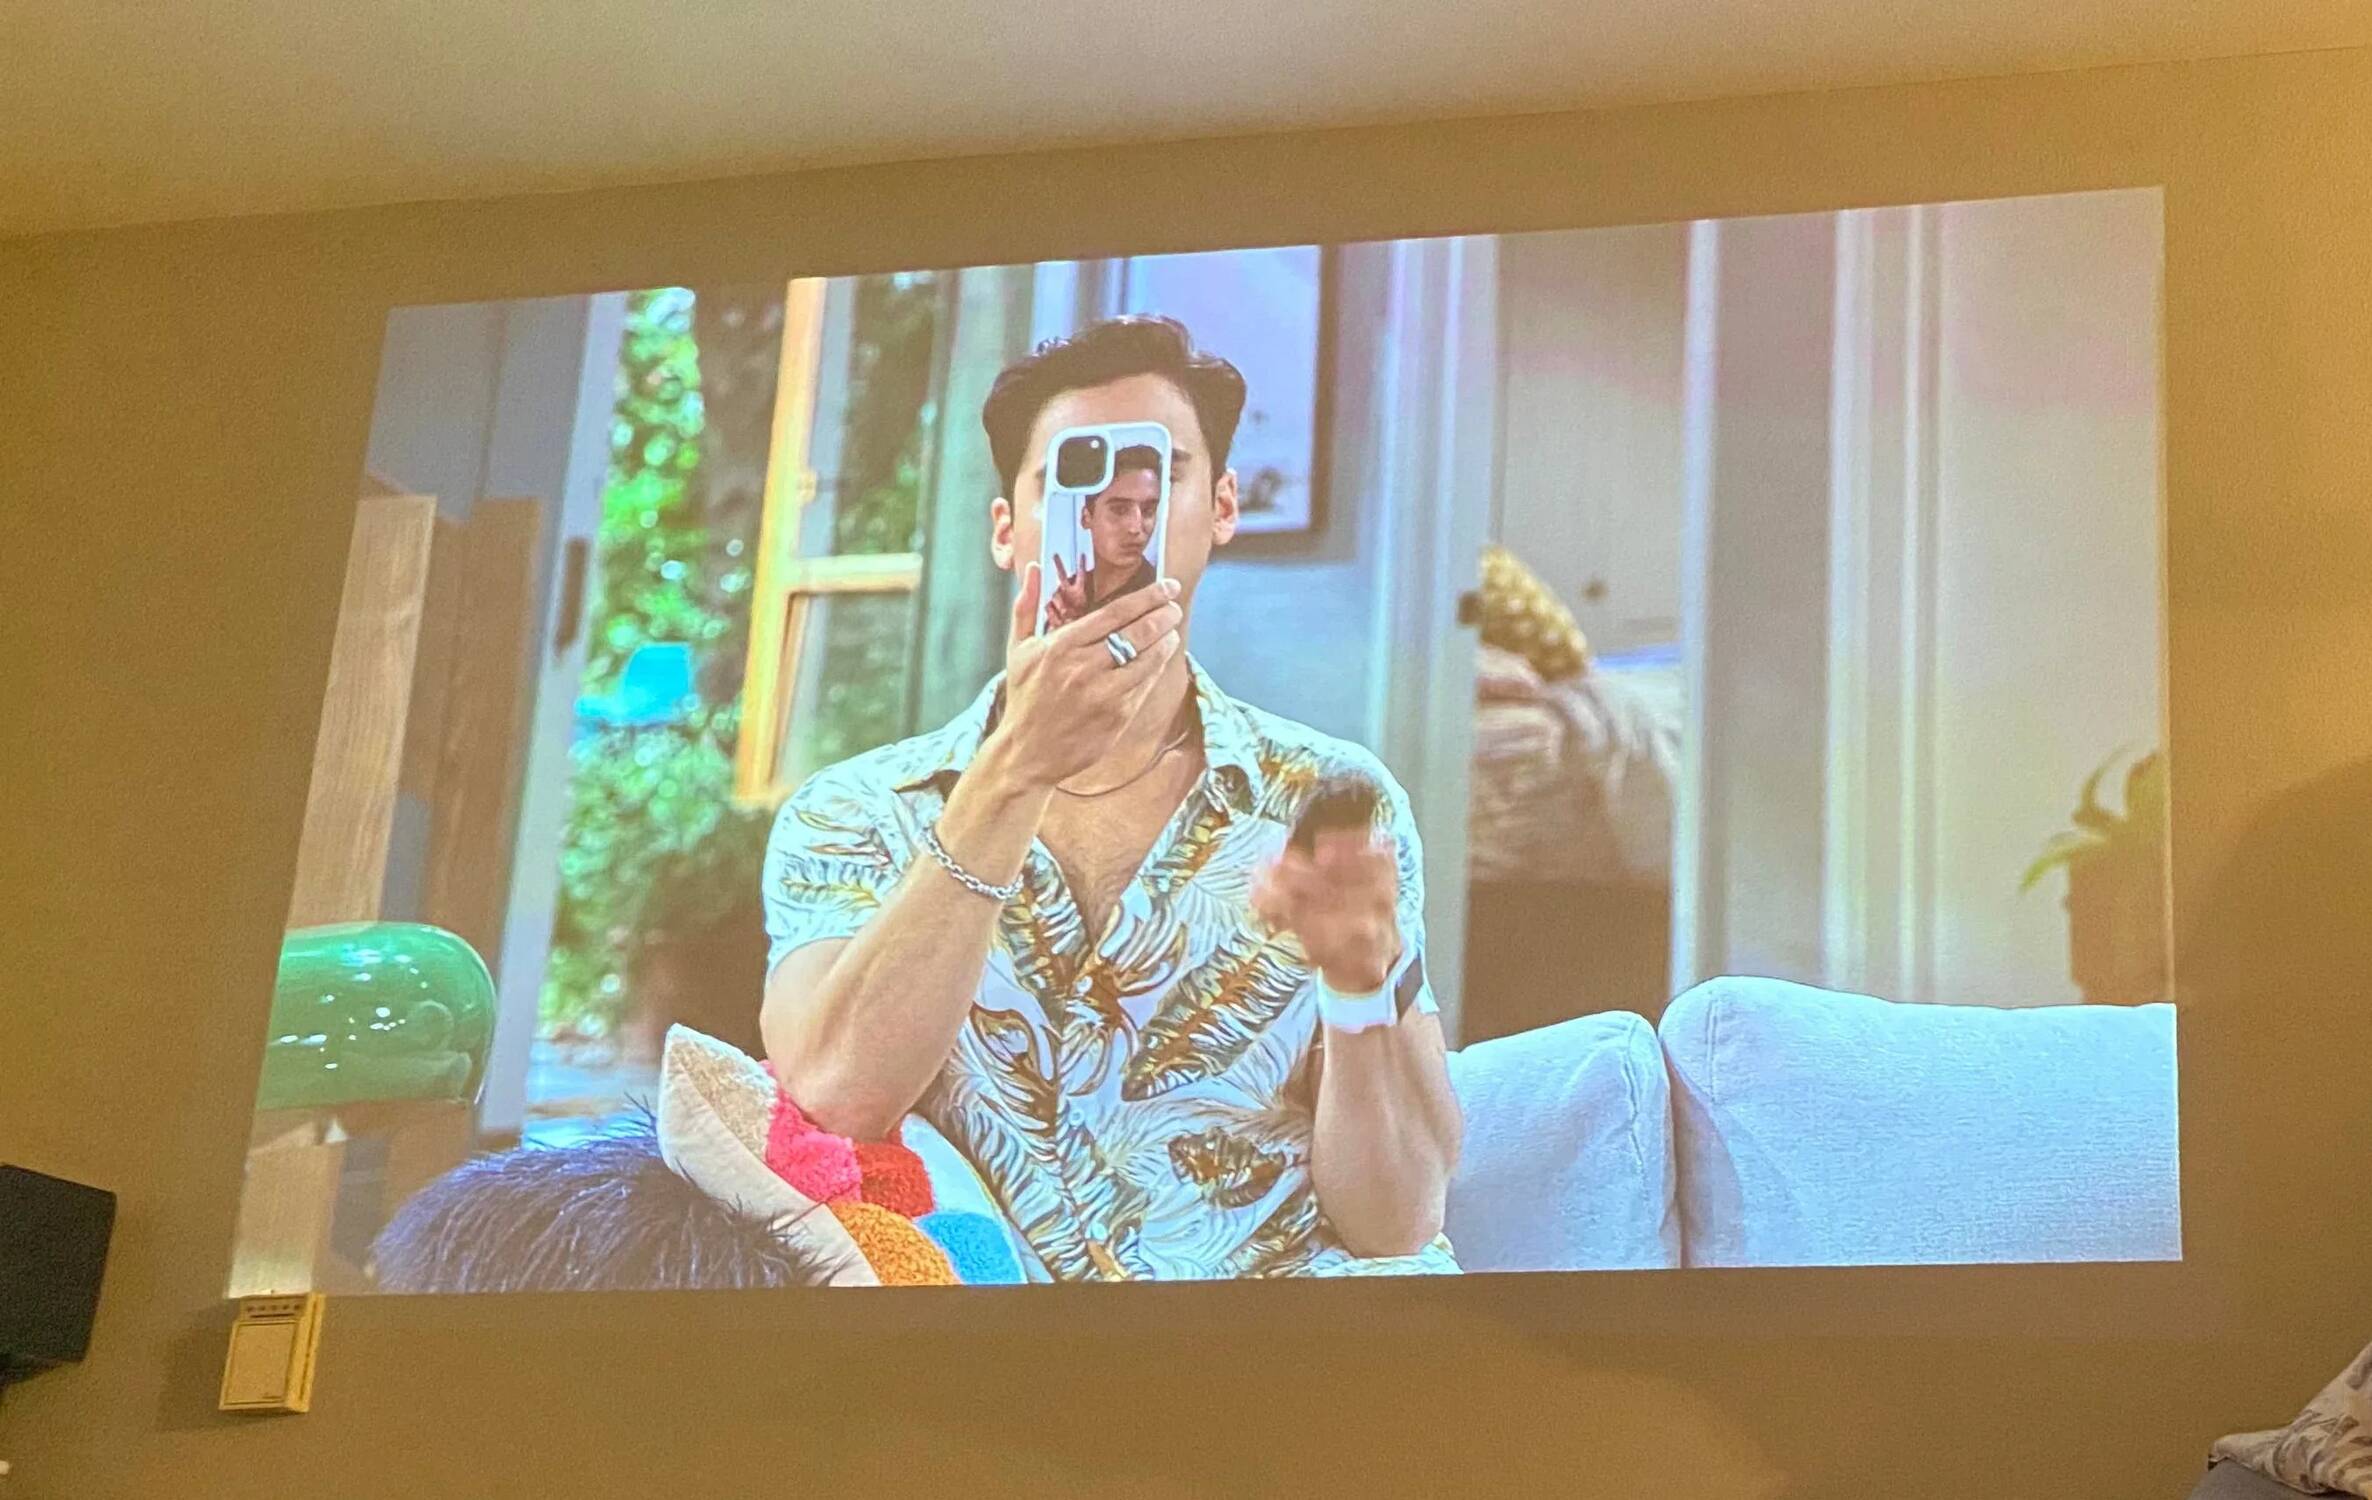
Welcome to the world of projector magic! If you’re looking to transform your plain walls into mesmerizing displays of art, movies, or presentations, you’ve come to the right place. With a projector, you can project stunning visuals onto a wall, creating a larger-than-life viewing experience, whether it’s for home entertainment, business presentations, or educational purposes.
In this guide, we’ll walk you through the steps to project a picture onto a wall with a projector, helping you bring your vision to life. We’ll cover everything from choosing the right projector to adjusting the settings for the perfect picture. So, let’s dive in and learn how to transform any wall into a captivating canvas!
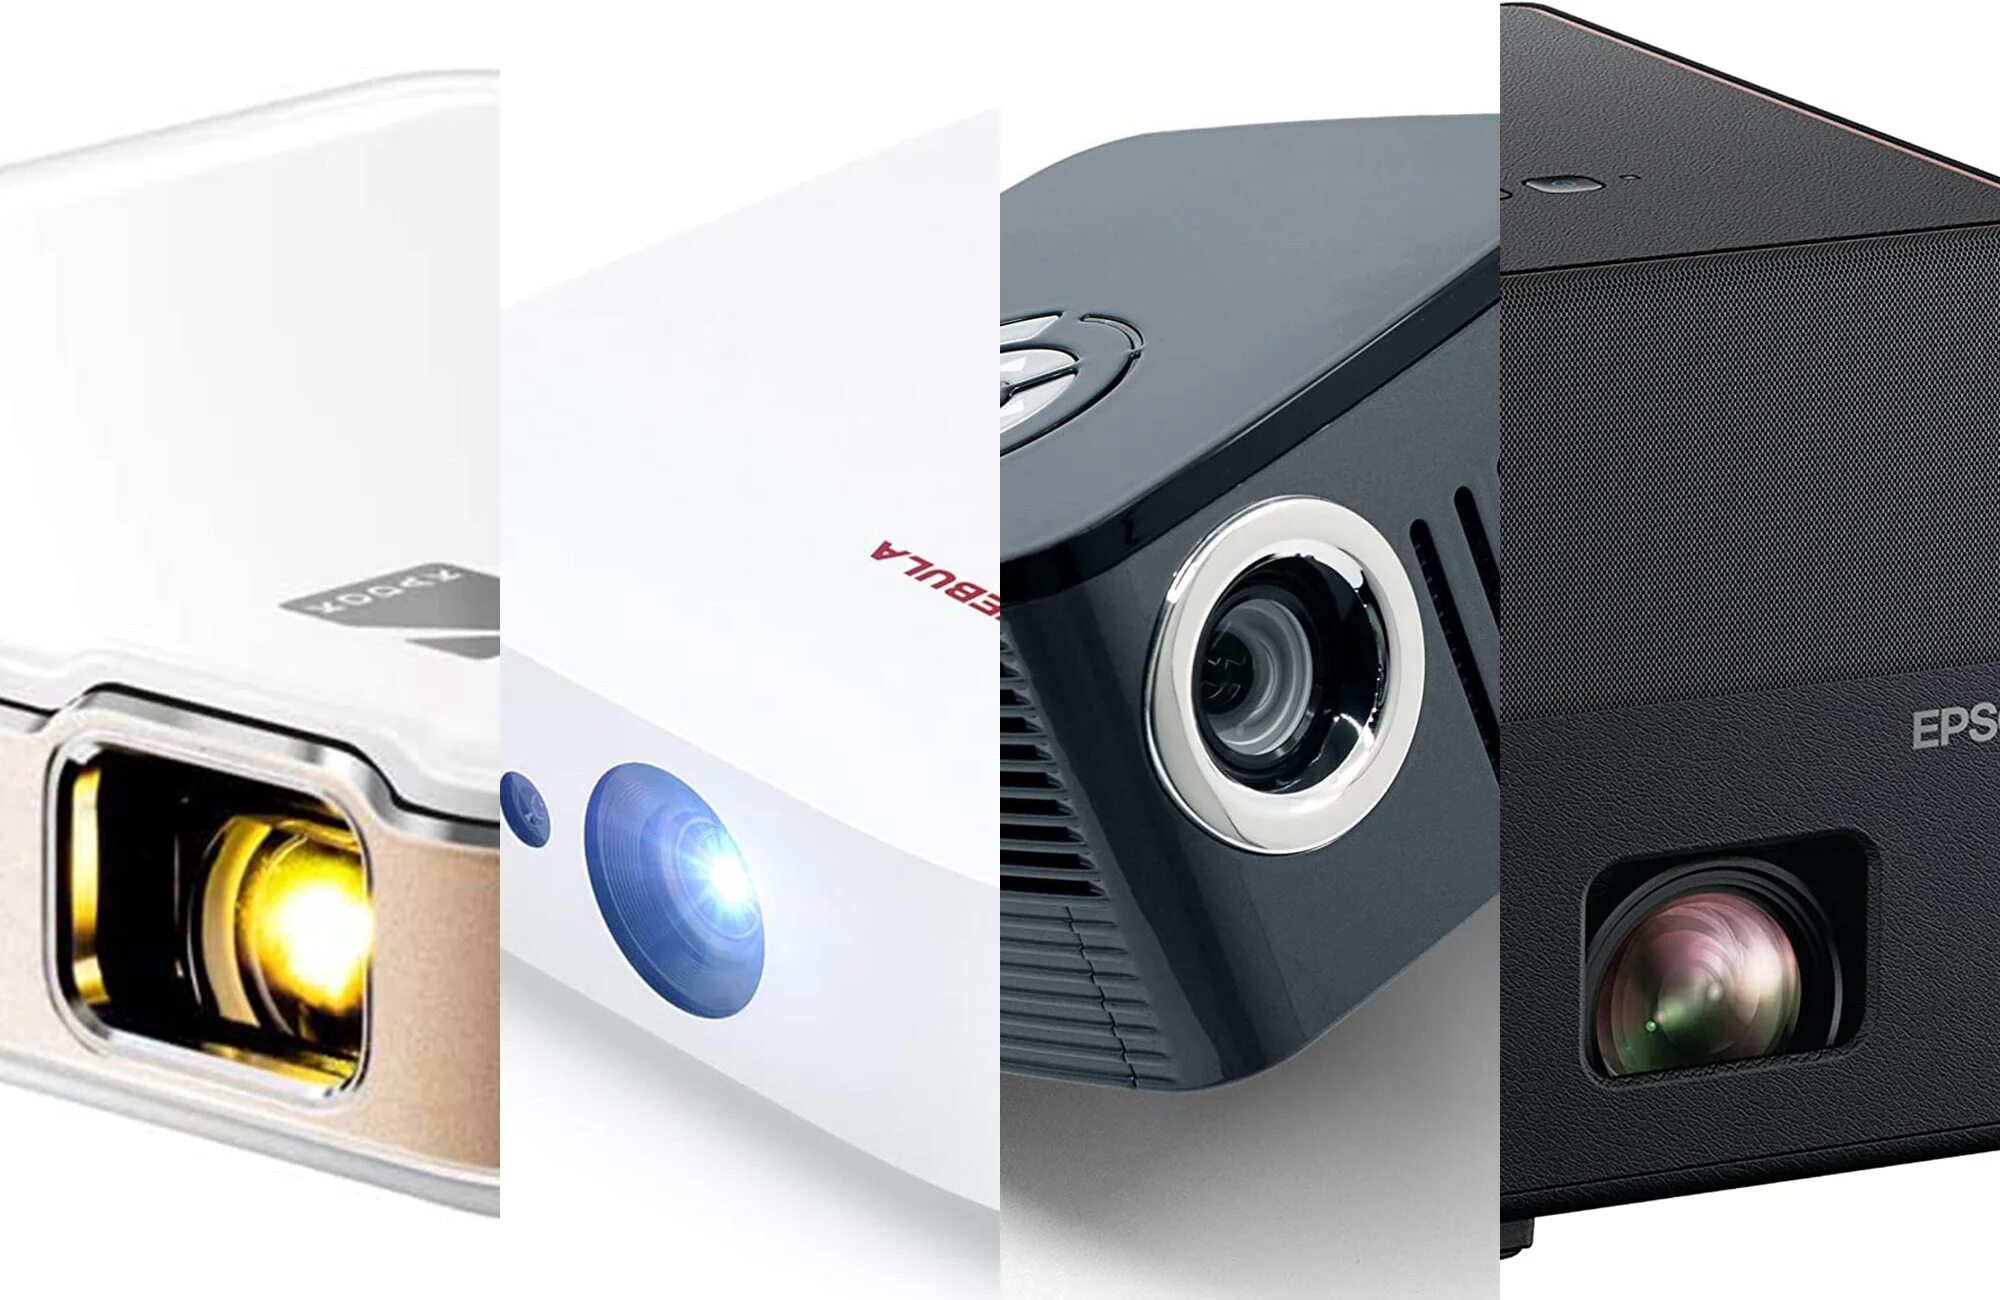
But first, let’s talk about the importance of selecting the right projector for your needs. Choosing a projector with the right specifications and features will ensure optimal image quality, brightness, and clarity for your projected pictures. So, let’s start with that!
Choosing the Right Projector for the Job
When it comes to choosing a projector, there are several factors to consider to ensure you get the most suitable one for your specific needs. Here are some key considerations to keep in mind:
1. Resolution:
The resolution determines the sharpness and clarity of the projected image. For a crisp and detailed picture, opt for projectors with high resolutions, such as Full HD (1920×1080) or even 4K Ultra HD (3840×2160) for the ultimate visual experience.
2. Brightness:
The brightness of a projector is measured in lumens and determines how well the image will show up in various lighting conditions. If you plan to use the projector in a well-lit room or during daytime, opt for a higher lumen count to ensure better visibility.
3. Throw Distance:
The throw distance refers to the distance between the projector and the wall, affecting the size of the projected image. Consider the available space in your room and the desired image size to choose a projector with the appropriate throw distance range.
4. Connectivity Options:
Make sure the projector has the necessary connectivity options to connect to your devices, such as HDMI, USB, VGA, or wireless capabilities. This will ensure seamless compatibility with your devices, allowing you to project pictures effortlessly.
5. Portability:
If you plan on using the projector in multiple locations or on the go, consider the portability factor. Look for lightweight and compact projectors that are easy to transport and set up wherever you need.
By considering these factors, you can narrow down your options and choose a projector that meets your specific requirements. Once you’ve found the perfect projector, it’s time to set it up for projection!
Setting Up Your Projector
Setting up your projector correctly is crucial to ensure optimal performance and image quality. Here’s a step-by-step guide to help you set up your projector:
1. Choose the right location:
Find a suitable location for your projector that allows for the desired image size and throw distance. Ensure there is enough space for the projector and any other equipment you may need, such as a media player or sound system.
2. Connect the necessary cables:
Connect the appropriate cables between the projector and your video source, such as a laptop or Blu-ray player. Use HDMI or VGA cables for high-quality video signals, and consider using an audio cable if you want to connect external speakers.
3. Adjust the projector’s position and angle:
Position the projector at the desired height and angle to align it with the projection surface. You may need to use a tripod or mount to secure the projector and ensure stability during operation.
4. Focus and adjust the image size:
Use the projector’s focus ring to adjust the sharpness of the projected image. Additionally, you can adjust the zoom or throw ratio to change the image size based on your preferences and available space.
5. Test and fine-tune the image:
Once everything is set up, test the projected image and make necessary adjustments. Use the projector’s on-screen menu to modify settings like brightness, contrast, color, and keystone correction to achieve the best image quality possible.
By following these steps, you can set up your projector properly and ensure an optimal viewing experience. Now that your projector is ready, it’s time to prepare the wall for projection!
Preparing the Wall for Projection
Creating the perfect surface for projection is essential to enhance the image quality and ensure a smooth viewing experience. Follow these steps to prepare the wall for projection:
1. Clear the wall:
Remove any objects, paintings, or decorations from the wall where you plan to project the picture. Clearing the wall will provide a clean and uninterrupted projection surface.
2. Clean the wall:
Wipe down the wall to remove dust, dirt, or any smudges that could affect the quality of the projected image. Use a soft cloth or microfiber cloth to avoid scratching the wall surface.
3. Consider wall color:
Take into account the color of the wall. Ideally, a white or light-colored wall will provide the best reflection and image visibility. Dark-colored walls may require a brighter projector or additional lighting to project a vibrant picture.
4. Create a DIY projection screen:
If you don’t have a suitable wall or want to improve the projection quality, consider creating a DIY projection screen. You can use a white or light-colored fabric, a projector screen material, or even a white sheet stretched tightly on a frame.
5. Ensure a smooth surface:
Check for any imperfections on the wall, such as cracks, bumps, or uneven texture. Smooth out rough areas using sandpaper or a filler, and apply a coat of paint if needed to create a seamless projection surface.
By properly preparing the wall for projection, you’ll ensure optimal image reflection and clarity. Once the wall is ready, it’s time to adjust the settings on your projector for the best possible picture quality.
Adjusting the Projector Settings
Now that you have set up your projector and prepared the wall, it’s time to fine-tune the projector settings for the best picture quality. Here are some essential adjustments to consider:
1. Brightness and Contrast:
Adjust the brightness and contrast settings to ensure the right level of brightness and clarity for your projected image. Increase the brightness if the room is well-lit or decrease it for a darker environment. Experiment with the contrast to enhance the details and depth of the picture.
2. Color and Saturation:
Calibrate the color and saturation settings to achieve accurate and vibrant colors. Use reference images or videos to guide you in achieving the desired color balance. Avoid oversaturating the colors as it may result in an unnatural or distorted image.
3. Keystone Correction:
If the projector is not perfectly aligned with the wall, use the keystone correction feature to manually adjust the image shape and alignment. This will help eliminate any distortion or skewing caused by the projection angle.
4. Aspect Ratio:
Select the appropriate aspect ratio based on the content you’re projecting. For movies and videos, typically the widescreen 16:9 aspect ratio is used. However, for presentations or specific content, you may need to adjust the aspect ratio accordingly.
5. Image Size and Focus:
Use the zoom or throw ratio adjustment to increase or decrease the image size as desired. Ensure the image is properly focused by adjusting the projector’s focus ring until the picture is sharp and clear.
It may take some trial and error to find the perfect settings for your specific setup and preferences. Take the time to explore the different options and make adjustments until you are satisfied with the projected picture quality.
With the projector settings adjusted, you’re now ready to bring your picture to life by projecting it onto the wall!
Projecting the Picture onto the Wall
Now that everything is set up and the projector settings have been adjusted, it’s time to project your picture onto the wall. Follow these steps for a successful projection:
1. Turn on the projector:
Ensure that the projector is connected to a power source and turn it on. Allow it a few moments to warm up and reach its optimal performance.
2. Activate the video source:
Turn on the device that is the source of the picture, such as a laptop, DVD player, or media player. Make sure it’s connected to the projector and set to display the content you want to project.
3. Position and adjust the projected image:
Align the projector to project the picture onto the desired spot on the wall. Use the projector’s manual or remote control to move the image up, down, left, or right until it is centered and properly sized on the wall.
4. Test the projected picture:
Play the content on your video source and evaluate the quality of the projected picture. Check for any issues such as blurriness, distortion, or color inconsistencies. Make fine adjustments to the projector position or settings as needed.
5. Enjoy the projected picture:
Once you are satisfied with the quality and positioning of the projected picture, sit back and enjoy the visual experience. Immerse yourself in the larger-than-life display that adorns your wall.
Remember to adjust the lighting in the room to create the desired ambiance and enhance the projection. Dimming the lights or using supplemental lighting can greatly impact the visual aesthetics and overall experience.
Now that you have successfully projected your picture onto the wall, you can sit back, relax, and admire your masterpiece. Whether it’s for entertainment, business presentations, or educational purposes, a projected picture brings a whole new level of engagement and impact to your content.
Troubleshooting Common Issues
While projecting a picture onto a wall can be an exciting experience, it’s not uncommon to encounter some issues along the way. Here are some common problems and their possible solutions:
1. Blurry or Distorted Image:
If the projected picture appears blurry or distorted, first check the focus adjustment on the projector. Make sure the image is in focus and adjust the focus ring accordingly. Additionally, ensure that the projector is positioned and aligned correctly to avoid distortion caused by an improper projection angle.
2. Poor Image Quality:
If the projected picture lacks clarity or vibrant colors, check the projector’s brightness, contrast, and color settings. Make adjustments to improve the image quality. Additionally, consider the lighting conditions in the room and make necessary changes to enhance the visibility and vibrancy of the projection.
3. Keystone Correction Issues:
If the projected image appears skewed or distorted due to an angled projection, use the keystone correction feature on the projector to adjust the image shape. Play around with the keystone correction settings until the picture appears properly aligned and proportionate.
4. Connectivity Problems:
If the projector is not recognizing or displaying the content from your video source, double-check the cable connections. Ensure that the cables are securely plugged in and that the correct input source is selected on the projector. Restart both the projector and the video source if necessary.
5. Fan Noise or Overheating:
If you notice excessive fan noise from the projector or it feels unusually hot, it could be due to overheating. Make sure the projector is placed in a well-ventilated area and not obstructed by any objects. Clean the projector’s air filters regularly to prevent dust buildup that may hinder proper cooling.
If the above troubleshooting steps don’t resolve the issue, consult the user manual of the projector for more specific troubleshooting instructions. You can also reach out to the manufacturer’s customer support for further assistance.
Remember, every projector may have its unique settings and troubleshooting methods, so familiarize yourself with the specific functions and features of your projector to resolve any issues effectively.
Conclusion
Congratulations! You have learned how to project a picture onto a wall with a projector. By following the steps outlined in this guide, you can transform any wall into a captivating canvas for art, movies, presentations, and more.
We started by discussing the importance of choosing the right projector for your needs, considering factors such as resolution, brightness, throw distance, connectivity options, and portability. Then, we moved on to setting up the projector correctly, including connecting cables, adjusting the position and angle, and focusing the image.
We then walked you through the process of preparing the wall for projection, covering steps like clearing and cleaning the wall, considering the wall color, and creating a DIY projection screen if needed. We also provided guidance on adjusting the projector settings, including brightness, contrast, color, aspect ratio, and keystone correction.
After adjusting the settings, we explained how to project the picture onto the wall, from turning on the projector and activating the video source to positioning and adjusting the projected image. We also emphasized the importance of testing and enjoying the projected picture.
Lastly, we discussed typical troubleshooting techniques for common issues you may encounter, such as blurry images, poor image quality, connectivity problems, keystone correction issues, and fan noise or overheating.
Now, armed with the knowledge and skills acquired through this guide, you can confidently project pictures onto walls with your projector. So go ahead, unleash your creativity, and enjoy the larger-than-life visual experience!


