Introduction
Welcome to the exciting world of playing movies on your TV from an external hard drive! If you are tired of watching movies on a small screen or dealing with streaming services, using an external hard drive is a fantastic solution. With an external hard drive, you can easily store your favorite movies and play them directly on your TV, offering a more immersive and enjoyable viewing experience.
In this article, we will guide you through the step-by-step process of playing movies on your TV from an external hard drive. Whether you have a collection of digital movies or want to back up your DVD collection, this guide will help you make the most of your external hard drive and transform your TV into a mini home theater.
Before we dive into the steps, it’s important to note that you may encounter different methods depending on the type of TV and external hard drive you have. However, the general principles remain the same, so you can easily adapt the instructions to suit your specific setup.
So, let’s get started and unlock the full potential of your external hard drive as we show you how to bring the cinematic experience straight to your TV!
Step 1: Choosing the Right External Hard Drive
When it comes to playing movies on your TV from an external hard drive, selecting the right device is crucial. Here are a few key factors to consider:
- Storage Capacity: The first thing to think about is the storage capacity you’ll need. Movies can take up a significant amount of space, so choose an external hard drive with ample storage to accommodate your movie collection and any future additions. A good rule of thumb is to aim for at least 1TB of storage or more, depending on your needs.
- Compatibility: Check the compatibility of the external hard drive with both your TV and computer. Ensure that the hard drive connects to your TV via USB or HDMI, depending on the available ports. Some TVs may require specific formats, so it’s essential to verify compatibility before making a purchase.
- Portability: If you plan on watching movies on different TVs or want the flexibility to carry your external hard drive with you, opt for a portable and lightweight device. A compact design will make it easier to transport and connect to various TV models.
- File Format Support: Verify that the external hard drive supports the file formats that your movies are encoded in. The most common formats for digital movies include MP4, MKV, AVI, and MOV. It’s advisable to choose a hard drive that can handle multiple formats to ensure compatibility with a wide range of movies.
- Reliability: Look for an external hard drive from a reputable brand known for its reliability and durability. Reading reviews and checking ratings will help you make an informed decision about the quality and longevity of the device.
By taking these factors into account, you can select an external hard drive that meets your storage needs, is compatible with your TV, and promises reliable performance. Once you have chosen the perfect external hard drive, you’re ready to move on to the next step: formatting your device.
Step 2: Formatting Your External Hard Drive
Before you can start transferring movies to your external hard drive, it’s important to format the device correctly. Formatting will ensure compatibility and optimize the storage space. Follow these steps:
- Backup Your Data: Before proceeding with formatting, make sure to back up any important data on the external hard drive. Formatting erases all the existing files, so it’s crucial to have a backup to prevent data loss.
- Connect the External Hard Drive: Connect your external hard drive to your computer using the appropriate cable. Ensure it is securely connected and detected by your computer.
- Open Disk Utility (Mac) or Disk Management (Windows): On a Mac, you can find Disk Utility in the Utilities folder within the Applications folder. On Windows, search for “Disk Management” in the Start menu.
- Select Your External Hard Drive: In Disk Utility (Mac) or Disk Management (Windows), locate your external hard drive from the list of available drives. Be careful not to choose your computer’s internal hard drive or any other connected devices.
- Format the Drive: Once you have selected the external hard drive, choose the option to format it. You may see format options such as FAT32, exFAT, or NTFS. FAT32 and exFAT are the most compatible formats for TVs, as they are recognized by both Mac and Windows systems. Select the format that suits your needs and click on the format button.
- Wait for Formatting to Complete: The formatting process may take a few minutes, depending on the size of your external hard drive. Be patient and let the process finish without interrupting.
- Eject the External Hard Drive: Once the formatting is complete, safely eject the external hard drive from your computer. This will ensure that no data is being transferred when you disconnect the device.
After completing these steps, your external hard drive will be properly formatted and ready to store and play movies on your TV. In the next step, we’ll show you how to transfer movies to your external hard drive.
Step 3: Transferring Movies to Your External Hard Drive
Now that your external hard drive is formatted and ready, it’s time to transfer your movie collection onto the device. Follow these steps to ensure a smooth and hassle-free transfer:
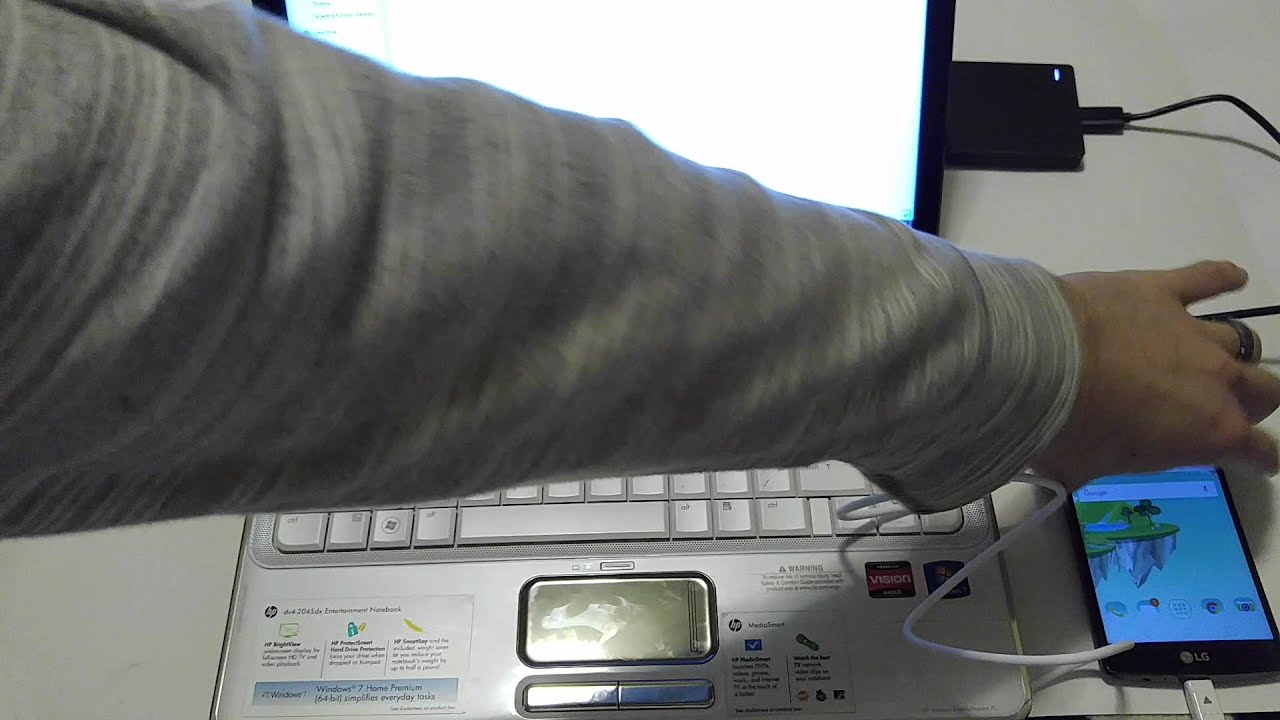
- Connect the External Hard Drive: Use the appropriate cable to connect your external hard drive to your computer. Ensure that it is securely connected and recognized by your computer.
- Create a New Folder: To keep your movie files organized, create a new folder on your external hard drive. Right-click on the drive and choose “New Folder” (or similar) from the options. Give the folder a name that is easy to remember and accurately represents your movie collection.
- Locate Your Movie Files: Open the folder on your computer where your movie files are stored. This could be a specific folder on your desktop or in your documents. If you have digital movies, locate the files on your computer. If you have DVDs that you wish to transfer, you will need to use DVD ripping software to convert the content into digital files first.
- Select and Copy the Movie Files: With both the external hard drive folder and your movie files folder open, select the movie files you want to transfer. You can either drag and drop the files directly into the external hard drive folder or right-click and choose “Copy” from the options. Then, navigate to the external hard drive folder and right-click in the space, then choose “Paste” to transfer the files.
- Wait for the Transfer to Complete: The transfer time will depend on the size and number of files being transferred. Larger files may take longer to transfer. Ensure that the process is complete before disconnecting the external hard drive.
- Safely Eject the External Hard Drive: Once the transfer is complete, safely eject the external hard drive from your computer. This will prevent any data corruption and ensure that the files are properly saved on the device.
By following these steps, you’ll successfully transfer your movie files to your external hard drive. Now it’s time to move on to the next step, where we will guide you through connecting your external hard drive to your TV.
Step 4: Connecting Your External Hard Drive to Your TV
Once you’ve transferred your movie files to your external hard drive, it’s time to connect the device to your TV. Follow these steps to establish a connection:
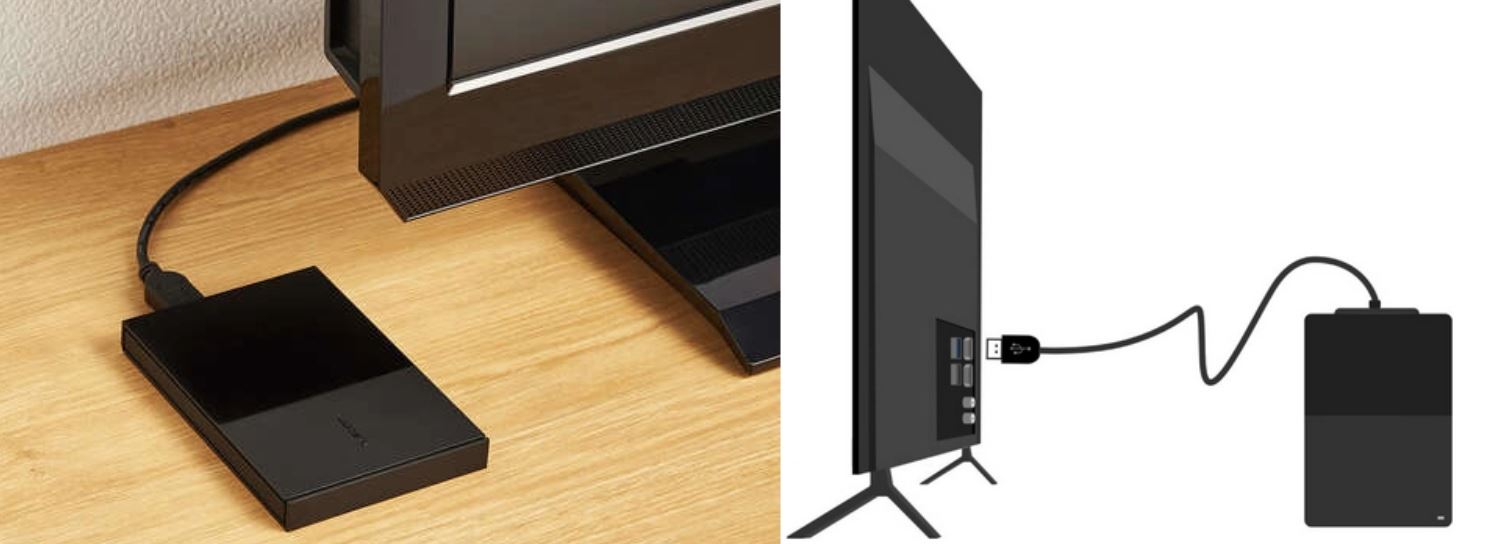
- Check TV Ports: Examine the ports on your TV and identify the available options for connecting the external hard drive. The most common ports include USB, HDMI, and composite (red, white, and yellow) ports. Choose the appropriate port based on the cables or adapters you have.
- Connect the External Hard Drive: Use the appropriate cable or adapter to connect your external hard drive to the corresponding port on your TV. Make sure the connection is secure on both ends.
- Power On the TV and External Hard Drive: Turn on your TV and make sure the external hard drive is powered on. Some devices may require both an external power source and a USB connection to function correctly.
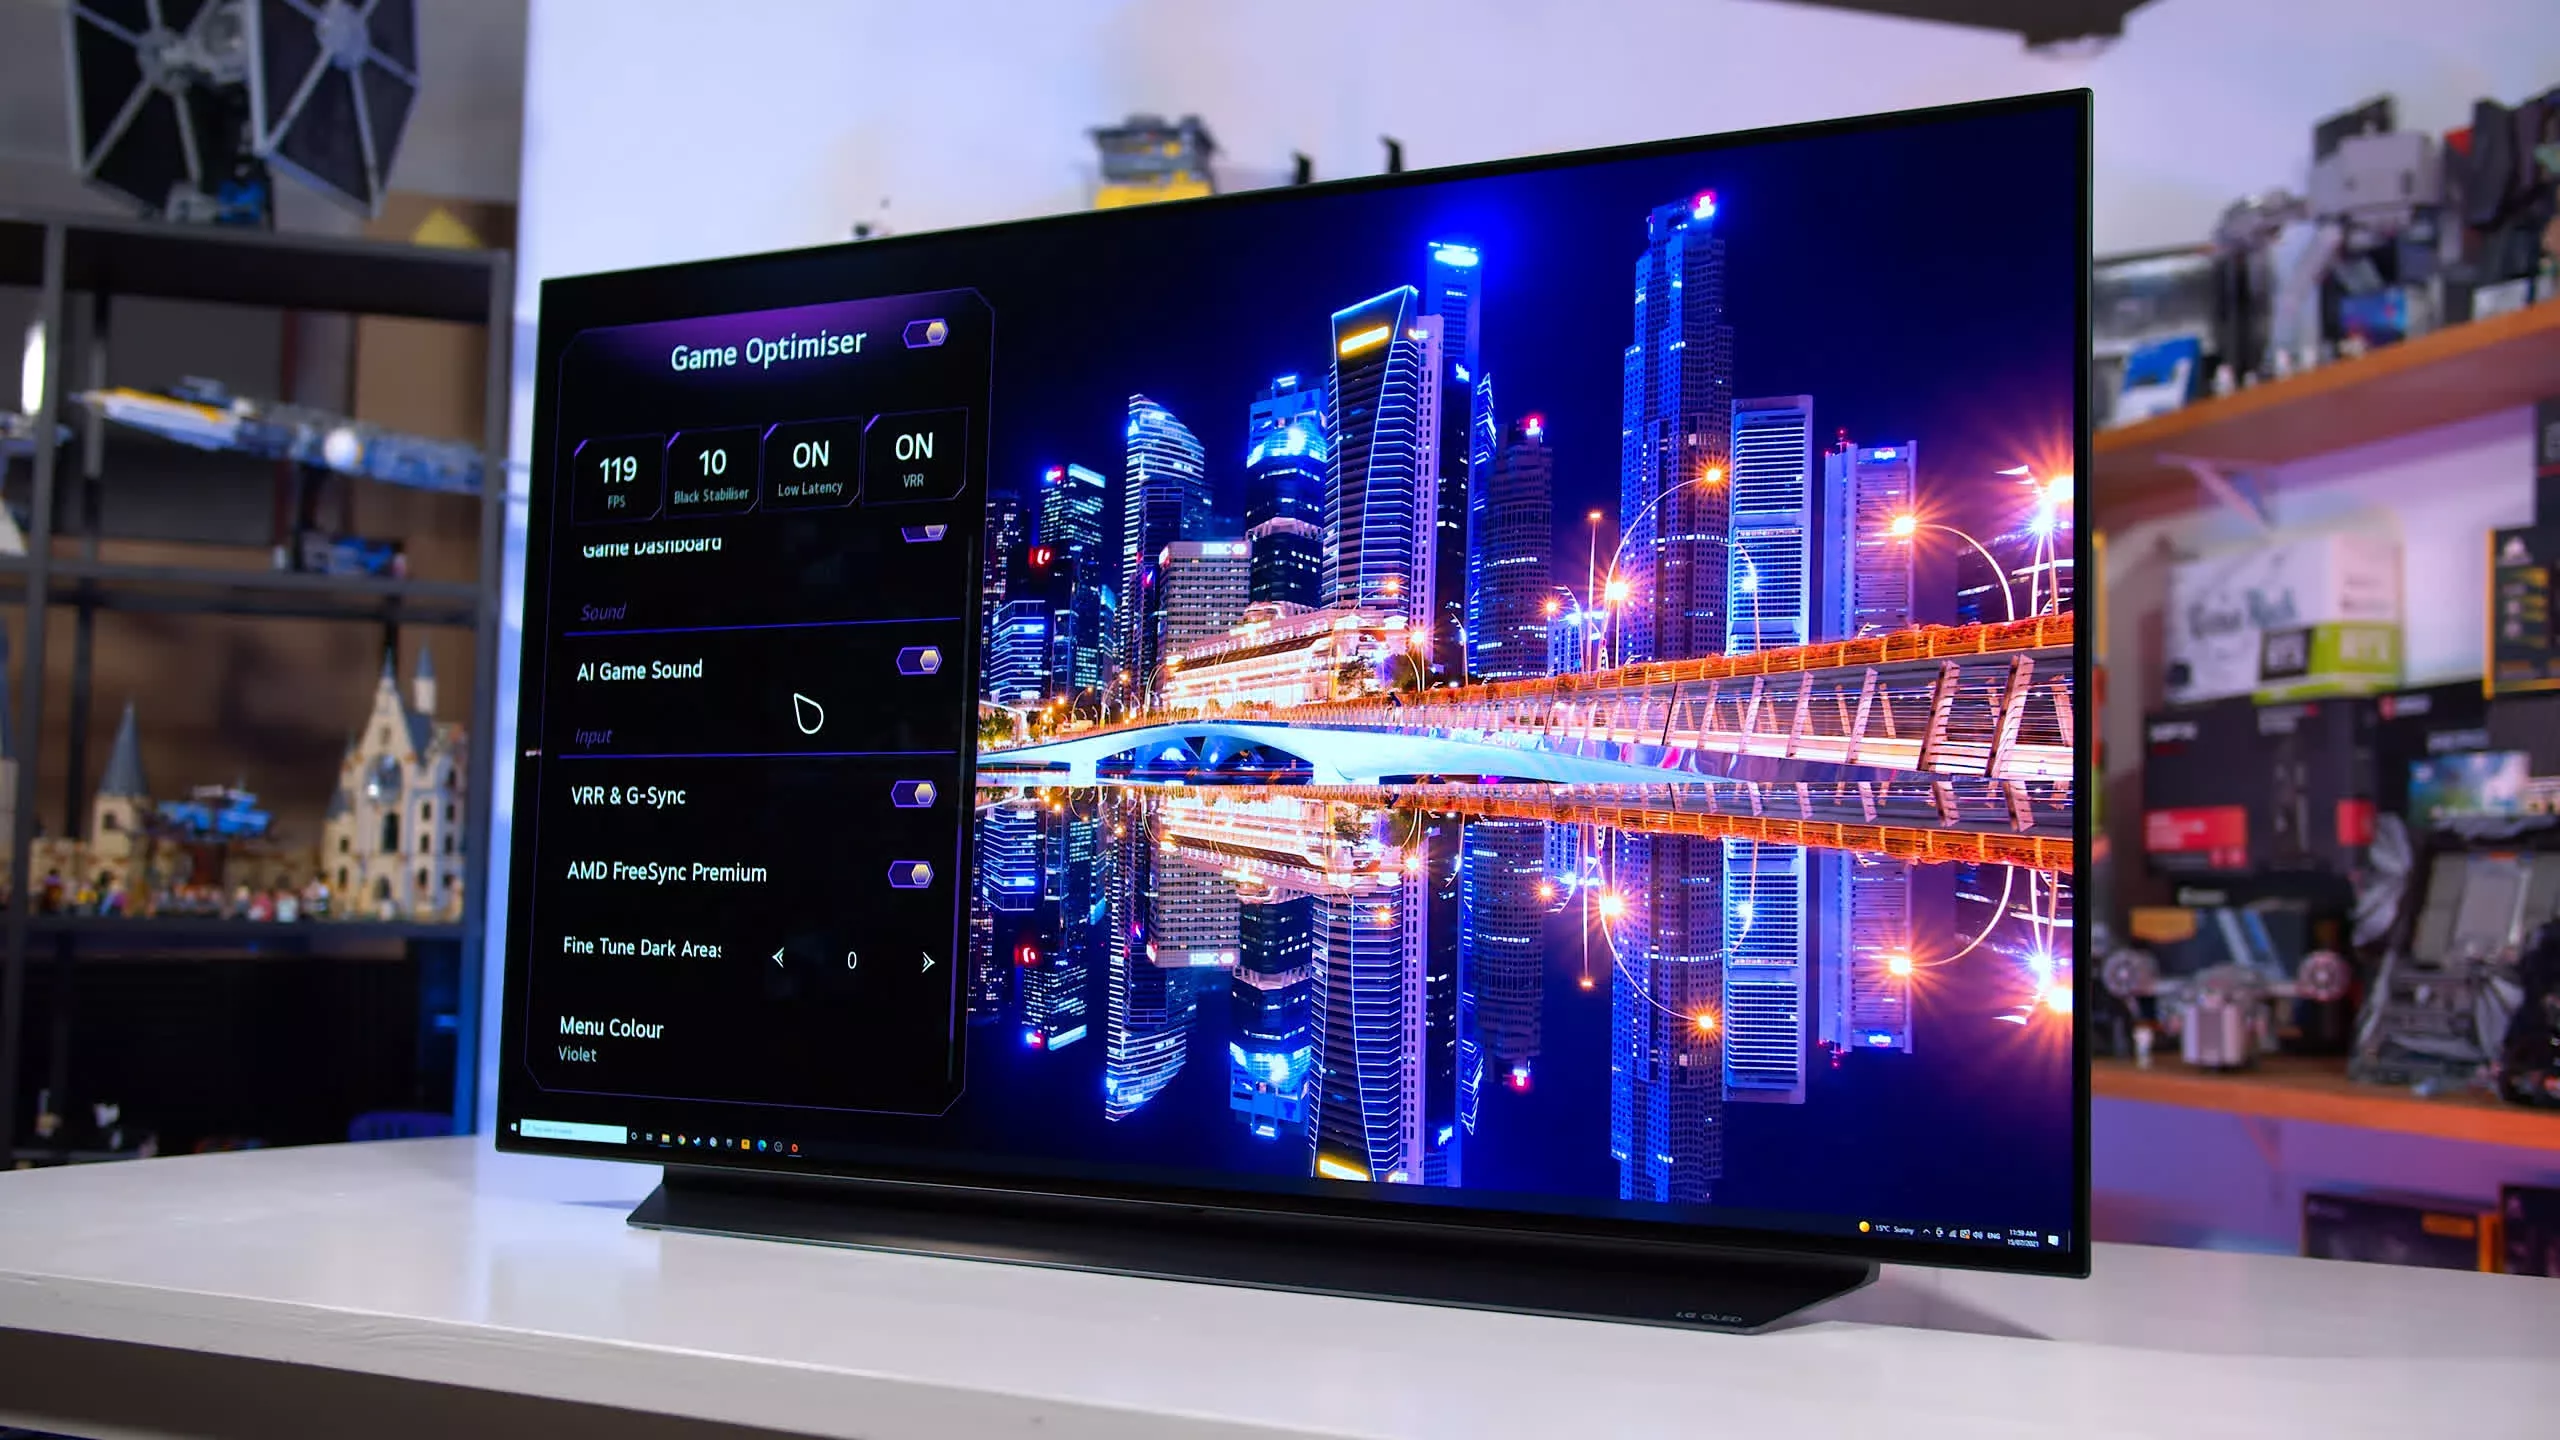
- Select the Input Source: Use your TV remote to navigate to the input/source menu. Select the corresponding input source for the port you connected the external hard drive to. This input source may be labeled as “USB,” “HDMI,” or something similar.
- Wait for Recognition: Give your TV a moment to recognize the external hard drive. Depending on your TV model, it may automatically detect and display the files, or you may need to access a specific media or file browser on your TV.
- Access the Files: Once the external hard drive is recognized, you can access your movie files using the TV’s built-in media player or file browser. Navigate through the folder structure you created earlier and select the movie you want to play. Use your TV remote or any accompanying controls to start playback.
It’s worth noting that the exact steps may vary depending on the brand and model of your TV. If you encounter any issues or are unsure about the process, consult your TV’s user manual or refer to the manufacturer’s support resources for more specific instructions.
Now that your external hard drive is connected to your TV, it’s time to move on to the next step and select the correct input source on your TV.
Step 5: Selecting the Correct Input Source on Your TV
After connecting your external hard drive to your TV, you need to select the correct input source to access the files on your device. Follow these steps to identify and choose the appropriate input source:
- Locate the Input/Source Button: Take a look at your TV remote and locate the “Input” or “Source” button. It is usually labeled with one of these names or represented by an icon with arrows pointing into a box.
- Press the Input/Source Button: Press the “Input” or “Source” button on your TV remote to display the available input sources on your TV screen.
- Navigate through Input Sources: Use the arrow keys or navigation buttons on your remote to scroll through the different input sources displayed on your TV screen. Look for the one that corresponds to the port you connected your external hard drive to (e.g., USB, HDMI).
- Select the Input Source: Once you have highlighted the correct input source that is associated with your external hard drive, press the “Enter” or “OK” button on your remote to select it.
- Wait for the Connection: Give your TV a few moments to establish the connection and recognize the external hard drive. The TV may display a loading or scanning message as it detects the files stored on your device.
- Access the Movie Files: Once the connection is established, you can navigate through your external hard drive folders using your TV remote and select the movie files you want to play. Use the arrow keys or navigation buttons on your remote to browse through the folders and press “Enter” or “Play” to start playing a specific movie.
If you are not seeing the files or facing difficulty in accessing the movie content, double-check the connection between the external hard drive and your TV and ensure that the input source is correctly selected. Additionally, refer to your TV’s user manual or manufacturer’s support resources for specific guidance regarding input source selection on your particular TV model.
With the correct input source selected, you are now ready to browse and play movies from your external hard drive on your TV, which we’ll guide you through in the next step.
Step 6: Browsing and Playing Movies on Your TV
Now that your external hard drive is connected to your TV and the input source is selected, it’s time to browse and play your favorite movies. Follow these steps to navigate through your movie collection and start enjoying your films on the big screen:
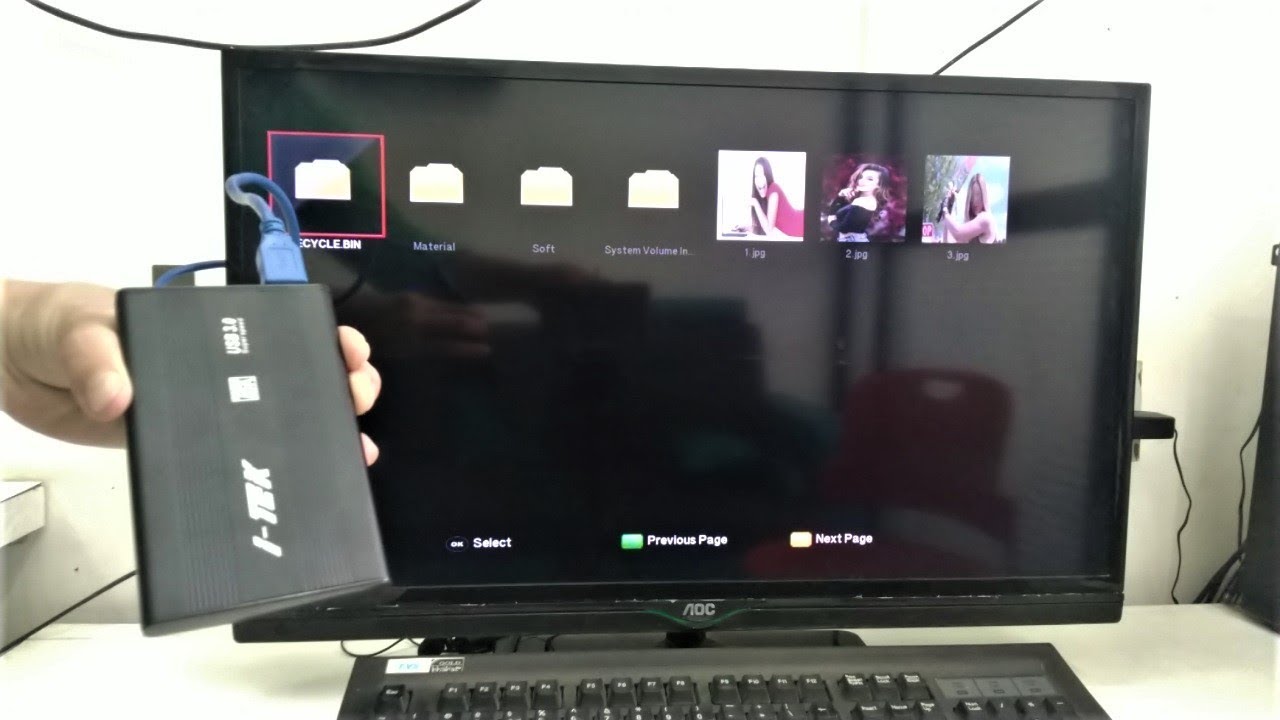
- Use the TV Remote: Grab your TV remote and familiarize yourself with the buttons or controls that allow you to browse the content on your external hard drive. Typically, the arrow keys or navigation buttons on the remote will help you navigate through folders and files.
- Browse through Folders: Using the arrow keys or navigation buttons on the TV remote, navigate through the folder structure on your external hard drive. Locate the folder where you stored your movie files during the transfer process.
- Select a Movie: Once you have found the desired movie folder, select it using the “Enter” or “OK” button on the remote. This will open the folder and display the movie files contained within.
- Choose a Movie: Navigate through the movie files using the arrow keys or navigation buttons on the remote. Highlight the movie you want to watch and press the “Enter” or “Play” button to start playing the movie.
- Control Playback: Once the movie starts playing, you can control the playback using the available options on your TV remote. Play, pause, rewind, fast forward, and adjust the volume to your liking using the designated buttons.
- Enjoy your Movie: Sit back, relax, and enjoy your movie on the big screen of your TV. Immerse yourself in the cinematic experience while enjoying the convenience of playing movies directly from your external hard drive.
Remember, the specific controls and options may vary depending on your TV model and the built-in media player. Refer to your TV’s user manual or manufacturer’s support resources for additional guidance and information on how to navigate and play movies using your selected media player.
With these steps, you are all set to browse and play movies from your external hard drive on your TV. Enjoy watching your favorite films from the comfort of your living room!
Conclusion
Playing movies on your TV from an external hard drive is a fantastic way to elevate your home entertainment experience. By choosing the right external hard drive, formatting it correctly, transferring your movie collection, connecting the device to your TV, selecting the correct input source, and browsing through your files, you can easily enjoy your favorite movies on the big screen.
Throughout this guide, we have provided step-by-step instructions to help you navigate the process seamlessly. However, it’s important to note that specific steps may vary depending on the brand and model of your TV and external hard drive. Always refer to the user manuals and support resources provided by the manufacturers for more detailed instructions.
With the ability to store and play movies directly from your external hard drive, you no longer have to rely on streaming services or deal with restrictions. You have the freedom to curate your movie collection, access your favorite films anytime you want, and enjoy them in the comfort of your own home.
Remember to regularly back up your movie files and keep your external hard drive in a safe and secure location. Additionally, ensure that your TV and external hard drive remain well-connected and updated to enjoy the best possible viewing experience.
So, what are you waiting for? Gather your movie collection, follow the steps outlined in this guide, and transform your TV into a mini home theater. Sit back, relax, and immerse yourself in the world of cinema right from the convenience of your living room.