Introduction
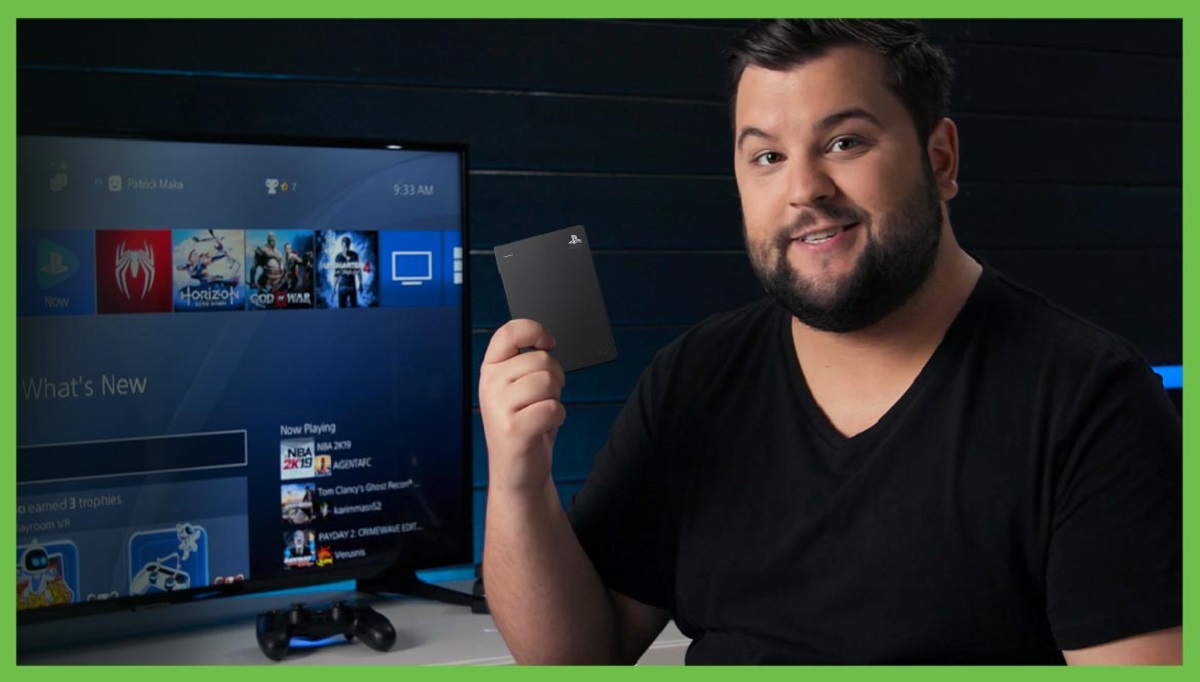
Are you tired of watching movies on your small laptop screen? Do you have a collection of movies stored on your external hard drive that you would love to enjoy on the big screen of your TV? Well, the good news is that playing movies from an external hard drive on your TV is easier than you might think.
Gone are the days when you had to burn DVDs or rely on cable subscriptions to watch your favorite movies. With the advancement in technology, you can now easily connect your external hard drive to your TV and enjoy your favorite movies with family and friends. Whether you have a smart TV, a gaming console, or a media player, there are several simple steps you can follow to make this happen.
In this article, we will guide you through the process of playing movies from an external hard drive on your TV. We will walk you through each step, ensuring that you have a seamless and enjoyable movie-watching experience.
Before we dive into the steps, it’s important to note that the process may vary slightly depending on your TV model and brand. However, the fundamental principles remain the same, and we will provide you with general guidelines that can be applied to most TVs and devices.
So, without further ado, let’s get started with our step-by-step guide on how to play movies from an external hard drive on your TV!
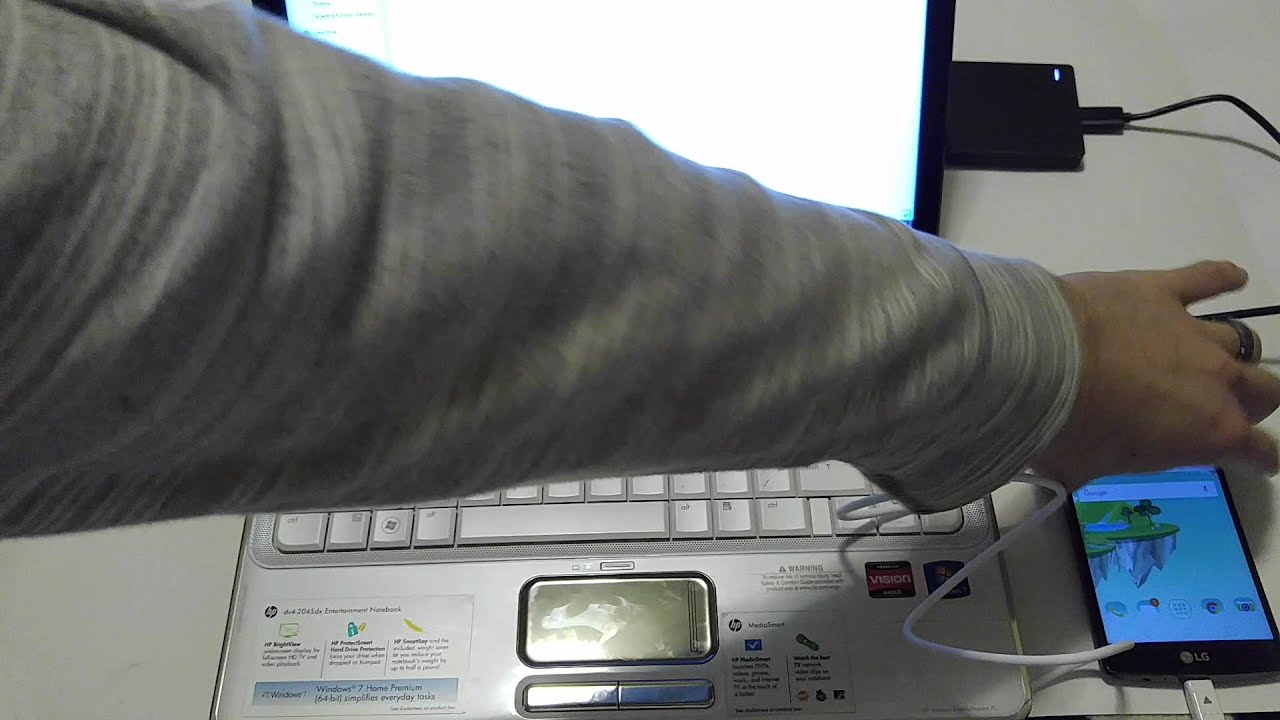
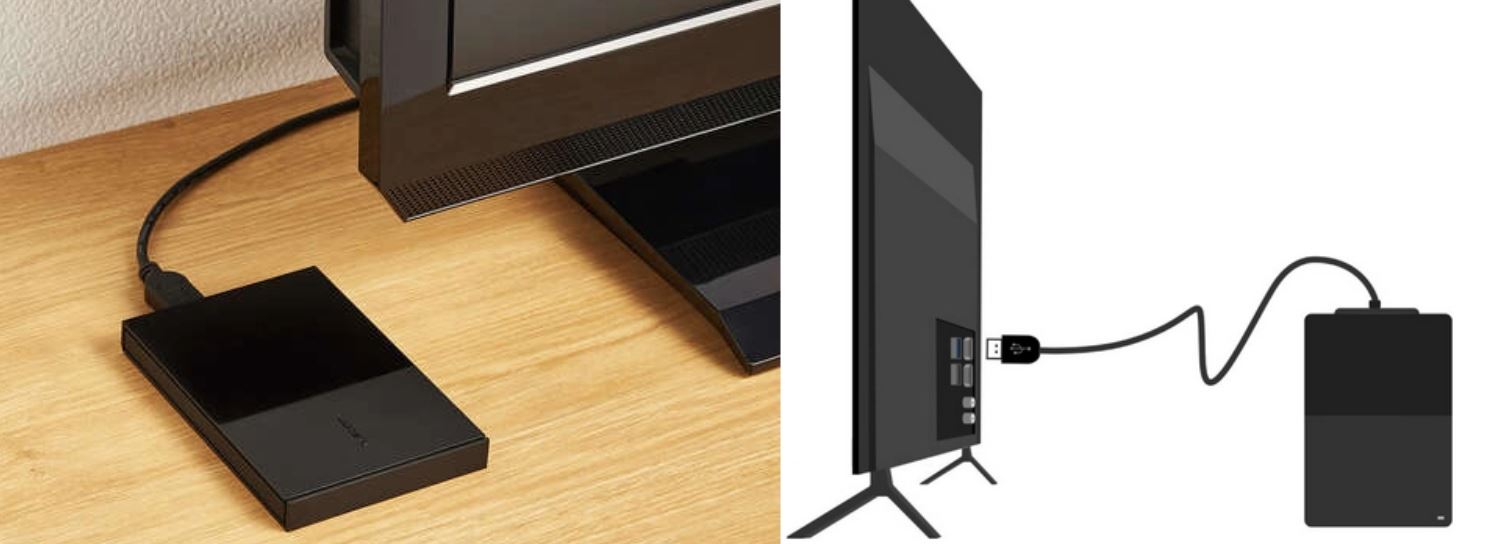
Step 1: Connect the external hard drive to your TV
The first step in playing movies from an external hard drive on your TV is to establish a physical connection between the two devices. Here’s how you can do it:
- Check the ports on your TV: Take a look at the back or side of your TV and identify the available ports. Most modern TVs feature USB ports, which are ideal for connecting external devices like hard drives. However, some older models may require other types of ports, such as HDMI or AV ports.
- Choose the right cable: Depending on the ports available on your TV and the type of external hard drive you have, you may need a specific cable to make the connection. If your TV has a USB port and your hard drive uses a USB connection, simply use a USB cable to connect the two. If your TV has HDMI ports and your hard drive supports HDMI output, an HDMI cable will be your best choice.
- Make the connection: Once you have the appropriate cable, connect one end to the USB or HDMI port on your TV and the other end to the corresponding port on your external hard drive. Ensure that the connections are secure and tight to avoid any interruptions during playback.
- Power up the devices: After making the physical connections, power on both your TV and the external hard drive. Wait for them to fully boot up and recognize each other.
Once you have completed these steps, you have successfully connected your external hard drive to your TV. Now, it’s time to proceed to the next step and configure your TV to access the media files on the hard drive.
Step 2: Select the correct input on your TV
Now that you have successfully connected your external hard drive to your TV, the next step is to select the correct input source on your TV. This will allow your TV to recognize the external hard drive as the source of media files. Follow the steps below:
- Turn on your TV: Make sure your TV is powered on and ready for use.
- Access the input/source menu: Using your TV remote, locate the “Input” or “Source” button. Press this button to access the input/source menu on your TV screen. The exact location of this button may vary depending on your TV model.
- Select the correct input: Once you have opened the input/source menu, you will see a list of available input sources. Look for the input source that corresponds to the port where you connected your external hard drive. It may be labeled as “USB,” “HDMI,” or something similar. Use the arrow keys on your remote to highlight the correct input and press the “OK” or “Enter” button to select it.
- Confirm the selection: After selecting the correct input, you should see a confirmation message or a change in the display indicating that the TV is now set to receive input from the external hard drive. Your TV is now ready to access the media files on the hard drive.
It’s important to note that the labeling and organization of input sources may vary depending on the brand and model of your TV. If you have trouble locating the correct input, refer to your TV’s user manual or consult the manufacturer’s website for specific instructions.
With the correct input selected, you’re now ready to navigate to the media player app on your TV and start playing movies from your external hard drive. Continue to step 3 for further instructions.
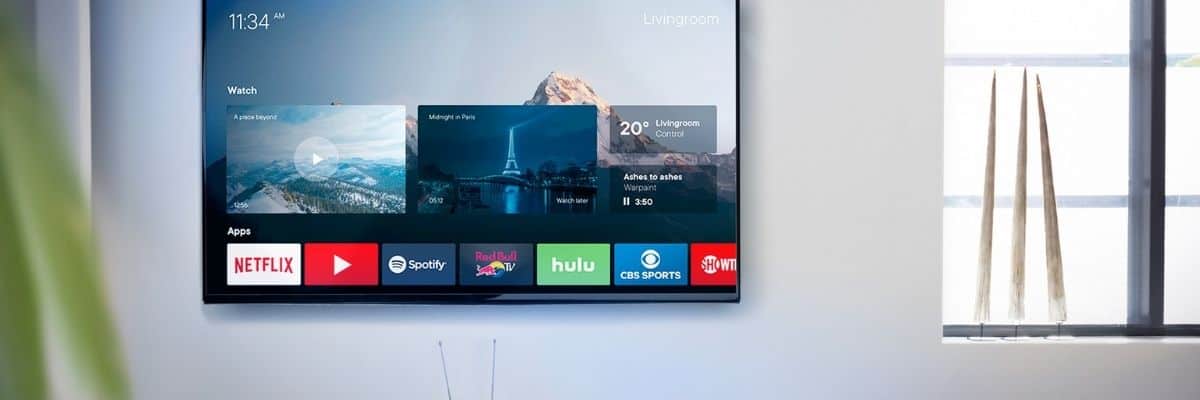
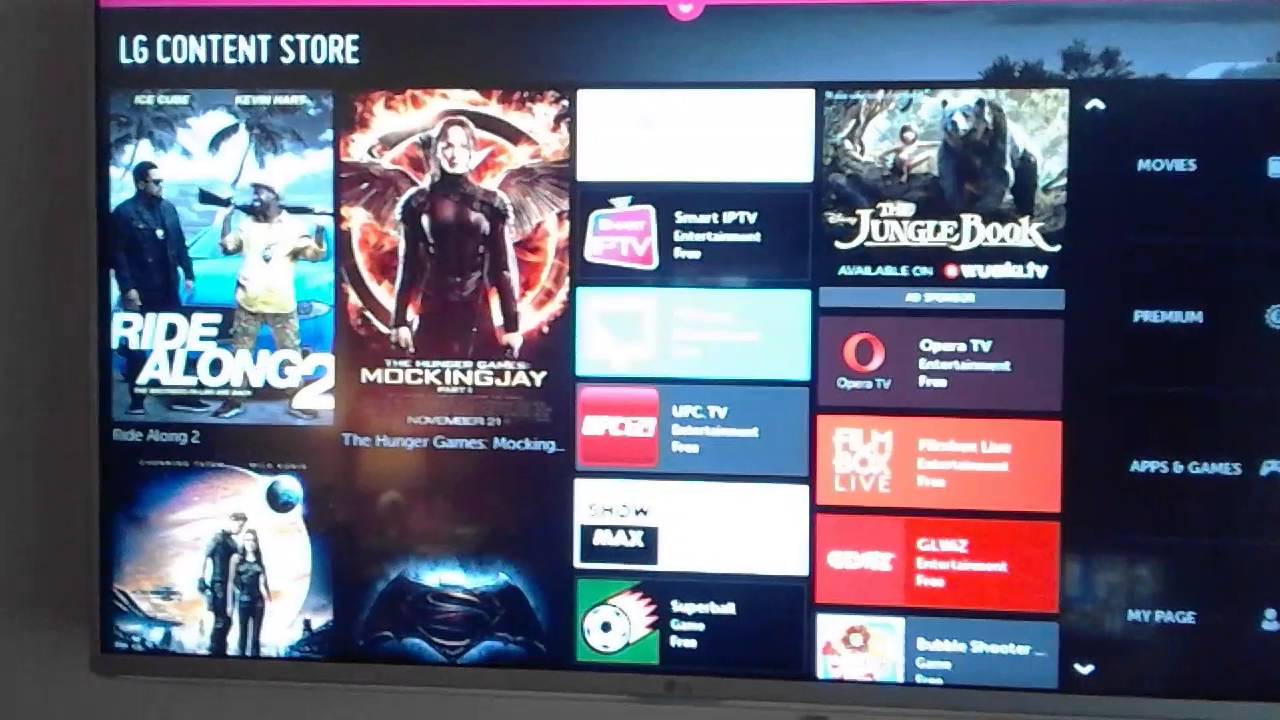
Step 3: Locate and open the media player app on your TV
Now that you have selected the correct input on your TV, it’s time to locate and open the media player app, which will allow you to access the media files on your external hard drive. Follow these steps:
- Access the apps menu: Using your TV remote, navigate to the apps menu or the home screen of your TV. The location of this menu may vary depending on your TV model, but it is usually accessible by pressing the “Home” or “Smart” button on your remote.
- Search for the media player app: Once you are in the apps menu, look for the media player app. This app may have different names, such as “Media Player,” “Video Player,” “USB Player,” or “File Explorer.” You can often find it in the “All Apps” section or by using the search function within the apps menu. Use the arrows on your remote to navigate through the available apps and press the “OK” or “Enter” button to select the media player app.
- Open the media player app: Once you have located the media player app, highlight it and press the “OK” or “Enter” button to open it. This will launch the app and provide you with the interface to browse and play media files.
- Wait for the app to scan for media files: After opening the media player app, it may take a few moments for it to scan and detect the media files on your external hard drive. The scanning process will depend on the size of your hard drive and the number of files it contains. Be patient and wait for the app to complete the scan.
Once the media player app has finished scanning, you will be able to see a list of the media files available on your external hard drive. You are now ready to navigate through the files and select the movie you want to play. Proceed to step 4 for further instructions on how to do this.
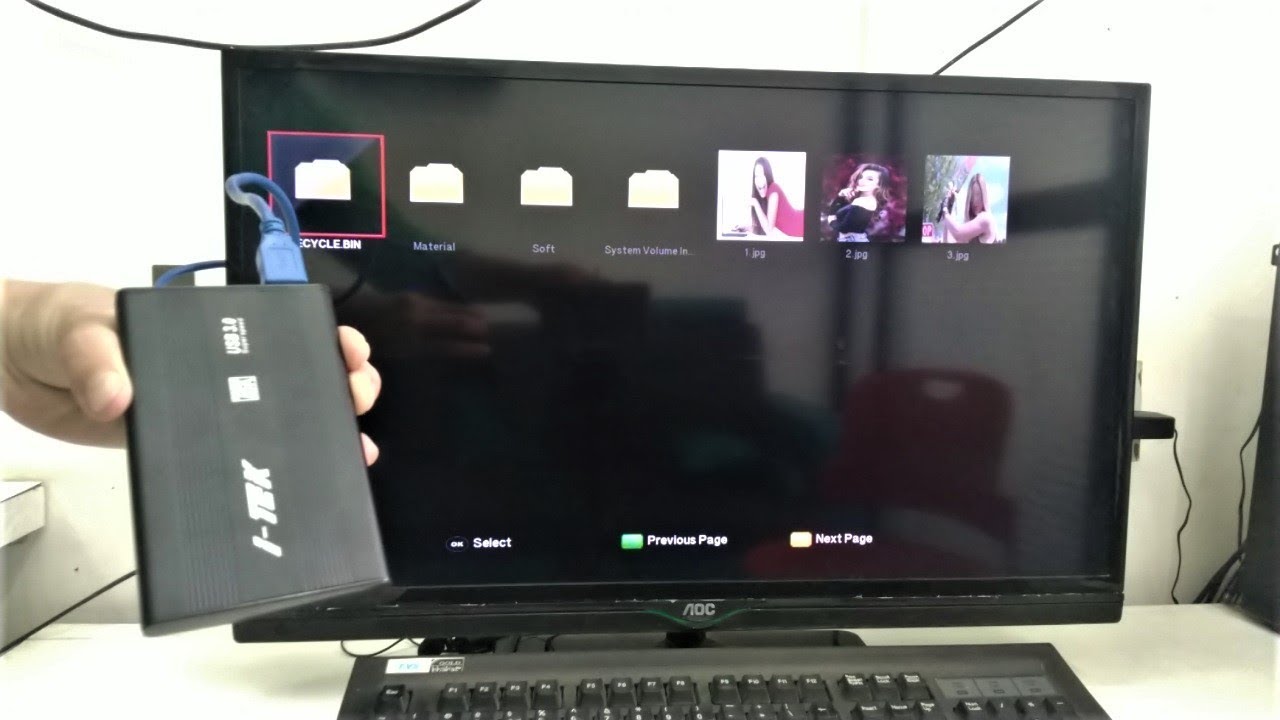
Step 4: Navigate to the external hard drive
Now that you have opened the media player app on your TV, the next step is to navigate to the external hard drive where your movie files are stored. Follow these simple steps:
- Look for the “Devices” or “External Drives” section: Inside the media player app, you will typically find a section dedicated to external devices. This section may be labeled as “Devices,” “External Drives,” or something similar. Use your TV remote’s arrow keys to navigate to this section.
- Select the external hard drive: Once you have located the “Devices” or “External Drives” section, you will see a list of connected devices, including your external hard drive. Look for the name or label that corresponds to your external hard drive and select it using the arrow keys on your remote.
- Access the files on the hard drive: After selecting the external hard drive, the media player app will display the contents of the hard drive, including the movie files. Use the arrow keys on your remote to navigate through the files and folders. If your files are organized in folders, navigate to the folder where your movie is stored.
- Select the movie file: Once you have found the movie file you want to play, highlight it and press the “OK” or “Enter” button on your remote. This will select the file for playback.
It’s worth mentioning that different media player apps may have slightly different interfaces and navigation options. If you’re unsure about how to navigate to your external hard drive or locate your movie files within the app, refer to the app’s user manual or consult the manufacturer’s website for specific instructions.
Now that you have successfully navigated to your external hard drive and selected the movie file you want to play, it’s time to move on to the next step and start enjoying your movie on the big screen of your TV.
Step 5: Choose a movie to play
Now that you have successfully navigated to your external hard drive and selected the movie file you want to play, it’s time to choose the movie and get ready for a fantastic viewing experience. Here’s what you need to do:
- Highlight the movie file: Using the arrow keys on your TV remote, highlight the movie file you want to play. This will typically display the filename or thumbnail of the movie.
- Confirm your selection: Once you have highlighted the movie file, press the “OK” or “Enter” button on your remote to confirm your selection. This will initiate the playback process.
- Wait for the movie to load: Depending on the size of the movie file and the capabilities of your TV and external hard drive, it may take a few moments for the movie to load and start playing. Be patient while the media player app prepares the file for playback.
- Sit back and enjoy: Once the movie is loaded, it will begin playing on the screen of your TV. Sit back, relax, and enjoy the cinematic experience right in the comfort of your own home. Use the playback controls on your remote, such as play, pause, rewind, and fast forward, to navigate through the movie as desired.
It’s important to note that playback options and controls may vary depending on the media player app and TV model you are using. Familiarize yourself with the available playback controls and consult the user manual or manufacturer’s website for additional information if needed.
With the movie playing on your TV, you can now immerse yourself in the captivating storyline, stunning visuals, and impressive sound quality for a truly remarkable movie-watching experience.
Step 6: Enjoy your movie on the big screen!
Congratulations! You have successfully followed all the steps to play movies from your external hard drive on your TV. Now it’s time to sit back, relax, and enjoy your chosen movie on the big screen. Here’s what you can do to enhance your viewing experience:
- Adjust the settings: Depending on your preferences and the capabilities of your TV, you may want to adjust the picture and sound settings to optimize your movie-watching experience. Explore the settings menu on your TV and make adjustments to brightness, contrast, volume, and other settings to achieve the desired audio and visual quality.
- Surround yourself with sound: If you have a home theater system or external speakers, connect them to your TV to enjoy a more immersive audio experience. This will add depth and richness to the movie’s sound effects, dialogues, and music, enhancing the overall cinematic experience.
- Make it a movie night: Invite your family or friends, grab some popcorn and drinks, and turn your movie-watching session into a fun-filled movie night. Create a cozy atmosphere with dimmed lights and comfortable seating arrangements to mimic the cinema experience at home.
- Explore other features: Many media player apps and smart TVs offer additional features such as subtitle options, audio language selection, and the ability to create playlists. Take some time to explore these features and customize your movie-watching experience according to your preferences.
Remember to take breaks, stay hydrated, and make the most of your movie-watching experience. Engage in discussions, share your favorite scenes, or simply get lost in the captivating storyline. Whether it’s an action-packed thriller, a heartwarming drama, or a hilarious comedy, you now have the freedom to enjoy a wide range of movies from your external hard drive on your TV.
So, grab your remote, start exploring your movie collection, and lose yourself in the world of cinema right from the comfort of your own living room. Enjoy your movie on the big screen and create unforgettable memories with your loved ones!
Conclusion
Playing movies from an external hard drive on your TV is a convenient and enjoyable way to enjoy your favorite films on the big screen. By following the simple steps outlined in this guide, you can easily connect your external hard drive to your TV and navigate through your movie collection with ease.
From connecting the external hard drive to selecting the correct input on your TV, locating and opening the media player app, navigating to the external hard drive, choosing a movie to play, and finally, enjoying the movie on the big screen, each step is designed to ensure a seamless and immersive movie-watching experience.
By utilizing the available settings on your TV, enhancing the audio with external speakers, and creating a cozy atmosphere, you can elevate your movie night to a cinematic level. Make the most of the additional features offered by the media player app, such as subtitles and language selection, to personalize your movie-watching experience.
Remember that while the steps provided in this guide are applicable to most devices and TVs, there may be slight variations depending on the brand and model you own. It’s always a good idea to refer to your TV’s user manual or consult the manufacturer’s website for specific instructions related to your device.
Now that you have discovered how to play movies from an external hard drive on your TV, you can enjoy a wide variety of movies from your own collection without the limitations of DVDs or cable subscriptions. So, sit back, relax, and immerse yourself in the world of cinema as you enjoy your movies on the big screen of your TV!