Introduction
3D printing has become a popular technology for manufacturing and prototyping in various industries. Whether you’re a hobbyist or a professional, there may be instances when you need to pause a 3D printer mid-print. Pausing a 3D printer allows you to make adjustments, perform maintenance, or address any unforeseen issues without compromising the print job.
But how exactly do you pause a 3D printer? In this article, we will guide you through the steps to effectively pause your 3D printer and resume the printing process seamlessly.
Pausing a 3D printer is not as simple as pressing a pause button like you would on a regular printer. 3D printers require specific steps to ensure that the print job is paused correctly without causing any damage to the printer or the print itself. By following the proper procedures, you can easily pause and resume a 3D printer without any issues.
So, if you find yourself needing to take a break or perform some adjustments during a 3D print, let’s dive into the necessary steps to effectively pause your machine and resume printing when you’re ready.
Why Pause a 3D Printer
There are several reasons why you may need to pause a 3D printer mid-print. Let’s explore some of the common scenarios where pausing a 3D printer can be beneficial:
1. Maintenance and Calibration: Pausing the print job allows you to perform necessary maintenance tasks on your 3D printer. This can include cleaning the print bed, recalibrating the printer’s settings, or replacing worn-out components. Pausing the print gives you a convenient window to address these issues without interrupting the overall print.
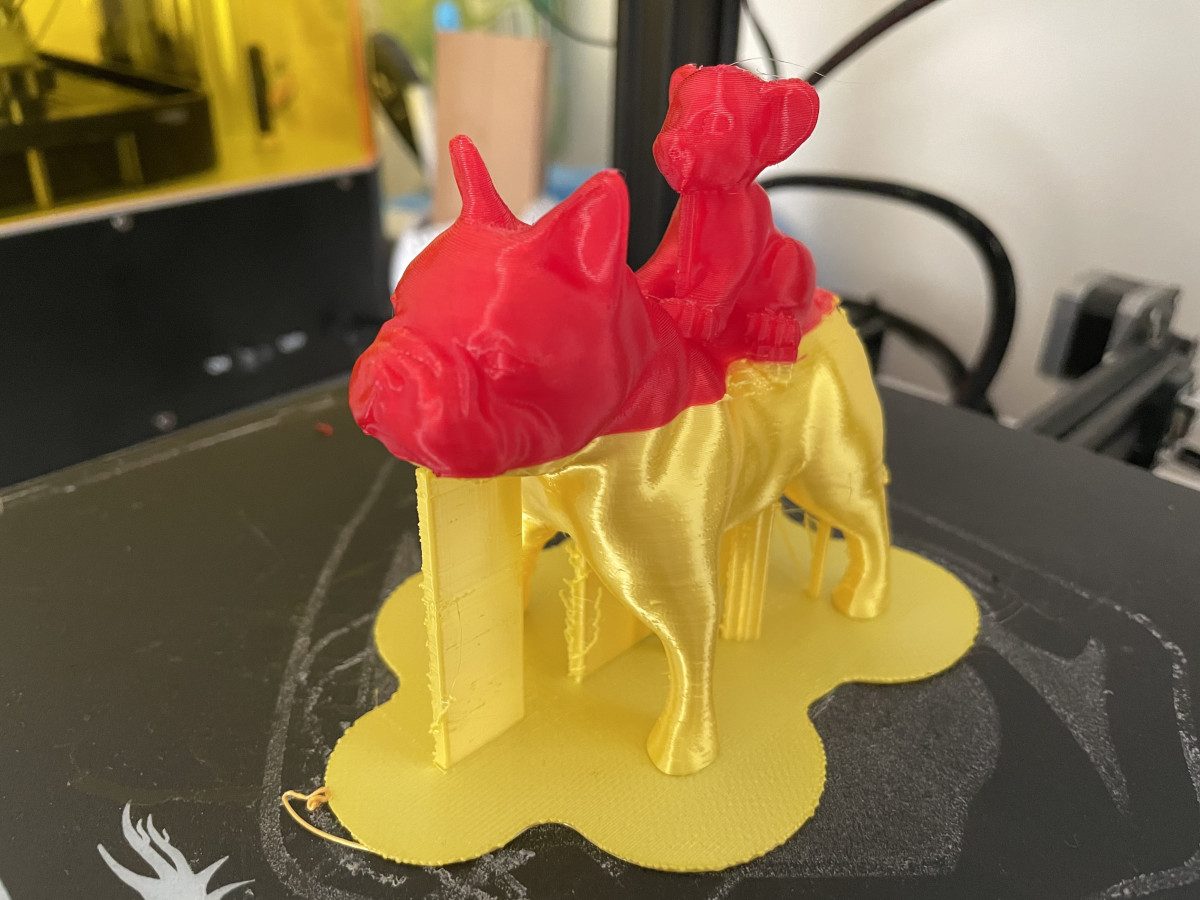
2. Filament Change or Color Swap: If you want to change the filament color or material mid-print, pausing the 3D printer allows you to do so. This is especially useful when you want to create multi-colored or multi-material prints. Pausing the printer at the desired layer height gives you the opportunity to swap the filaments seamlessly for a more intricate and visually appealing print.
3. Adjusting Print Parameters: Sometimes, you may notice issues with the print quality or settings midway through a print. Pausing the printer allows you to fine-tune the print parameters such as nozzle temperature, print speed, or layer height. By making adjustments during the printing process, you can improve the overall print quality and achieve the desired results.
4. Print Inspection: Pausing the printer gives you the chance to inspect the print and identify any potential issues. This allows you to catch and resolve problems early on, such as layers not adhering properly or issues with overhangs. By pausing and inspecting the print, you can make adjustments to ensure a successful outcome.
5. Unforeseen Interruptions: Life can be unpredictable, and there may be times when you need to pause a 3D printer due to an unexpected interruption. Whether it’s a power outage, a need to leave the printer unattended temporarily, or any other unforeseen circumstance, pausing the print job ensures that you can resume the print from where you left off once the situation is resolved.
Overall, pausing a 3D printer provides you with flexibility and control over the printing process, allowing you to make necessary adjustments, address issues, or simply take a break when needed. Now that we understand the importance of pausing a 3D printer, let’s explore the steps to effectively pause and resume the printing process.
Steps to Pause a 3D Printer
Pausing a 3D printer requires a systematic approach to ensure that the print job is paused correctly and can be resumed without any issues. Here are the steps to effectively pause your 3D printer:
- Stop Printing Process: Before pausing the 3D printer, it’s essential to stop the printing process. Use the control interface or software to initiate the pause command, which will bring the printer to a halt.
- Lower the Printer’s Temperature: To prevent any filament from oozing or stringing during the pause, lower the temperature of the printer’s hot end. This will help maintain the integrity of the print and minimize any potential issues when you resume the print.
- Safely Pause the Print Job: Once the printing process is stopped and the printer’s temperature is lowered, safely pause the print job by carefully navigating the control interface or software. This step ensures that the printer is ready to be paused without any unintended movements.
- Release the Filament Tension: If your printer has a filament tensioning system, release the tension before pausing the print. This will help prevent any strain on the filament or the printer’s extruder mechanism.
- Secure the Printer and Filament: During the pause, it’s important to secure both the printer and the filament to prevent any accidental movement or tangling. Ensure that the printer is on a stable surface and that the filament spool is properly secured to avoid any disruptions or damage.
- Resume Printing Process: Once you’re ready to continue the print, carefully navigate the control interface or software to resume the print job. Make sure the printer’s temperature is at the appropriate setting for the filament being used, and ensure that the print head is correctly positioned to continue printing from where it left off.
By following these steps, you can effectively pause your 3D printer and resume the printing process seamlessly. It’s important to note that the specific steps may vary depending on the make and model of your 3D printer, so refer to your printer’s user manual or manufacturer’s guidelines for precise instructions.
Stop Printing Process
The first step to pausing a 3D printer is to stop the printing process. This ensures that the printer comes to a halt and allows for a controlled pause. Follow these guidelines to stop the printing process effectively:
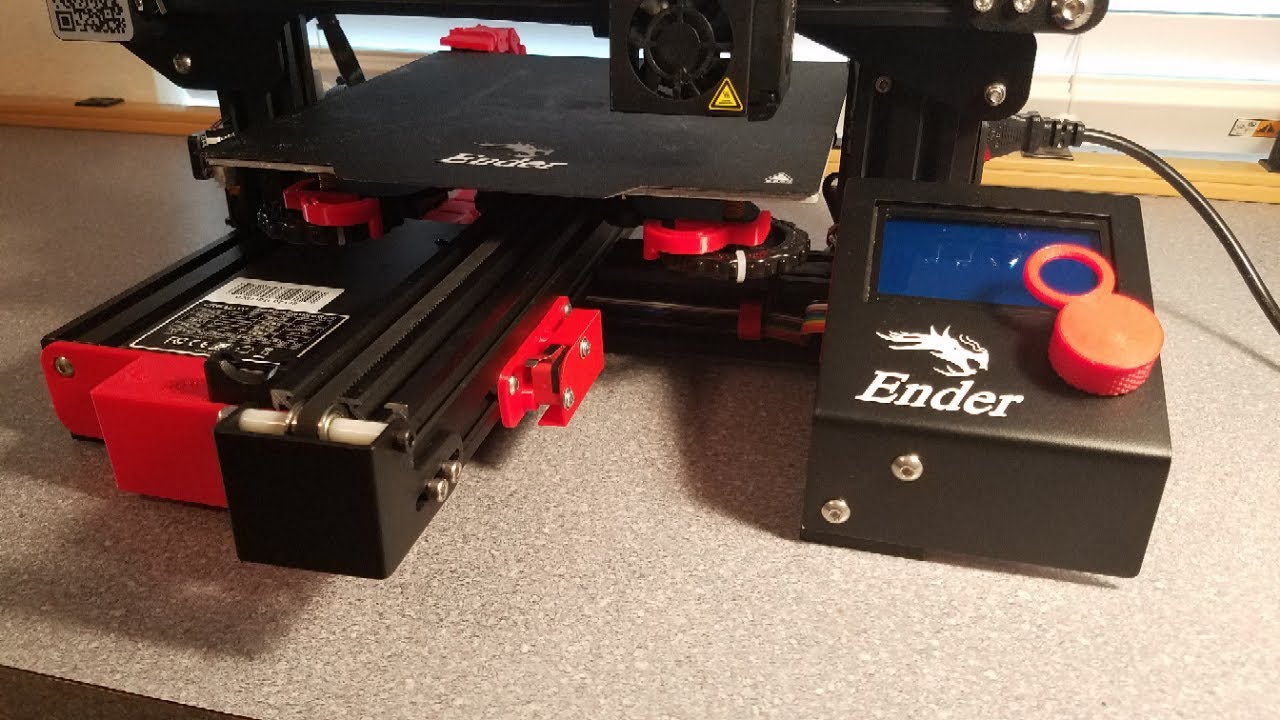
1.1 Control Interface: If your 3D printer has a control interface, such as an LCD screen or a control panel, navigate to the appropriate settings or menu options to stop the print job. Look for an option like “Pause Print” or “Stop Print” and select it to initiate the pause. This will halt the printer from further extruding filament and moving the print bed.
1.2 Print Management Software: If you’re using print management software to control your 3D printer, such as Cura or PrusaSlicer, locate the “Pause Print” or “Stop Print” button within the software’s interface. Clicking on this button will send the command to your printer to stop the printing process.
1.3 Physical Power Switch: In some cases, especially if your printer lacks a control interface or is experiencing technical difficulties, you can use the physical power switch to turn off the printer. However, this method should be used as a last resort and may not be available on all printers.
Regardless of the method you use, the goal is to bring the printing process to a complete stop. This ensures that the printer remains in a stationary position, preventing any unwanted movements or extrusion of filament during the pause. Once the printing process is stopped, you can proceed to the next steps to pause the printer effectively.
Lower the Printer’s Temperature
Lowering the temperature of your 3D printer is an important step in pausing a print job. This helps to minimize any potential filament oozing or stringing during the pause, ensuring a clean and seamless resume. Follow these guidelines to lower the printer’s temperature effectively:
2.1 Control Interface: If your 3D printer has a control interface, navigate to the temperature settings or options. Look for the option to lower the temperature of the printer’s hot end or extruder. Typically, there will be specific settings for nozzle temperature or extrusion temperature. Use the control interface to adjust the temperature to a lower setting. The recommended temperature reduction is typically around 10-20 degrees Celsius (18-36 degrees Fahrenheit).
2.2 Firmware or Slicing Software: Alternatively, you can lower the printer’s temperature through the firmware or slicing software that you’re using to control the printer. These settings can often be accessed through the printer’s configuration file or firmware settings. Take note that manipulating firmware settings requires a good understanding of your printer and should be done with caution.
2.3 Wait for Temperature Drop: Once you have adjusted the temperature settings, allow the printer’s hot end or extruder to reach the new, lower temperature. This may take a few moments depending on your printer and the filament you’re using. It’s important to wait for the temperature to stabilize before proceeding to the next steps.
Lowering the printer’s temperature helps prevent filament from melting or dripping during the pause, minimizing the risk of clogs or other issues when you resume the print. By taking this step, you can ensure that the printer is ready for a smooth and successful pause without any filament-related complications.
Safely Pause the Print Job
Once you have stopped the printing process and lowered the temperature of your 3D printer, the next step is to safely pause the print job. This ensures that the printer is ready to be paused without any unintended movements or issues. Follow these guidelines to safely pause the print job:
3.1 Control Interface: If your 3D printer has a control interface, such as an LCD screen or a control panel, navigate to the appropriate settings or menu options to pause the print job. Look for an option like “Pause Print” or “Pause Job” and select it. This command will instruct the printer to pause the ongoing print at its current position.
3.2 Print Management Software: If you’re using print management software to control your 3D printer, such as Cura or PrusaSlicer, locate the “Pause Print” or “Pause Job” button within the software’s interface. Clicking on this button will send the command to your printer to pause the print at its current state.
3.3 Observe Printer Movement: As the printer pauses, carefully observe its movement to ensure that it comes to a complete stop. Verify that the print head and the print bed have halted, and there are no unintentional movements or shifts. This step confirms that the printer is successfully paused and ready for the next steps.
By safely pausing the print job, you prevent any accidents or disruptions during the pause. It allows you to make adjustments, perform maintenance, or address any issues without compromising the integrity of the print. With the print job now safely paused, you can proceed to the subsequent steps of the pausing process with confidence.
Release the Filament Tension
When pausing a 3D printer, it’s essential to release the filament tension to prevent strain on the filament and the printer’s extruder mechanism. This step ensures that the filament can be securely held in place during the pause and allows for a smooth resumption of the print job. Here’s how you can release the filament tension:
4.1 Filament Tension Lever: Many 3D printers have a filament tension lever or arm mechanism located near the extruder. Locate this lever and gently release it while holding the filament. This action disengages the tension spring or mechanism and allows the filament to move freely, relieving any stress or strain on the filament during the pause.
4.2 Filament Guide Tube: If your 3D printer uses a guide tube to feed the filament from the spool to the extruder, check for any built-in release mechanisms. Some guide tubes have quick-release fittings or connectors that allow you to disconnect the filament from the extruder end. Loosen the fitting or connector to release the filament from the extruder mechanism.
4.3 Manual Filament Release: In certain cases, your 3D printer might not have a specific tension lever or guide tube release mechanism. In such instances, you can manually release the filament tension by gently pulling the filament back a short distance from the extruder. This action temporarily eases the tension and prevents any unnecessary strain on the filament or extruder while it remains paused.
Releasing the filament tension ensures that there is no unnecessary force acting on the filament during the print pause. This allows for a smooth and secure pause, preventing any potential filament-related issues when you resume the print job. With the filament tension released, you can proceed to the next steps confidently, ensuring a successful pause and resumption of the print.
Secure the Printer and Filament
When pausing a 3D printer, it’s crucial to ensure that both the printer and the filament are securely positioned to prevent any accidental movements or tangling. By taking these precautions, you can minimize the risk of disruptions or damage during the pause. Follow these guidelines to secure the printer and filament:
5.1 Stable Printer Placement: Ensure that your 3D printer is on a stable and level surface. This prevents any unintentional movements or vibrations that could potentially affect the print job during the pause. If necessary, use leveling knobs or supports to adjust the printer’s position until it is stable and balanced.
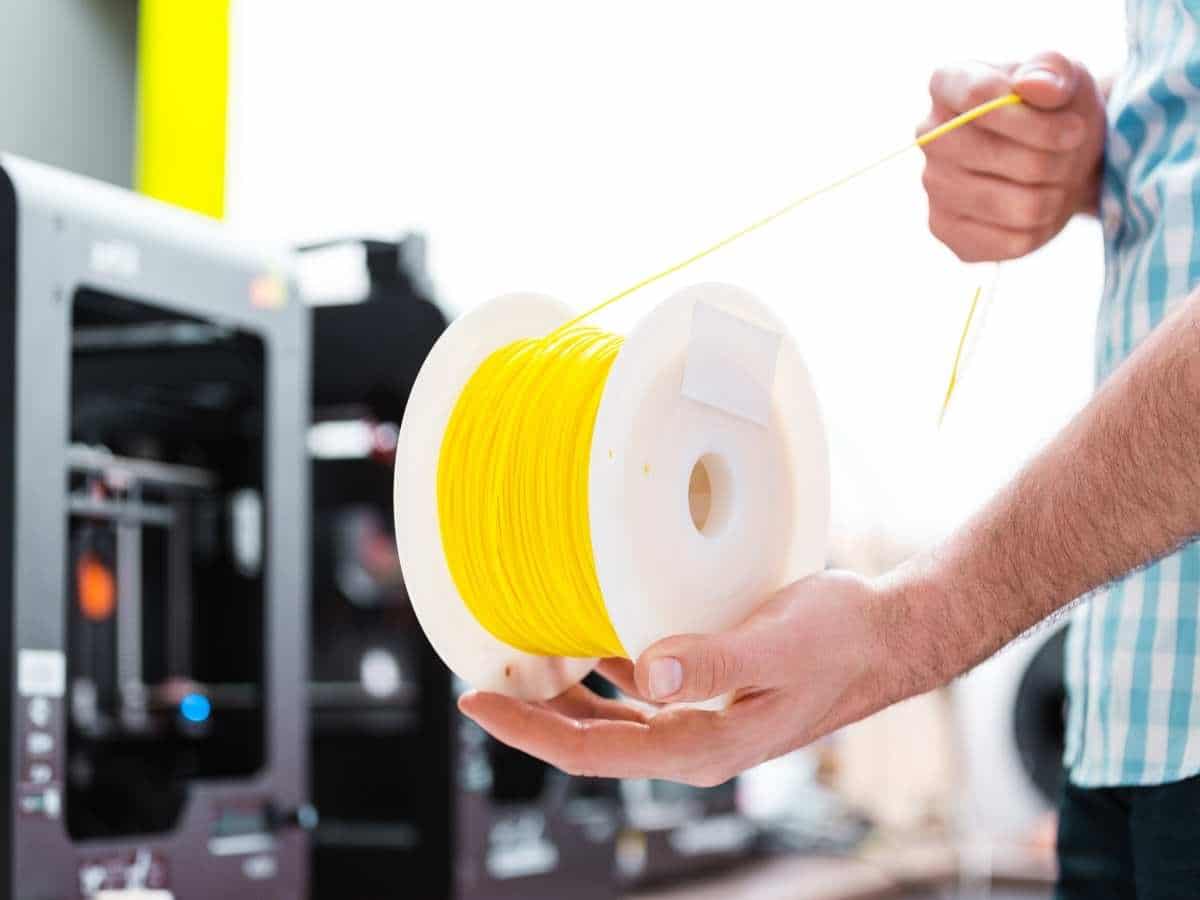
5.2 Filament Spool Holder: Check that the filament spool is properly placed on the spool holder of your printer. The spool holder should be securely attached to the printer, providing smooth and uninterrupted filament feeding during the print. Verify that the filament is feeding freely without any knots or tangles that could cause issues when you resume the print.
5.3 Filament Guide and Path: Examine the filament guide and path to ensure that the filament is correctly aligned and smoothly fed to the extruder. Verify that the filament is not caught on any obstructions or misaligned on the guide. A clear and unobstructed filament path is essential for a seamless printing process when the printer is resumed.
5.4 Spool Unwind: For filament spools that have a tendency to unwind, use clips or other securing methods to prevent any uncontrolled unwinding of the spool during the pause. This ensures that the filament remains organized and avoids any potential entanglement or tangles that could obstruct the feeding mechanism.
By securing the printer and filament, you create a stable and reliable setup for the pause period. This minimizes the risk of any disruptions or damages that could occur due to accidental movements, filament tangles, or spooling issues. With both the printer and filament appropriately secured, you are ready to confidently proceed with the print job pause.
Resume Printing Process
Once you have successfully paused your 3D printer and made any necessary adjustments or maintenance, it’s time to resume the printing process. Resuming the print job requires careful positioning and recalibration to ensure a seamless continuation of the print. Follow these guidelines to resume the printing process:
6.1 Positioning the Print Head: Before resuming the print, ensure that the print head is correctly positioned at the exact spot where it paused. This ensures that the print continues seamlessly without any misalignment. Use the control interface or software to move the print head precisely to the paused position.
6.2 Hot End Temperature: Check and verify that the hot end temperature is at the appropriate setting for the filament being used. Consult the manufacturer’s guidelines or the filament manufacturer’s recommendations for the correct temperature. Adjust the temperature settings if needed to ensure optimal extrusion and print quality.
6.3 Bed Leveling and Calibration: Take a moment to recheck the levelness and calibration of the print bed. If any adjustments were made during the pause, ensure that the bed is properly leveled and aligned with the print head. This ensures consistent layer adhesion and a stable printing surface.
6.4 Filament Reengagement: If you released the filament tension during the pause, carefully reengage the filament into the extruder mechanism. Make sure the filament is properly guided through the filament path and that there are no obstructions or tangles. This ensures smooth and continuous filament feeding during the print.
6.5 Resuming the Print: Once all the necessary steps have been completed, use the control interface or software to resume the print job. The printer will continue from the exact spot where it was paused, and the printing process will pick up seamlessly. Watch the initial layers closely to ensure proper adhesion, filament flow, and overall print quality.
By following these steps, you can resume the printing process smoothly and continue to achieve high-quality prints. Take the time to double-check the printer’s settings and ensure that everything is properly aligned before resuming. With the print job resumed, sit back and monitor the print closely to ensure that it continues successfully until completion.
Conclusion
Pausing a 3D printer allows you to make adjustments, perform maintenance, and address unforeseen issues without compromising the print job. By following the proper steps to pause and resume a 3D printer, you can ensure a smooth and successful printing process.
We discussed the importance of pausing a 3D printer and explored common scenarios where pausing can be beneficial, such as for maintenance, filament changes, adjusting print parameters, print inspection, and unforeseen interruptions.
To effectively pause a 3D printer, we outlined the steps to stop the printing process, lower the printer’s temperature, safely pause the print job, release the filament tension, and secure the printer and filament. These steps help to minimize any potential issues or complications during the pause.
When you’re ready to resume the printing process, carefully position the print head, adjust the hot end temperature, recheck bed leveling and calibration, reengage the filament, and then resume the print job. These steps ensure a seamless continuation of the print and maintain the print quality.
Remember to refer to your specific printer’s manual or manufacturer’s guidelines for precise instructions, as the steps may vary depending on your printer’s make and model. Properly pausing and resuming a 3D printer ensures that you can make necessary adjustments, address issues, and achieve high-quality prints while maintaining efficiency and flexibility.
So, the next time you find yourself needing to take a break, make changes, or perform maintenance during a 3D print, confidently follow these steps to pause your 3D printer, knowing that you can resume the printing process smoothly and achieve the desired results.


