Introduction
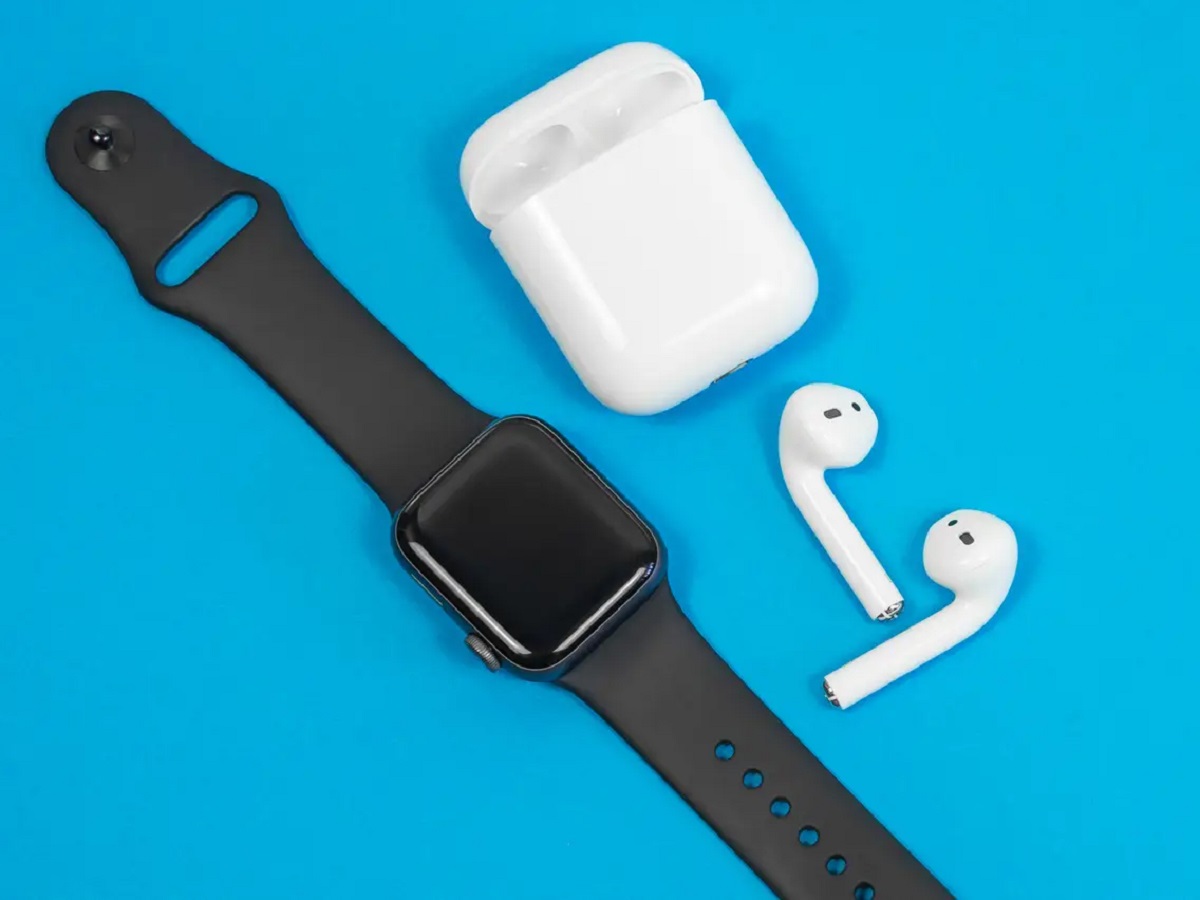
Pairing your AirPods with your Apple Watch can greatly enhance your music listening experience and allow you to enjoy the convenience of a wireless audio connection while on the go. Whether you want to groove to your favorite tunes during a workout or take a call while your iPhone is out of reach, connecting your AirPods to your Apple Watch is a simple process that can be completed in just a few steps.
In this guide, we will walk you through the step-by-step instructions to successfully pair your AirPods with your Apple Watch. Whether you are a tech-savvy individual or a beginner with little technical knowledge, you can easily follow these steps and enjoy the seamless connection between your Apple Watch and AirPods.
Before we get started with the pairing process, make sure that you have your AirPods and Apple Watch nearby. If you have already set up your AirPods with your iPhone, they might automatically connect to your Apple Watch when it is in close proximity. However, if this does not happen, don’t worry. We have got you covered with the steps below to manually connect them.
Step 1: Ensure your AirPods are in pairing mode
The first step to pairing your AirPods with your Apple Watch is to make sure they are in pairing mode. To do this, follow these simple steps:
- Ensure that your AirPods are in their charging case. If they are not, place them in the case and make sure they are charged.
- Open the lid of the AirPods charging case.
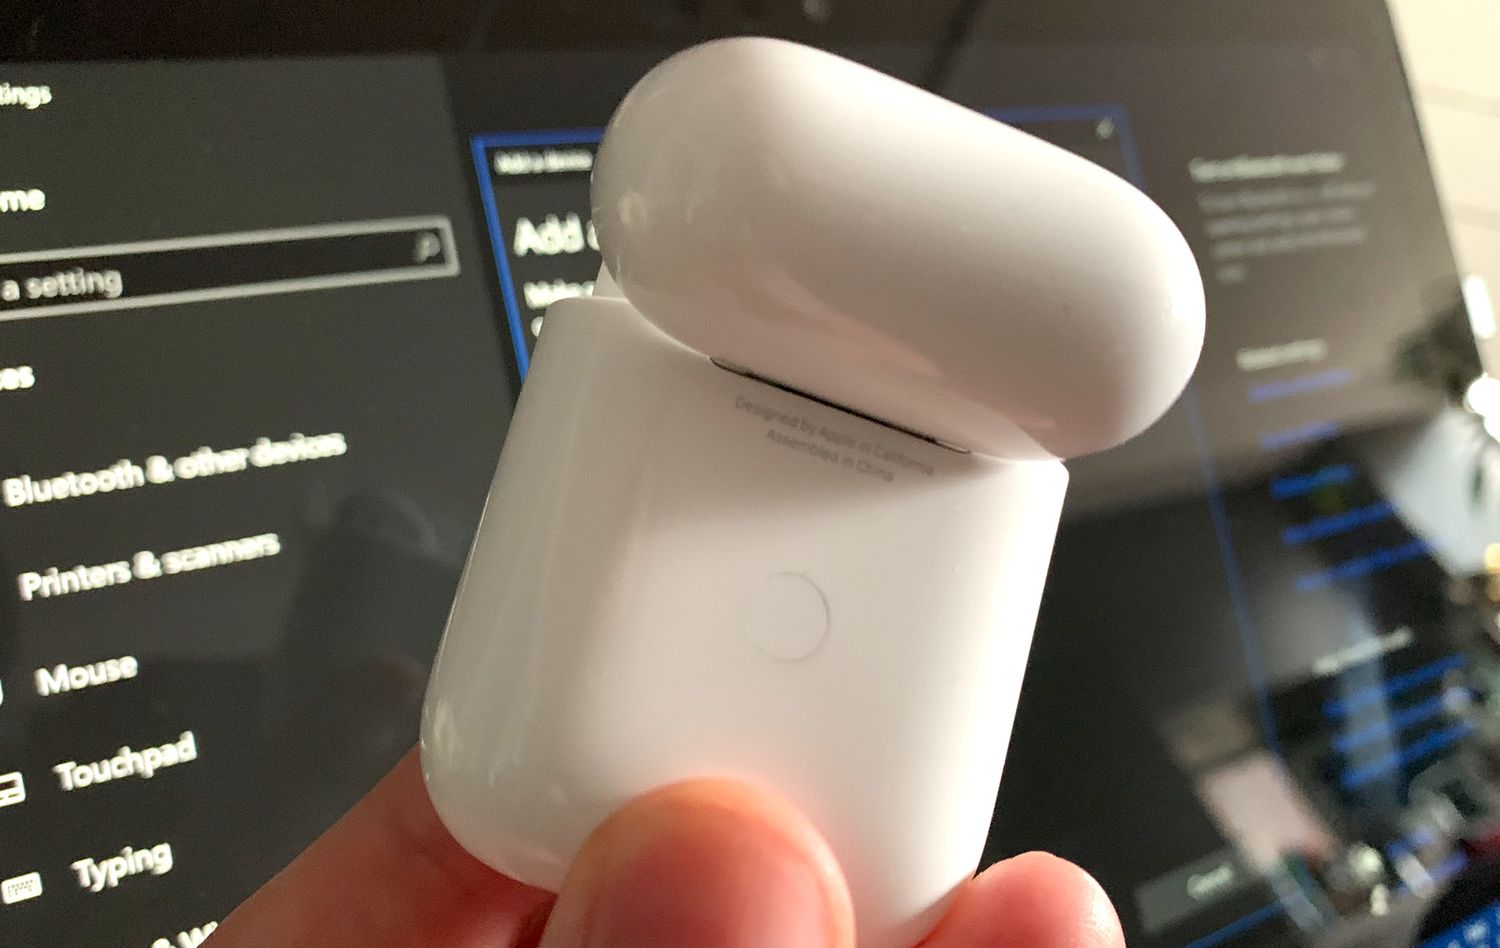
- Press and hold the button on the back of the case until the LED light on the front starts blinking white. This indicates that your AirPods are now in pairing mode.
It’s important to note that if your AirPods are already connected to another device, such as an iPhone or iPad, you will need to disconnect them from that device before you can pair them with your Apple Watch. Make sure to do this before proceeding to the next step.
Once your AirPods are in pairing mode, you’re ready to move on to the next step and connect them to your Apple Watch.
Step 2: Open the Control Center on your Apple Watch
To pair your AirPods with your Apple Watch, the next step is to open the Control Center on your watch. The Control Center allows you to easily access various settings and features on your Apple Watch.
- Start by waking up your Apple Watch, either by raising your wrist or tapping on the screen.
- From the watch face, swipe up from the bottom of the screen to reveal the Control Center. This gesture is similar to swiping up from the bottom on an iPhone.
Once you have opened the Control Center, you will see a range of options and quick settings.
If you cannot see the AirPods icon in the Control Center, it might be because your AirPods are not in pairing mode or are not within the Bluetooth range of your Apple Watch. Make sure that your AirPods are still in pairing mode and in close proximity to your watch.
If you see the AirPods icon, it means that your Apple Watch has detected the AirPods and is ready to pair with them.
Ready for the next step? Let’s proceed to enable Bluetooth on your Apple Watch.
Step 3: Enable Bluetooth on your Apple Watch
In order to successfully pair your AirPods with your Apple Watch, you need to ensure that Bluetooth is enabled on your watch. Here’s how you can do it:
- First, navigate to the home screen of your Apple Watch by pressing the Digital Crown button on the side of the device.
- Once on the home screen, swipe up or down to access the App Grid.
- Tap on the “Settings” app. It is represented by a gear icon.
- In the Settings menu, look for the “Bluetooth” option. Tap on it to proceed.
- On the Bluetooth screen, toggle the switch to the “On” position.
Enabling Bluetooth on your Apple Watch will allow it to search for nearby devices, including your AirPods.
If the AirPods icon is still not visible in the Control Center after enabling Bluetooth, try moving your Apple Watch and AirPods closer together to ensure a stronger Bluetooth connection. It’s also a good idea to make sure that both your Apple Watch and AirPods are charged adequately.
With Bluetooth enabled on your Apple Watch, you’re all set to connect your AirPods. Let’s move on to the next step and establish the connection.
Step 4: Connect AirPods to your Apple Watch
Now that Bluetooth is enabled on your Apple Watch, it’s time to connect your AirPods. Follow these steps to establish the connection:
- Return to the Control Center on your Apple Watch by swiping up from the bottom of the screen.
- Locate the AirPods icon in the Control Center. It looks like a set of earbuds.
- Tap on the AirPods icon to initiate the pairing process.
- Wait for your Apple Watch to search for and detect your AirPods. This may take a few moments.
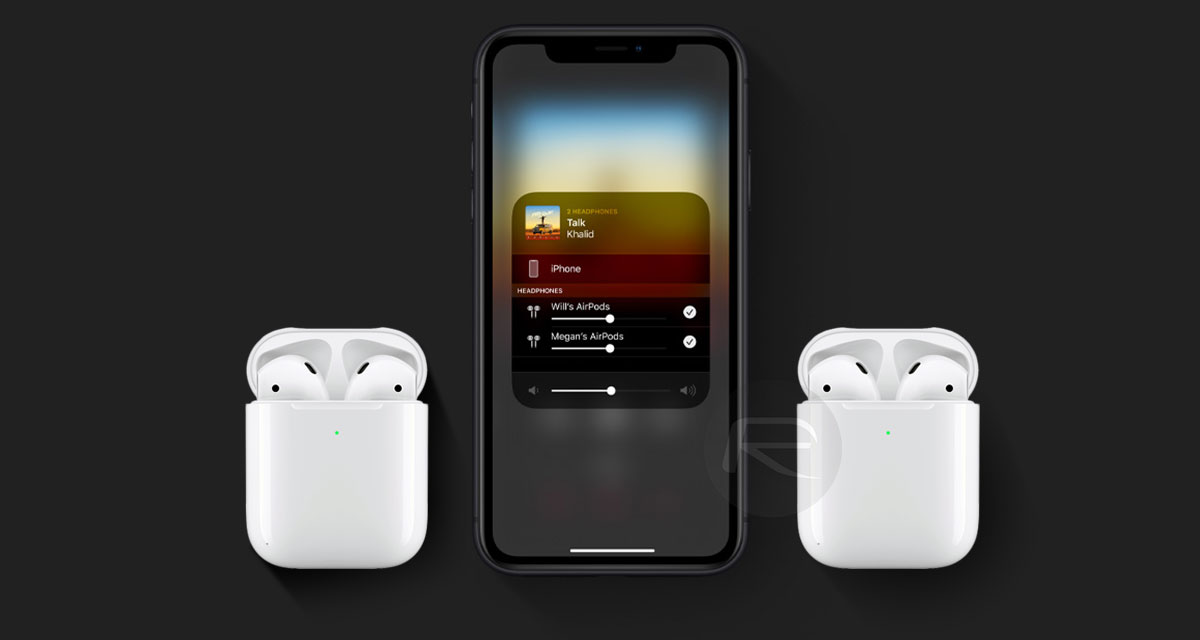
- Once your AirPods are detected, a confirmation message will appear on your Apple Watch screen. The message will display the name of your AirPods.
- Tap on the confirmation message to connect your AirPods to your Apple Watch.
After completing these steps, your AirPods should be successfully connected to your Apple Watch. The AirPods icon in the Control Center should now appear highlighted or with a checkmark, indicating that the connection is established.
You can now enjoy your favorite music, podcasts, or even make calls directly from your Apple Watch using your AirPods.
If you encounter any issues during the pairing process, don’t panic. Some troubleshooting tips are provided in the next section to help you resolve common problems.
Step 5: Test the connection
Now that your AirPods are connected to your Apple Watch, it’s a good idea to test the connection to ensure everything is working smoothly. Here’s how you can test the connection:
- Put your AirPods on and ensure they are in your ears properly.
- Play some music or audio on your Apple Watch. You can do this by launching the “Music” app or any other audio app of your choice.
- Adjust the volume on your Apple Watch to a comfortable level.
- Listen for the audio to play through your AirPods. If you can hear the sound clearly and without any interruptions, then the connection between your Apple Watch and AirPods is successful.
If you encounter any issues during the testing phase, ensure that the volume on your Apple Watch is turned up, and check if your AirPods are securely in your ears. You can also try restarting both your Apple Watch and AirPods, as this often resolves minor connectivity issues.
It’s worth noting that your AirPods will automatically connect to your Apple Watch whenever they are in range and Bluetooth is enabled on both devices. So in future uses, you can simply put your AirPods on, turn on your Apple Watch, and enjoy wireless audio without needing to reconnect them each time.
Congratulations! You have successfully paired and tested the connection between your AirPods and Apple Watch. Now you can fully enjoy the convenience of wireless audio during your workouts, outdoor activities, or any other time you want to enjoy your favorite music or take calls on the go.
Troubleshooting: Common issues and solutions
While pairing your AirPods with your Apple Watch is usually a smooth process, occasionally you may encounter some common issues. Here are a few troubleshooting tips to help you resolve these problems:
- No AirPods icon in the Control Center: If you don’t see the AirPods icon in the Control Center, make sure that your AirPods are in pairing mode and within Bluetooth range of your Apple Watch. Also, ensure that Bluetooth is enabled on your watch.
- Unable to connect AirPods to Apple Watch: If you are unable to establish a connection between your AirPods and Apple Watch, try restarting both devices. Additionally, ensure that your AirPods are not connected to any other devices and that they are charged.
- Poor audio quality or intermittent sound: If you experience poor audio quality or sound interruptions, make sure that your AirPods fit properly in your ears. Adjusting their position can help improve sound quality. Also, check for any obstacles or interference between your Apple Watch and AirPods.
- AirPods not switching between Apple Watch and iPhone: If your AirPods do not automatically switch between your Apple Watch and iPhone, try disabling and re-enabling Bluetooth on both devices. You can also manually connect your AirPods to the desired device from their respective Bluetooth settings.
- Resetting AirPods: If all else fails, you can try resetting your AirPods. Place them in the charging case, open the lid, press and hold the setup button on the back of the case until the LED light flashes amber, and then follow the setup instructions.
If the issues persist or you encounter any other problems, it may be helpful to consult the Apple Support website or contact Apple customer support for further assistance.
By following these troubleshooting tips, you should be able to resolve most common problems you may encounter when pairing and using your AirPods with your Apple Watch.
Conclusion
Pairing your AirPods with your Apple Watch allows you to enjoy the convenience of wireless audio and enhance your overall experience. By following the step-by-step instructions in this guide, you can easily connect your AirPods to your Apple Watch and enjoy seamless audio playback.
Remember to ensure that your AirPods are in pairing mode, open the Control Center on your Apple Watch, enable Bluetooth, and establish the connection. Testing the connection by playing audio is crucial to ensure everything is working correctly.
If you encounter any issues during the process, such as the AirPods icon not appearing or audio quality problems, refer to the troubleshooting section of this guide for solutions.
With your AirPods successfully paired with your Apple Watch, you can now enjoy wireless audio while working out, going for a run, or simply when your iPhone is out of reach. The freedom and convenience of the wireless connection enhance your overall experience and make it even easier to stay connected.
So go ahead, take the plunge, and enjoy the seamless and wireless audio experience that comes with pairing your AirPods to your Apple Watch.


