Introduction
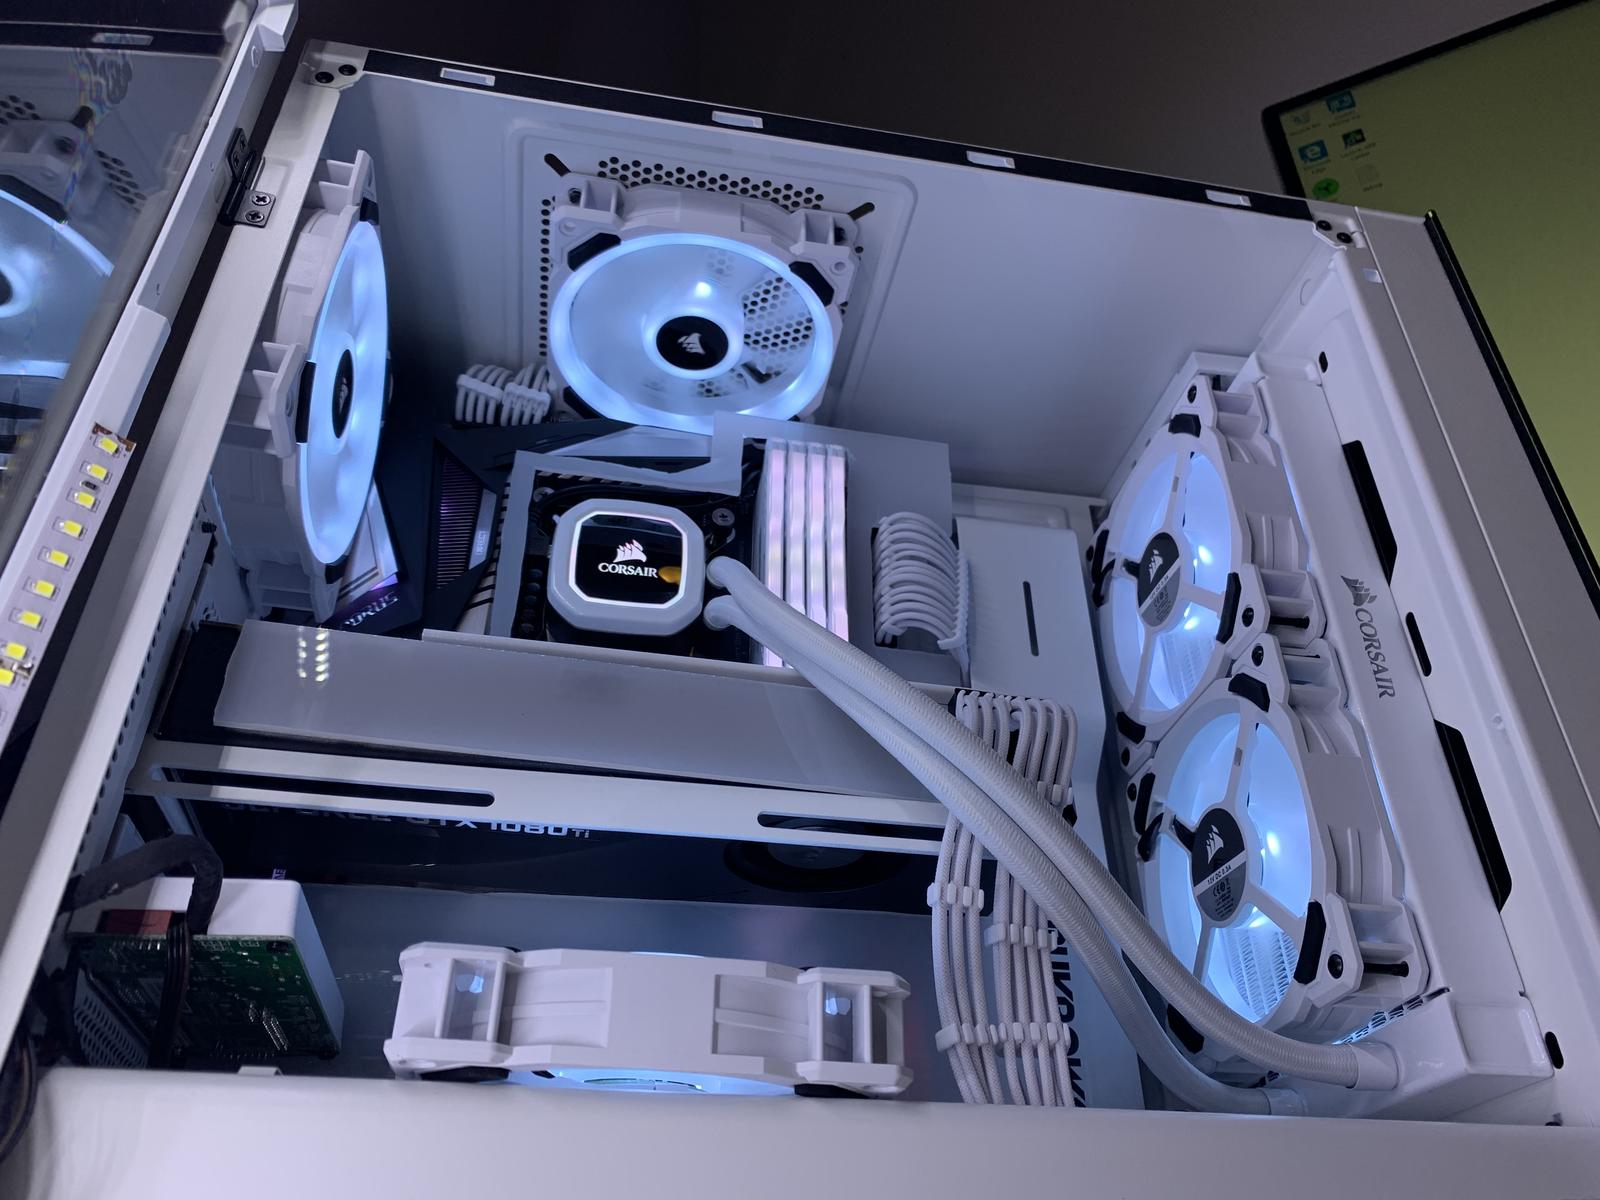
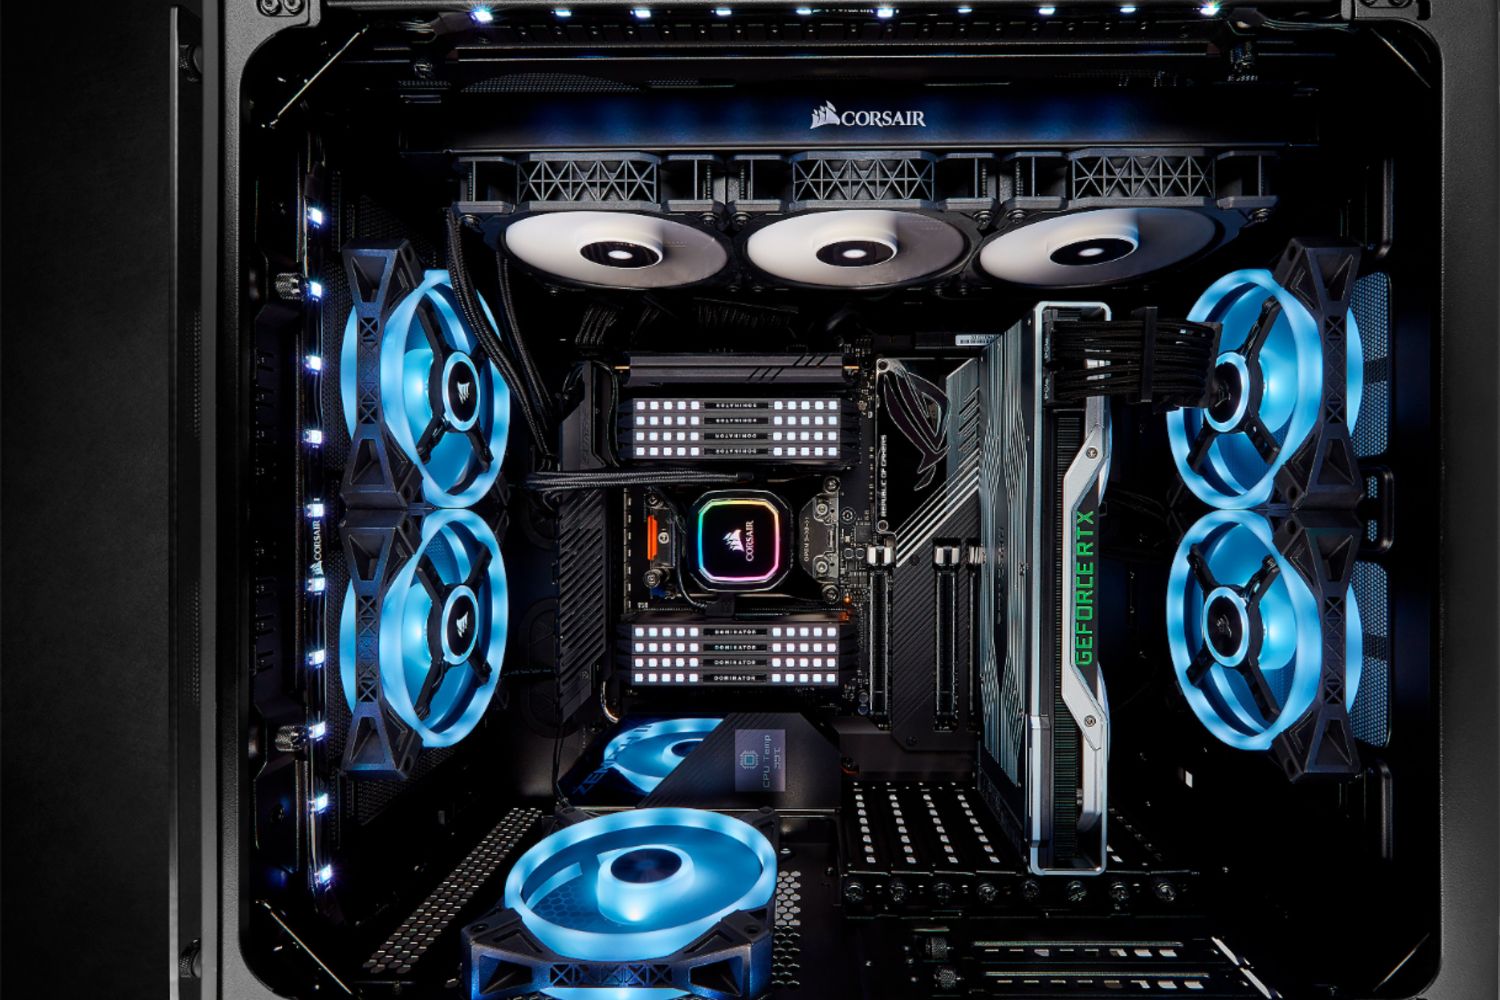
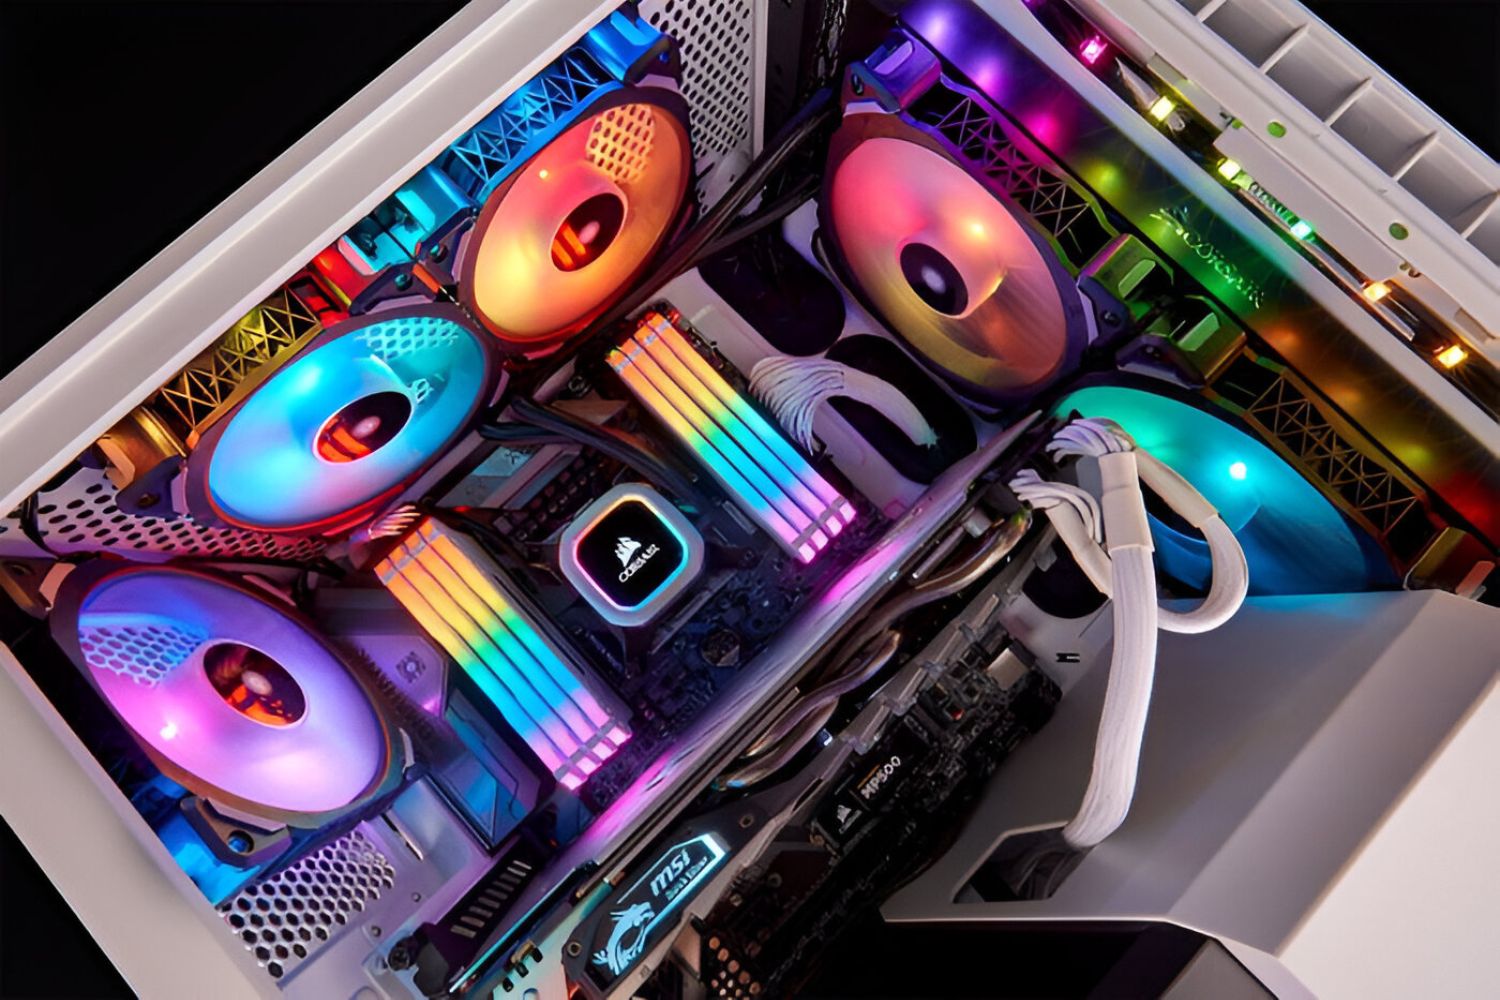
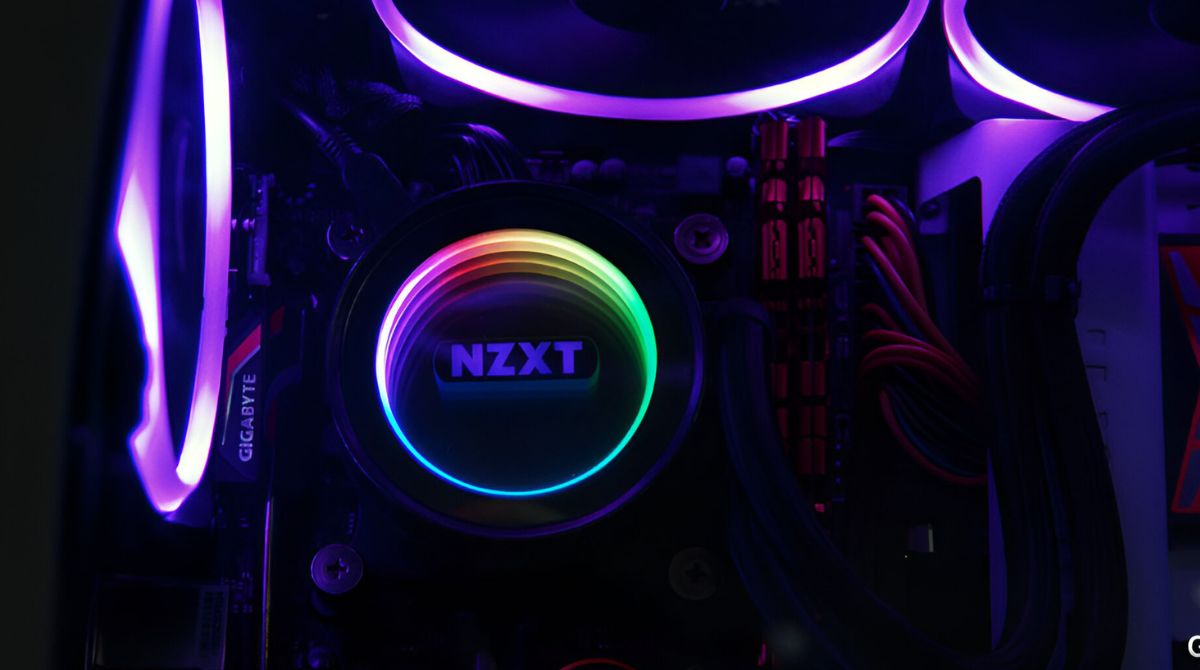
When it comes to keeping your CPU cool under heavy loads, a liquid CPU cooler is a top-notch option. Unlike traditional air coolers, liquid coolers offer superior cooling performance and efficiency, making them a popular choice for gamers, overclockers, and PC enthusiasts.
In this guide, we will walk you through the step-by-step process of installing a liquid CPU cooler in your computer. From gathering the necessary tools to mounting the cooler and connecting the radiator and fans, we will cover all the essential steps to ensure a successful installation.
But before we begin, it’s important to note that installing a liquid CPU cooler requires some technical knowledge and careful handling. Make sure to read through the manufacturer’s instructions that came with your cooler to ensure you are following the specific guidelines for your model. Additionally, take proper precautions and follow safety measures to avoid any damage to your components or injury to yourself.
With that being said, let’s dive into the world of liquid CPU coolers and learn how to install one properly to keep your processor running at optimal temperatures.
Step 1: Gather the necessary tools
Before you begin the installation process, it’s important to gather all the necessary tools and components. Having everything ready beforehand will ensure a smooth and efficient installation. Here are the tools and components you will need:
1. Liquid CPU Cooler: This includes the CPU block, pump, tubes, and radiator. Make sure you have the correct cooler for your CPU socket.
2. Thermal Paste: A high-quality thermal paste is essential for ensuring optimal heat transfer between the CPU and the cooler. Make sure you have a fresh tube of thermal paste available.
3. Screwdriver: A Phillips-head screwdriver will be needed to secure the backplate and mount the CPU block.
4. Isopropyl Alcohol: This is used to clean the CPU surface before applying the thermal paste. Make sure to have some isopropyl alcohol and a lint-free cloth or cotton swabs for cleaning purposes.
5. Power Supply Unit: Your computer’s power supply unit needs to be connected to power the pump and fans of the liquid CPU cooler. Make sure it has the necessary power connectors available.
6. Additional Fans: Depending on your cooler, you may require additional fans for optimal cooling performance. Check the specifications of your cooler to determine if extra fans are needed.
7. Cable Ties or Velcro Strips: These will help with cable management and keeping all the wiring neat and organized inside your computer case.
Once you have gathered all the necessary tools and components, you are ready to move on to the next step of preparing the motherboard for the installation of the liquid CPU cooler.
Step 2: Preparing the motherboard
Before installing the liquid CPU cooler, it is crucial to prepare the motherboard to ensure a secure and proper fit. Follow these steps to prepare the motherboard:
1. Power down the computer and unplug it from the power source. This will prevent any accidental damage to your components during the installation process.
2. Remove the computer case side panel to gain access to the motherboard. This will allow you to work freely and make the installation process more convenient.
3. Locate the CPU socket on the motherboard. It is usually in the upper central area and is marked with the CPU socket label. Remove any protective cover or plastic film that may be covering the socket.
4. Locate the CPU retention bracket or arm. Depending on your motherboard model, it may be different, so consult your motherboard manual if needed. Gently lift the retention bracket or arm to prepare it for CPU installation.
5. Carefully remove the protective cover from the CPU socket. This cover is usually made of plastic and prevents dust and debris from entering the socket. Set it aside in a safe place, as you will need it later.
6. Check the CPU orientation. Most CPUs have notches or markers on the corners that need to align with the corresponding markers or notches on the CPU socket. Align the CPU with the socket, making sure not to apply any unnecessary force.
7. With a gentle downward motion, place the CPU into the socket. Ensure that it is properly seated and aligned with the socket markers or notches. Do not wiggle or force the CPU into place, as it could cause damage.
Once the CPU is securely placed in the socket, you are ready to move on to the next step of installing the backplate for your liquid CPU cooler.
Step 3: Installing the backplate
To ensure a stable and secure mounting for your liquid CPU cooler, you need to install the backplate on the rear side of the motherboard. Follow these steps to install the backplate:
1. Identify the backplate that came with your liquid CPU cooler. It is usually a square or rectangular piece with holes or cutouts.
2. Align the backplate with the mounting holes on the rear side of the motherboard, making sure the holes correspond to the CPU socket.
3. Hold the backplate in place while gently inserting the threaded standoffs through the motherboard mounting holes and into the backplate holes. Ensure they are securely fitted.
4. Once the standoffs are in place, tighten them by hand in a diagonal pattern. This will ensure even pressure distribution and prevent the backplate from tilting or becoming misaligned. Do not overtighten, as this can damage the motherboard.
5. Double-check that the backplate is firmly installed and aligned properly. Make sure there are no loose or wobbly parts.
The installation of the backplate is a crucial step in providing a stable and secure base for your liquid CPU cooler. Once the backplate is securely installed, you are ready to move on to the next step of applying thermal paste to the CPU surface.
Step 4: Applying thermal paste
Applying thermal paste is a critical step in the installation process of a liquid CPU cooler. It helps to improve heat transfer between the CPU and the cooler, ensuring optimal cooling performance. Follow these steps to apply thermal paste properly:
1. Begin by cleaning the CPU surface with isopropyl alcohol and a lint-free cloth or cotton swabs. This will remove any old thermal paste residue or dirt. Make sure the surface is completely clean and dry before proceeding.
2. Take a small amount of thermal paste and apply it to the center of the CPU surface. The size of a pea or a grain of rice is usually sufficient. Avoid applying too much paste, as it can cause an uneven spread or overflow onto other components.
3. Use a spreader or a clean plastic card to gently spread the thermal paste evenly across the surface of the CPU. Apply light pressure and make sure the paste covers the entire surface in a thin, uniform layer. This will help ensure efficient heat transfer.
4. Once the thermal paste is evenly spread, carefully place the liquid CPU cooler’s CPU block onto the CPU. Align the mounting screws or brackets with the mounting holes on the motherboard.
5. Gently press down on the CPU block to apply even pressure. This will help the thermal paste spread and provide good contact between the CPU and the cooler.
It is essential to apply an appropriate amount of thermal paste and ensure an even spread for optimal cooling performance. Once the thermal paste is applied, you can proceed to the next step of mounting the CPU block securely in place.
Step 5: Mounting the CPU block
With the thermal paste applied, it’s time to mount the CPU block onto the motherboard. Follow these steps carefully to ensure a secure and proper installation:
1. Align the mounting holes on the CPU block with the standoffs or mounting brackets on the motherboard. Take note of any orientation indicators or markings provided by the manufacturer.
2. Gently place the CPU block on top of the CPU, ensuring that the mounting holes line up perfectly with the standoffs or brackets. Avoid applying excessive force during this step to prevent damage to the CPU or motherboard.
3. Once the CPU block is properly aligned, use the provided screws or fasteners to secure it in place. Start by loosely screwing in each screw, then tighten them gradually in a diagonal pattern. This will help ensure even pressure distribution and prevent the CPU block from becoming misaligned.
4. Be sure to follow the manufacturer’s instructions regarding the appropriate level of tightness for the screws. Do not overtighten, as this can damage the CPU block or motherboard.
5. Double-check that the CPU block is securely mounted and aligned correctly. Verify that there is no excessive movement or wobbling.
Properly mounting the CPU block ensures a solid connection between the CPU and the liquid cooler, allowing for efficient heat dissipation. Once the CPU block is securely in place, you can proceed to the next step of connecting the radiator and fans.
Step 6: Securing the CPU block
Once the CPU block is mounted, it’s important to ensure that it is securely fastened to prevent any movement or detachment. Follow these steps to securely secure the CPU block:
1. Once the CPU block is in place, check the mounting screws to ensure they are tightened properly. Use a screwdriver to apply a firm but gentle pressure to ensure each screw is tightened uniformly.
2. Tighten the screws in a diagonal pattern, switching between screws to ensure even pressure distribution. This will help avoid any warping or uneven contact with the CPU surface.
3. Be cautious not to overtighten the screws, as this can result in damage to the CPU block or the motherboard. Follow the manufacturer’s instructions for the recommended tightness level.
4. After tightening the screws, gently wiggle the CPU block to check for any movement. If you notice any looseness, retighten the screws slightly until the block feels firmly secured.
5. Double-check that the CPU block and mounting screws are aligned properly with the motherboard. Ensure that the CPU block is sitting flush against the CPU surface to ensure optimal heat transfer.
By properly securing the CPU block, you ensure that the liquid cooler functions effectively and that the CPU receives efficient cooling. Once the CPU block is securely attached, you can move on to the next step of connecting the radiator and fans.
Step 7: Connecting the radiator and fans
In order for the liquid CPU cooler to work effectively, the radiator and fans need to be properly connected to the system. Follow these steps to ensure a proper connection:
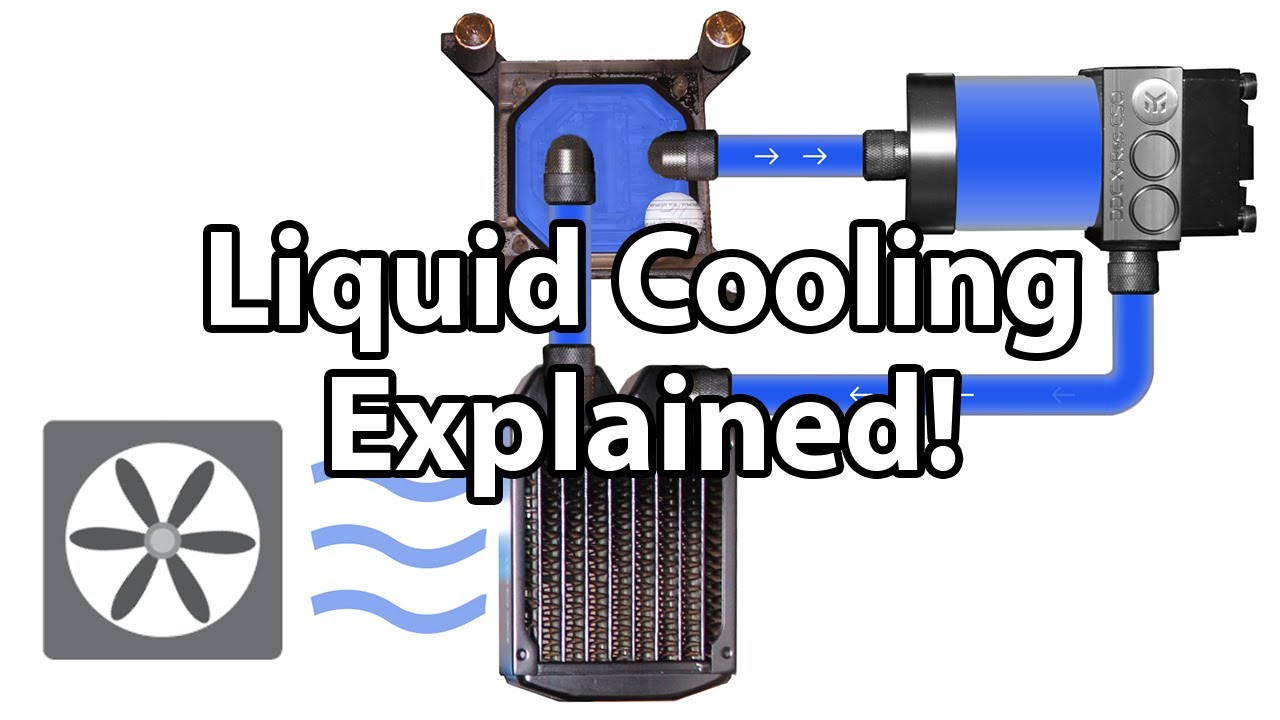
1. Locate the CPU block and find the tubing that connects it to the radiator. Ensure that the tubing is properly aligned and not twisted or kinked. A straight and unobstructed flow of coolant is necessary for efficient cooling.
2. Connect one end of the tubing to the CPU block and the other end to the radiator. Be careful not to apply excessive force or bend the tubing too much, as this can damage the components. Ensure a secure and snug connection.
3. If your liquid CPU cooler includes additional fans, locate the fan connectors on the radiator. Connect the fans to these connectors, ensuring that they are properly aligned with the polarities (positive and negative). Follow the manufacturer’s instructions for the correct fan connection.
4. Ensure that the fans are properly attached to the radiator and are facing the correct direction for optimal airflow. Typically, the fan logo or label should face outward, away from the radiator, to ensure proper cooling.
5. Double-check all the connections, ensuring that everything is securely attached and properly aligned. Take the time to organize and route the cables neatly to ensure good cable management and proper airflow within your PC case.
By connecting the radiator and fans properly, you allow for efficient heat dissipation and overall cooling performance. Once the connections are secure and aligned, you can move on to the next step of installing the radiator.
Step 8: Installing the radiator
Installing the radiator is the next crucial step in the installation process of your liquid CPU cooler. Follow these steps to ensure a secure and efficient installation:
1. Identify the mounting locations for the radiator in your computer case. Typically, these are located on the top, front, or rear of the case. Refer to your computer case manual for specific instructions.
2. Position the radiator in the desired location, ensuring that the tubing and fan cables have enough clearance. Typically, the radiator is mounted with the fans facing outwards to facilitate proper airflow.
3. Check if your computer case requires the installation of additional brackets or mounting adapters to secure the radiator. Refer to your computer case manual or the liquid CPU cooler manual for specific instructions.
4. Align the mounting holes on the radiator with the corresponding mounting holes or slots in the computer case. Insert the screws or secure the brackets to secure the radiator in place. Follow the manufacturer’s instructions for the appropriate screw size and tightness.
5. Double-check that the radiator is securely installed and aligned properly. Ensure that there is no excessive movement or wobbling.
Installing the radiator correctly allows for proper heat dissipation and efficient cooling of your liquid CPU cooler. Once the radiator is securely in place, you can proceed to the next step of wiring and cable management.
Step 9: Wiring and cable management
Proper wiring and cable management are essential for a clean and organized build, as well as ensuring optimal airflow and efficient operation of your liquid CPU cooler. Follow these steps to effectively manage your cables:
1. Start by identifying and organizing the cables that are connected to your liquid CPU cooler, such as the pump power cable, fan cables, and any RGB or lighting cables. Separate them from other cables in your PC case.
2. Route the cables neatly along the designated cable routing channels or tie them together using cable ties or Velcro strips. This will help keep the cables organized, prevent them from obstructing airflow, and make the case look tidier.
3. Pay attention to the positioning of the cables to prevent them from interfering with the CPU cooler, fans, or other components. Ensure that there is sufficient clearance for the cables and that they are not pressing against any components that generate heat.
4. Connect the power cables for the pump and fans to the appropriate headers on the motherboard or fan controller. Refer to your motherboard manual or the liquid CPU cooler manual for the correct connections.
5. Double-check that all the cables are securely connected and properly routed. Make sure there are no loose cables or cables obstructing the moving parts of the liquid CPU cooler or fans.
By effectively managing the wiring and cables, you ensure proper airflow, prevent cable clutter, and create a visually appealing build. Take the time to neatly arrange and secure the cables for optimal performance and aesthetics.
With the wiring and cable management complete, you have successfully installed and configured your liquid CPU cooler. Your computer is now ready to deliver exceptional cooling performance and keep your CPU running at optimal temperatures.
Conclusion
Installing a liquid CPU cooler can greatly enhance the cooling performance of your computer, ensuring that your CPU operates efficiently under heavy loads. By following the step-by-step process outlined in this guide, you should now have the necessary knowledge and skills to successfully install a liquid CPU cooler in your system.
Throughout the installation process, we covered important steps such as gathering the necessary tools, preparing the motherboard, installing the backplate, applying thermal paste, mounting the CPU block, securing the CPU block, connecting the radiator and fans, installing the radiator, and managing the wiring and cables.
Remember, always refer to the manufacturer’s instructions for your specific liquid CPU cooler model to ensure you are following the correct guidelines. Additionally, pay attention to safety precautions and handle your PC components with care during the installation process.
By implementing a liquid CPU cooler, you can achieve improved cooling efficiency, lower temperatures, and enhanced overall system performance. Keeping your CPU cool is essential for longevity and optimal functionality, particularly during demanding tasks such as gaming or intensive workloads.
With your newly installed liquid CPU cooler, you can unleash the full potential of your processor with confidence, knowing that it will remain cool and perform at its best. Enjoy a quieter and more efficient computing experience as you push your system to new limits.
Thank you for following this installation guide. We hope that it has been informative and helpful in your quest for efficient cooling. Should you have any further questions or concerns, don’t hesitate to consult the manufacturer’s support or seek expert assistance.


