Introduction
Are you a fan of both green tea and ice cream? If so, then you’re in for a treat! In this article, we’ll show you how to make delicious green tea ice cream using an ice cream maker. This delightful frozen dessert combines the soothing and earthy flavors of green tea with the creamy and luscious texture of ice cream. It’s the perfect way to satisfy your cravings for something sweet and refreshing.
Making green tea ice cream may sound intimidating, but with an ice cream maker, it becomes a breeze. The key is to infuse the ice cream base with the vibrant flavor of green tea. With a few simple steps, you’ll be able to create a batch of creamy, dreamy green tea ice cream that will rival any store-bought version.
The best part? You have full control over the ingredients, ensuring that your green tea ice cream is made with the highest quality and freshest ingredients. Plus, making it yourself allows you to customize the sweetness and intensity of the green tea to suit your taste preferences.
Whether you’re planning a summer gathering, a cozy night in, or just want a tasty homemade treat, green tea ice cream is a wonderful choice. So, let’s dive in and discover how to make this delightful dessert that combines the goodness of green tea and the indulgence of ice cream.
Ingredients
Before we dive into the process of making green tea ice cream, let’s gather all the necessary ingredients. You may already have some of these in your kitchen, but a few key items may need to be purchased. Here’s what you’ll need:
- 2 cups of heavy cream
- 1 cup of whole milk
- 3/4 cup of granulated sugar
- 4-6 green tea bags or 2 tablespoons of matcha powder
- 4 large egg yolks
- 1 teaspoon of vanilla extract
- A pinch of salt
The heavy cream and milk provide the creamy base for the ice cream, while the sugar adds sweetness. You can adjust the sugar quantity according to your preference. As for the green tea flavor, you can use either green tea bags or matcha powder. Green tea bags are more readily available, while matcha powder offers a more intense and vibrant green tea flavor.
The egg yolks are essential for creating a smooth and rich texture in the ice cream. They also help to emulsify the ingredients and prevent ice crystals from forming. Don’t forget the vanilla extract, which adds a hint of warmth and enhances the overall flavor profile. And finally, a pinch of salt helps to balance the sweetness and bring out the flavors even more.
That’s it! With these simple ingredients, you’re well on your way to making a batch of homemade green tea ice cream that’s sure to impress.
Step 1: Making the Green Tea Base
The first step in creating delicious green tea ice cream is to infuse the ice cream base with the distinct and delightful flavor of green tea. There are two methods you can choose from: using green tea bags or using matcha powder. Let’s explore both options:
If you’re using green tea bags:
- In a medium saucepan, heat the heavy cream, whole milk, and granulated sugar over medium heat. Stir until the sugar has dissolved and the mixture is hot but not boiling.
- Turn off the heat and add the green tea bags to the saucepan. Steep the mixture for about 10-15 minutes to extract the green tea flavor.
- Remove the tea bags and discard them. Give the mixture a quick stir to ensure the flavor is evenly distributed.
- If you prefer a smoother texture, pour the mixture through a fine-mesh sieve to remove any sediment from the tea bags.
If you’re using matcha powder:
- In a medium saucepan, heat the heavy cream, whole milk, and granulated sugar over medium heat. Stir until the sugar has dissolved and the mixture is hot but not boiling.
- In a separate bowl, whisk the matcha powder with a small amount of hot water to create a smooth paste.
- Add the matcha paste to the saucepan and whisk until well combined.
- If you prefer a smoother texture, pour the mixture through a fine-mesh sieve to remove any clumps of matcha powder.
Regardless of which method you choose, once you’ve infused the ice cream base with the green tea flavor, you’re ready to move on to the next step of making green tea ice cream.
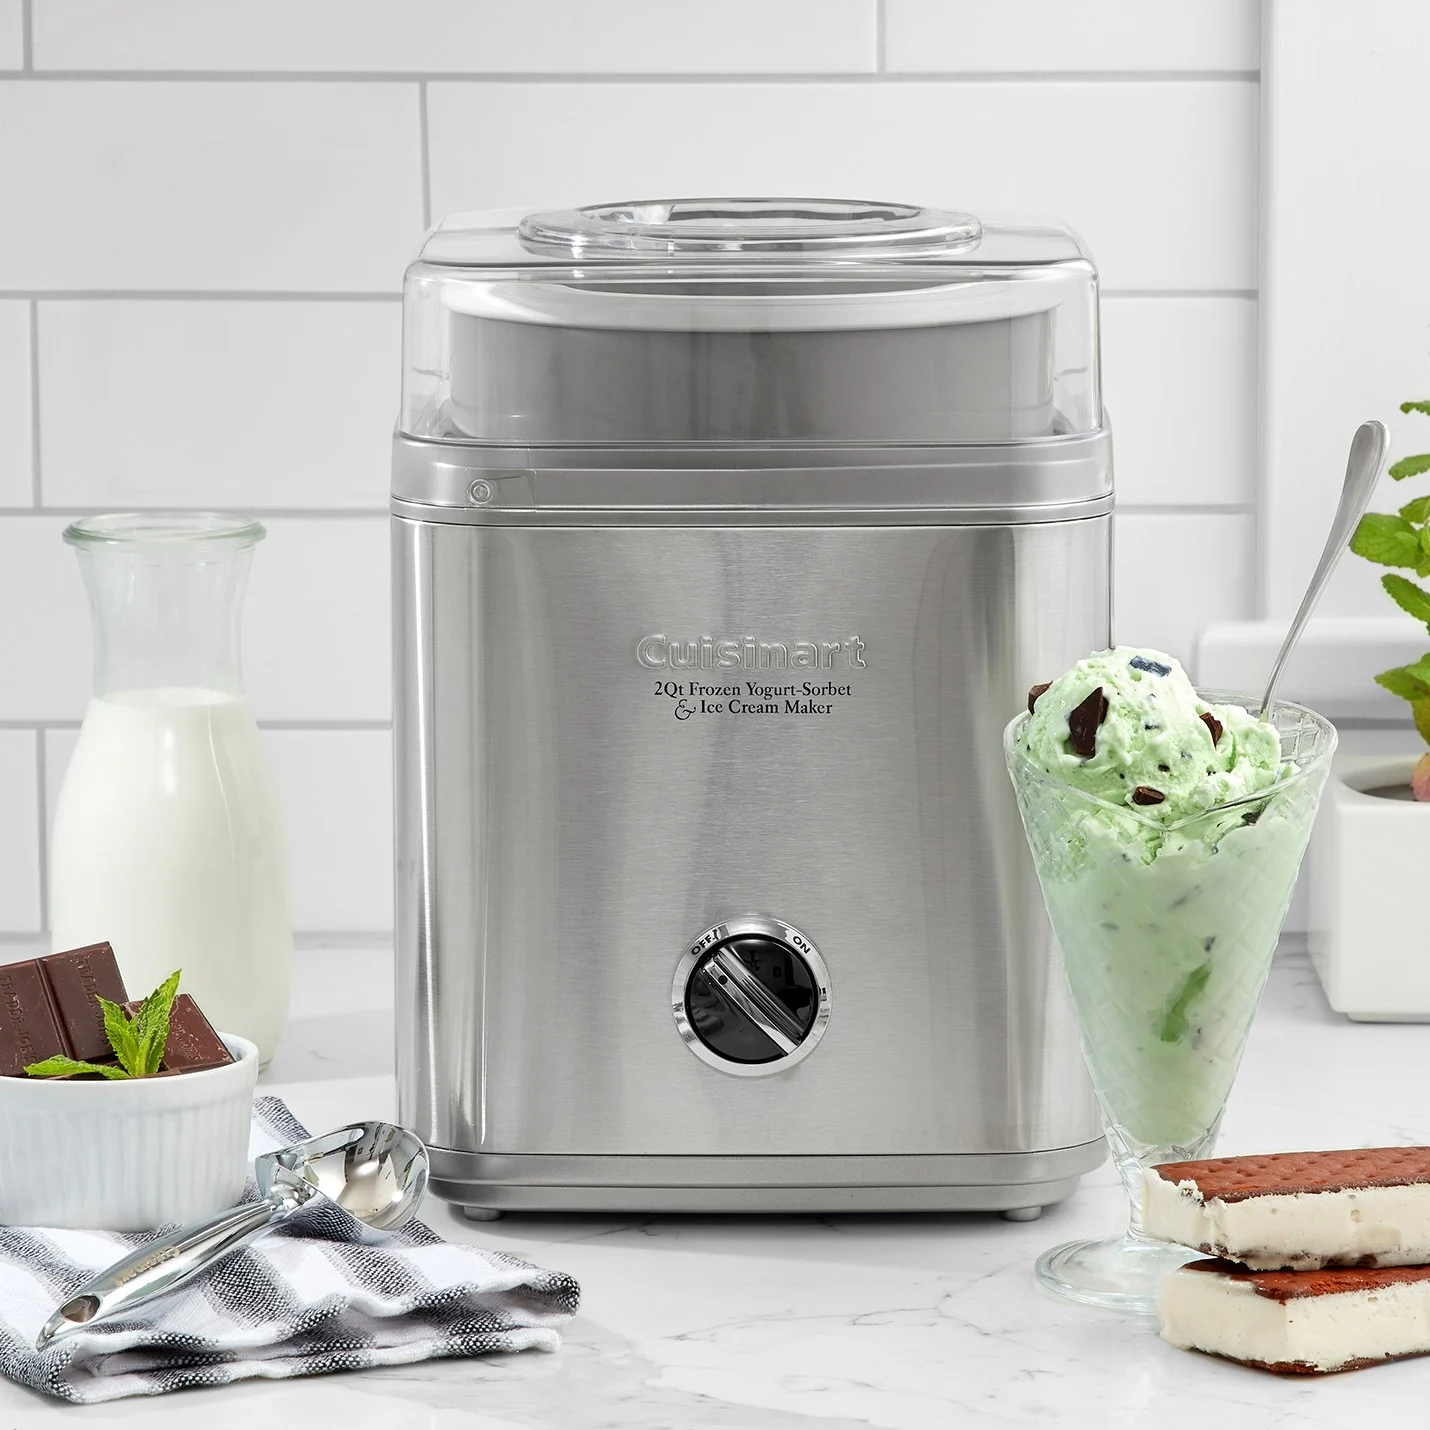
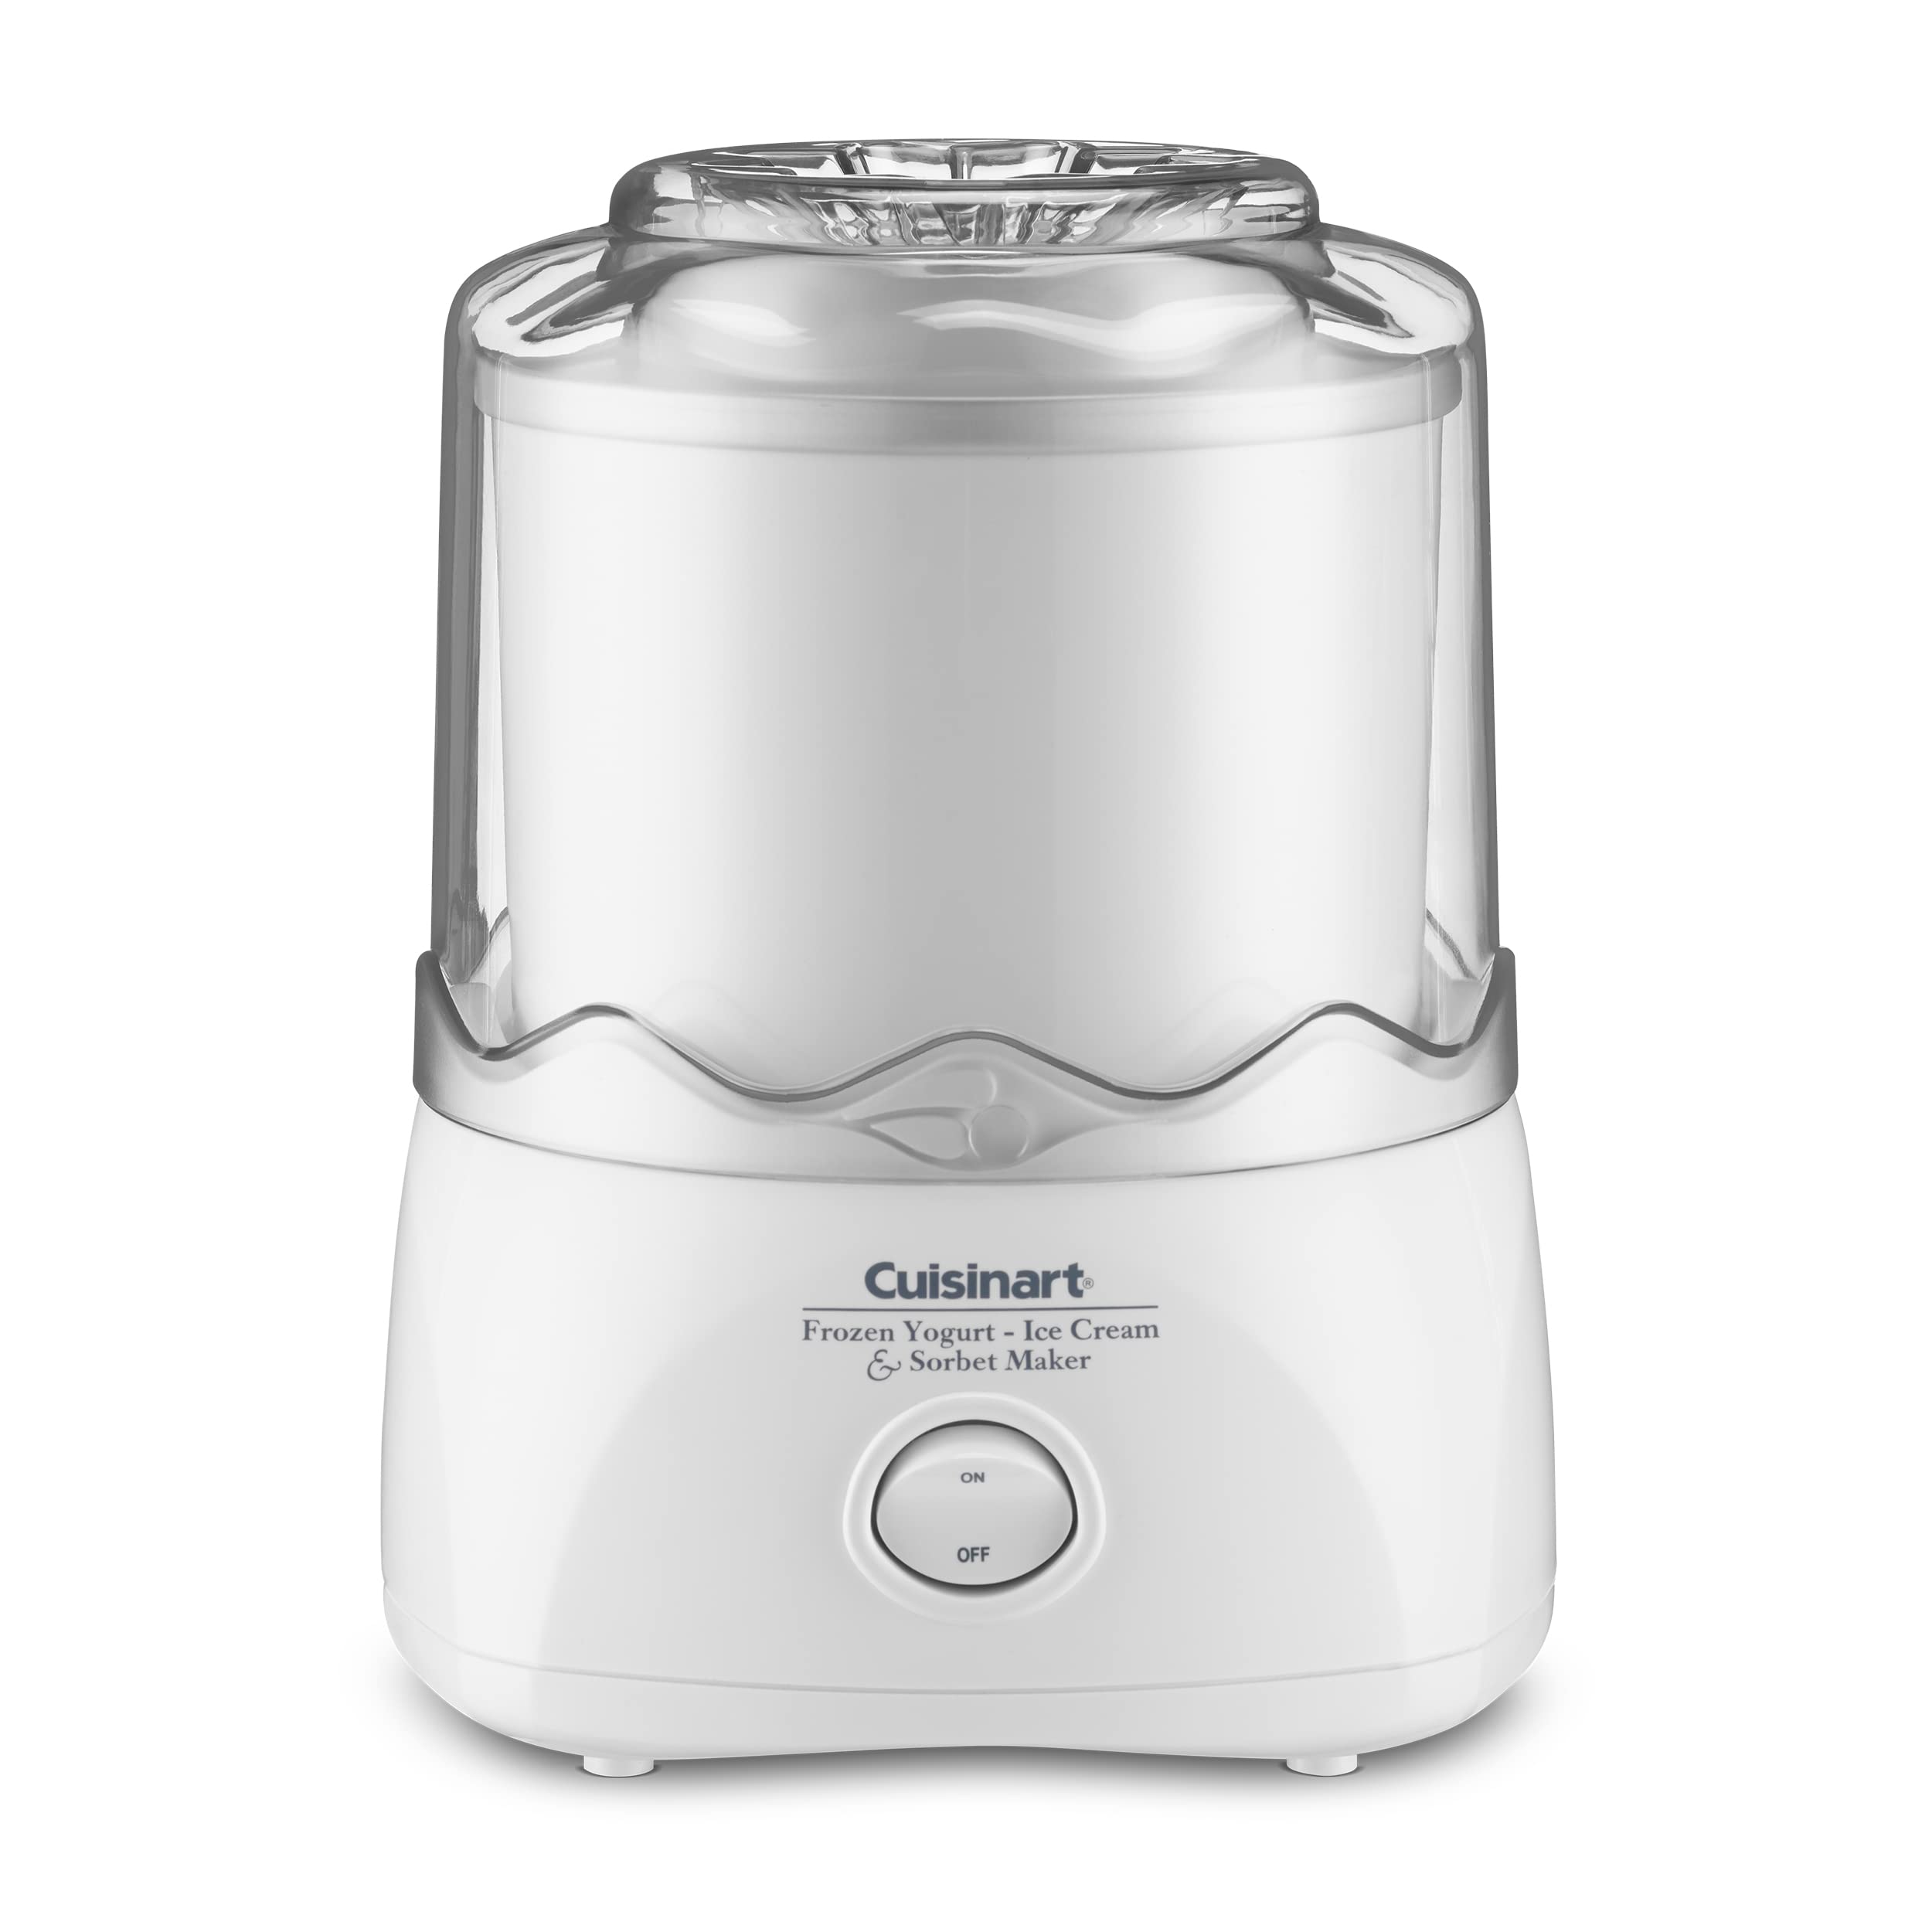
Step 2: Preparing the Ice Cream Maker
Now that you’ve successfully created the green tea base for your ice cream, it’s time to prepare your ice cream maker. Follow these simple steps to ensure that your ice cream maker is ready to churn:
- Check the manual of your ice cream maker for any specific instructions or precautions.
- Make sure that the freezer bowl of your ice cream maker has been properly frozen. Most ice cream makers require freezing the bowl for around 24 hours before use. Place it in the coldest part of your freezer and ensure it’s completely frozen.
- Remove the freezer bowl from the freezer and assemble the ice cream maker according to the manufacturer’s instructions. This usually involves attaching the paddle or dasher to the motor unit.
- Place the frozen freezer bowl onto the motor unit and secure it in place.
- Turn on the ice cream maker to start the churning process. It’s important to have the machine running and ready before adding the ice cream base, as this will ensure even freezing and a smoother texture.
While your ice cream maker is prepping, it’s a good idea to have your green tea ice cream base refrigerated. This will help maintain its freshness and prevent any unwanted curdling or separation during the churning process. The base should be fully chilled before adding it to the ice cream maker.
Once your ice cream maker and green tea base are both prepared, you’re ready for the next step: churning the ice cream.
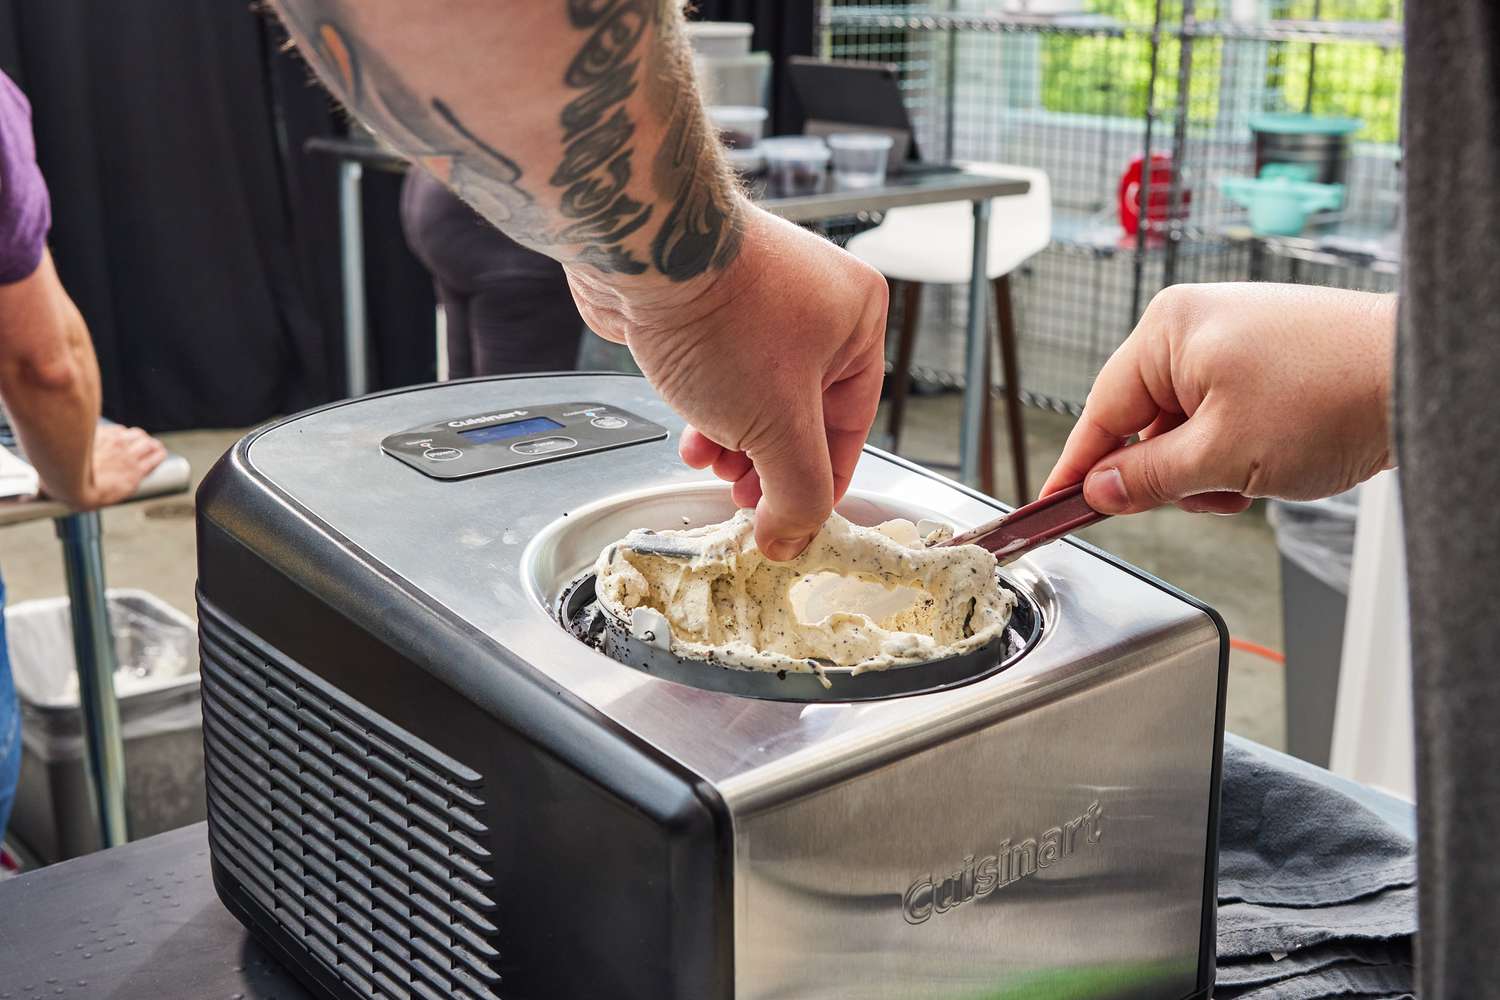
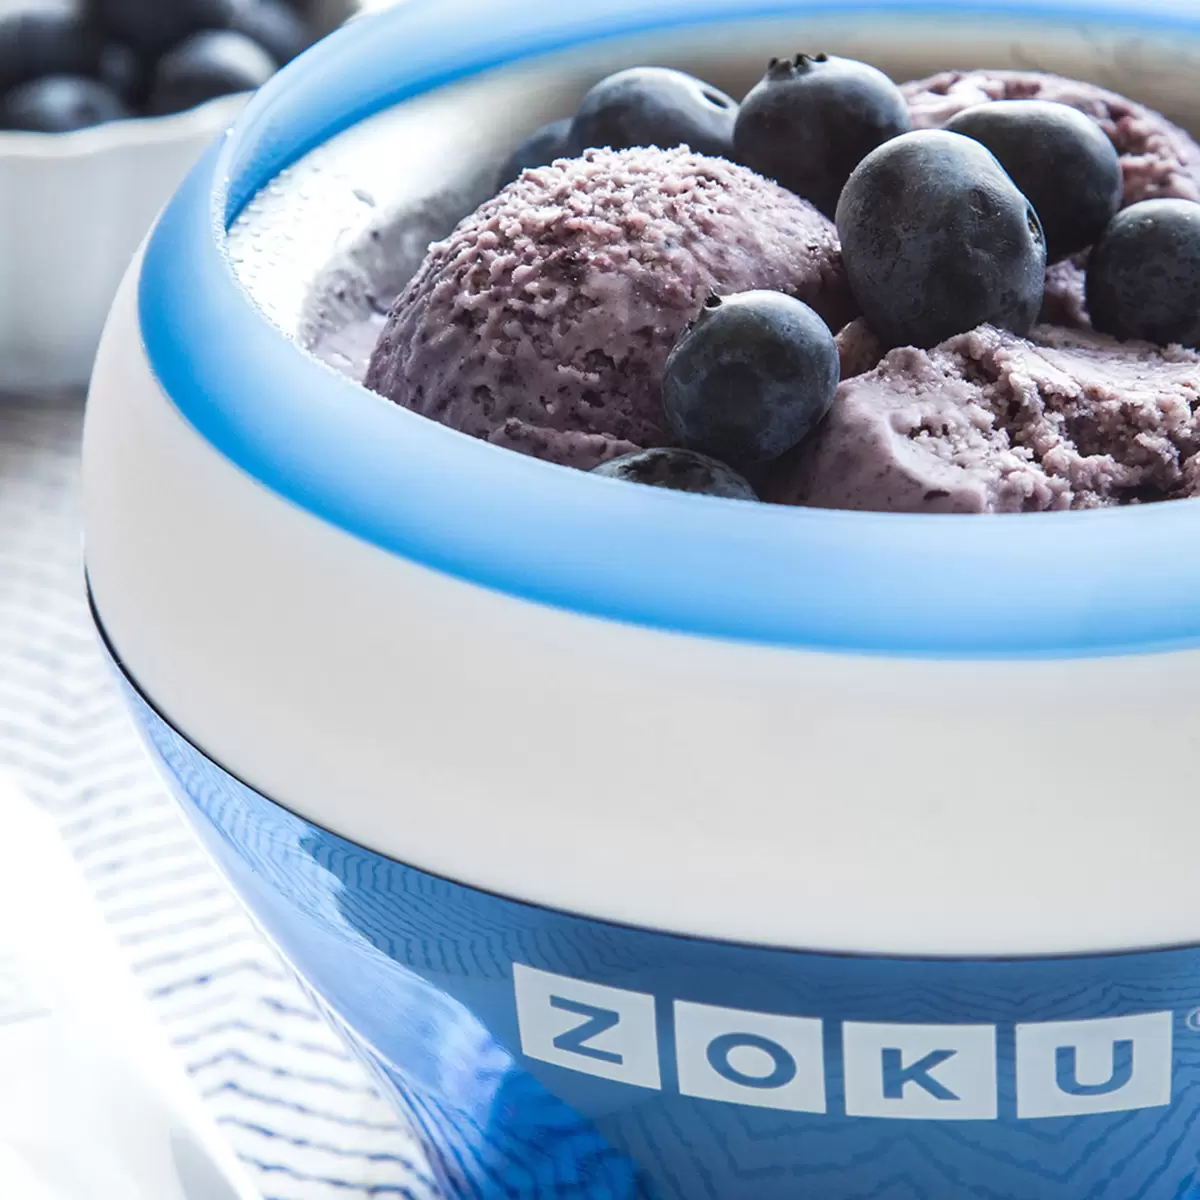
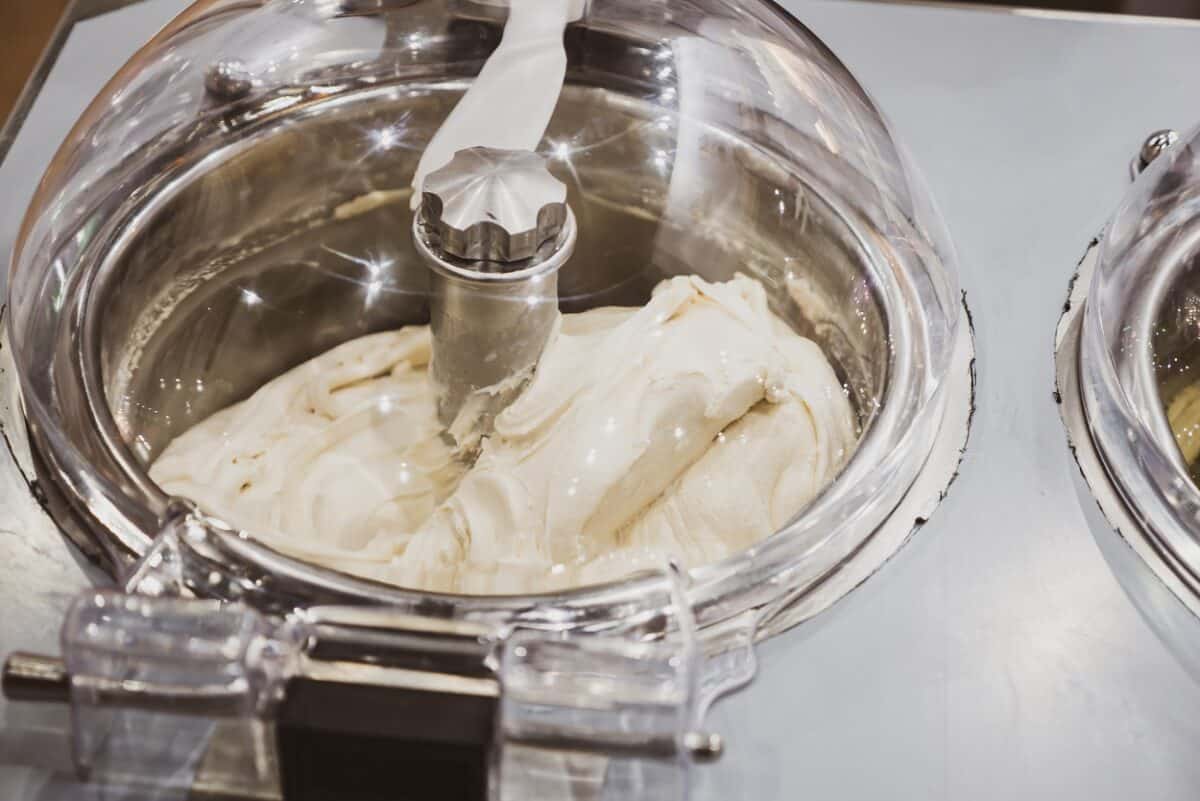
Step 3: Churning the Ice Cream
With your ice cream maker prepped and your green tea base chilled, it’s time to start the churning process. This step will transform your mixture into a creamy and luscious ice cream. Follow these steps to churn your green tea ice cream:
- Pour the chilled green tea ice cream base into the frozen freezer bowl of your ice cream maker. Be careful not to overfill it, as the mixture will expand as it churns. Leave some space at the top to allow for expansion.
- Turn on your ice cream maker and let it churn according to the manufacturer’s instructions. Typically, it takes about 20-30 minutes for the ice cream to reach the desired consistency.
- Throughout the churning process, keep an eye on the texture of the ice cream. It should gradually thicken and become smooth and creamy. You can also use this time to add any desired mix-ins, such as chocolate chips or chopped nuts, if desired.
- As the ice cream churns, the temperature will drop and freeze the mixture. The continuous motion of the paddle or dasher will add air to the ice cream, resulting in a light and fluffy texture.
While the churning time may vary depending on your ice cream maker, make sure to avoid over-churning the ice cream. Over-churning can lead to a dense and icy texture. It’s better to slightly under-churn and let the ice cream firm up in the freezer afterward.
Once the desired consistency is reached, it’s time to move on to the final step: freezing the ice cream.
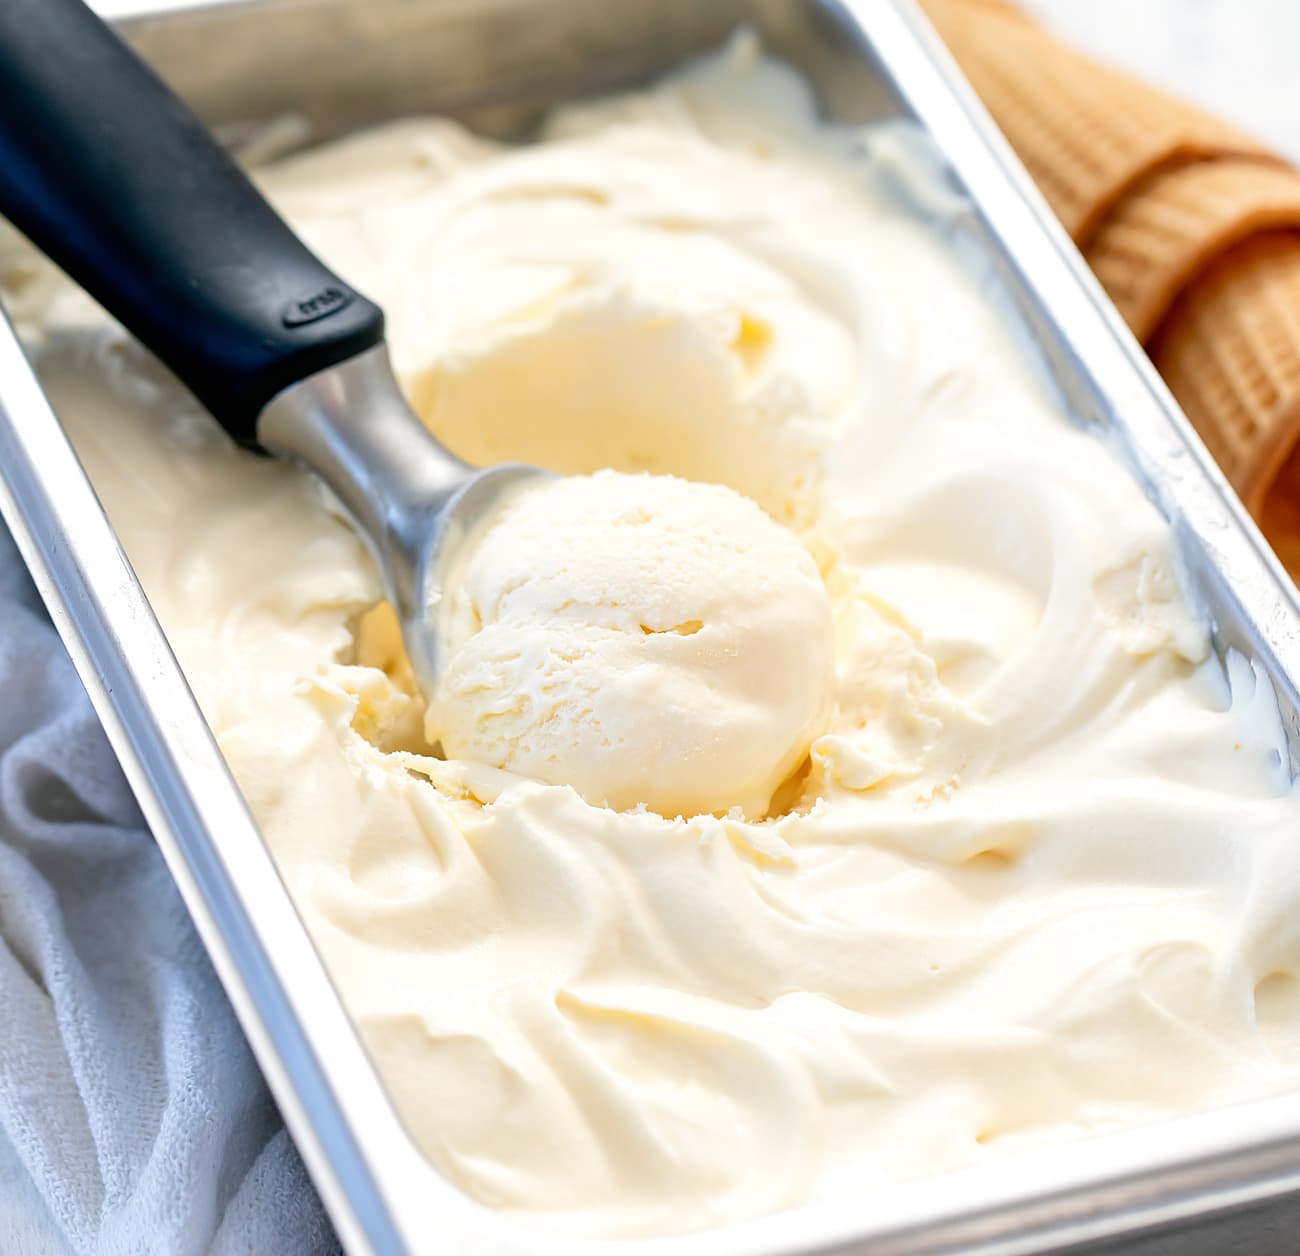
Step 4: Freezing the Ice Cream
After the churning process is complete and you have achieved a smooth and creamy consistency, it’s time to freeze the green tea ice cream to further solidify its texture. Follow these steps to freeze your ice cream:
- Using a spatula or a spoon, transfer the freshly churned ice cream from the ice cream maker into a freezer-safe container. A lidded container works best to prevent ice crystals from forming.
- Smooth out the surface of the ice cream to create an even layer. This helps to prevent the formation of ice crystals and ensures a consistent texture.
- Place the lid on the container and seal it tightly. This will help prevent any freezer odors from infiltrating the ice cream and keep it fresh.
- Transfer the container to the freezer and allow the ice cream to freeze for at least 4 to 6 hours, or until it reaches the desired firmness.
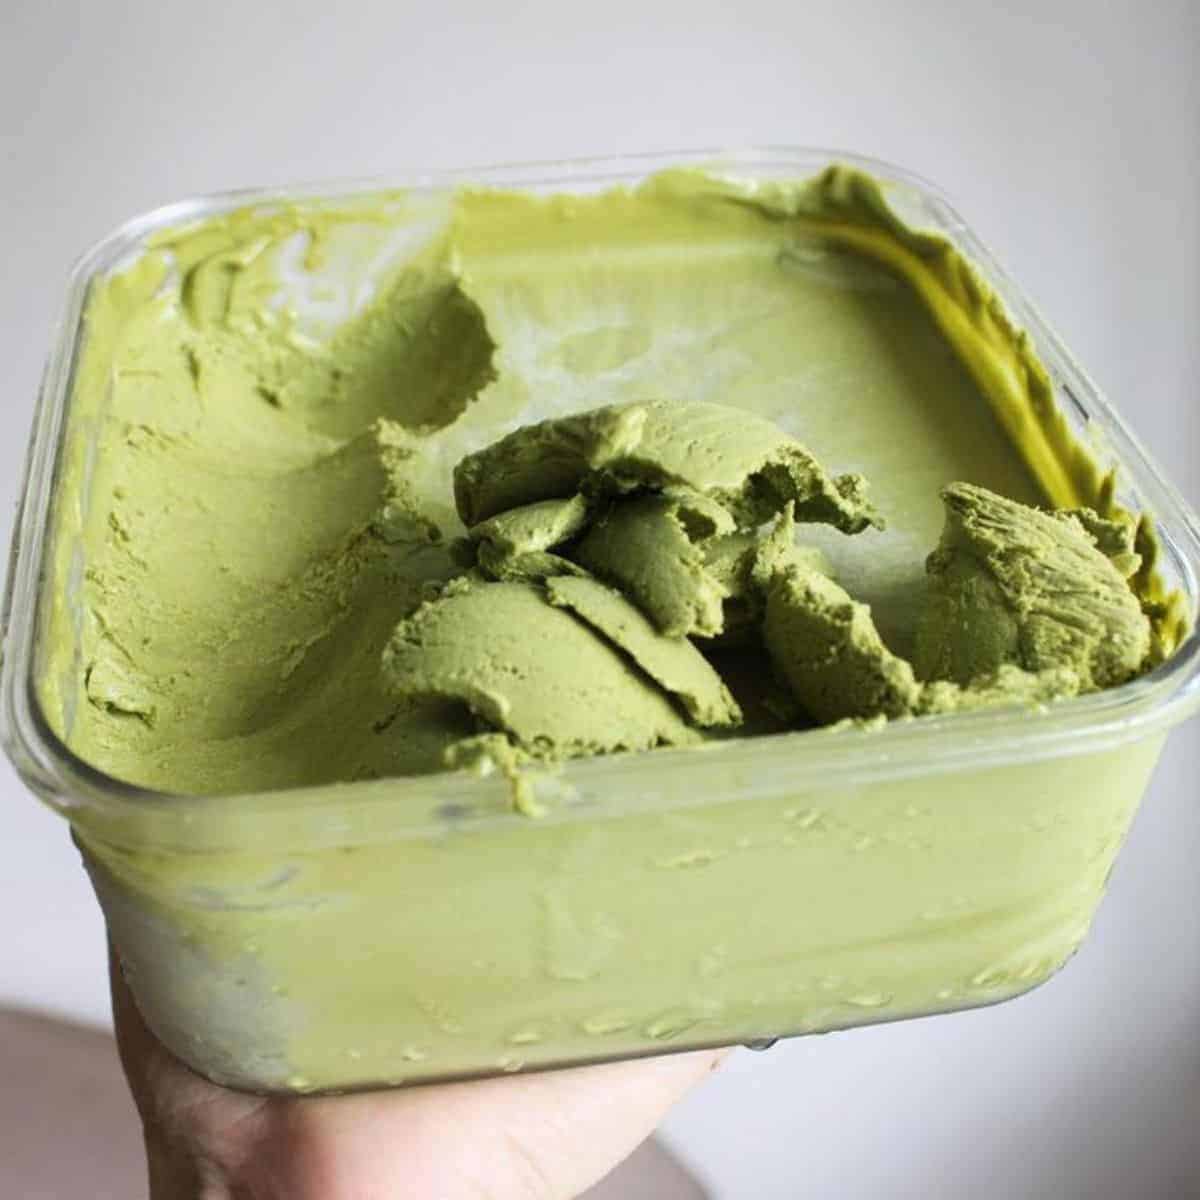
It’s important to note that homemade ice cream tends to become harder than store-bought versions due to the absence of additives. To make it easier to scoop, you can remove the ice cream from the freezer and let it sit at room temperature for a few minutes before serving.
Now that you’ve completed the freezing process, your green tea ice cream is ready to be enjoyed. But before you dive in, let’s go over the final step: serving and enjoying your homemade treat.
Step 5: Serving and Enjoying
Congratulations! You have successfully made your own batch of delicious green tea ice cream. Now it’s time to savor the fruits of your labor. Follow these steps to serve and enjoy your homemade treat:
- Remove the container of green tea ice cream from the freezer and let it sit at room temperature for a few minutes to soften slightly.
- Using an ice cream scoop, portion out the desired amount of ice cream into serving bowls or cones. Be sure to scoop all the way to the bottom to get a good mix of flavors and textures.
- If desired, garnish your green tea ice cream with some additional matcha powder, grated dark chocolate, or a drizzle of honey for an added touch of flavor and presentation.
- Serve the ice cream immediately and enjoy its creamy, refreshing, and indulgent taste. Take a moment to savor the unique blend of green tea and creamy goodness that you’ve created.
Green tea ice cream pairs wonderfully with a variety of accompaniments, such as fresh fruit, cookies, or a delicate wafer. Get creative and experiment with different toppings and combinations to elevate your ice cream experience.
Remember to return any remaining ice cream to the freezer promptly to maintain its texture and prevent melting. Homemade ice cream is best enjoyed within a few weeks.
Now that you know how to make green tea ice cream with an ice cream maker, you can indulge in this delightful treat whenever your sweet tooth calls. Share it with family and friends or enjoy it all to yourself – the choice is yours.
So go ahead, grab a spoon, and relish in the satisfaction of enjoying your homemade green tea ice cream. Bon appétit!