Introduction
Spotify is a popular music streaming platform that allows users to create and curate their own personalized playlists. By default, when you create a playlist on Spotify, it is set to private, meaning it can only be accessed and viewed by you. However, if you want to share your musical taste and creations with the world, you have the option to make your Spotify playlist public.
When you make a playlist public on Spotify, it becomes accessible to anyone who has the link to your playlist. This means that others can not only see the songs in your playlist but also listen to them. Making a playlist public can be a great way to connect with others who share similar music interests and discover new songs based on your recommendations.
In this guide, we will walk you through the simple steps to make your Spotify playlist public. Whether you want to share your favorite songs with friends, showcase your DJ skills, or collect songs for a particular theme or mood, making your playlist public can help you expand your musical network and potentially reach a wider audience.
So, if you’re ready to open up your Spotify playlist to the world, let’s get started!
Step 1: Open the Spotify app
The first step to making your Spotify playlist public is to open the Spotify app on your device. Whether you are using a computer, smartphone, or tablet, make sure you have the latest version of the Spotify app installed.
If you don’t have the app installed, you can download it for free from the Spotify website or your device’s app store. Once you have the app installed, log in to your Spotify account using your username and password. If you don’t have an account, you can sign up for one easily using your email address or Facebook account.
Once you’re logged in, you’ll be greeted with the Spotify home screen, where you can access your library, playlists, discover new music, and more. Take a moment to familiarize yourself with the different sections of the app, as you’ll need to navigate through them to find and make your playlist public.
Now that you have the Spotify app open and are logged in to your account, you’re ready to move on to the next step and find the playlist you want to make public.
Step 2: Find the playlist you want to make public
After opening the Spotify app and logging in to your account, it’s time to locate the playlist you wish to make public. In the Spotify app, playlists can be found in your library or under the playlists section.
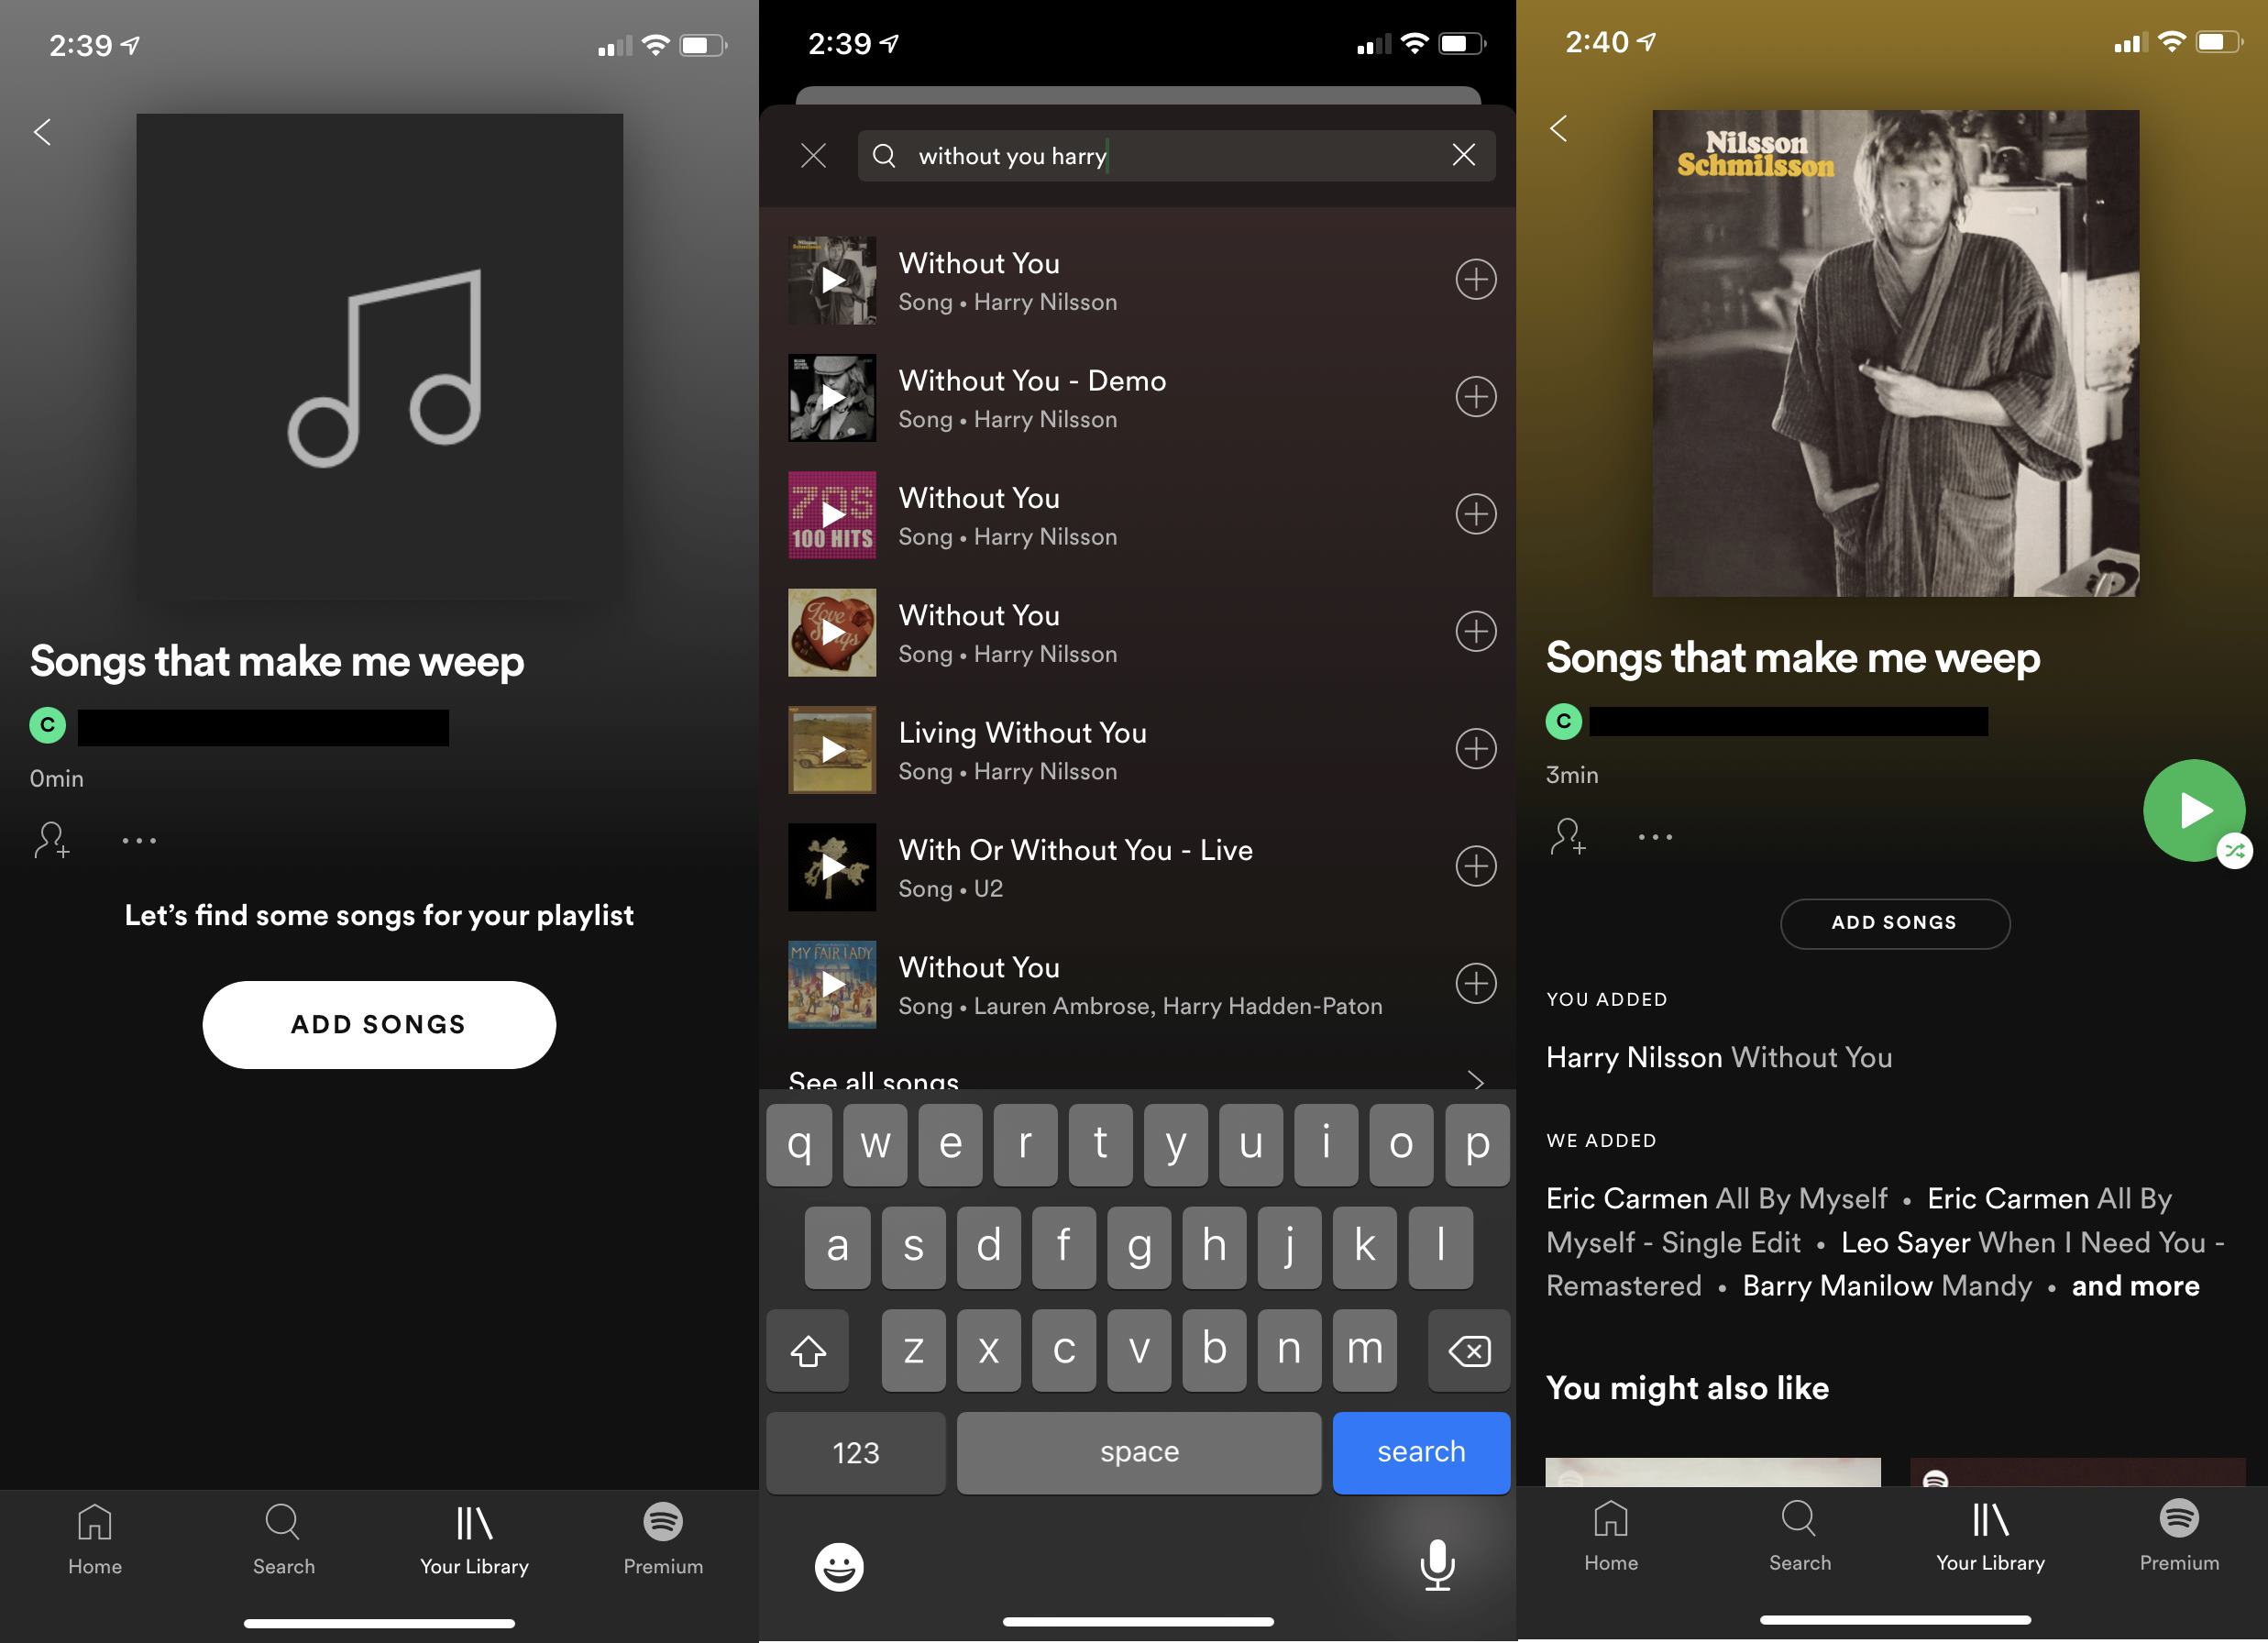
To access your library, simply tap on the “Your Library” option located at the bottom of the screen. Once you’re in your library, you will find different tabs such as “Playlists,” “Artists,” “Albums,” and more. Tap on the “Playlists” tab to see all the playlists you have created.
If you prefer to navigate directly to the playlists section, look for the tab labeled “Home.” Tap on it, and you will see several sections, including “Recently Played,” “Discover,” and “Your Playlists.” Select “Your Playlists,” and you will be presented with a list of all your playlists.
Browse through your playlists until you find the one you want to make public. You may have to scroll down if you have a long list of playlists. If you’re having trouble finding a specific playlist, you can use the search bar at the top of the screen to quickly locate it by typing in keywords or the playlist’s title.
Once you have located the playlist you wish to make public, proceed to the next step to learn how to make it visible to others.
Step 3: Click on the “…” button
Now that you have found the playlist you want to make public, it’s time to access the options for that specific playlist. To do this, locate the three-dot icon (also known as the “…” button) next to the name of the playlist.
The position of the “…” button may vary depending on the device you are using, but it is typically located on the right side of the playlist’s title. On a computer, you can find it when hovering over the playlist’s name. On a smartphone or tablet, the “…” button is usually visible as a small icon next to the playlist’s name in the playlists section.
Once you have located the “…” button, click or tap on it to reveal a dropdown menu containing various options related to the playlist.
This dropdown menu is where you will find all the customization options for your playlist, including the option to make it public. Take a moment to explore the other options available, such as adding a description, changing the cover image, and more.
With the dropdown menu opened, it’s time to move on to the next step and select the option to make your playlist public.
Step 4: Select “Make Public” from the options
After clicking or tapping on the “…” button next to your playlist’s name, a dropdown menu will appear with several options. In this step, you will need to select the option that allows you to make your playlist public.
Scroll through the options in the dropdown menu until you find the one labeled “Make Public” or something similar. The wording may vary slightly depending on your device and the version of the Spotify app you are using.
Once you have located the “Make Public” option, click or tap on it to select it. By choosing this option, you are giving permission for your playlist to be visible to anyone who has the link to your playlist.
Keep in mind that selecting the “Make Public” option will immediately make your playlist public. From this point forward, anyone with the playlist’s link will be able to view and listen to the songs within it.
Congratulations! You have now made your Spotify playlist public. However, there is one final step to confirm your decision and ensure that your playlist is truly visible to others. Continue reading to learn how to complete this step.
Step 5: Confirm your decision
After selecting the “Make Public” option, a confirmation message will usually appear to ensure that you want to proceed with making your playlist public. This step is essential to confirm your decision and avoid any accidental changes to your playlist’s privacy settings.
Read the confirmation message carefully to ensure that you understand the implications of making your playlist public. It may inform you that your playlist will be visible to anyone with the link and that the songs within it can be listened to by others.
If you are certain about making your playlist public, click or tap on the “Confirm,” “OK,” or similar button within the confirmation message. By doing so, you are affirming your decision and finalizing the process of making your playlist public.
Once you have confirmed your choice, the privacy settings of your playlist will be updated accordingly. Your playlist will now be public, and others can discover, listen to, and share it with their own networks.
Remember that once your playlist is public, it’s a good idea to regularly update it with new songs and keep it fresh. This will not only keep your playlist engaging and relevant but also attract more listeners and potential followers.
Now that you have successfully confirmed your decision, your public playlist is ready to be shared and enjoyed. In the next step, we will explore how you can share your playlist with others.
Step 6: Share your playlist with others
Now that you have made your Spotify playlist public, it’s time to share it with others. Sharing your playlist is a great way to connect with friends, showcase your musical taste, and even gain new followers.
There are several ways to share your playlist with others. Here are a few methods you can use:
1. Share the playlist link: To share your playlist, locate the three-dot icon next to the playlist’s name again. This time, click or tap on it and select the “Share” option from the dropdown menu. You will be presented with various sharing options, such as sharing via social media platforms like Facebook or Twitter, or copying the link to your playlist and sending it directly to others through email or messaging apps. Choose the method that is most convenient for you, and share the playlist link with your desired audience.
2. Embed the playlist on a website or blog: If you have a website or blog, you can embed your Spotify playlist directly onto your platform. This allows visitors to listen to your playlist without leaving your site. To embed your playlist, open the Spotify app, go to the playlist you want to share, and click or tap on the three-dot icon again. Select the “Copy Embed Code” option and paste the code into the HTML of your website or blog. This way, your playlist will be embedded and playable on your page.
3. Collaborate with others: One of the great features of Spotify is the ability to collaborate on playlists with others. If you want to create a playlist with friends or colleagues, you can invite them to collaborate by clicking or tapping on the “Collaborative Playlist” option in the playlist’s dropdown menu. This allows everyone involved to add and remove songs from the playlist, making it a collaborative and interactive experience.
Remember, sharing your playlist can help you discover new music and connect with like-minded individuals. Don’t be afraid to promote your playlist on social media, in online communities, or among your circle of friends. The more you share, the more exposure your playlist will get, and the more opportunities for interaction and feedback you’ll receive.
Congratulations! You have successfully made your Spotify playlist public and learned how to share it with others. Now it’s time to sit back, relax, and enjoy the music as your playlist reaches a wider audience.
Conclusion
Congratulations! You have successfully learned how to make a Spotify playlist public and share it with others. By following the easy steps outlined in this guide, you can now open up your musical creations to a wider audience, connect with like-minded individuals, and discover new songs based on their recommendations.
Remember, making a playlist public on Spotify allows anyone with the link to access and listen to the songs within it. This can be a great way to showcase your musical taste, share your DJ skills, or simply connect with friends and fellow music enthusiasts.
From opening the Spotify app and finding your playlist to selecting the “Make Public” option and confirming your decision, you have successfully navigated the process of making your Spotify playlist public. You have also learned how to share your playlist through various methods, such as sharing the playlist link, embedding it on a website or blog, or collaborating with others.
Now that you have the knowledge and tools, don’t hesitate to explore and create more public playlists. Continuously update your playlists with new songs, engage with your audience, and promote your playlists on social media or other platforms. The more you share and interact, the more your playlist will gain visibility and attract listeners.
So go ahead, embrace your musical creativity, and let the world discover your amazing Spotify playlists. Get ready to connect, inspire, and enjoy the power of music through the sharing of your public playlists!


