Introduction
Spotify is a popular music streaming platform that allows users to create and share playlists. Whether you’re creating a playlist for a road trip, a workout session, or simply to curate your favorite songs, Spotify provides various features to enhance your playlist experience.
However, there might be times when you want to keep your playlist private, either to maintain your personal listening habits or to limit access to a select group of people. In this article, we will explore different methods to make a Spotify playlist private.
By making your playlist private, you can ensure that only you can access and modify it. This gives you the freedom to add, remove, and reorder songs as you please, without worrying about others tampering with your carefully curated collection.
If you’ve previously created a public playlist and want to make it private, we’ll also cover how to modify the privacy settings without losing your playlist or disrupting its content.
Whether you’re using Spotify on your desktop or mobile device, we’ve got you covered with step-by-step instructions to help you make your playlist private. So, let’s dive in and see how you can take control of your Spotify playlists and keep them private.
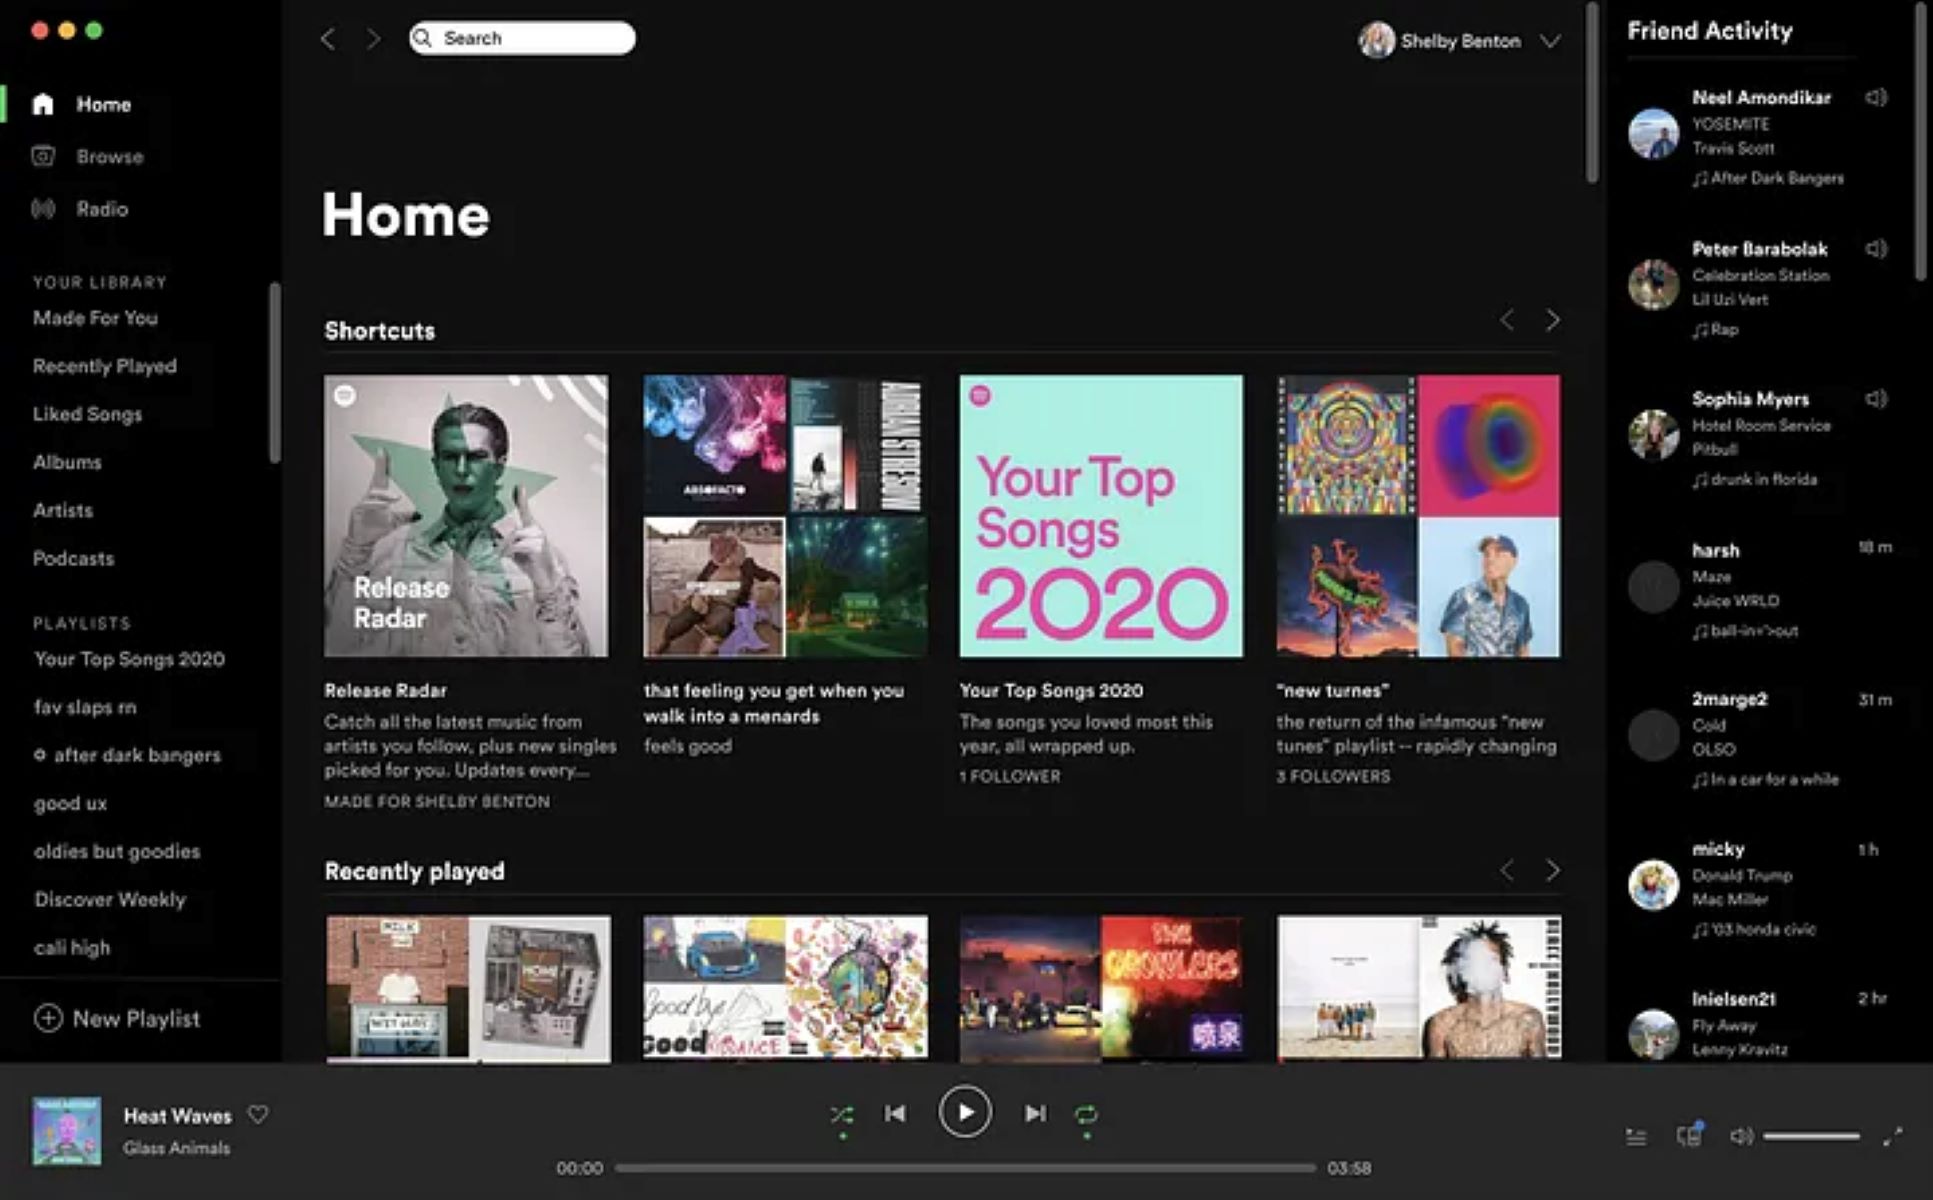
Method 1: Making a Playlist Private on Desktop
If you’re using Spotify on your desktop or laptop computer, follow these simple steps to make your playlist private:
- Open the Spotify application on your desktop. If you’re not already logged in, enter your Spotify credentials to sign in.
- Navigate to the left sidebar and click on the “Your Library” tab.
- In the “Your Library” section, locate and select the playlist you want to make private. The playlist will open in the main window.
- Once your playlist is open, click on the three dots (…) located near the top-right corner of the screen. A drop-down menu will appear.
- In the drop-down menu, select “Make Private.” This will change the privacy settings of your playlist, ensuring that it can only be accessed by you.
That’s it! Your playlist is now private, and only you will be able to view and modify it. You can continue adding, removing, and rearranging songs as you please, without worrying about others seeing or altering your playlist.
It’s important to note that making a playlist private on desktop will only affect the playlist on your account. If you’ve shared the playlist with others or made it collaborative, they will no longer be able to access or contribute to it once you’ve made it private.
Now that you know how to make your playlist private on desktop, let’s move on to the next method: making a playlist private on mobile devices.
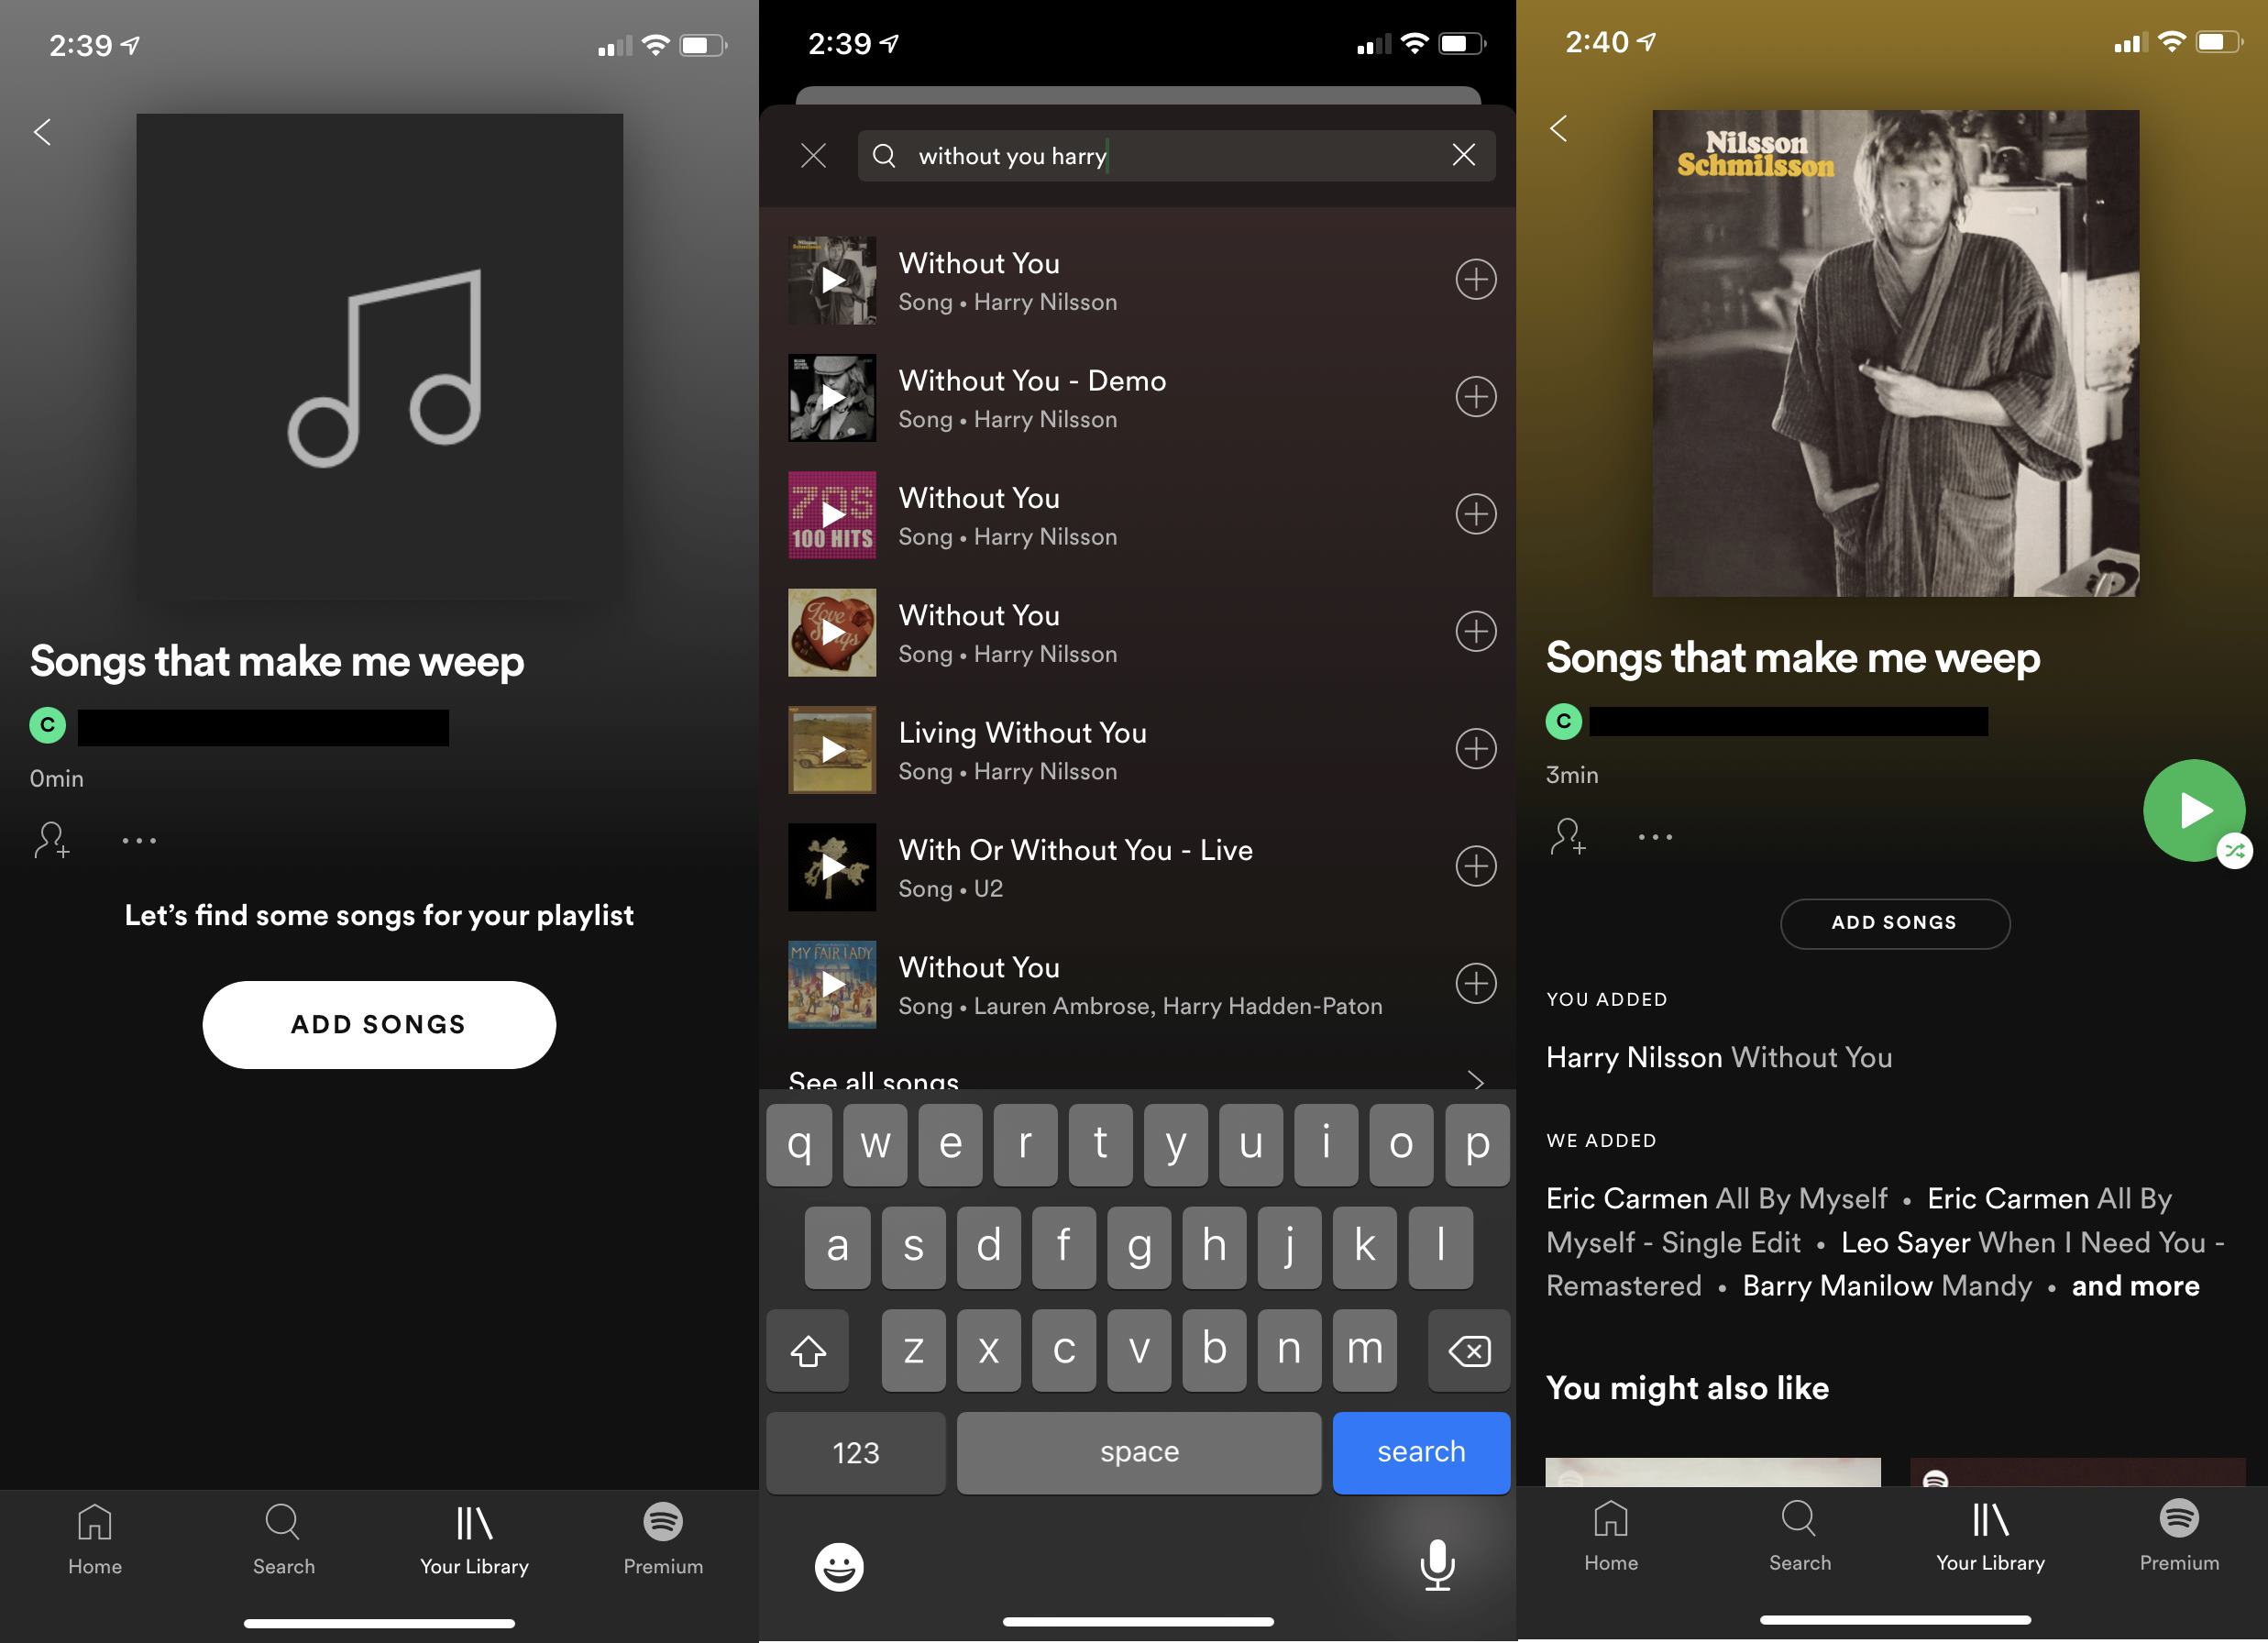
Method 2: Making a Playlist Private on Mobile Devices
If you’re using Spotify on your mobile device, whether it’s an iOS or Android device, you can still easily make your playlist private. Follow these steps:
- Open the Spotify app on your mobile device and log in if necessary.
- Tap on the “Your Library” tab located at the bottom of the screen.
- In the “Your Library” section, find and select the playlist you want to make private. The playlist will open on your screen.
- Once your playlist is open, tap on the three dots (…) located in the top-right corner of the screen. A menu will appear.
- From the menu, tap on “Make Private”. The privacy settings of your playlist will be adjusted, making it accessible only to you.
Great! Your playlist is now private on your mobile device. This means that only you can access and manage it, giving you full control over its content.
Just like on desktop, making a playlist private on your mobile device will not affect any copies of the playlist that you’ve shared with others or made collaborative. Once you make it private, those who previously had access to it will no longer be able to view or edit the playlist.
With the ability to make playlists private on both desktop and mobile devices, you can now tailor your playlist experience to your preferences and keep your music selections private.
Next, we’ll explore another aspect of playlist privacy: collaborative playlists and how to keep them private or share them with specific people.
Method 3: Collaborative Playlists: Keep Them Private or Share with Specific People
Collaborative playlists are a fun and interactive way to create playlists with friends, family, or colleagues. With Spotify, you have the option to either keep your collaborative playlist private or share it with specific people. Here’s how you can manage the privacy settings for collaborative playlists:
Keeping a Collaborative Playlist Private:
- Open the Spotify app on your desktop or mobile device and log in.
- Locate and select the collaborative playlist you want to manage. The playlist will open.
- On the desktop, click on the three dots (…) at the top-right corner of the screen. On a mobile device, tap on the three dots (iOS) or the ellipsis (Android) located in the top-right corner.
- A menu will appear. Select “Collaborative Playlist” to access the playlist settings.
- Toggle the “Collaborative Playlist” switch to the off position. This will make the playlist private and restrict access to only those who were previously invited or added as collaborators.
Sharing a Collaborative Playlist with Specific People:
- Follow the steps above to access the playlist settings for the collaborative playlist.
- Toggle the “Collaborative Playlist” switch to the on position to enable collaboration.
- Copy the unique playlist link or click on the “Share” button to share the playlist with specific individuals.
- You can send the playlist link via email, messaging apps, or social media platforms to invite others to collaborate on the playlist.
By managing the privacy settings for collaborative playlists, you can ensure that your playlists remain private or share them with specific people, depending on your preferences and intended purpose.
Now that you know how to control the privacy settings for collaborative playlists, let’s explore how to make an already-public playlist private.
Method 4: Making an Already-Public Playlist Private
If you have a playlist that is already public and you want to make it private, Spotify provides a simple way to do so. Follow these steps:
- Open the Spotify app on your desktop or mobile device and log in.
- Locate and select the public playlist that you want to make private. The playlist will open.
- On the desktop, click on the three dots (…) at the top-right corner of the screen. On a mobile device, tap on the three dots (iOS) or the ellipsis (Android) located in the top-right corner.
- A menu will appear. Select “Make Secret” or “Make Private” (the specific wording may vary depending on the Spotify client you are using).
- The privacy settings of the playlist will be updated, and it will now be private, accessible only to you.
That’s it! Your previously public playlist is now private, and only you will be able to access and manage it. The playlist will no longer appear in search results or your public profile.
It’s important to note that when you make an already-public playlist private, any followers you had on the playlist will no longer have access to it. Additionally, any external links you shared previously will become invalid, as the playlist is now private.
By making an already-public playlist private, you can regain control over who can see and modify your playlist, ensuring that it remains a personal collection or limited to your desired audience.
Now that we’ve covered the various methods to make your Spotify playlists private, let’s wrap up our discussion.
Conclusion
In this article, we explored different methods to make a Spotify playlist private. Whether you’re using Spotify on your desktop or mobile device, you have the flexibility to control the privacy of your playlists. By making your playlists private, you can ensure that only you have access to them, allowing you to maintain your personal music preferences and protect your curated collections.
We learned how to make a playlist private on both desktop and mobile devices, following simple steps within the Spotify application. We also discussed how to manage the privacy settings for collaborative playlists, either by keeping them private or sharing them with specific people.
Additionally, we delved into the process of making an already-public playlist private, which can be useful if you decide to limit the visibility and access of your playlist after it has already been shared or discovered by others.
It’s important to note that by making a playlist private, you may restrict the ability for others to discover and enjoy your music selections. However, if you’d like to share your playlist with a wider audience or collaborate with others, you can always adjust the privacy settings accordingly.
We hope this guide has empowered you with the necessary knowledge to take control of your Spotify playlists and keep them private. So go ahead, curate your personal soundtrack and enjoy the music with the peace of mind that comes with privacy.
Happy playlisting!